The Heavenly Delight of Banana Bread Truffles: A Unique Dessert Experience
 Save
Save
It was a rainy Saturday afternoon, the kind where the clouds hang low and the kitchen smells like a warm hug. I was rummaging through my pantry, searching for a way to use up the over‑ripe bananas that had been staring at me from the fruit bowl for days. That moment, when I lifted the lid of the old tin of banana bread mix, a cloud of sweet, caramel‑kissed steam rose up and wrapped around me like a nostalgic blanket. I thought, “What if I could take that comforting banana bread flavor and turn it into bite‑size, melt‑in‑your‑mouth truffles?” The idea sparked a little culinary adventure that turned a humble loaf into a luxurious dessert that feels both familiar and entirely new. The result? A dish that sings with banana‑brown‑butter depth, wrapped in silky chocolate, and finished with a dusting of cocoa that makes every bite a tiny celebration.
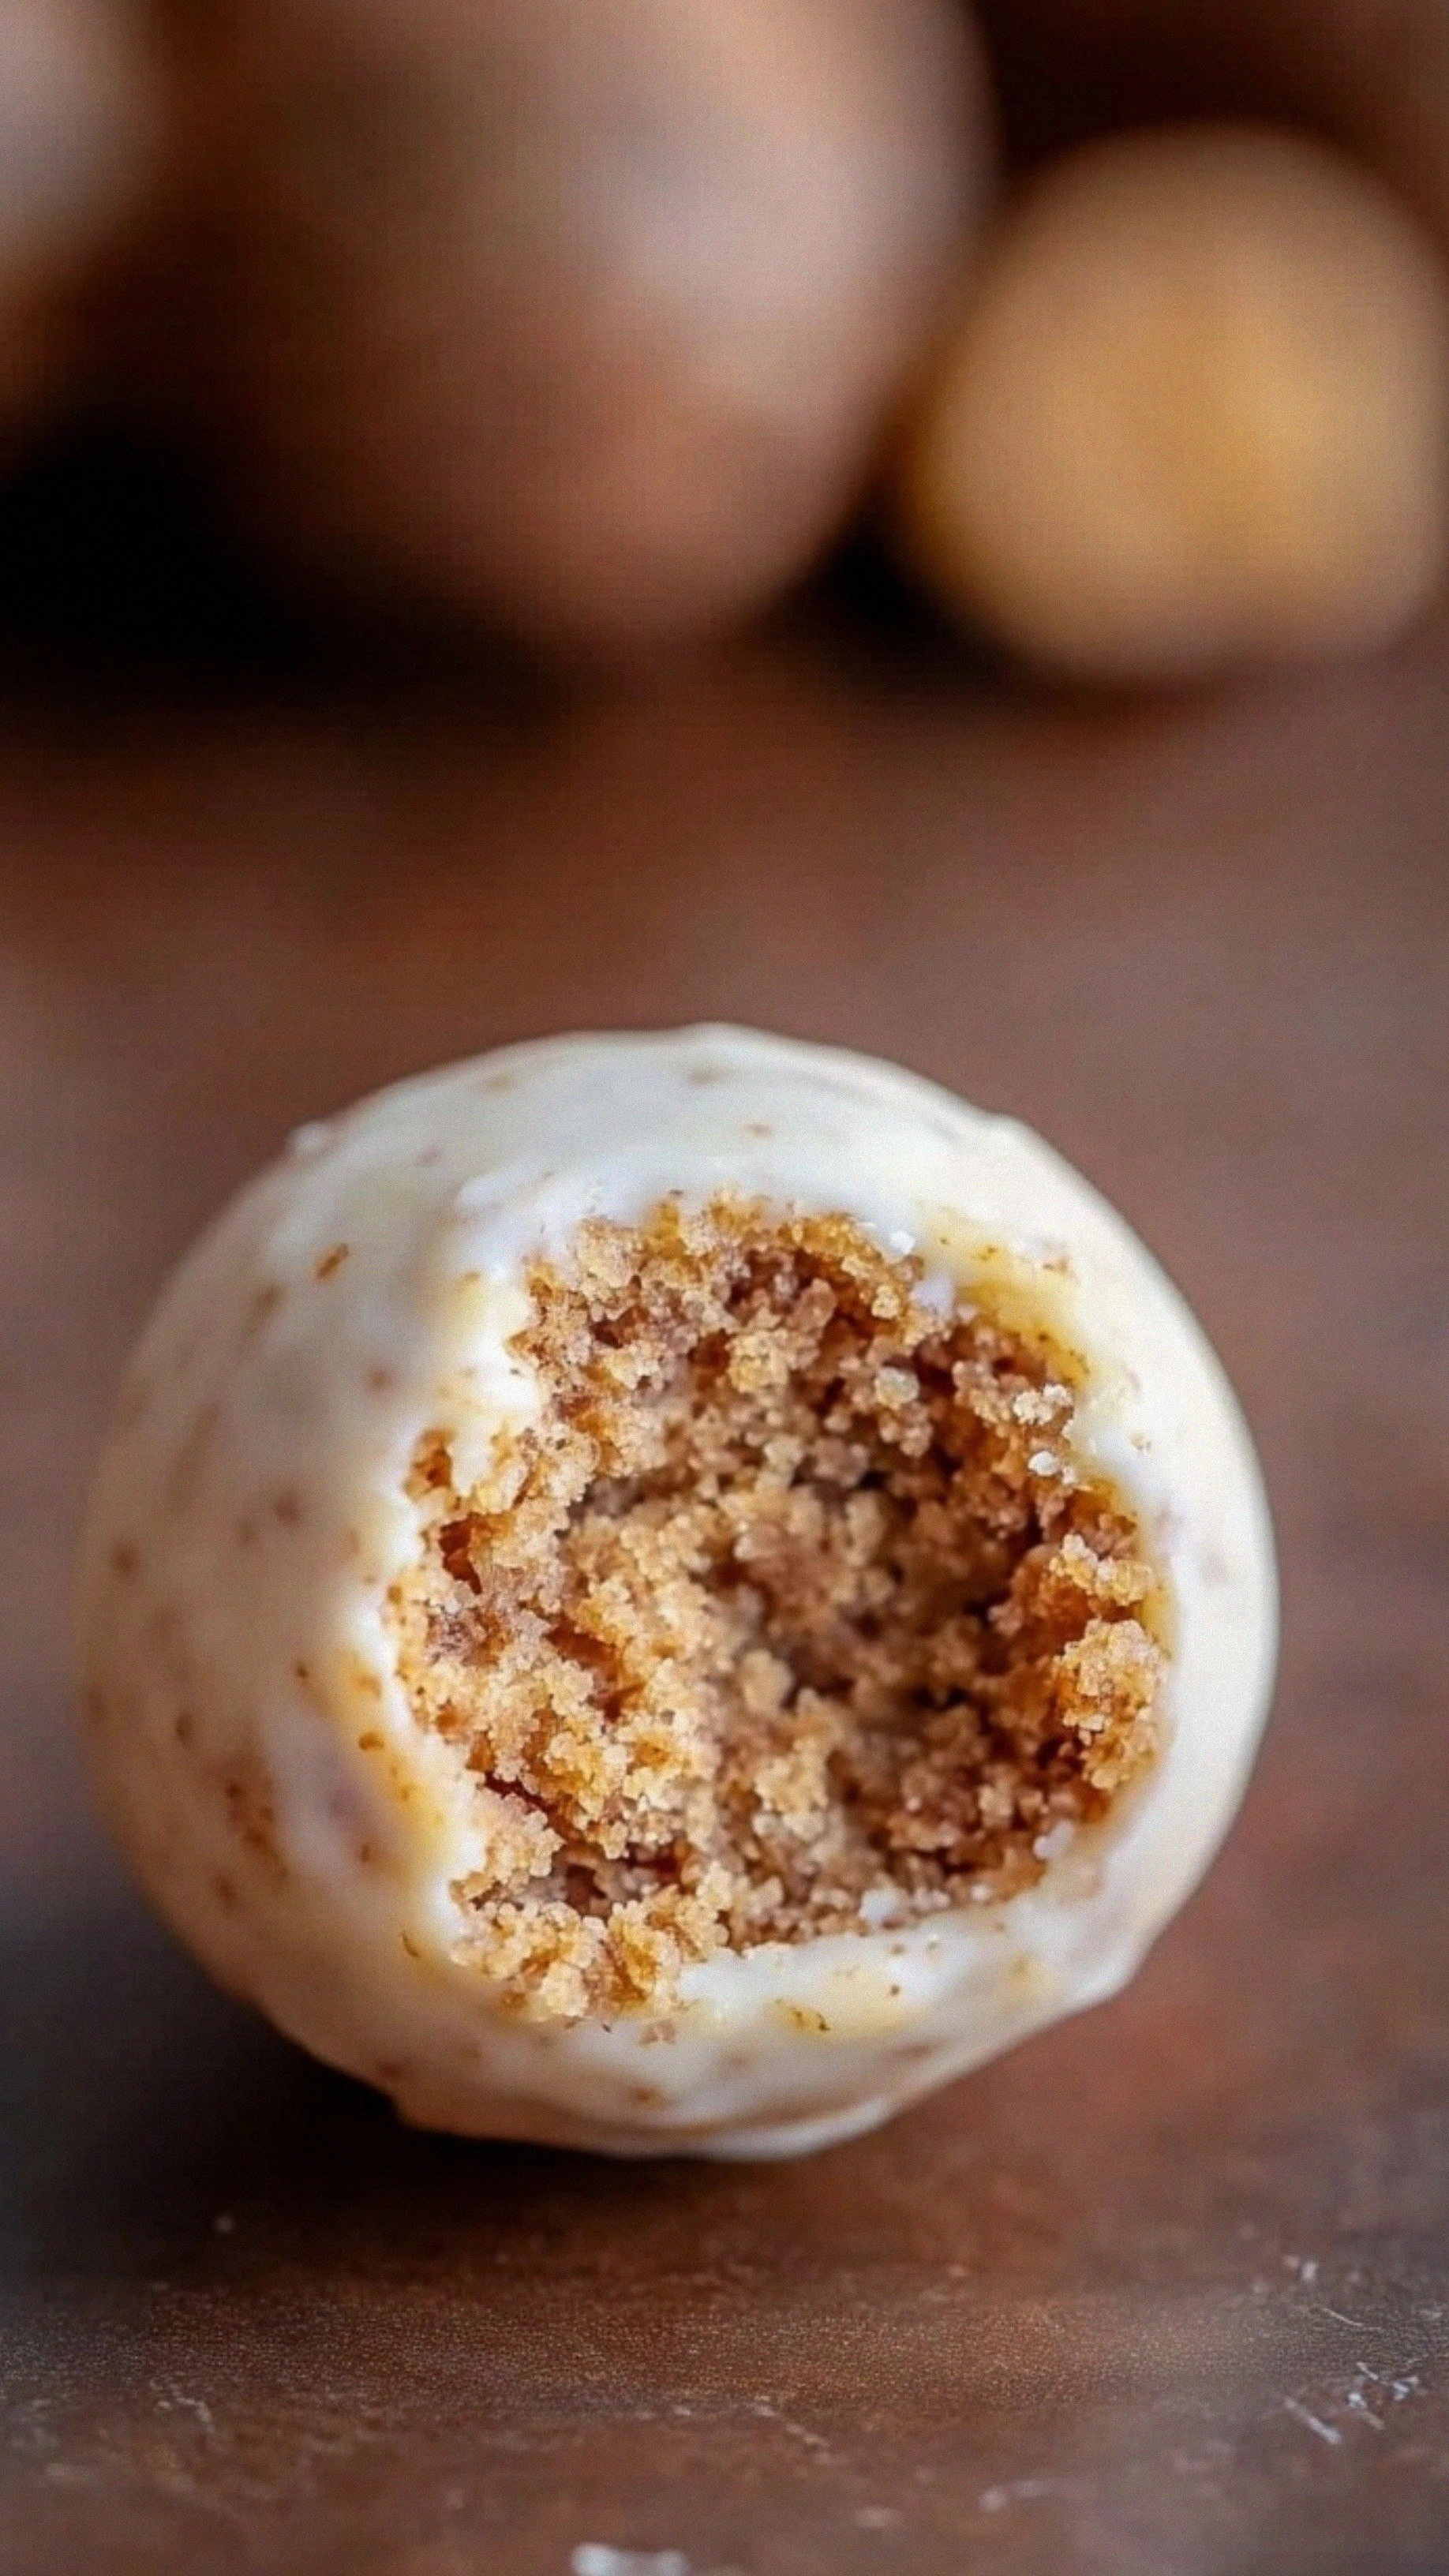
When you first bite into a banana bread truffle, you’ll notice the soft, crumbly interior that melts away like a cloud, followed by a glossy chocolate shell that snaps satisfyingly under your teeth. The contrast of textures is what makes this treat so addictive – the creamy, almost buttery core against the crisp, glossy coating creates a symphony that your palate can’t help but applaud. Imagine serving these at a dinner party and watching your guests’ eyes widen as they discover the surprise inside; it’s a conversation starter, a dessert that feels indulgent yet is surprisingly simple to make. The best part? You can prepare them ahead of time, store them in the fridge, and still enjoy that fresh‑baked aroma whenever you need a sweet pick‑me‑up.
But wait – there’s a secret trick that takes these truffles from delicious to unforgettable, and I’m going to reveal it in step four of the recipe. Have you ever wondered why restaurant‑style desserts always seem to have that extra something? It’s often a tiny detail, like a dash of sea salt or a quick chill that locks in flavor. I’ll share that little magic later, so keep reading! In the meantime, let’s set the stage with a quick look at why this recipe works so beautifully and what makes each component essential.
Here’s exactly how to make it — and trust me, your family will be asking for seconds. From the moment you mash those bananas to the final glossy dip, each step is designed to bring out the most comforting flavors while adding a touch of elegance. Ready to dive in? Let’s get started, and I promise you’ll be amazed at how a simple pantry staple can become a heavenly delight.
🌟 Why This Recipe Works
- Flavor Depth: The natural sweetness of ripe bananas pairs perfectly with the caramel notes of brown sugar and the richness of butter, creating a multi‑layered taste that feels both homey and sophisticated.
- Texture Contrast: A soft, crumbly interior meets a crisp chocolate coating, delivering a satisfying snap followed by a melt‑away sensation that keeps you reaching for more.
- Ease of Preparation: Most of the work involves simple mixing and shaping, making this recipe approachable for beginners while still rewarding seasoned bakers with its nuanced flavors.
- Time Efficiency: With a total time of just 45 minutes, you can whip up a batch of these truffles in the time it takes to watch an episode of your favorite show.
- Versatility: The base can be adapted with nuts, chocolate chips, or even a swirl of cream cheese, while the coating can be swapped for white chocolate or caramel for endless variations.
- Nutrition Boost: Bananas add potassium and fiber, while using dark chocolate provides antioxidants, making these treats a little kinder to your body than a typical candy.
- Ingredient Quality: By using fresh, ripe bananas and high‑quality chocolate, the final product shines with natural flavors, eliminating the need for artificial additives.
- Crowd‑Pleasing Factor: The combination of familiar banana bread flavor with a fancy presentation makes it a hit at parties, potlucks, and even as a thoughtful gift.
🥗 Ingredients Breakdown
The Foundation
The core of our truffles is the banana bread mixture, which starts with two perfectly ripe bananas. The darker the spots on the skin, the sweeter and more aromatic the bananas become, contributing natural sugars that reduce the need for extra sweeteners. All‑purpose flour provides structure, allowing the batter to hold together when formed into balls. If you’re looking for a gluten‑free option, a 1:1 blend of rice flour and almond flour works beautifully, though the texture will be slightly denser. Unsalted butter, softened to room temperature, adds richness and helps create that melt‑in‑your‑mouth crumb; using butter rather than oil gives the truffles a luxurious mouthfeel.
Aromatics & Spices
Brown sugar brings a subtle molasses note that deepens the flavor profile, while granulated sugar ensures the right level of sweetness without overwhelming the banana’s natural taste. Vanilla extract is the silent hero here, enhancing the overall aroma and tying together the sweet and buttery elements. A pinch of salt might seem counterintuitive in a dessert, but it actually amplifies the flavors, making the sweetness feel more balanced. Finally, baking soda reacts with the acidity of the bananas to give the batter a light lift, ensuring the truffles aren’t too heavy.
The Secret Weapons
Dark chocolate for the coating is essential; its bitterness cuts through the sweetness of the banana bread, creating a sophisticated contrast. Melt it gently with a splash of heavy cream to achieve a glossy ganache that coats each truffle evenly. Cocoa powder for rolling adds a rustic finish and a hint of bitterness that complements the chocolate shell. If you love a tropical twist, a sprinkle of shredded coconut adds texture and a faint, sweet aroma that pairs surprisingly well with banana.
Finishing Touches
Optional chopped walnuts bring a crunchy surprise in the middle, while a drizzle of caramel or a pinch of sea salt on the finished truffles can elevate them to a gourmet level. When selecting bananas, choose ones that are heavily speckled or even black‑spotted – they’re at their sweetest and most fragrant. For chocolate, opt for a bar with at least 70% cocoa solids; the higher cocoa content ensures a firm shell that doesn’t melt too quickly in your hand. And remember, the quality of each ingredient shines through, so invest in the best you can find.
With your ingredients prepped and ready, let's get cooking. Here's where the fun really begins...
🍳 Step-by-Step Instructions
🔐 Expert Tips for Perfect Results
The Taste Test Trick
Before you roll the final batch of truffles, take a tiny bite of the banana crumb mixture. If it feels a little dry, add a drizzle of milk or a spoonful of cream; if it’s too moist, sprinkle a touch more flour. This simple tasting step ensures each truffle has the perfect balance of crumbly and cohesive texture. Trust me on this one – a small adjustment now saves you from a batch that falls apart later.
Why Resting Time Matters More Than You Think
After shaping the balls, the refrigeration step isn’t just about firming them up; it also allows the flavors to meld. The butter, banana, and sugars continue to interact, deepening the taste profile. I once skipped this step and ended up with truffles that tasted a bit “flat” – the difference is subtle but noticeable. So, set a timer and let them chill for at least 20 minutes before the dip.
The Seasoning Secret Pros Won’t Tell You
A pinch of flaky sea salt added to the chocolate ganache does more than just season; it amplifies the chocolate’s bitterness and balances the banana’s sweetness, creating a harmonious flavor dance. This is a trick used by pastry chefs to bring out hidden notes in desserts. The result? A truffle that feels luxurious and complex, even though it’s made from pantry staples.
Coating Consistency Control
If your ganache is too thin, the coating will be uneven and may run off the truffles. To thicken it, let the ganache sit for a few minutes off the heat; it will naturally thicken as it cools. Conversely, if it’s too thick, gently reheat it over a bain‑marie, stirring constantly until it reaches a smooth, pourable consistency. This balance is key to achieving that glossy, professional finish.
Rolling with Flair
When rolling the truffles in cocoa powder or coconut, use a shallow dish and gently toss the truffles, allowing any excess to fall away. This technique ensures an even, light coating without clumping. I once tried to dump a handful of cocoa on the tray, and the result was a mess of uneven spots – the shallow dish method keeps everything tidy and beautiful.
Storing for Maximum Freshness
Store the truffles in an airtight container lined with parchment paper, separating layers with additional parchment to prevent sticking. They stay fresh for up to five days in the fridge, and the chocolate shell actually improves in flavor as it sits. If you need to keep them longer, freeze them (see the storage section below) – they’ll taste just as delightful after thawing.
🌈 Delicious Variations to Try
One of my favorite things about this recipe is how versatile it is. Here are some twists I’ve tried and loved:
Chocolate‑Chip Banana Burst
Fold a handful of mini chocolate chips into the banana crumb mixture before shaping. The chips melt slightly during the chill, creating pockets of molten chocolate that surprise the palate with every bite. This variation adds a burst of richness that pairs beautifully with the dark chocolate coating.
Nutty Crunch Delight
Replace walnuts with toasted pecans or almonds, and roll the finished truffles in crushed nuts instead of cocoa powder. The extra crunch adds texture, while the nutty flavor complements the banana’s sweetness, making each bite feel hearty and satisfying.
Coconut‑Lime Dream
Add a teaspoon of lime zest to the crumb mixture and roll the truffles in toasted coconut mixed with a pinch of lime zest. The citrus lifts the banana flavor, and the coconut adds a tropical vibe that transports you to a beachside dessert bar.
White‑Chocolate Raspberry Swirl
Melt white chocolate and swirl in a spoonful of raspberry puree before coating the truffles. The pink‑tinted ganache adds a fruity tang that cuts through the banana’s sweetness, offering a sophisticated flavor contrast that’s perfect for special occasions.
Espresso‑Infused Elegance
Dissolve a tablespoon of instant espresso powder in the melted butter before mixing it into the crumb batter. The subtle coffee notes deepen the overall flavor, making the truffles feel like a dessert for grown‑ups, especially when paired with a dark chocolate coating.
Spiced Autumn Twist
Add a pinch of ground cinnamon, nutmeg, and a dash of pumpkin spice to the batter for a warm, cozy flavor profile. Roll the finished truffles in a mixture of cinnamon sugar and cocoa for a sweet‑spicy finish that’s perfect for fall gatherings.
📦 Storage & Reheating Tips
Refrigerator Storage
Place the truffles in an airtight container, layering parchment paper between each layer to prevent them from sticking together. Stored this way, they’ll stay fresh for up to five days, with the chocolate shell maintaining its snap and the interior staying moist. If you notice any condensation, simply pat the surface with a paper towel before resealing the container.
Freezing Instructions
For longer storage, arrange the truffles on a baking sheet lined with parchment and freeze them individually for about an hour. Once solid, transfer them to a freezer‑safe zip‑top bag, removing as much air as possible. They’ll keep for up to three months, and you can thaw them in the fridge for a few hours before serving – the texture remains as delightful as when freshly made.
Reheating Methods
When you’re ready to enjoy a frozen truffle, a quick reheating in the microwave (10‑15 seconds on low) will bring back that soft interior while keeping the chocolate shell intact. For a more even warm‑up, place the truffle on a plate and cover it loosely with foil, then warm it in a 300°F oven for 5‑7 minutes. The trick to reheating without drying it out? Add a splash of milk to the interior before warming, and you’ll get a melt‑in‑your‑mouth experience every time.
❓ Frequently Asked Questions
Can I use overripe bananas that are almost black?
Do I have to bake the banana bread first?
Can I substitute the dark chocolate with milk chocolate?
How can I make these truffles gluten‑free?
Can I add a filling inside the truffles?
What’s the best way to melt chocolate without burning it?
Can I make these without a stand mixer?
How long can I keep the truffles at room temperature?
One by one, dip each chilled truffle ball into the chocolate ganache, allowing any excess to drip back into the bowl. Use a fork or a small spatula to roll the truffle gently, ensuring an even coat. Immediately after coating, roll the truffle in cocoa powder, shredded coconut, or chopped nuts, depending on your preference. The coating will set within a few minutes; if you want a glossy finish, place the coated truffles back in the fridge for another five minutes to firm the chocolate.
Once all the truffles are coated and set, arrange them on a serving platter. For an extra touch of elegance, drizzle a thin stream of melted white chocolate over a few of them, creating a marbled effect that looks as good as it tastes. Serve them at room temperature, or keep them chilled if you prefer a firmer bite. The moment you present these to your guests, you’ll see the anticipation in their eyes – the combination of familiar banana flavor with a sophisticated chocolate shell is truly a show‑stopper.
And there you have it! But before you dig in, let me share some tips that will take this from great to absolutely unforgettable…
Similar Recipes
 Appetizers
Crispy Air Fryer Mozzarella Sticks: A Delightful Snack for Any Occasion
Delicious Crispy Air Fryer Mozzarella Sticks: A Delightful Snack for Any Occasion
 Appetizers
Crunch-tastic Air-Fried Taco Shells: A Comprehensive Guide
Delicious Crunch-tastic Air-Fried Taco Shells: A Comprehensive Guide
 Appetizers
herbroasted root vegetable medley with caramelized onions for holidays
Wow guests with this herb-roasted root vegetable medley with caramelized onions—easy, festive, and perfect for holiday…
 Appetizers
Peachy Paradise Salsa: Flavors, Pairings, and Nutritional Benefits
Delicious Peachy Paradise Salsa: Flavors, Pairings, and Nutritional Benefits
 Appetizers
Spicy Hatch Chili Chicken Sliders with Cheesy Bliss
Delicious Spicy Hatch Chili Chicken Sliders with Cheesy Bliss
 Appetizers
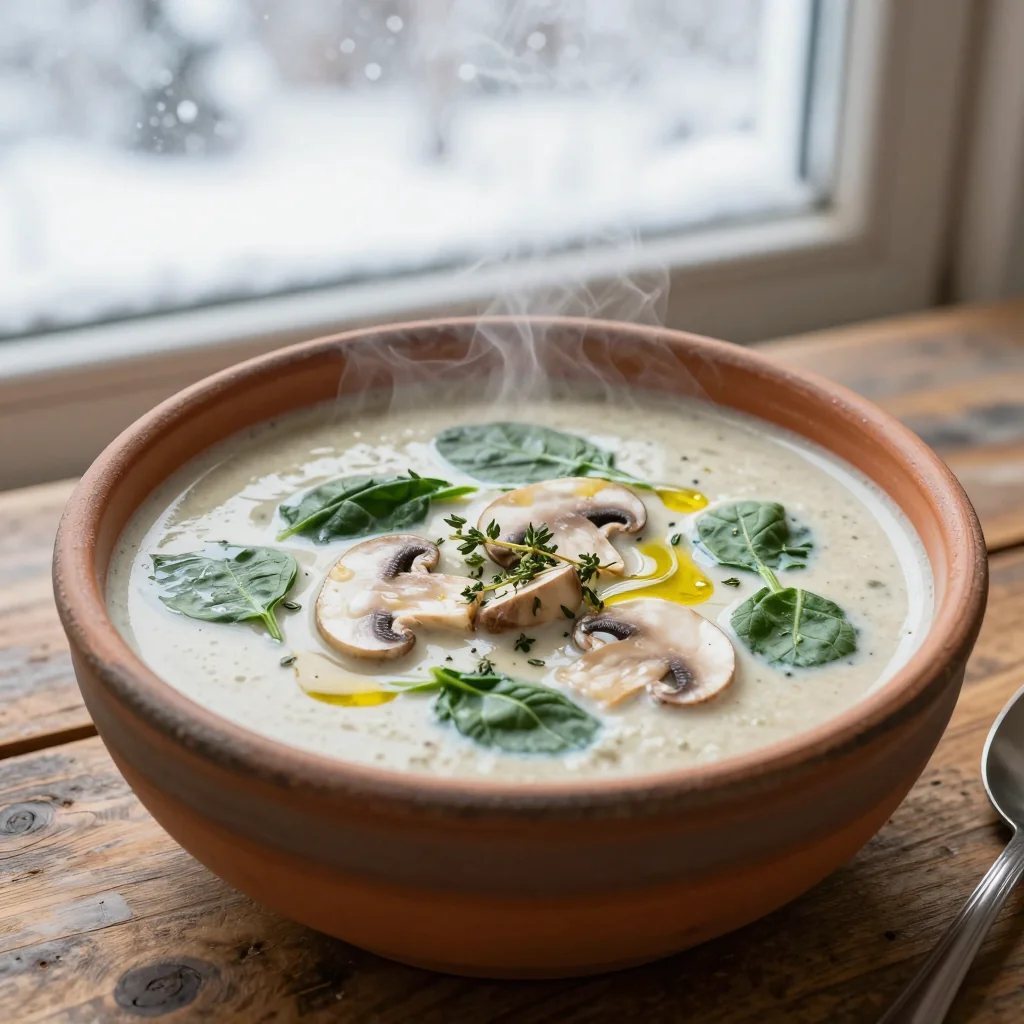
Cozy Mushroom and Spinach Soup for Snowy Days
Learn how to make delicious Cozy Mushroom and Spinach Soup for Snowy Days. Easy recipe with…
 Appetizers
Knuspriges Halloween Chex Mix Rezept in 45 Minuten
Learn how to make delicious Knuspriges Halloween Chex Mix Rezept in 45 Minuten. Easy recipe with…
 Appetizers
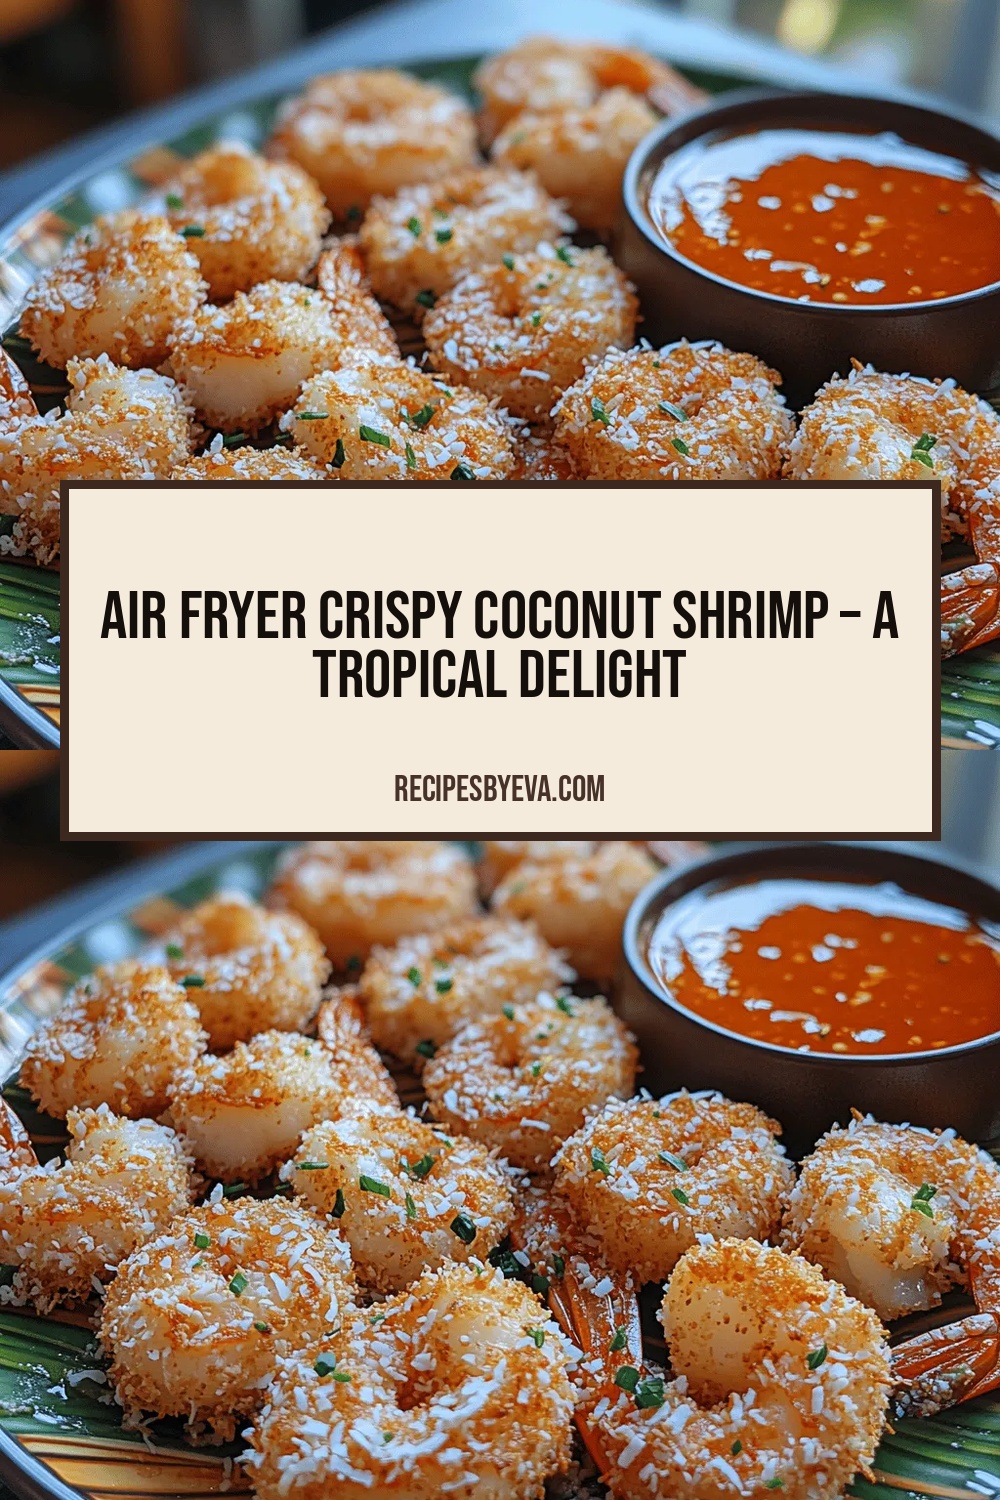
Air Fryer Crispy Coconut Shrimp – A Tropical Delight
Delicious Air Fryer Crispy Coconut Shrimp – A Tropical Delight

Eva
I cook these recipes at home before they ever land here — simple ingredients, clear steps.