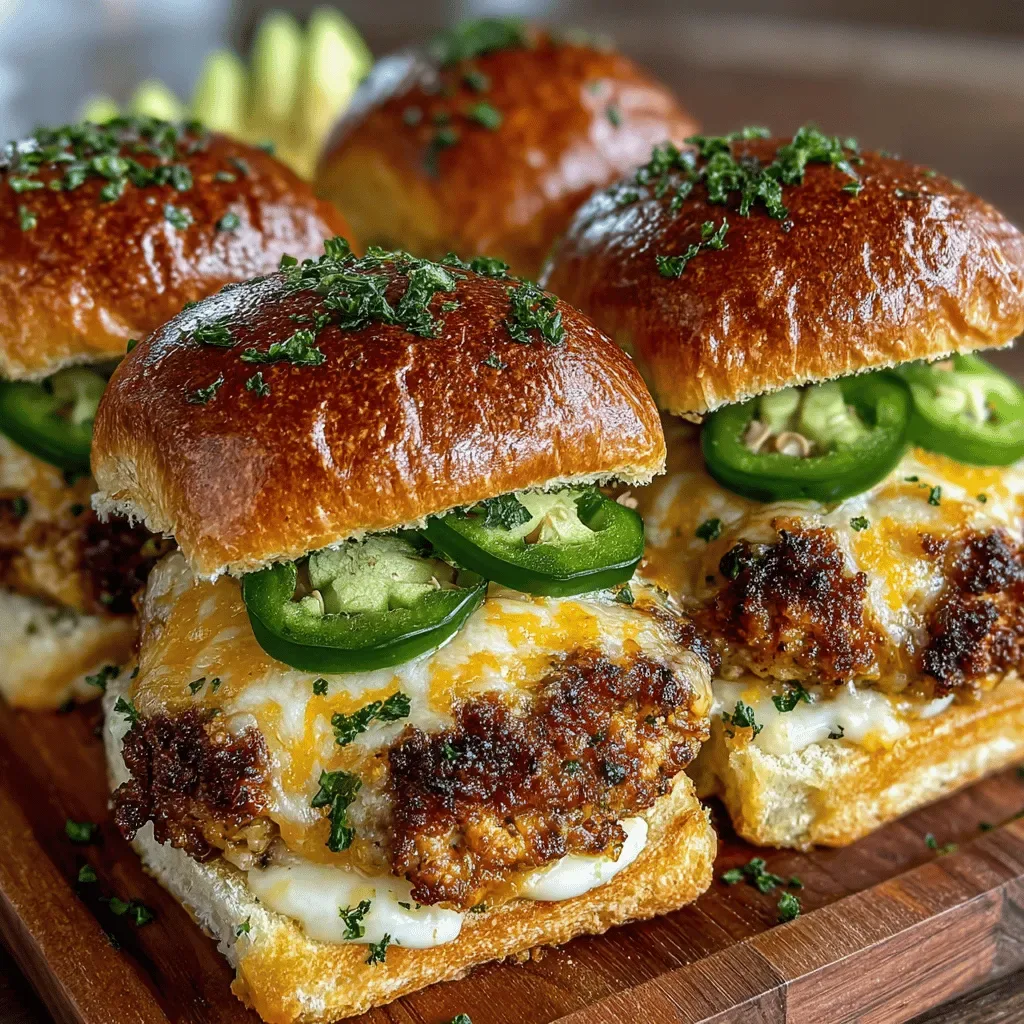
Spicy Hatch Chili Chicken Sliders with Cheesy Bliss
 Save
Save
Imagine a bite that delivers the smoky heat of New Mexico Hatch chilies, the juicy tenderness of perfectly seared chicken, and a melt‑in‑your‑mouth cheesy finish—all tucked into a soft, buttery slider bun. That’s exactly what the Spicy Hatch Chili Chicken Sliders with Cheesy Bliss deliver, making them the ultimate crowd‑pleaser for any dinner table.
What sets this recipe apart is the marriage of a bold Hatch‑chili‑infused glaze with a velvety cheddar‑cream cheese spread, creating layers of flavor that dance on the palate without overwhelming it.
These sliders are perfect for busy families, casual game‑night gatherings, or a relaxed weekend dinner where you want something fun yet sophisticated. Kids love the handheld format, while adults appreciate the nuanced spice and indulgent cheese.
The process is straightforward: marinate the chicken, sear it for a caramelized crust, finish it in the oven while the sauce thickens, then assemble each slider with a generous dollop of cheesy bliss and fresh toppings.
Why You'll Love This Recipe
Bold, Balanced Heat: Hatch chilies provide a bright, smoky heat that’s lively but never overpowering, letting the chicken’s natural flavor shine through.
Cheesy Comfort: The creamy cheddar‑cream cheese spread adds richness and a silky texture that perfectly offsets the spice.
Handheld Fun: Sliders are inherently shareable, encouraging conversation and making portion control effortless.
Quick Weeknight Solution: With a total time under an hour, you can serve a restaurant‑quality dish without spending the entire evening in the kitchen.
Tips & Tricks
Perfecting the Recipe
Room‑temperature chicken: Allow the breasts to sit out for 10‑15 minutes before searing. This prevents a cold center and yields an even cook.
Pat dry before searing: Excess moisture creates steam, which inhibits browning. A dry surface ensures a crisp, caramelized crust.
Use a heavy skillet: Cast‑iron retains heat, giving you consistent searing and better fond development for the glaze.
Rest before slicing: Let the chicken rest 5 minutes; this locks in juices and prevents a dry slider.
Flavor Enhancements
Finish each slider with a squeeze of fresh lime juice for bright acidity, or stir a pinch of smoked sea salt into the cheese spread for an extra umami boost. If you crave more heat, drizzle a few drops of chipotle hot sauce over the top before serving.
Common Mistakes to Avoid
Skipping the resting period leads to a dry interior as juices spill out onto the plate. Also, avoid cooking on excessively high heat; the glaze can burn before the chicken reaches safe temperature, resulting in a bitter flavor.
Pro Tips
Invest in a meat thermometer: Checking for 165°F (74°C) guarantees safety without overcooking.
Make the cheese spread ahead: Store it in the fridge for up to 24 hours; the flavors meld and it’s ready to spread.
Toast buns lightly: A quick toast adds crunch and prevents sogginess from the glaze.
Use fresh Hatch chilies when in season: Fresh chilies deliver brighter flavor and more complex heat than dried powder.
Variations
Ingredient Swaps
Swap chicken for pork tenderloin, turkey cutlets, or firm tofu for a vegetarian take. Replace the brioche buns with gluten‑free rolls or lettuce wraps for a low‑carb option. If Hatch chilies are unavailable, try Anaheim or poblano peppers for a milder heat, or add a dash of cayenne for extra fire.
Dietary Adjustments
For a dairy‑free version, substitute the cream cheese with a plant‑based cream cheese and use dairy‑free cheddar. Use tamari instead of soy sauce for a gluten‑free recipe. To keep it keto, replace honey with a low‑carb sweetener like erythritol and serve on lettuce cups rather than buns.
Serving Suggestions
Pair the sliders with a simple cilantro‑lime slaw, charred corn on the cob, or a side of quinoa pilaf. A chilled avocado‑lime crema makes a cool dipping sauce, while a crisp pickle adds a tangy contrast to the heat.
Storage Info
Leftover Storage
Allow any leftovers to cool to room temperature, then transfer the chicken pieces and sauce to an airtight container. Store in the refrigerator for up to 3 days. For longer keeping, portion the chicken and sauce into freezer‑safe bags, lay flat, and freeze for up to 3 months. Keep buns separate to maintain texture.
Reheating Instructions
Reheat chicken in a 350°F (175°C) oven, covered with foil, for 12‑15 minutes until warmed through. Stir the sauce gently on the stovetop over low heat, adding a splash of broth if needed. Assemble fresh sliders with reheated chicken and a quick spoonful of the cheese spread for best results.
Frequently Asked Questions
Can I make this recipe ahead of time?
What if I can’t find fresh Hatch chilies?
Can I freeze the assembled sliders?
How spicy is this dish really?
This Spicy Hatch Chili Chicken Slider recipe delivers bold flavor, comforting cheese, and a fun handheld format without demanding hours in the kitchen. By following the step‑by‑step guide, using the tips provided, and customizing with the suggested variations, you’ll create a memorable dinner that satisfies both spice lovers and cheese enthusiasts. Feel free to experiment with proteins, buns, or toppings—cooking is an adventure, and these sliders are the perfect canvas. Enjoy every juicy, cheesy bite!
Spicy Hatch Chili Chicken Sliders with Cheesy Bliss
Delicious Spicy Hatch Chili Chicken Sliders with Cheesy Bliss
Ingredients
Main Ingredients
- 8 small slider buns (brioche or potato)
- 4 boneless, skinless chicken breasts (about 1½ lb)
Hatch Chili Sauce
- 2 tablespoons Hatch green chilies, finely chopped (or 1 tsp dried Hatch powder)
- ¼ cup honey
- 2 tablespoons soy sauce (or tamari for gluten‑free)
- 1 tablespoon apple cider vinegar
Cheesy Bliss Spread
- 4 ounces cream cheese, softened
- ½ cup sharp cheddar, grated
- 1 teaspoon smoked paprika
Seasonings & Garnish
- 1 teaspoon kosher salt
- ½ teaspoon freshly ground black pepper
- 2 tablespoons olive oil
- Fresh cilantro leaves, for garnish
Instructions
Searing the Chicken
- Heat the skillet. Place a large cast‑iron or stainless skillet over medium‑high heat for 3 minutes. Add olive oil and swirl until it shimmers but does not smoke. The hot oil creates a searing surface that locks in juices.
- Sear each side. Lay the marinated chicken in the pan, leaving space between pieces. Cook undisturbed for 4 minutes until a deep golden crust forms. Flip and sear the opposite side for another 4 minutes. This step builds flavor through the Maillard reaction.
- Deglaze. Reduce heat to medium and pour any remaining marinade into the pan. Stir, scraping up browned bits (fond) with a wooden spoon. The fond dissolves into a quick glaze that coats the chicken.
Similar Recipes
 Appetizers
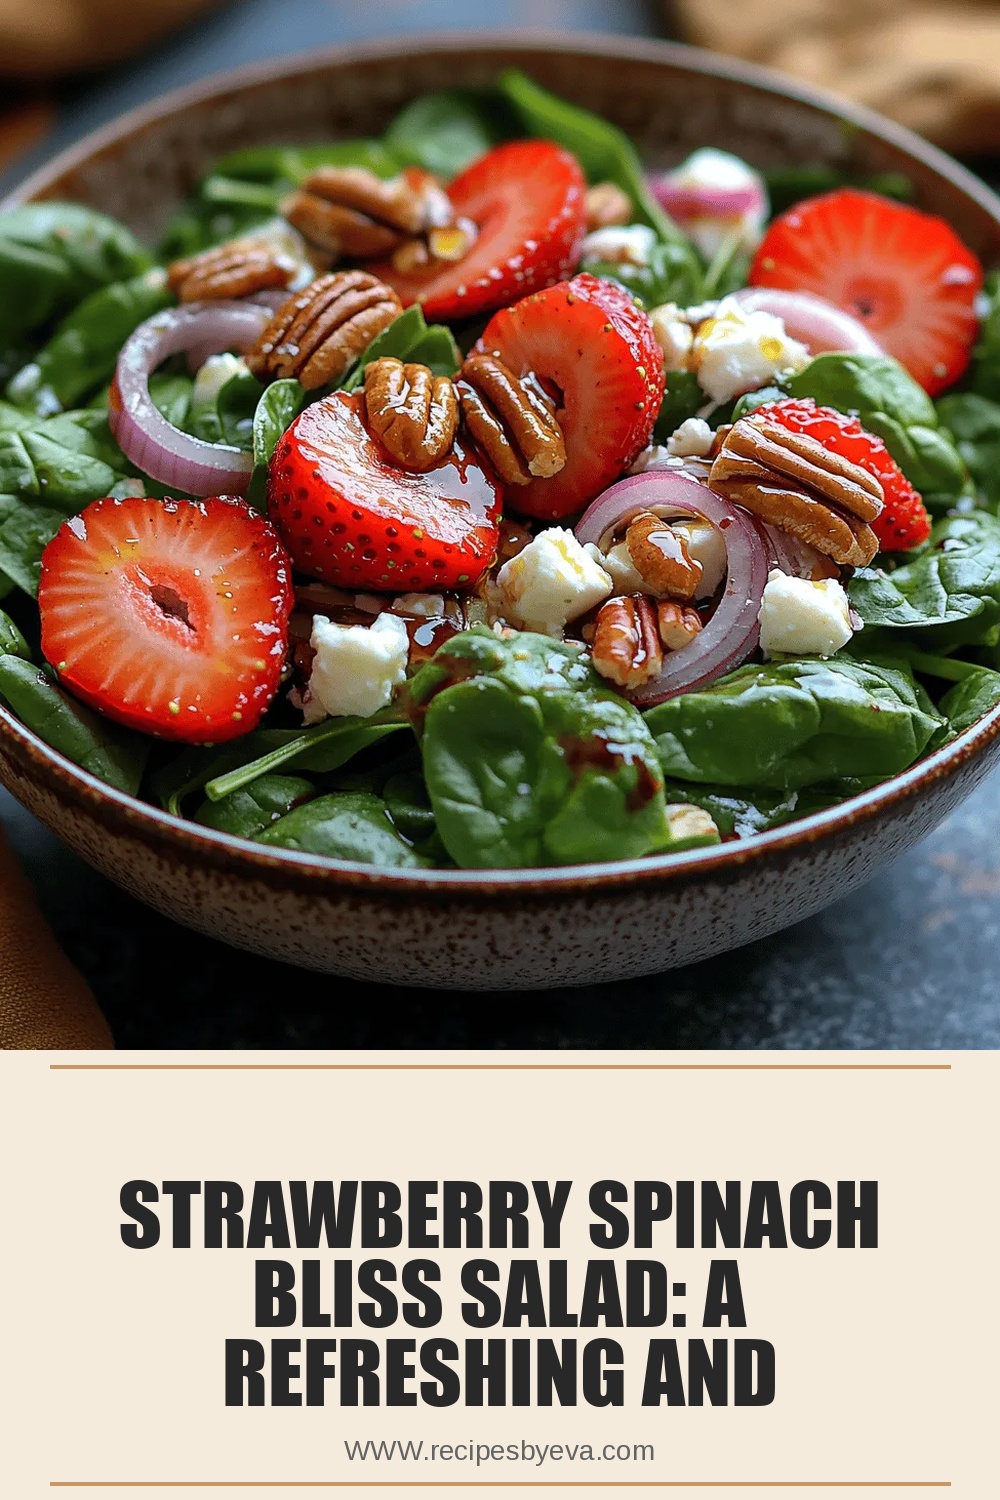
Strawberry Spinach Bliss Salad: A Refreshing and Nutritious Delight
Delicious Strawberry Spinach Bliss Salad: A Refreshing and Nutritious Delight
 Appetizers
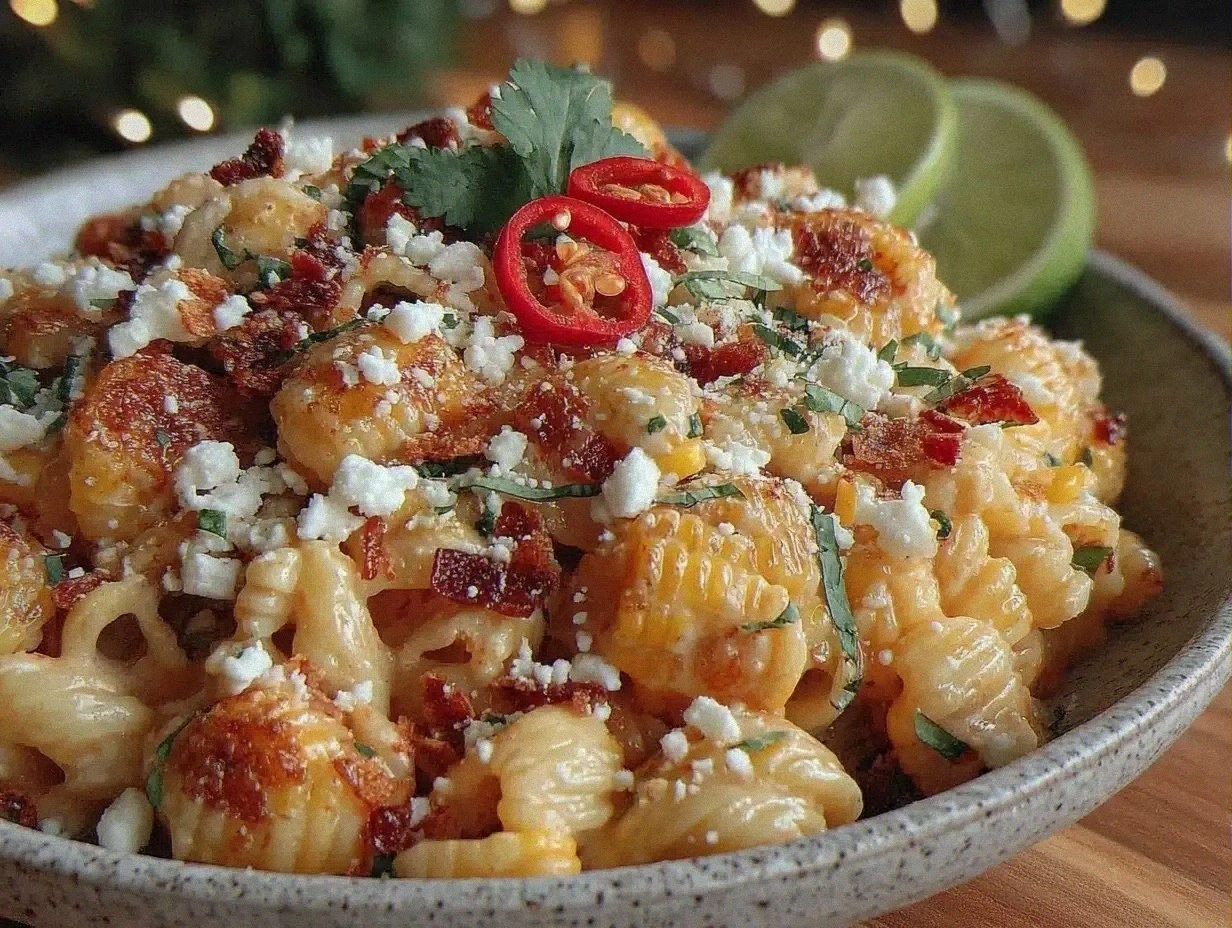
Flavorful Mexican Street Corn Pasta Salad Recipe Easy and Perfect for Summer
Learn how to make delicious Flavorful Mexican Street Corn Pasta Salad Recipe Easy and Perfect for…
 Appetizers
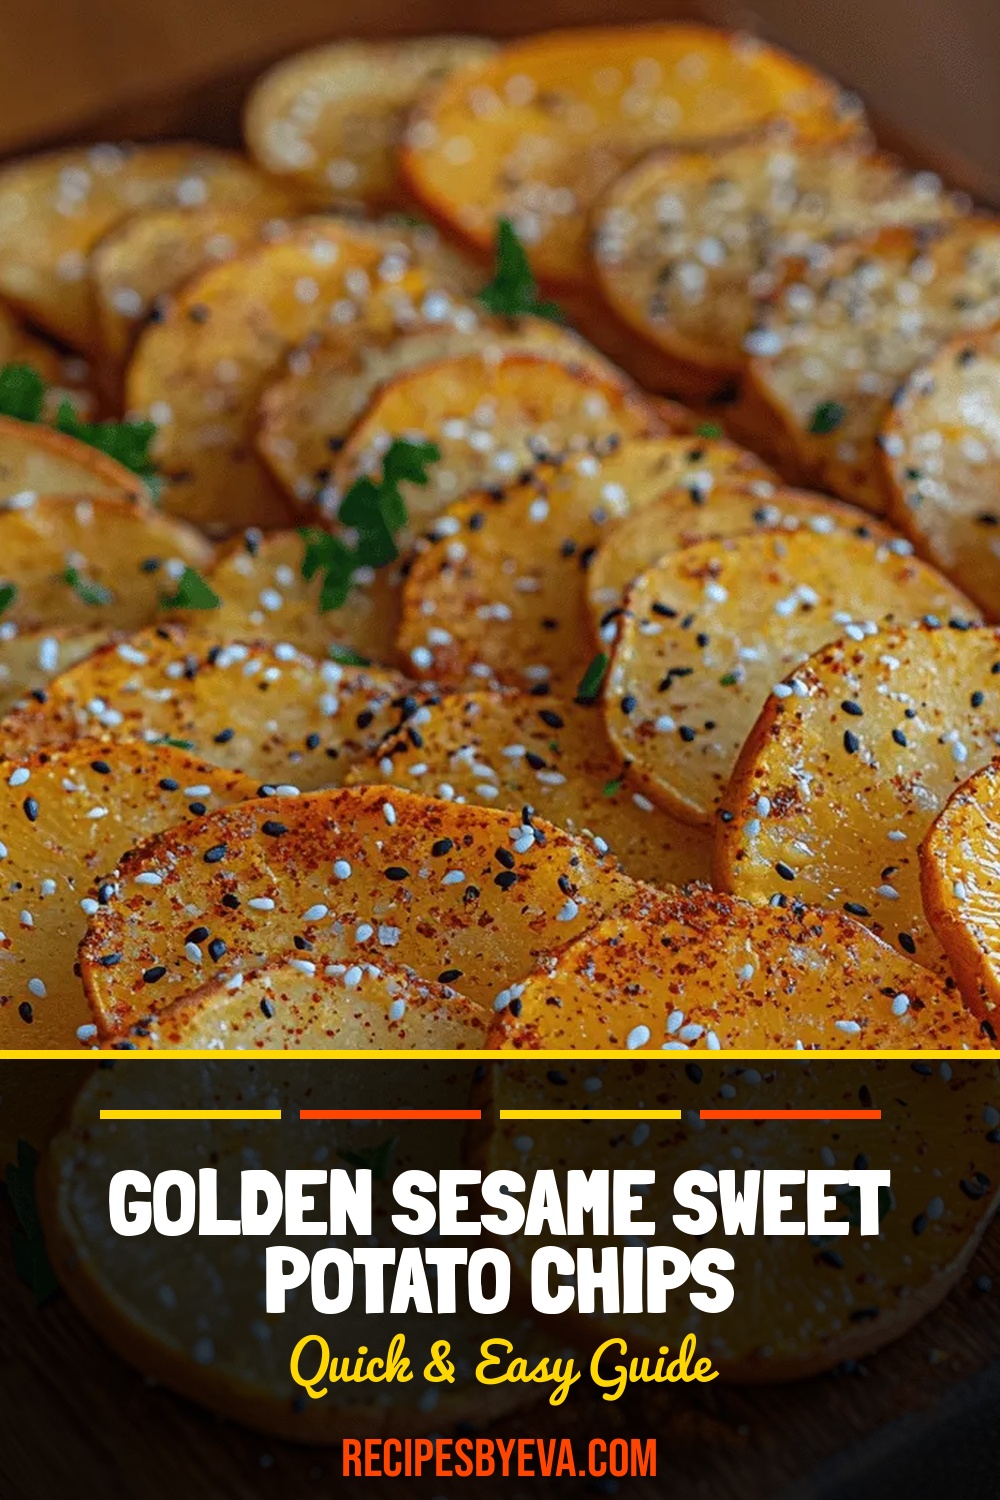
Golden Sesame Sweet Potato Chips
Delicious Golden Sesame Sweet Potato Chips
 Appetizers
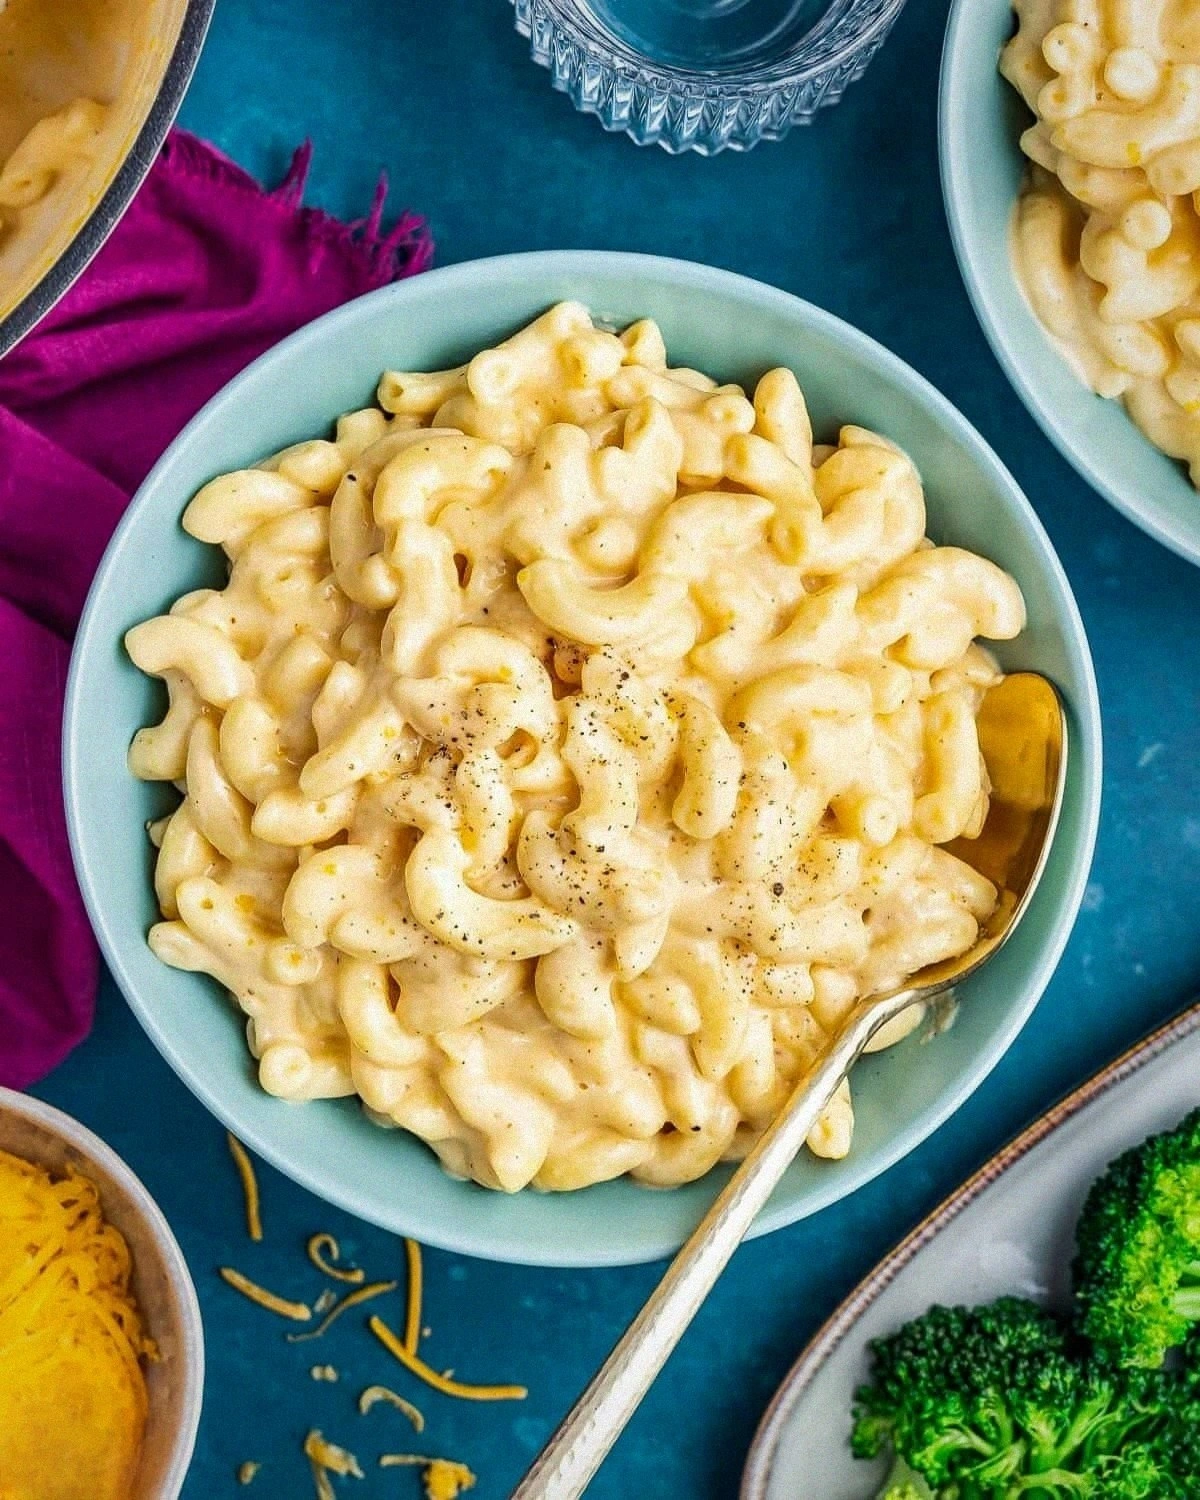
The Ultimate Guide to Making Perfect Stovetop Mac and Cheese
Learn how to make delicious The Ultimate Guide to Making Perfect Stovetop Mac and Cheese. Easy…
 Appetizers
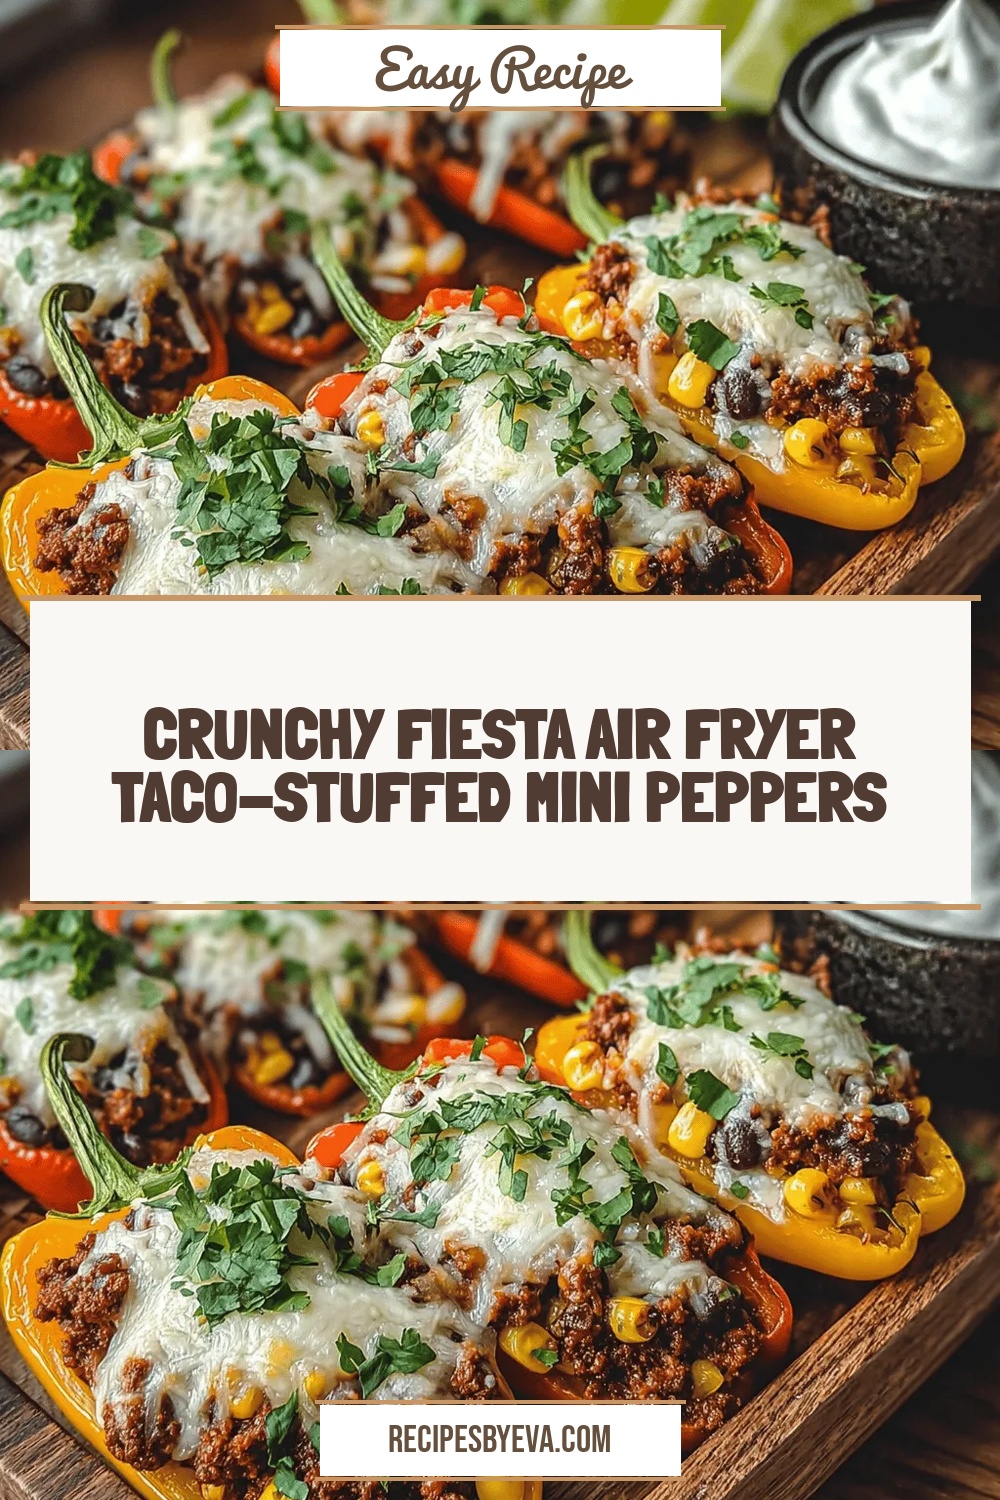
Crunchy Fiesta Air Fryer Taco-Stuffed Mini Peppers
Delicious Crunchy Fiesta Air Fryer Taco-Stuffed Mini Peppers
 Appetizers
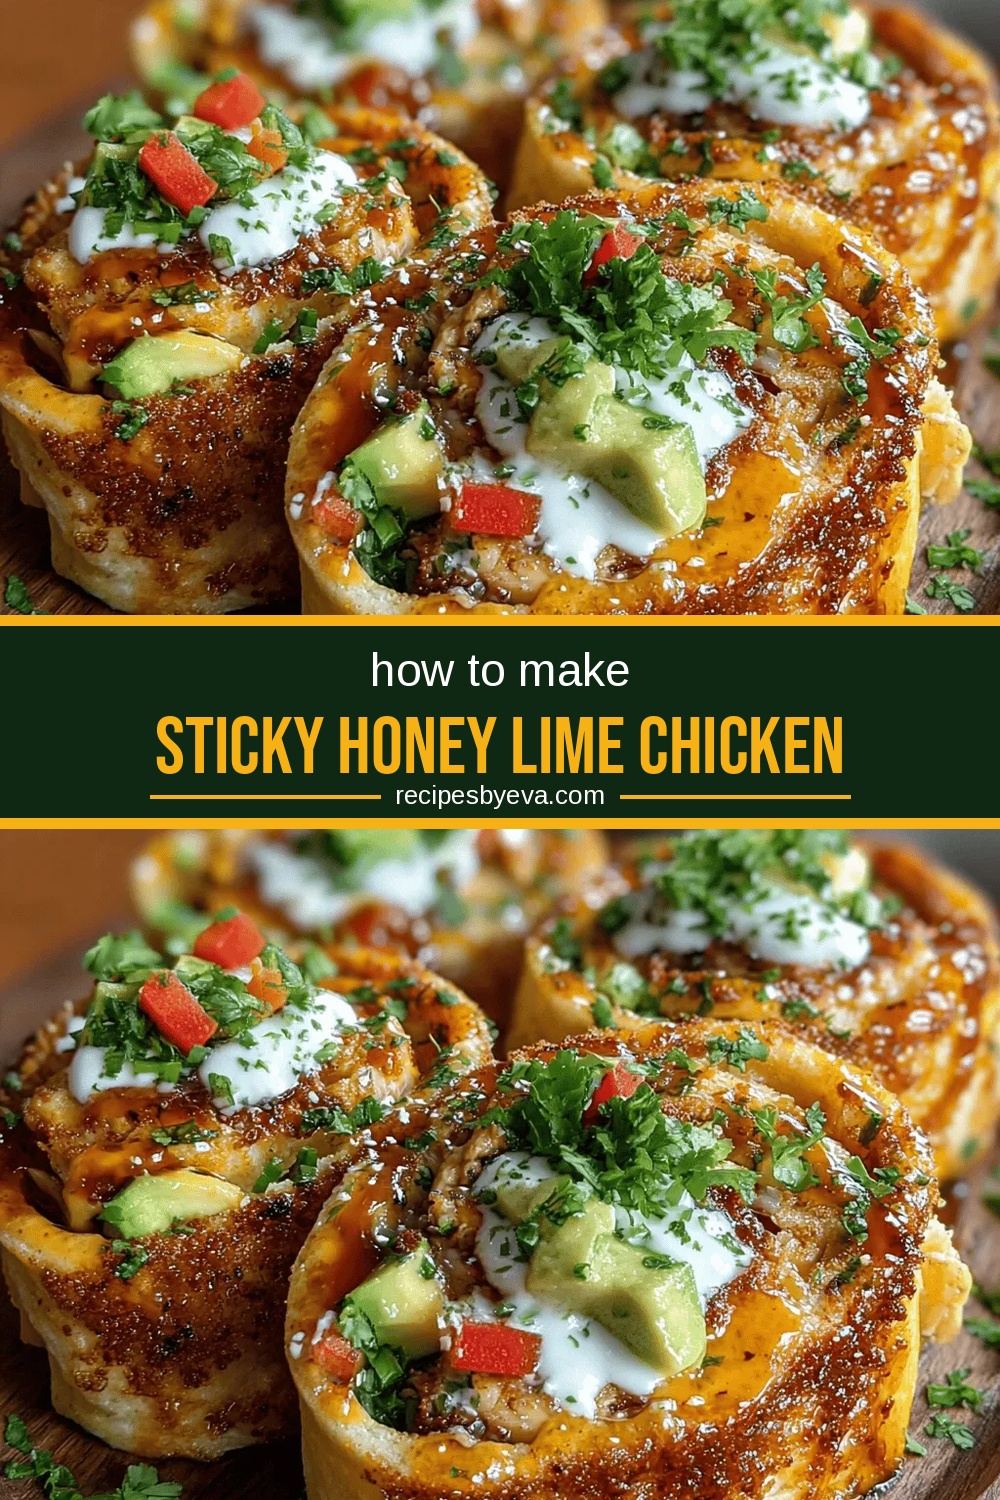
Sticky Honey Lime Chicken Pinwheels: The Perfect Appetizer
Delicious Sticky Honey Lime Chicken Pinwheels: The Perfect Appetizer
 Appetizers
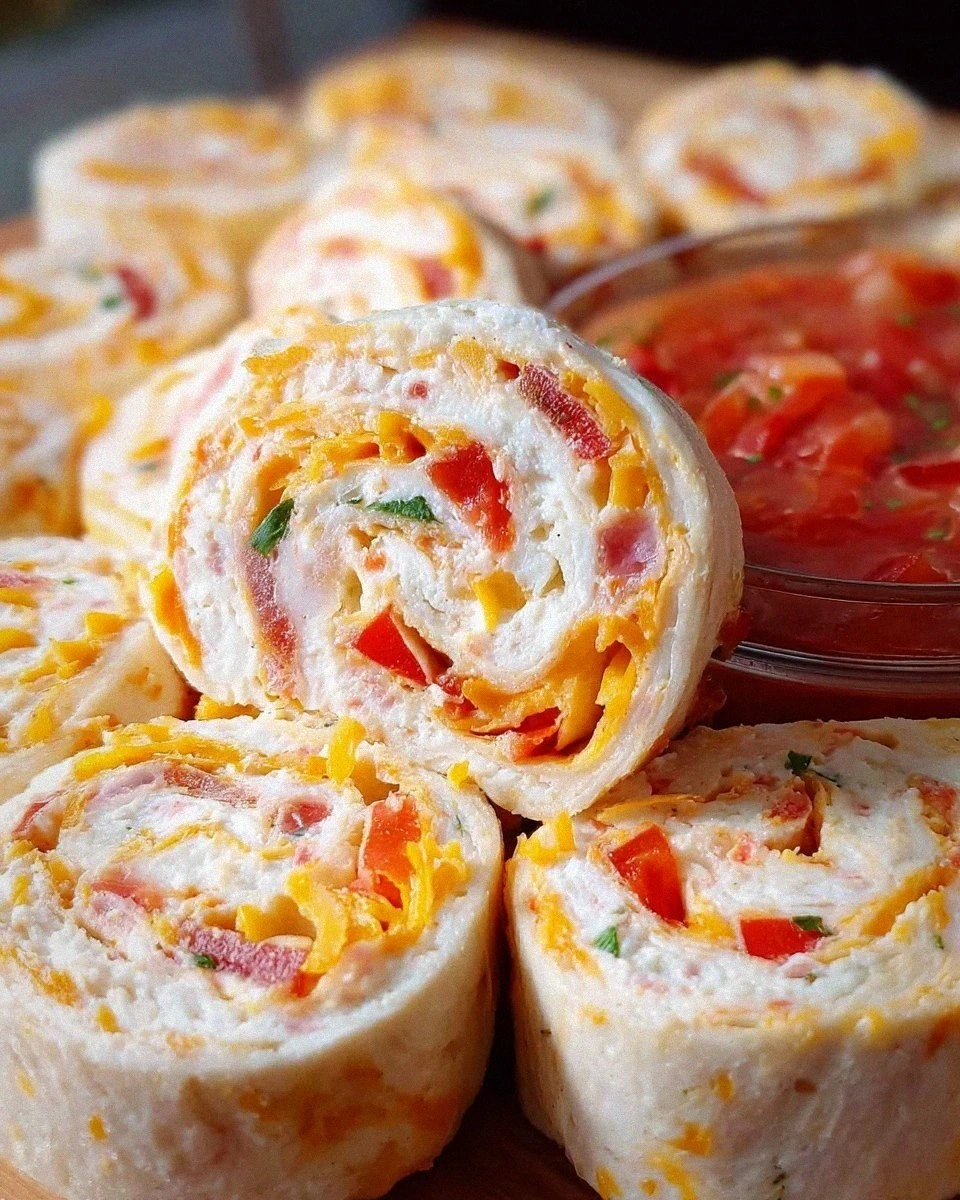
Easy Fiesta Roll Ups (Mexican Pinwheels)
Learn how to make delicious Easy Fiesta Roll Ups (Mexican Pinwheels). Easy recipe with step-by-step instructions.
 Appetizers
Crispy Oven Fried Feta Rolls with Sweet Chili Honey
Delicious Crispy Oven Fried Feta Rolls with Sweet Chili Honey

Eva
I cook these recipes at home before they ever land here — simple ingredients, clear steps.