Introduction
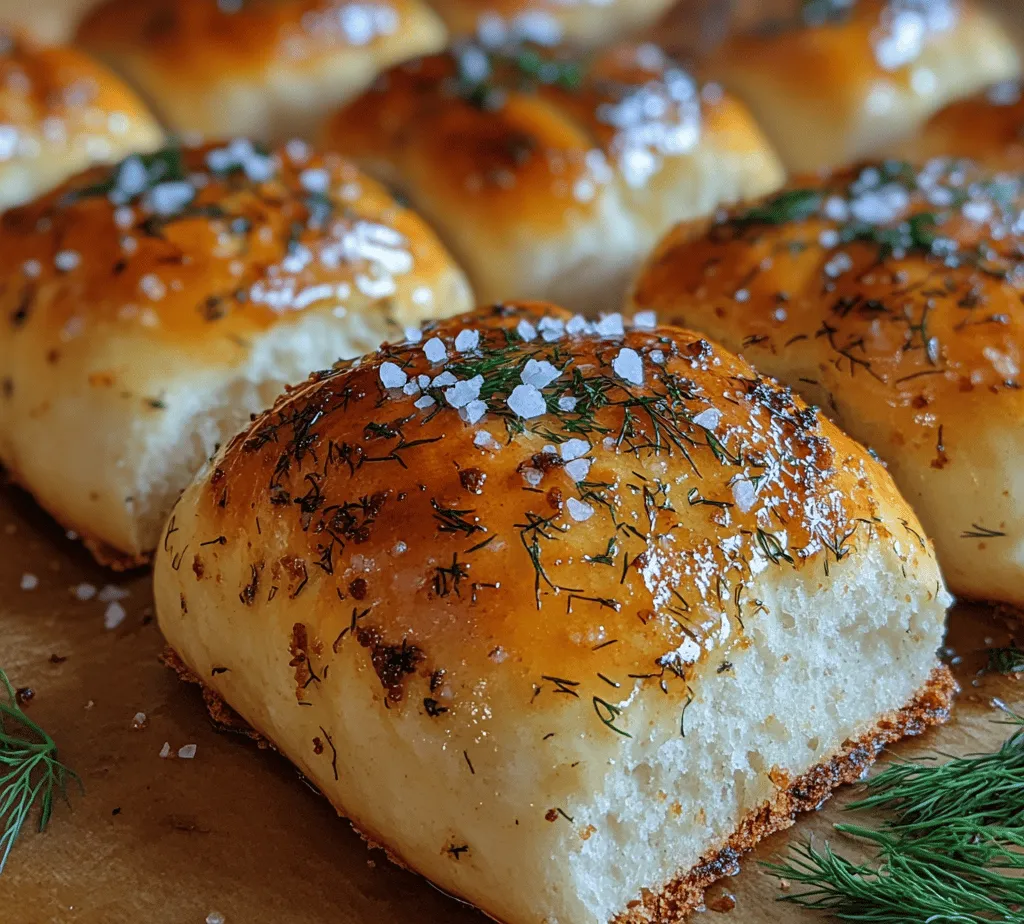
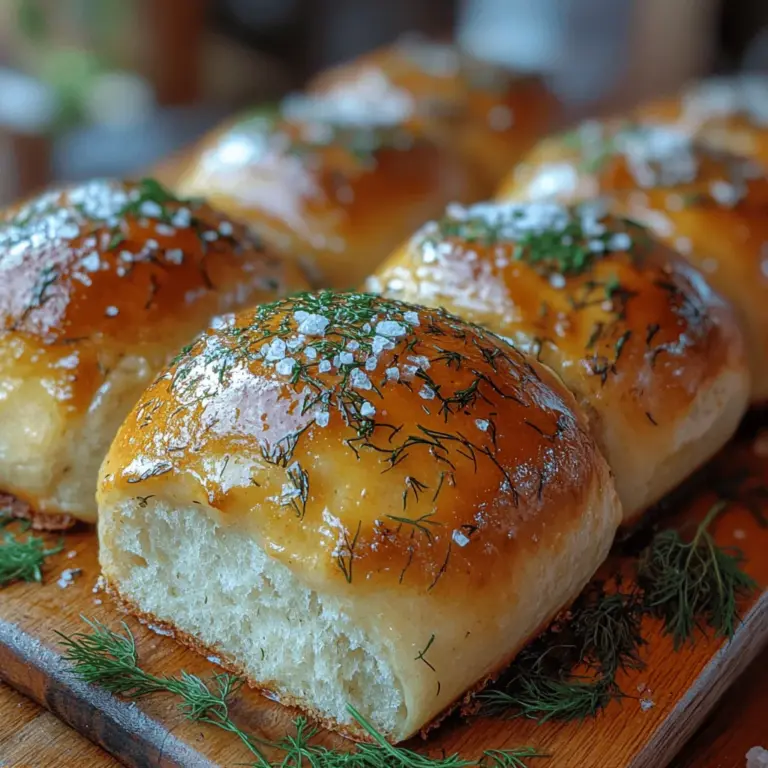
The aroma of freshly baked bread wafting through your home is a universally cherished experience, evoking feelings of warmth and comfort. Homemade bread and rolls have surged in popularity, especially during times when people seek solace and creativity in the kitchen. Among the myriad of recipes that have captured the hearts of home bakers, Squishy Garlic Dill Rolls stand out for their delightful combination of flavors that dance on the palate. The harmonious blend of garlic and fresh dill not only provides a unique taste but also elevates the humble roll into a gourmet experience.
The secret to achieving exceptional garlic dill rolls lies in the quality of your ingredients. Fresh, high-quality components not only enhance the flavor but also contribute significantly to the texture of the rolls. Using fresh dill instead of dried, for instance, can transform a simple recipe into something extraordinary. As we embark on this culinary journey, you will discover how each ingredient plays a vital role in creating these delectable squishy rolls.
Understanding the Ingredients
Before we delve into the step-by-step guide for making Squishy Garlic Dill Rolls, it’s essential to understand the key ingredients that contribute to their incredible flavor and texture. Each component serves a specific purpose, ensuring that the rolls are both soft and flavorful.
All-Purpose Flour
At the heart of any bread recipe is flour, and all-purpose flour is a versatile choice that works well for these rolls. It has a moderate protein content, which is crucial for gluten development. Gluten is the protein that gives bread its structure and chewiness. When mixed with water and kneaded, the flour forms gluten strands that trap air bubbles produced during fermentation, allowing the dough to rise beautifully. For the best results, sift the flour to ensure it’s light and aerated before using it in your dough.
Active Dry Yeast
Yeast is a living organism that plays a critical role in the fermentation process. Active dry yeast is the most commonly used type in home baking. When activated with warm liquids, it begins to feed on the sugars present in the dough, producing carbon dioxide gas. This gas forms bubbles that cause the dough to rise, creating the light and airy texture we associate with freshly baked rolls. Understanding how to properly activate the yeast is vital for achieving the perfect rise.
Warm Milk
Warm milk is another essential ingredient in this recipe. It serves multiple purposes: it helps activate the yeast, adds moisture to the dough, and contributes to a tender texture. The warmth of the milk encourages yeast activity, ensuring a good rise. However, it’s crucial to use milk that is warm, but not hot, as excessive heat can kill the yeast, preventing your rolls from rising.
Granulated Sugar
Sugar is more than just a sweetener in this recipe; it serves to balance flavors and enhance the browning of the rolls. When yeast consumes sugar, it produces carbon dioxide, aiding the fermentation process. Additionally, sugar contributes to the rolls’ golden crust, providing a beautiful visual appeal. Using just the right amount ensures that your rolls are flavorful without being overly sweet.
Unsalted Butter
Unsalted butter is a key ingredient that adds richness and flavor to the rolls. It contributes to the soft and tender texture that makes these rolls so delightful. The fat in butter helps to coat the flour particles, inhibiting gluten formation to some extent, which results in a softer crumb. Using unsalted butter allows you to control the salt content in the recipe, ensuring a balanced flavor profile.
Fresh Dill vs. Dried Dill
When it comes to herbs, the choice between fresh and dried can significantly impact the flavor of your rolls. Fresh dill offers a vibrant, bright flavor that is difficult to replicate with dried dill. While dried dill can still add a pleasant taste, it tends to be more concentrated, and therefore, you should use it sparingly. In this recipe, fresh dill is highly recommended for that burst of freshness that complements the garlic beautifully.
Minced Garlic
Garlic is the star ingredient in these rolls, providing a savory depth of flavor. Freshly minced garlic infuses the dough with a robust taste, making each bite a delightful experience. The pungency of raw garlic mellows during the baking process, resulting in a fragrant and flavorful roll. Feel free to adjust the amount of garlic based on your preference—more for a bolder flavor, or less for a subtler hint.
Optional Ingredients
While the core ingredients of this recipe create a delicious roll, consider adding optional ingredients to customize your rolls further. You can mix in other herbs like parsley or chives, or even incorporate spices like onion powder or black pepper for additional flavor. Experimenting with different combinations can yield exciting variations of this beloved recipe.
Step-by-Step Guide to Making Squishy Garlic Dill Rolls
Now that we’ve covered the essential ingredients, let’s dive into the step-by-step process of making these Squishy Garlic Dill Rolls. The following steps will guide you through each stage of the bread-making process, ensuring success from start to finish.
Activating the Yeast
The first step in making garlic dill rolls involves activating the yeast. Start by measuring out your active dry yeast and combining it with warm milk and a sprinkle of granulated sugar in a small bowl. Allow this mixture to sit for about 5-10 minutes until it becomes frothy and bubbly. This frothiness indicates that the yeast is alive and ready to work its magic in the dough. If your mixture doesn’t froth, it may mean the milk was too hot or cold, or the yeast is no longer viable—be sure to start over with fresh ingredients.
Mixing the Dough
Once your yeast is activated, it’s time to mix your dough. In a large mixing bowl, combine the all-purpose flour, remaining sugar, and salt. Whisk these dry ingredients together to ensure they are evenly distributed. Make a well in the center of the flour mixture and pour in the activated yeast mixture, followed by melted unsalted butter, minced garlic, and chopped fresh dill. Using a wooden spoon, gently mix the ingredients until a shaggy dough begins to form.
Kneading the Dough
Kneading is a crucial step in developing the gluten structure of your rolls. Transfer the dough onto a lightly floured surface and begin to knead by pushing the dough away from you with the palm of your hand, folding it over, and repeating the process. Knead the dough for about 8-10 minutes until it becomes smooth and elastic. A well-kneaded dough should spring back when pressed with your finger, indicating that the gluten has developed properly.
First Rise
Once your dough is kneaded to perfection, it’s time for the first rise. Place the dough in a lightly greased bowl, cover it with a damp cloth or plastic wrap, and set it in a warm, draft-free area. Allow the dough to rise until it has doubled in size, which typically takes about 1-2 hours, depending on the ambient temperature. This fermentation process not only helps the dough rise but also develops flavor.
Shaping the Rolls
After the dough has risen, it’s time to shape your rolls. Gently punch down the dough to release any air bubbles, then transfer it to a floured surface. Divide the dough into equal portions; for standard-sized rolls, aim for about 12 pieces. Shape each piece into a ball by tucking the edges under and rolling it on the surface to create a smooth top. Place the shaped rolls onto a greased baking sheet or in a baking dish, ensuring they are spaced evenly to allow for further rising.
With these steps, you are well on your way to creating a batch of delicious Squishy Garlic Dill Rolls. The next phase involves allowing the rolls to rise a second time, which will make them even fluffier and more delightful. Stay tuned for the continuation of this recipe, where we will explore the final steps, including baking and serving these irresistible rolls.