Nutty Delight Granola Bars: A Healthy Snack for Every Occasion
 Save
Save
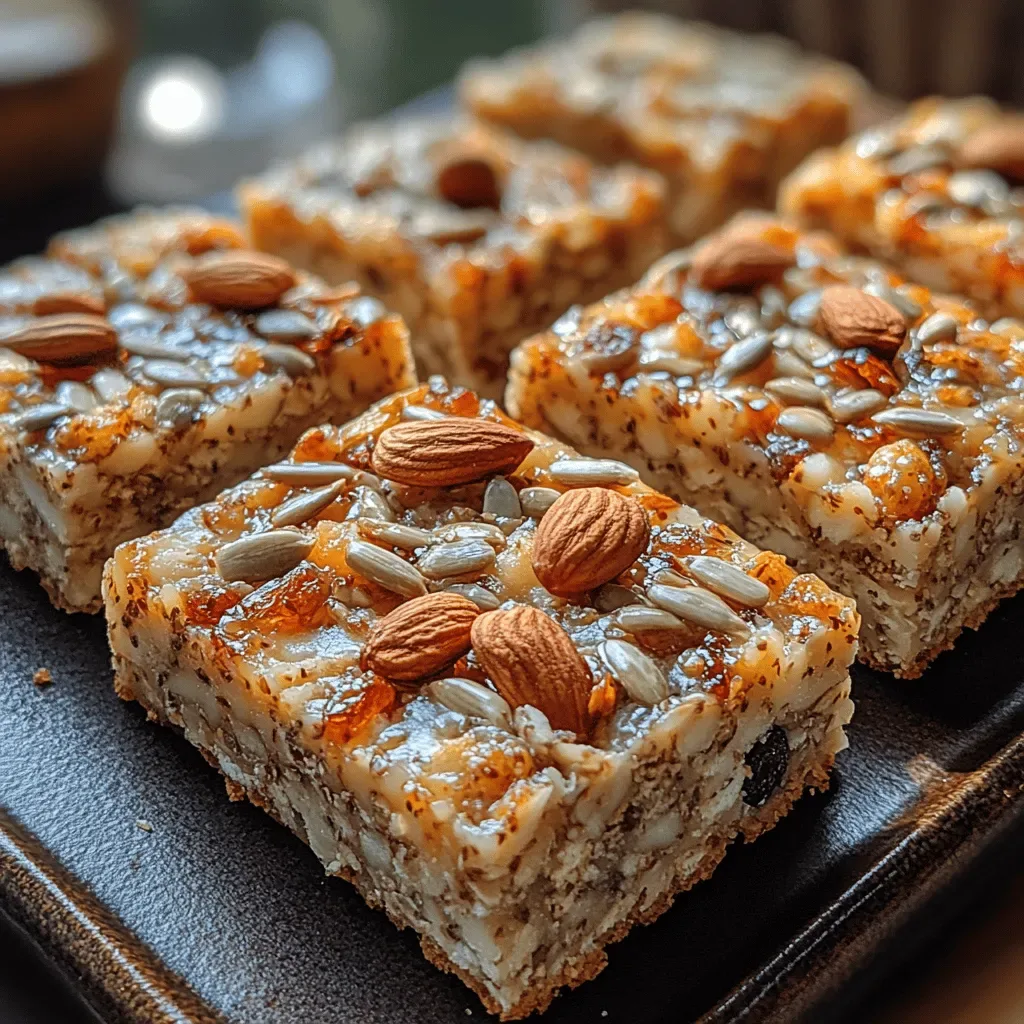
Imagine biting into a bar that’s crunchy, nut‑rich, and just sweet enough to satisfy your cravings without the guilt—that’s the magic of Nutty Delight Granola Bars. These bars are perfect for a quick breakfast, a post‑workout boost, or a wholesome snack during a busy day.
What makes them truly special is the harmonious blend of toasted almonds, crunchy walnuts, and a hint of toasted coconut, all bound together with a maple‑brown‑sugar glaze that stays soft in the middle while staying crisp on the edges.
Kids, athletes, and anyone who appreciates a clean‑label snack will love these bars. Serve them at brunch, pack them in lunchboxes, or bring them on a hike for sustained energy.
The process is straightforward: toast the nuts, mix the dry and wet components, press the mixture into a pan, and bake just long enough to set the bars without drying them out. The result is a portable, nutritious treat that’s ready in under half an hour.
Why You'll Love This Recipe
Nut‑Powered Energy: The combination of almonds, walnuts, and pumpkin seeds delivers protein, healthy fats, and magnesium, keeping you satisfied and energized for hours.
Minimal Added Sugar: A touch of maple syrup and brown sugar provides just enough sweetness while keeping the glycemic impact low compared to conventional granola bars.
Customizable Crunch: You can swap nuts, seeds, or dried fruit to match your taste or dietary needs, making each batch uniquely yours.
Easy, No‑Fuss Prep: With only a handful of steps and a single pan, these bars fit perfectly into a busy lifestyle without sacrificing flavor.
Tips & Tricks
Perfecting the Recipe
Even Toasting. Spread nuts and oats in a single layer; crowding causes uneven browning. A uniform golden color signals optimal flavor development.
Press Firmly. Use a damped spatula or the back of a measuring cup to compact the mixture. A tightly packed base prevents crumbling after cooling.
Cool Completely. Resist the urge to cut while warm; the bars need full cooling to set the syrup, ensuring clean slices.
Use Fresh Ingredients. Fresh nuts and dried fruit retain more natural oils and flavor, giving each bite a brighter taste.
Flavor Enhancements
Add a pinch of ground cinnamon or a dash of espresso powder to the wet mixture for warm undertones. For a tropical twist, fold in shredded coconut or dried pineapple. A sprinkle of flaky sea salt on top right before baking amplifies the sweet‑savory balance.
Common Mistakes to Avoid
Avoid over‑baking—the bars become brittle and lose chewiness. Also, don’t use too much syrup; excess liquid leads to soggy centers. Stick to the measured amounts for the perfect texture.
Pro Tips
Line with Parchment. This not only prevents sticking but also makes removal effortless, preserving the bar’s shape.
Store in Layers. Place a sheet of parchment between layers of bars in the container to keep them from sticking together.
Freeze for Longevity. After cooling, wrap individual bars in foil and freeze. Thaw at room temperature for a quick snack on demand.
Use a Food Processor. Pulse nuts briefly before mixing to create a finer texture that binds more easily with the syrup.
Variations
Ingredient Swaps
Replace walnuts with pecans for a buttery flavor, or swap pumpkin seeds for sunflower seeds for a milder crunch. Dried apricots, goji berries, or chopped dates can stand in for cranberries, each adding its own sweet‑tart nuance. For a chocolate twist, stir in mini dark‑chocolate chips after the mixture cools slightly.
Dietary Adjustments
To make the bars vegan, ensure the maple syrup is pure and replace coconut oil with melted vegan butter or extra‑virgin olive oil. For gluten‑free versions, confirm that your rolled oats are certified gluten‑free. A low‑sugar adaptation uses a blend of erythritol and a splash of agave instead of brown sugar.
Serving Suggestions
Pair the bars with a Greek‑yogurt dip flavored with honey and lemon for a protein‑rich snack. Crumble them over smoothie bowls for added texture, or serve alongside a cheese platter where the sweet‑savory contrast shines.
Storage Info
Leftover Storage
Allow the bars to reach room temperature, then place them in an airtight container. Store at room temperature for up to 5 days, or refrigerate for up to 2 weeks for extra firmness. For long‑term storage, wrap each bar in parchment and freeze in a zip‑top bag for up to 3 months.
Reheating Instructions
If you prefer a warm snack, microwave a single bar on medium power for 15‑20 seconds, or warm the whole slab in a 300°F oven for 5‑7 minutes. This revives the softness without drying out the edges, delivering a comforting, freshly‑baked feel.
Frequently Asked Questions
Can I make these bars ahead of time?
What if I don’t have maple syrup?
How do I keep the bars from getting too dry?
Can I add protein powder?
This Nutty Delight Granola Bar recipe delivers a perfect blend of crunch, sweetness, and wholesome nutrition with minimal effort. You’ve learned how to toast the nuts, bind them with a maple‑brown sugar glaze, and bake to a golden finish, plus tips for storage, variations, and troubleshooting. Feel free to experiment with different nuts, seeds, or dried fruits—making each batch truly your own. Grab a bar, enjoy the satisfying bite, and let the energy carry you through any occasion!
Nutty Delight Granola Bars: A Healthy Snack for Every Occasion
Delicious Nutty Delight Granola Bars: A Healthy Snack for Every Occasion
Ingredients
Dry Base
- 2 cups rolled oats
- ½ cup sliced almonds
- ½ cup chopped walnuts
- ¼ cup pumpkin seeds
Wet Binding
- ⅓ cup pure maple syrup
- ¼ cup packed brown sugar
- 2 tablespoons melted coconut oil
- 1 teaspoon pure vanilla extract
Add‑Ins & Sweeteners
- ⅓ cup dried cranberries, roughly chopped
- ¼ teaspoon sea salt
Instructions
Mixing Everything Together
- Combine dry and wet. Transfer the toasted oat‑nut mixture to a large mixing bowl. Pour the warm syrup over it, add the chopped dried cranberries and sea salt, then stir with a wooden spoon until every crumb is glossy and well‑coated. The warmth of the syrup lightly softens the oats, creating a cohesive batter.
- Press into pan. Line an 8×8‑inch square baking pan with parchment paper, leaving an overhang for easy removal. Transfer the mixture into the pan and, using a spatula or your hands (dampened with a little water), press firmly and evenly. A compact press prevents crumbling after cooling.
- Bake to set. Place the pan in the preheated oven and bake for 15‑18 minutes, or until the edges turn a light amber and a toothpick inserted near the center comes out clean. Baking solidifies the binding syrup, giving the bars their characteristic chew.
- Cool before cutting. Remove the pan from the oven and let it cool completely on a wire rack—about 30 minutes. Cooling allows the bars to firm up, making clean slices. Use the parchment overhang to lift the slab out of the pan.
- Slice and store. With a sharp serrated knife, cut the slab into 12 equal bars. Store them in an airtight container; they will stay fresh for up to a week at room temperature or longer refrigerated.
Similar Recipes
 Breakfast
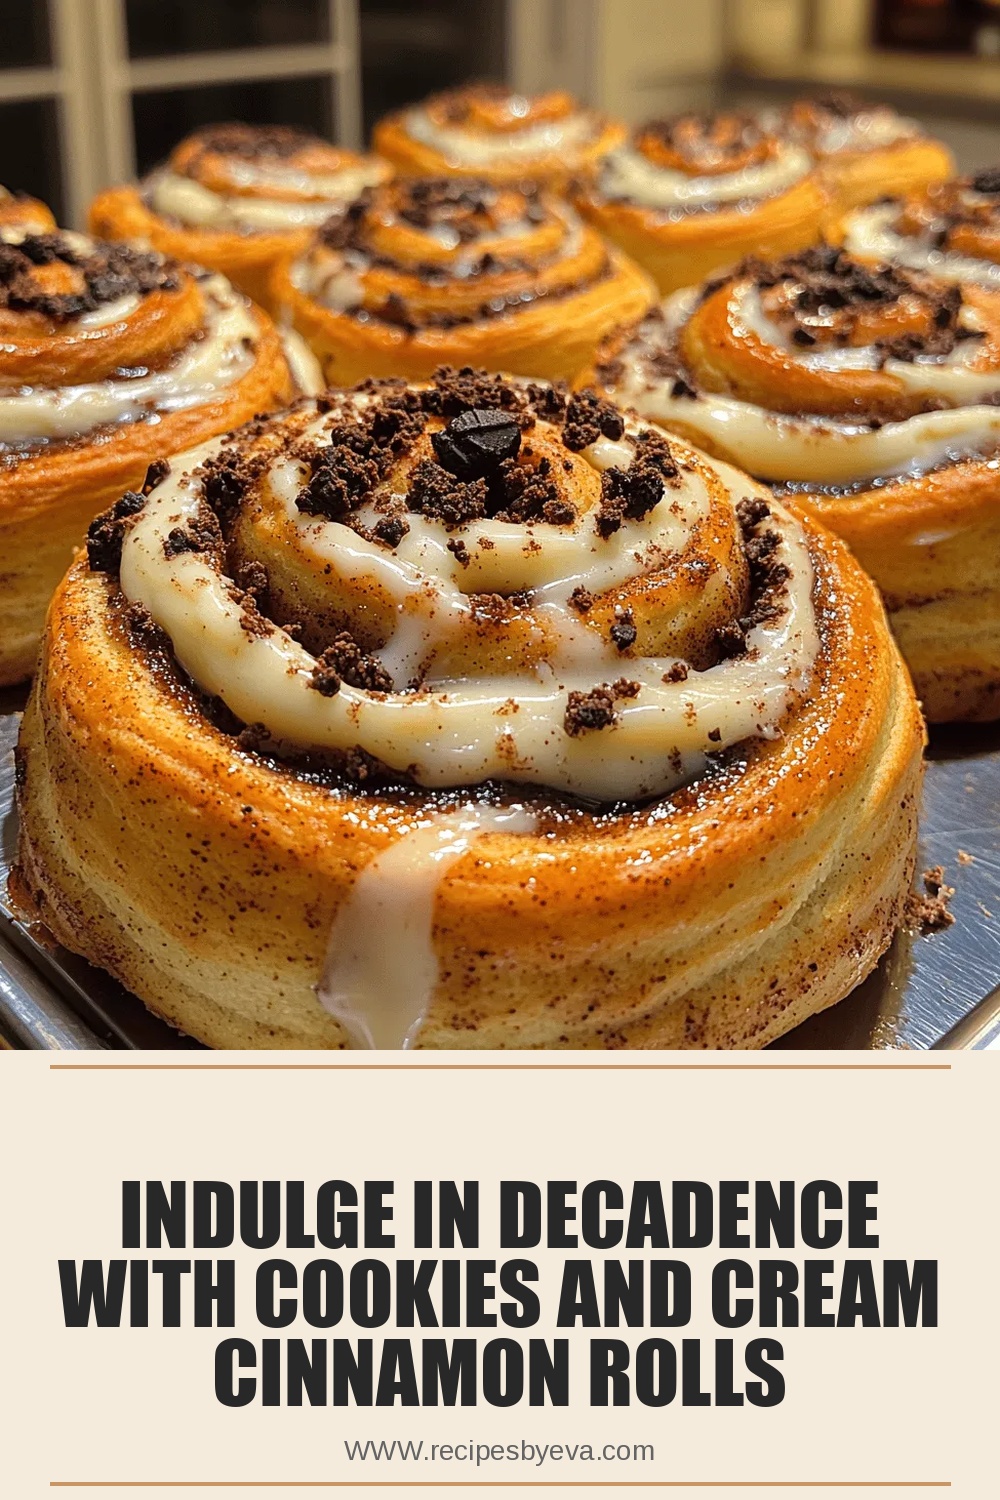
Indulge in Decadence with Cookies and Cream Cinnamon Rolls
Delicious Indulge in Decadence with Cookies and Cream Cinnamon Rolls
 Breakfast
Smoky Chipotle Black Bean Chili: A Flavorful Journey
Delicious Smoky Chipotle Black Bean Chili: A Flavorful Journey
 Breakfast
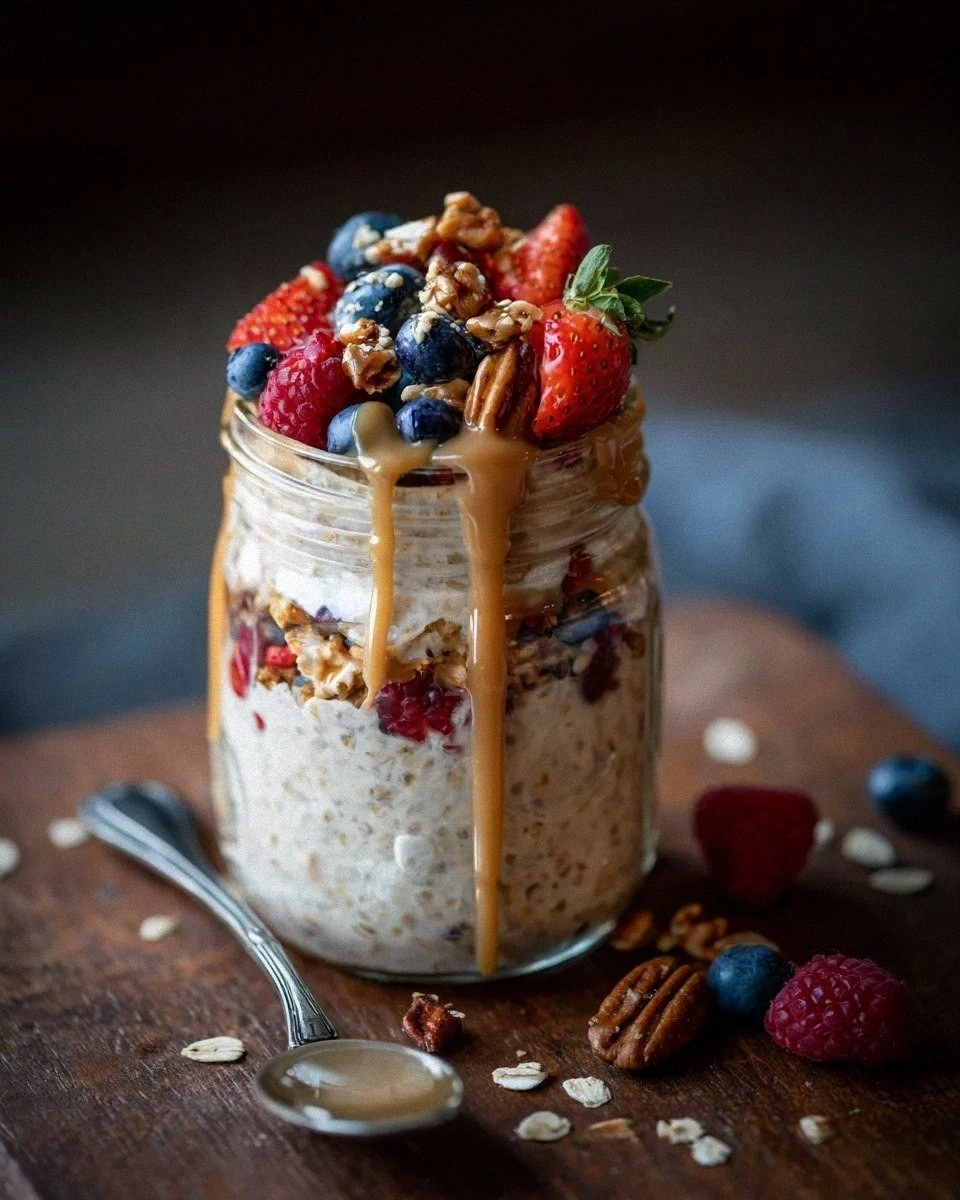
Mastering Overnight Oats: Science For The Perfect Breakfast Bowl
Learn how to make delicious Mastering Overnight Oats: Science For The Perfect Breakfast Bowl. Easy recipe…
 Breakfast
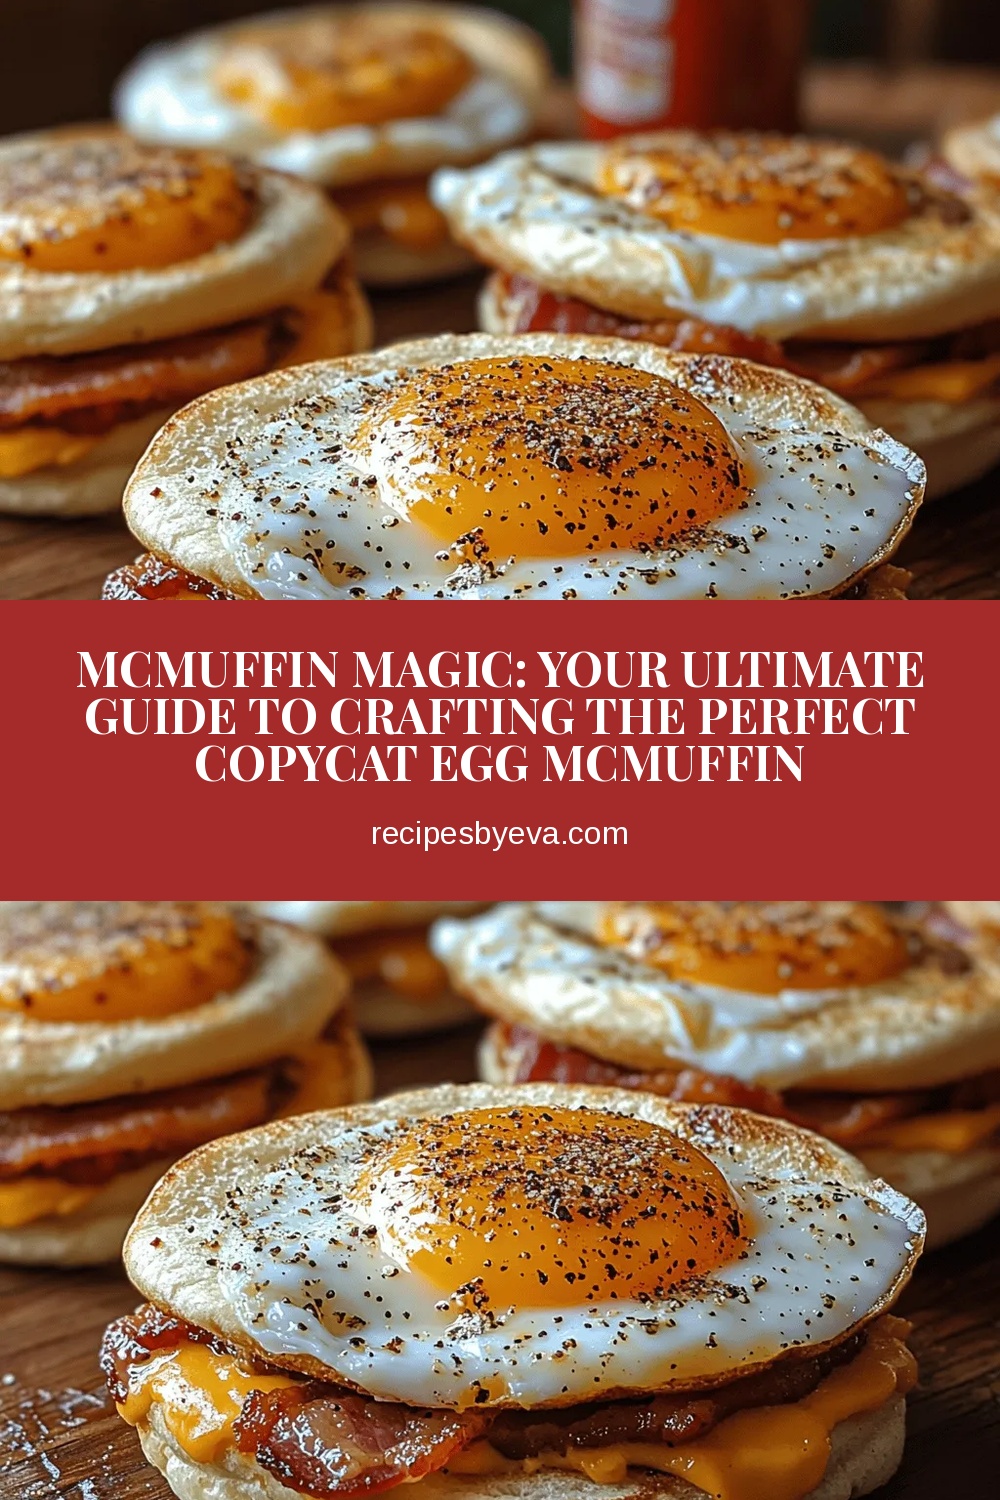
McMuffin Magic: Your Ultimate Guide to Crafting the Perfect Copycat Egg McMuffin
Delicious McMuffin Magic: Your Ultimate Guide to Crafting the Perfect Copycat Egg McMuffin
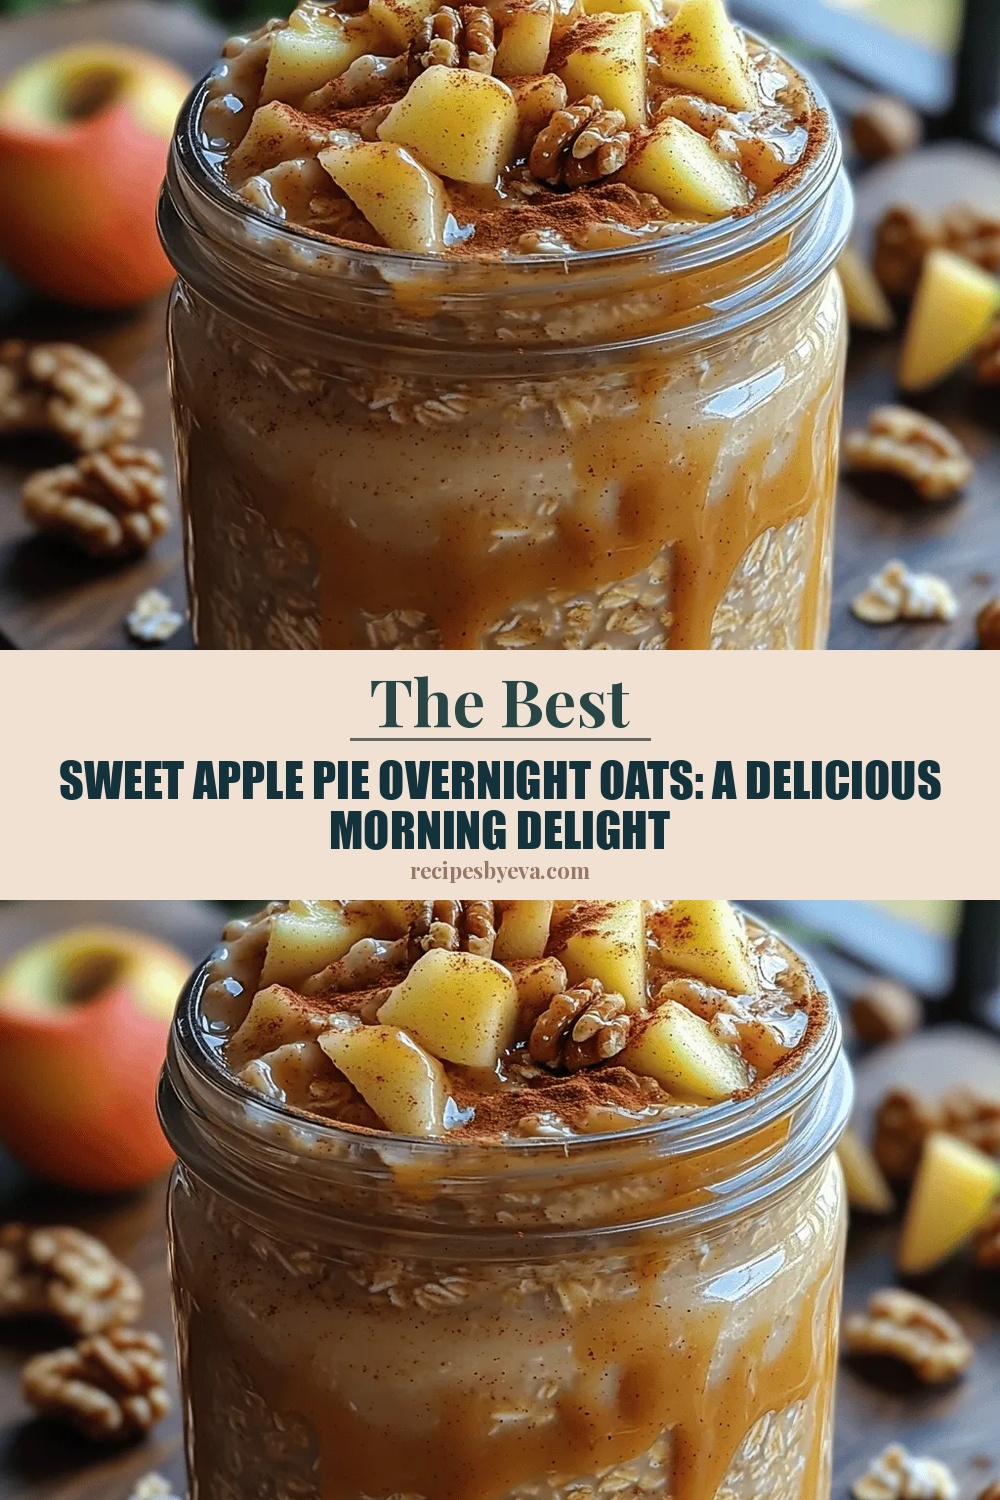 Breakfast
Sweet Apple Pie Overnight Oats: A Delicious Morning Delight
Delicious Sweet Apple Pie Overnight Oats: A Delicious Morning Delight
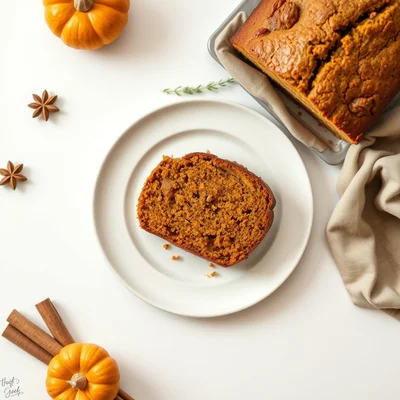 Breakfast
Pumpkin Cinnamon Spice Muffin Loaf
Discover how to bake a moist Pumpkin Cinnamon Spice Muffin Loaf perfect for fall. Simple ingredients,…
 Breakfast
Heavenly Delight Cinnamon Rolls Recipe
Delicious Heavenly Delight Cinnamon Rolls Recipe
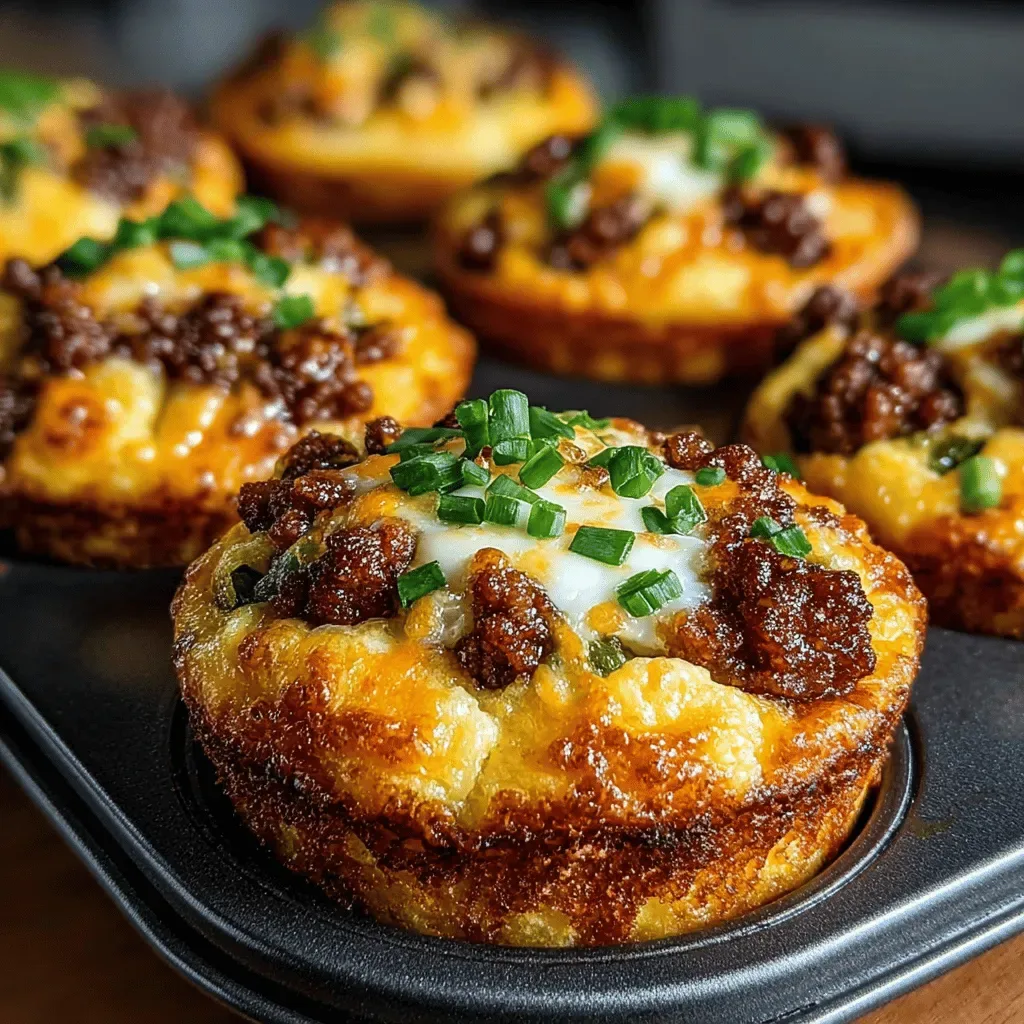 Breakfast
Cheesy Hatch Chili Egg Muffin Cups Recipe
Delicious Cheesy Hatch Chili Egg Muffin Cups Recipe

Eva
I cook these recipes at home before they ever land here — simple ingredients, clear steps.