Indulge in Decadence: Peanut Butter Cheesecake Bliss Balls Recipe
 Save
Save
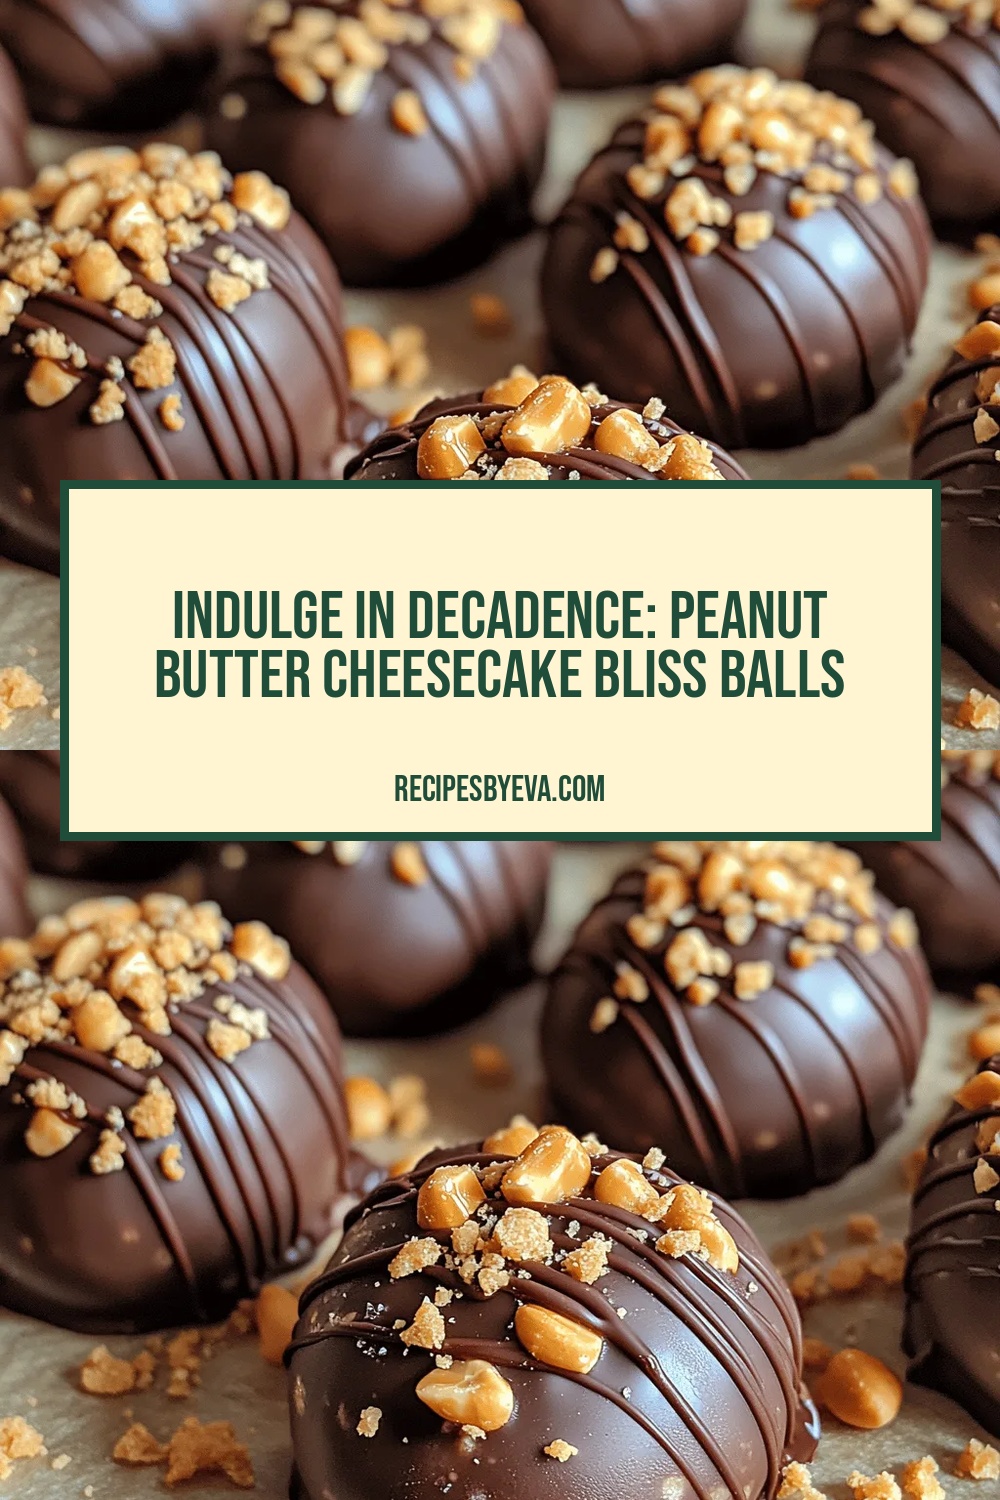
Imagine a bite‑size indulgence that marries the creamy tang of cheesecake with the nutty richness of peanut butter—all without the need for an oven. These Peanut Butter Cheesecake Bliss Balls deliver that dreamy decadence in a handheld form that’s perfect for any sweet craving.
What sets this treat apart is the silky blend of full‑fat cream cheese and natural peanut butter, balanced by a whisper of powdered sugar and a dash of vanilla. The result is a luxuriously smooth center that melts on the tongue, while a light coating of chocolate and crushed peanuts adds texture and visual appeal.
Chocolate lovers, cheesecake fans, and anyone who enjoys a little gourmet twist on classic desserts will adore these balls. Serve them at birthday parties, after‑dinner gatherings, or as a special midnight snack that feels indulgent yet surprisingly simple.
The process is straightforward: combine the creamy base, roll into bite‑size spheres, coat with your favorite toppings, and chill until set. In under an hour you’ll have a tray of glossy, bite‑sized perfection ready to impress.
Why You'll Love This Recipe
Ultimate Comfort: The rich, velvety texture of cheesecake paired with peanut butter creates a comforting flavor that feels like a warm hug in every bite.
No Baking Required: Skip the oven and the mess—these bliss balls set in the refrigerator, making them perfect for hot days or quick prep.
Customizable Coatings: From dark chocolate drizzle to toasted coconut, the toppings are endlessly adaptable, letting you tailor each batch to your taste.
Portion‑Perfect: Each ball is a single, controlled serving, helping you satisfy sweet cravings without overindulging.
Tips & Tricks
Perfecting the Recipe
Room‑Temperature Cheese. Allow the cream cheese to sit out for 15‑20 minutes before mixing; this prevents a grainy texture and speeds up incorporation.
Cold Hands for Rolling. Keep a bowl of ice water nearby and briefly dip your fingertips; this stops the mixture from sticking and yields smoother balls.
Even Coating. After dipping in chocolate, let each ball rest on a wire rack for a few seconds so excess chocolate drips off, preventing clumps of peanuts.
Quick Chill. Place the tray of coated balls on a freezer shelf for 10‑15 minutes before moving to the fridge; this speeds up setting without compromising texture.
Flavor Enhancements
For an extra layer of depth, stir a teaspoon of espresso powder into the base or swap half the dark chocolate for white chocolate. A drizzle of caramel sauce just before serving adds a luxurious finish, while a sprinkle of toasted coconut brings tropical flair.
Common Mistakes to Avoid
Avoid over‑mixing once the powdered sugar is added; this can incorporate too much air and make the balls crumbly. Also, don’t skip the chilling step—without it the chocolate coating will stay soft and the interior may become too soft to roll.
Pro Tips
Use High‑Quality Chocolate. A cocoa content of 70% or higher provides a firm snap and a richer flavor that balances the sweet base.
Toast the Peanuts. Lightly toast crushed peanuts in a dry skillet for 3‑4 minutes; this intensifies their nutty aroma and adds crunch.
Store in a Single Layer. Arrange balls in a single layer on parchment when chilling to prevent them from sticking together.
Finish with a Pinch of Salt. A tiny sprinkle of flaky sea salt just before serving heightens the sweet‑savory contrast.
Variations
Ingredient Swaps
Substitute almond butter for peanut butter to introduce a milder nutty flavor, or use cashew butter for a buttery finish. For a fruit‑infused twist, blend a tablespoon of raspberry puree into the base before shaping. Coconut flakes can replace crushed peanuts for a tropical vibe.
Dietary Adjustments
To keep the recipe gluten‑free, simply ensure all processed ingredients are certified gluten‑free. For a dairy‑free version, swap cream cheese for a plant‑based cream cheese and use a vegan peanut butter. Keto lovers can replace powdered sugar with erythritol or a monk‑fruit blend and use sugar‑free chocolate.
Serving Suggestions
Present the bliss balls on a decorative platter with fresh berries and a drizzle of chocolate ganache. Pair them with a chilled glass of milk, almond milk, or a robust espresso for a balanced dessert experience. They also make a delightful addition to brunch buffets alongside fruit salads.
Storage Info
Leftover Storage
Transfer any remaining bliss balls to an airtight container lined with parchment. Store in the refrigerator for up to 5 days; the chocolate coating will stay firm and the interior will remain creamy. For longer keeping, place the container in the freezer; the balls will retain quality for up to 3 months when wrapped tightly in a second layer of plastic wrap.
Reheating Instructions
To enjoy a warm version, let the balls sit at room temperature for 10 minutes, then microwave a single ball on medium power for 10‑12 seconds. The interior becomes luxuriously soft while the chocolate stays intact. Avoid overheating, which can cause the chocolate to melt completely and lose its snap.
Frequently Asked Questions
Can I make these bliss balls ahead of time?
What if I don’t have a stand mixer?
Can I use a different nut for the coating?
This Peanut Butter Cheesecake Bliss Balls recipe delivers a luxurious, no‑bake dessert that’s as pleasing to the eye as it is to the palate. With straightforward steps, thoughtful tips, and plenty of room for personalization, you’re equipped to create a crowd‑pleasing treat any time. Feel free to experiment with coatings, flavors, or dietary tweaks—after all, the best recipes evolve with your imagination. Enjoy each creamy, chocolate‑kissed bite!
Indulge in Decadence: Peanut Butter Cheesecake Bliss Balls Recipe
Delicious Indulge in Decadence: Peanut Butter Cheesecake Bliss Balls Recipe
Ingredients
Base Ingredients
- 8 oz (225 g) full‑fat cream cheese, softened
- ½ cup (125 g) natural creamy peanut butter
- ¼ cup (30 g) powdered sugar
- 1 teaspoon pure vanilla extract
Coating & Texture
- ½ cup (90 g) dark chocolate chips, melted
- ¼ cup (30 g) finely crushed roasted peanuts
- Pinch of flaky sea salt (optional)
Instructions
Coating, Chilling & Finishing
- Gather Tools. Assemble a mixing bowl, rubber spatula, ice‑cream scoop, parchment paper, and a microwave‑safe bowl. Having everything within reach streamlines the process and keeps the mixture from warming.
- Blend Ingredients. Beat cream cheese until fluffy, then incorporate peanut butter, sugar, and vanilla. This step creates a stable emulsion that holds together when rolled.
- Form Spheres. Scoop and roll the mixture into uniform balls. Consistency in size ensures even coating and a professional appearance.
- Chocolate Dip. Submerge each ball in melted chocolate, letting excess drip. A fully coated ball creates a glossy barrier that locks in moisture.
- Final Chill. Refrigerate the coated balls for at least one hour. Chilling solidifies the chocolate and melds flavors, delivering the perfect bite‑size treat.
Similar Recipes
 Desserts
Rhubarb Bars: Discover the Perfect Sweet & Tart Treat!
Learn how to make delicious Rhubarb Bars: Discover the Perfect Sweet & Tart Treat!. Easy recipe…
 Desserts
The Ultimate Carrot Cake – Moist & Flavorful!
Delicious The Ultimate Carrot Cake – Moist & Flavorful!
 Desserts
Heavenly Fresh Strawberry Shortcake Recipe
Delicious Heavenly Fresh Strawberry Shortcake Recipe
 Desserts
Chilled Apple Delight: Frozen Yogurt Stuffed Slices
Delicious Chilled Apple Delight: Frozen Yogurt Stuffed Slices
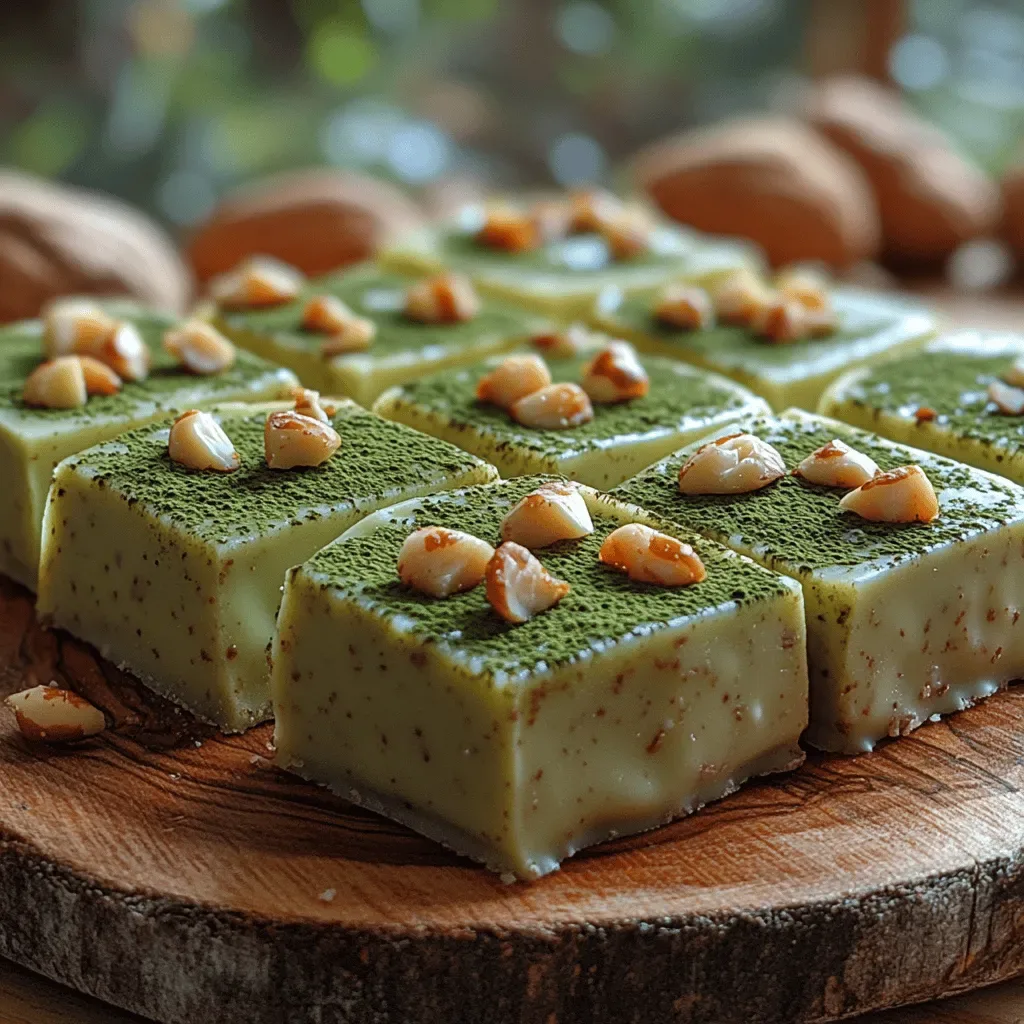 Desserts
Silky Matcha White Chocolate Fudge: A Luxurious Treat for All Occasions
Delicious Silky Matcha White Chocolate Fudge: A Luxurious Treat for All Occasions
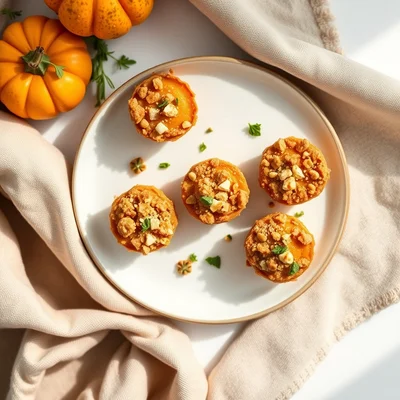 Desserts
Pumpkin Cinnamon Streusel Bites
Learn to make Pumpkin Cinnamon Streusel Bites – a quick buttery snack with warm pumpkin, sweet…
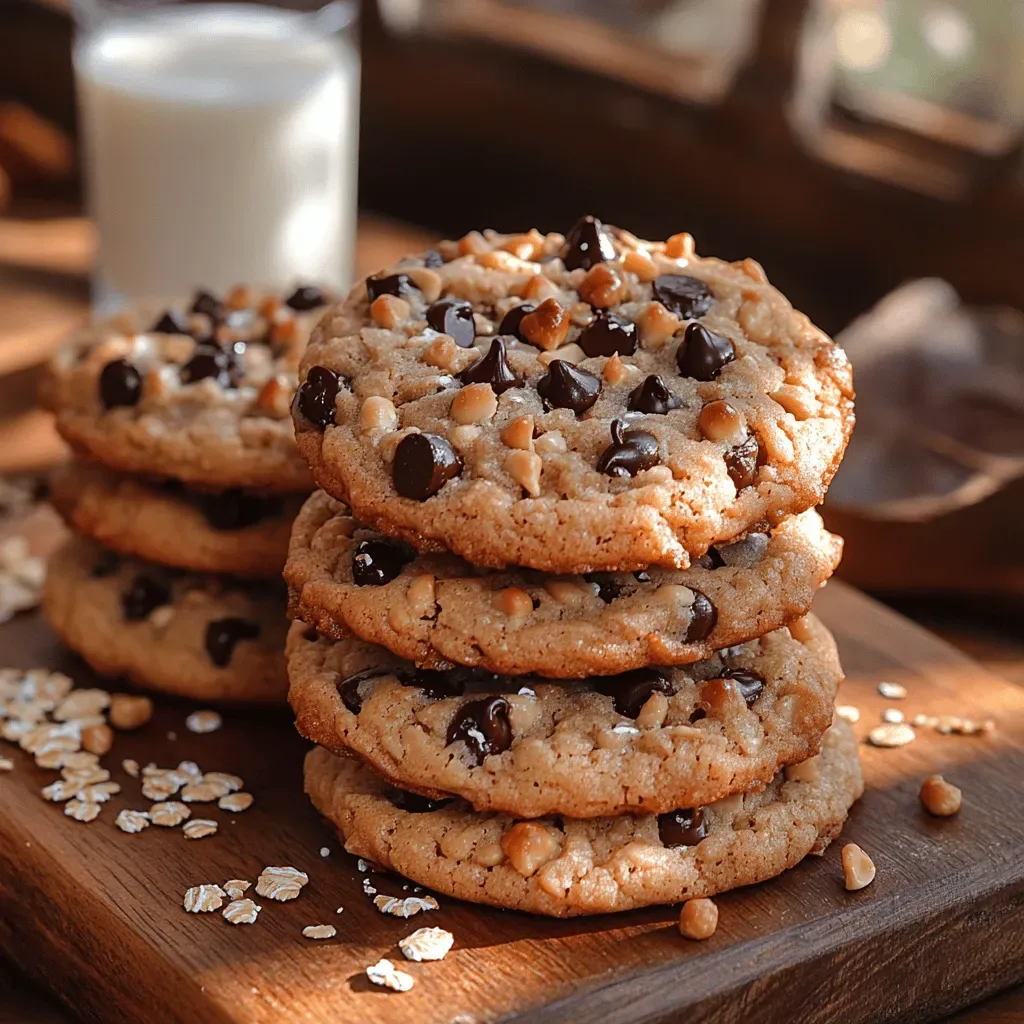 Desserts
Nutty Delight: Chewy Peanut Butter Oatmeal Cookies
Delicious Nutty Delight: Chewy Peanut Butter Oatmeal Cookies
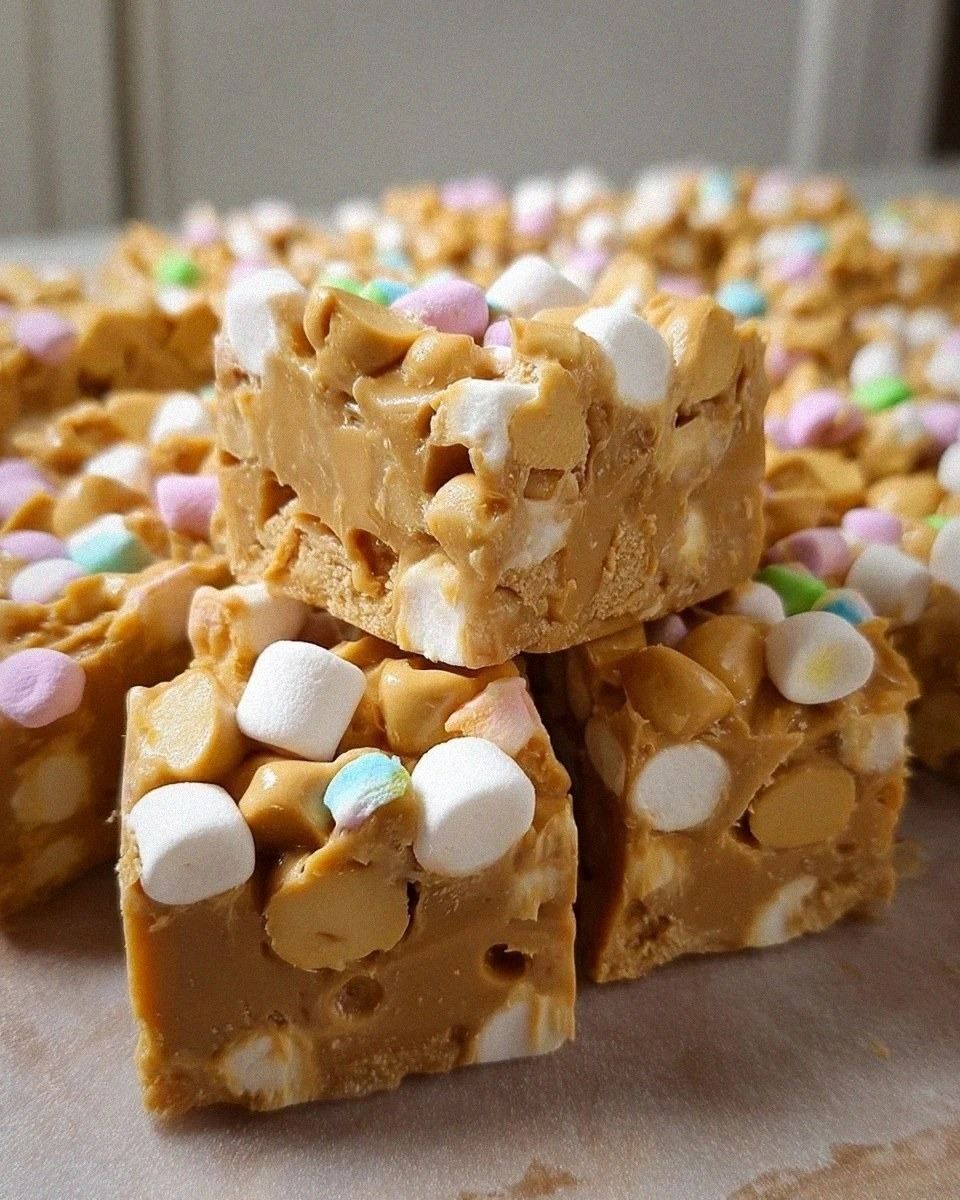 Desserts
Peanut Butter Marshmallow Squares
Learn how to make delicious Peanut Butter Marshmallow Squares. Easy recipe with step-by-step instructions.

Eva
I cook these recipes at home before they ever land here — simple ingredients, clear steps.