Introduction
In recent years, the no-bake dessert trend has surged in popularity, captivating the hearts and taste buds of dessert lovers everywhere. No-bake recipes offer a unique blend of convenience and indulgence, allowing even novice bakers to create impressive treats without turning on the oven. Among these delightful creations, the Decadent No-Bake Chocolate Éclair Cake stands out as a perfect easy-to-make dessert suitable for any occasion.
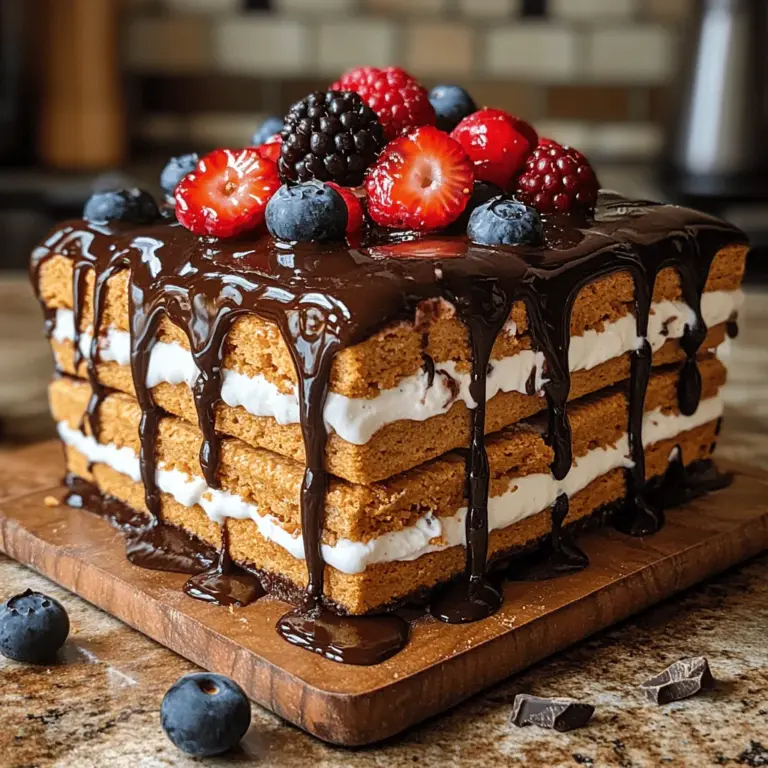
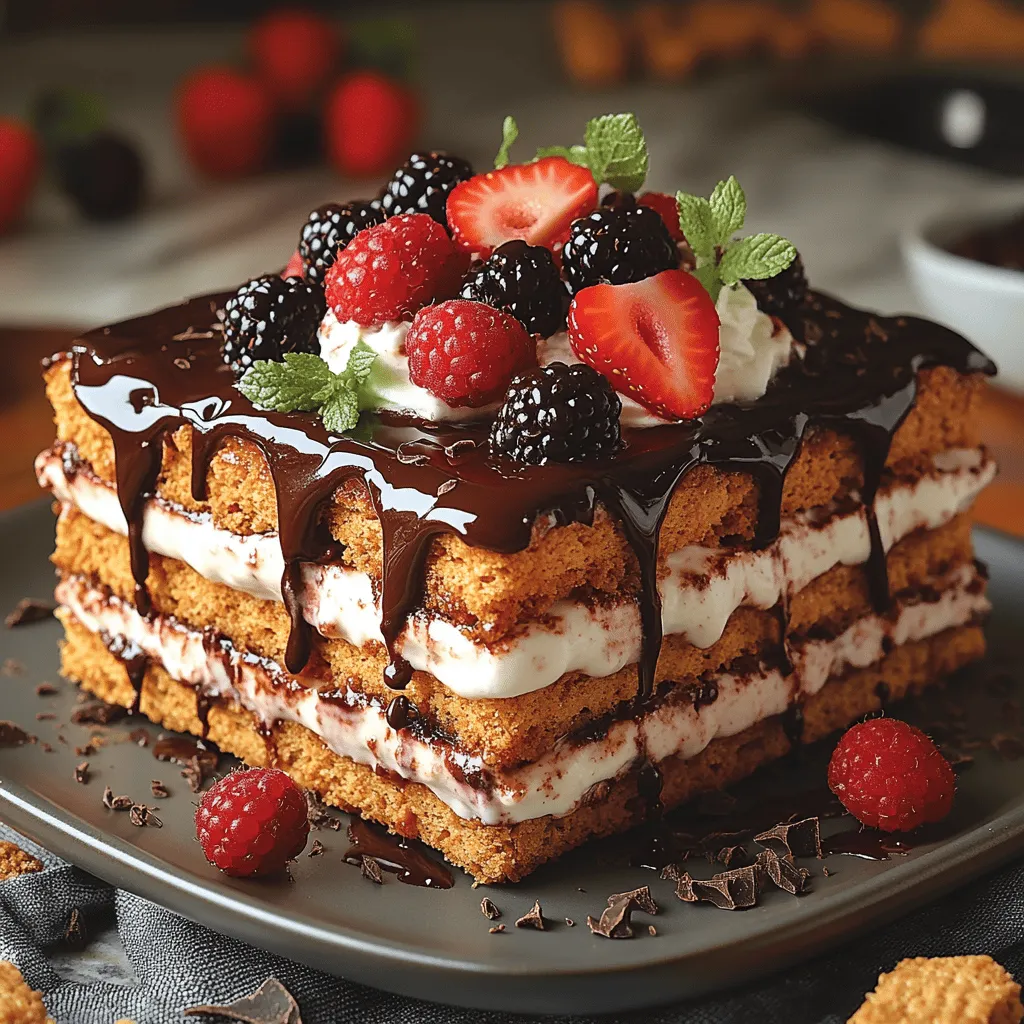
This sumptuous dessert layers creamy vanilla pudding and fluffy whipped topping between sheets of graham crackers, all topped off with a rich chocolate glaze. The combination of textures—from the crunchy graham crackers to the smooth pudding and the velvety chocolate sauce—makes this cake a favorite among chocolate enthusiasts. Whether you’re celebrating a birthday, hosting a dinner party, or simply craving a sweet treat, this no-bake chocolate éclair cake promises to satisfy your chocolate cravings and impress your guests.
Understanding the Ingredients
To create the perfect Decadent No-Bake Chocolate Éclair Cake, understanding the role of each ingredient is crucial. The quality of the ingredients can significantly influence the flavor and texture of the final dish. Here’s a breakdown of the primary ingredients that come together to make this delectable dessert:
Graham Crackers
Graham crackers serve as the foundation of this no-bake chocolate éclair cake. Their slightly sweet and crunchy texture provides a satisfying contrast to the creaminess of the pudding and whipped topping layers. When layered properly, they not only offer structural integrity but also absorb some moisture from the filling, softening just enough to create a delightful bite. Opt for high-quality graham crackers for the best flavor, as they will form the backbone of this dessert.
Instant Vanilla Pudding Mix
Instant vanilla pudding mix is a key player in this recipe, contributing to the creamy filling that defines the éclair cake. Its convenience allows you to whip up a luscious pudding in mere minutes, providing a rich and smooth texture that pairs beautifully with the whipped topping. The vanilla flavor enhances the overall taste, adding a hint of sweetness that complements the chocolate layers.
Whipped Topping
The addition of whipped topping is what gives this cake its light and airy quality. Mixing whipped topping into the pudding mixture elevates the texture to cloud-like perfection, making each bite feel indulgent yet not overly heavy. For the best results, consider using a high-quality, stabilized whipped topping that will hold its shape and maintain its texture throughout serving.
Semi-Sweet Chocolate Chips
No chocolate éclair cake would be complete without a luxurious chocolate glaze, and semi-sweet chocolate chips are the essential ingredient for achieving that rich flavor. Melting these chips creates a smooth chocolate sauce that adds a decadent finish to the dessert. The balance of sweetness in semi-sweet chocolate ensures that the glaze complements the creamy filling rather than overpowering it.
Butter and Milk
These two ingredients play a vital role in making the chocolate sauce. Butter adds richness and a silky mouthfeel, while milk helps to achieve the desired consistency for the glaze. The combination allows the chocolate to melt beautifully, creating a luscious topping that drapes over the layers of the éclair cake.
Powdered Sugar and Vanilla Extract
To enhance the flavor of the chocolate glaze, powdered sugar and vanilla extract are added. Powdered sugar provides sweetness and helps to thicken the chocolate sauce, while vanilla extract deepens the overall flavor profile. Together, these ingredients ensure that the glaze is not only visually appealing but also deliciously satisfying.
Preparation Steps
Now that we’ve established the importance of each ingredient, let’s dive into the preparation steps for creating the Decadent No-Bake Chocolate Éclair Cake. This process is straightforward and rewarding, allowing you to craft a delightful dessert with minimal effort.
Preparing the Pudding
1. Gather Your Supplies: Start by assembling all the necessary ingredients and tools. You will need instant vanilla pudding mix, milk, a mixing bowl, a whisk, and a spatula.
2. Mix the Pudding: In your mixing bowl, combine the instant vanilla pudding mix with the recommended amount of cold milk. Typically, this is around 2 cups, but refer to the package instructions for specifics. Whisk the mixture vigorously for about 2 minutes until it thickens to a pudding consistency. The pudding should be smooth and free of lumps.
3. Set Aside: Once your pudding is prepared, set it aside for a few minutes to allow it to firm up slightly while you prepare the whipped topping.
Mixing in Whipped Topping
1. Prepare the Whipped Topping: In a separate bowl, take your whipped topping and gently stir it to soften. This will make it easier to fold into the pudding mixture.
2. Fold the Whipped Topping: Carefully add the softened whipped topping to the prepared pudding. Using a spatula, gently fold the whipped topping into the pudding mixture. Take your time to incorporate the two without over-mixing. The goal is to maintain as much air as possible, which will keep the filling light and fluffy.
Layering the Graham Crackers
1. Choose Your Dish: Select a 9×13-inch baking dish for assembling your cake. This size is perfect for creating even layers and allows for easy serving.
2. Layer the Graham Crackers: Begin by placing a layer of graham crackers at the bottom of the dish. Lay them flat, covering the entire base. Ensure the crackers are positioned closely together for structural support.
3. Spreading the Pudding Mixture: Once the first layer of graham crackers is in place, scoop half of the pudding mixture onto the crackers. Gently spread it evenly across the surface, ensuring that the pudding reaches the edges. This helps to seal the crackers and creates a cohesive layer.
Completing the Layers
1. Second Layer of Graham Crackers: After spreading the pudding mixture, add another layer of graham crackers on top. Repeat the process, placing the crackers closely together, ensuring that they form a solid base for the next layer.
2. Finish with Pudding: Carefully spread the remaining pudding mixture over the second layer of graham crackers. Use a spatula to ensure an even distribution, making the cake look neat and inviting.
3. Final Layer of Graham Crackers: Top off the pudding with one last layer of graham crackers. This final layer not only adds structure but also provides a clean canvas for the chocolate glaze that will be added later.
By following these detailed steps, you will create a beautifully layered Decadent No-Bake Chocolate Éclair Cake that is as visually stunning as it is delicious. Stay tuned for the next section, where we will cover the preparation of the chocolate glaze and the final assembly, completing this irresistible dessert!
Making the Chocolate Sauce
To elevate your Decadent No-Bake Chocolate Éclair Cake, the homemade chocolate sauce is an essential component that adds richness and depth of flavor. Here’s how to make it perfectly.
Ingredients for the Chocolate Sauce:
– 1 cup granulated sugar
– 1/3 cup unsweetened cocoa powder
– 1/4 cup unsalted butter
– 1/3 cup milk
– 1 teaspoon pure vanilla extract
– A pinch of salt
Instructions:
1. Combine Dry Ingredients: In a medium saucepan, mix together the granulated sugar, unsweetened cocoa powder, and a pinch of salt. This will ensure the cocoa is evenly distributed and helps avoid clumping.
2. Add Butter and Milk: Place the saucepan over medium heat and add the unsalted butter and milk. Stir gently as the butter begins to melt, ensuring that the dry ingredients are well incorporated.
3. Stir Constantly: This step is crucial. As the mixture heats, you must stir constantly to prevent the chocolate sauce from burning at the bottom. It typically takes about 5-7 minutes for the sauce to come to a gentle boil.
4. Achieve the Perfect Consistency: Continue stirring until the sauce thickens, which should take roughly 2-3 more minutes. You want a smooth, pourable consistency that coats the back of a spoon. If the sauce appears too thick, you can add a splash more milk to reach your desired texture.
5. Incorporate Vanilla Extract: Once the sauce has thickened, remove it from heat. Stir in the vanilla extract to enhance the flavor profile. Allow the sauce to cool slightly before drizzling it over the prepared cake.
6. Storage: If you have leftover chocolate sauce, store it in an airtight container in the refrigerator for up to a week. Reheat gently in the microwave or on the stovetop, adding a splash of milk if necessary to regain its pourable consistency.
Chilling and Serving the Cake
After assembling your No-Bake Chocolate Éclair Cake, chilling it is an essential step that enhances the flavors and improves the texture. Here’s how to do it right.
Chilling the Cake:
1. Covering the Cake: Once you have assembled the cake with the layers of graham crackers, pudding, and chocolate sauce, tightly cover it with plastic wrap or aluminum foil. This prevents the cake from absorbing any unwanted odors from the refrigerator and keeps it fresh.
2. Refrigeration Time: Chill the cake in the refrigerator for at least 4 hours, although overnight is ideal. This extended chilling time allows the graham crackers to soften and absorb moisture, resulting in a dessert that has a cake-like texture.
Serving Suggestions:
1. Slicing: When it’s time to serve your cake, remove it from the refrigerator. Use a sharp knife that has been dipped in hot water for cleaner cuts. Wipe the knife between slices to maintain the presentation.
2. Plating the Cake: Place each slice on a dessert plate. For an elegant touch, consider drizzling extra chocolate sauce over the slice just before serving.
3. Enhancing Presentation: Fresh berries such as raspberries, strawberries, or blueberries can add a burst of color and flavor. Simply place a few berries on top of each slice or around the plate. Mint leaves can also be a delightful garnish that adds freshness.
Flavor Variations and Customization
This Decadent No-Bake Chocolate Éclair Cake is versatile, allowing you to customize it to suit your taste preferences. Here are some suggestions for personalizing your cake:
1. Alternative Pudding Flavors: While chocolate pudding is the classic choice, you can experiment with different flavors. Consider butterscotch, vanilla, or even a combination of flavors for a fun twist. You could layer different pudding flavors for visual appeal and varied taste.
2. Different Toppings: In addition to chocolate sauce, you can get creative with toppings. Drizzle caramel sauce or add a layer of whipped cream on top. For a nutty crunch, sprinkle crushed nuts or toffee bits over the chocolate sauce.
3. Gluten-Free Options: If you or your guests are gluten-sensitive, opt for gluten-free graham crackers. Many brands offer gluten-free versions that maintain the same great taste and texture.
4. Add Fruits: Incorporating fruits can introduce freshness and contrast to the richness of the cake. Sliced bananas or strawberries can be layered within the cake or used as a topping.
Nutritional Information
Understanding the nutritional content of your Decadent No-Bake Chocolate Éclair Cake is important, especially if you are mindful of your dietary intake.
Nutritional Overview (per serving, based on 12 servings):
– Calories: Approximately 320
– Total Fat: 14g
– Saturated Fat: 8g
– Carbohydrates: 46g
– Sugars: 25g
– Protein: 4g
Dietary Considerations:
While this cake is undeniably indulgent, moderation is key. Consider serving smaller portions if you’re watching calorie intake. Additionally, if you’re seeking a lighter option, you can substitute low-fat milk and pudding mix to reduce the overall fat and calorie count.
Conclusion
The Decadent No-Bake Chocolate Éclair Cake is a delightful dessert that combines simplicity with a luxurious taste. Its no-bake nature makes it an ideal choice for those who want to impress without spending hours in the kitchen. Whether it’s for a birthday party, holiday gathering, or just a family dinner, this cake is sure to please.
Not only does it offer a rich chocolate flavor, but it also allows for various customization options, making it suitable for a wide range of occasions and preferences. The joy of creating and sharing this dessert is in its ease and the smiles it brings to those who enjoy it. So gather your ingredients, follow the steps, and indulge in the bliss of this delectable treat.
