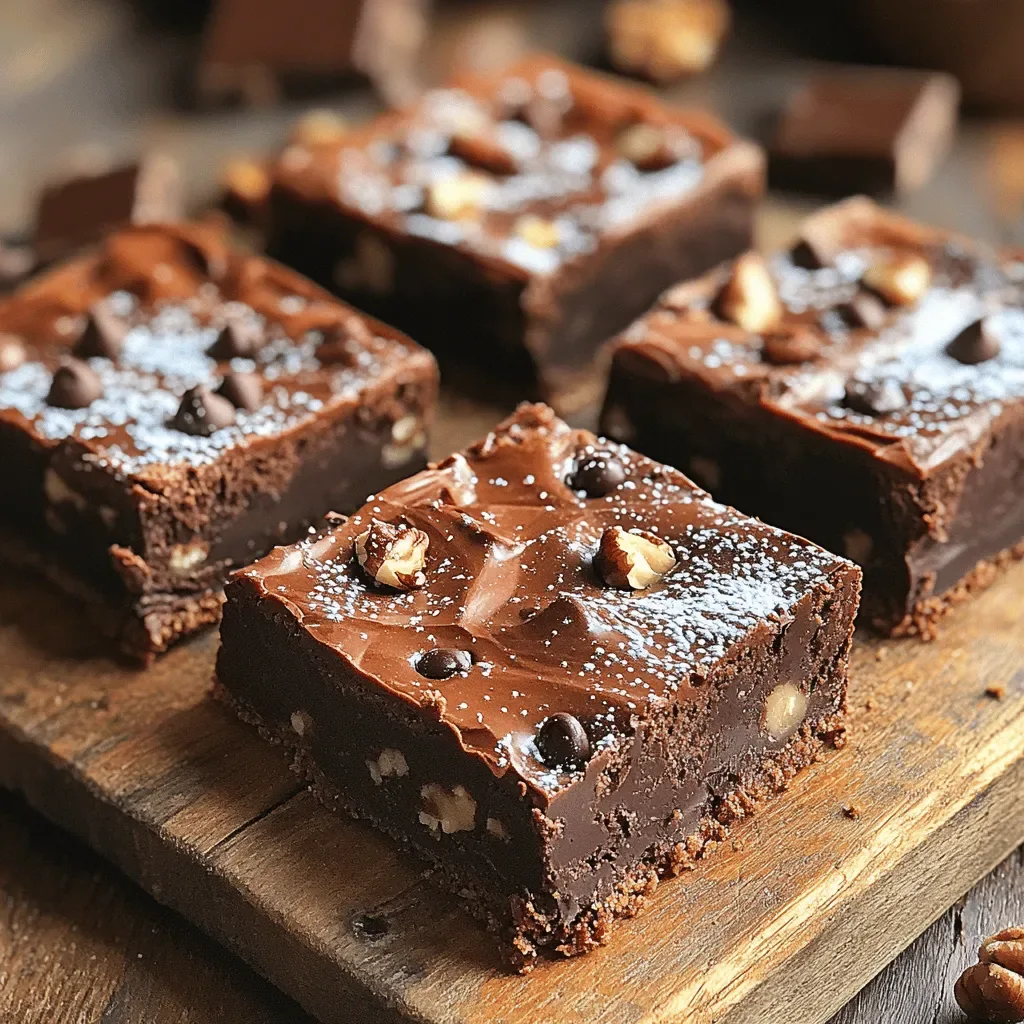
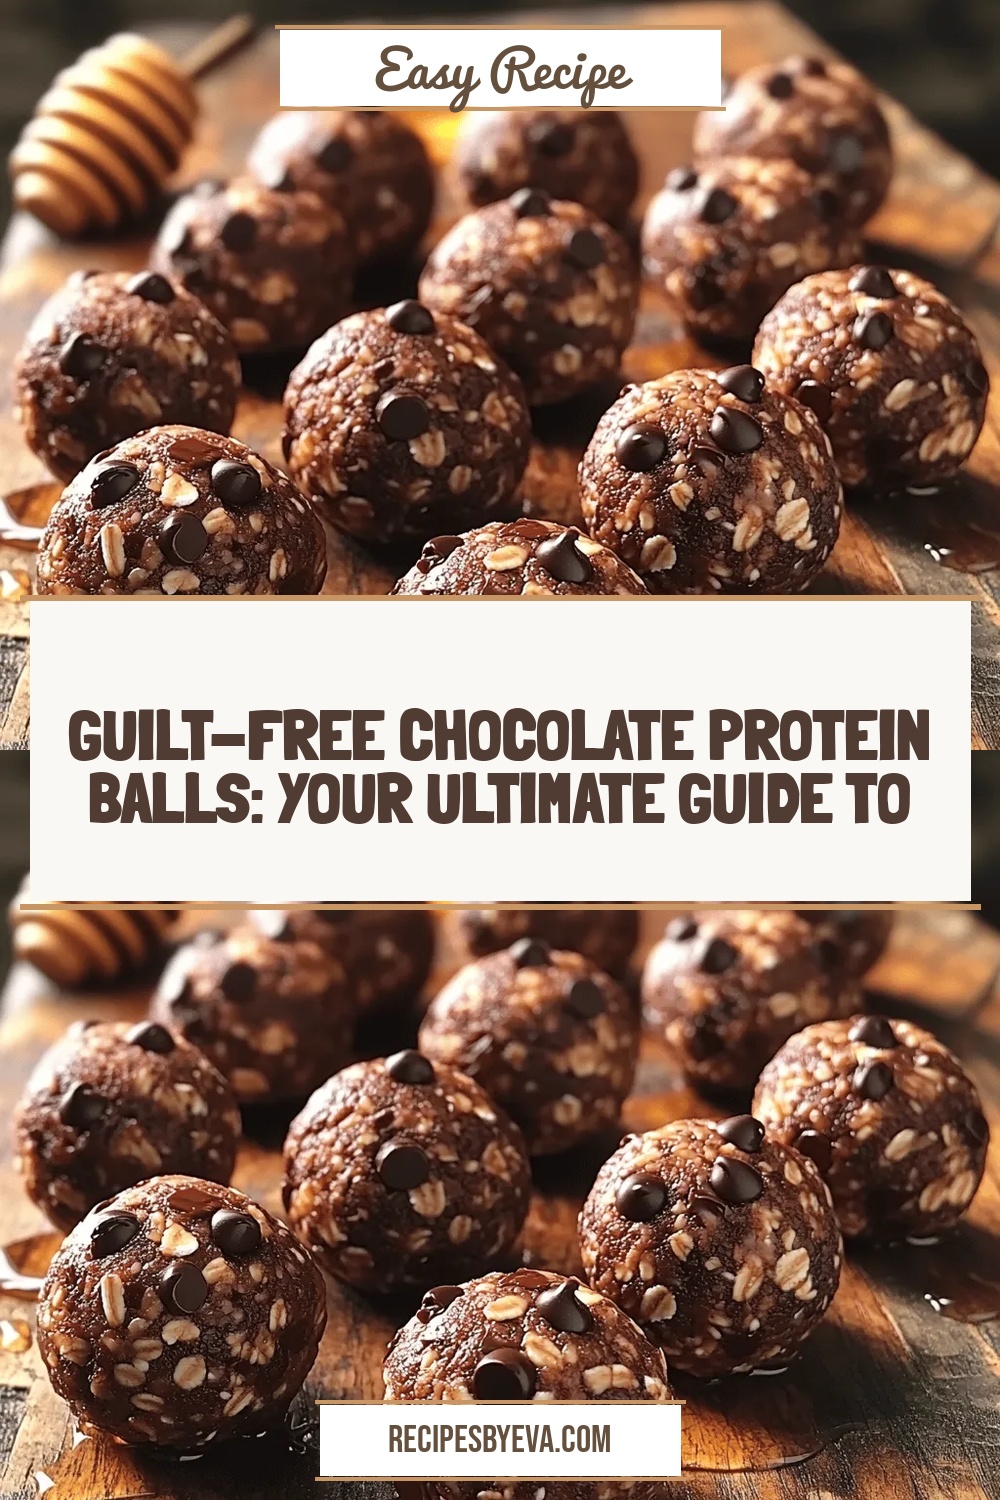
Guilt-Free Chocolate Protein Balls: Your Ultimate Guide to Preparation and Enjoyment
 Save
Save
Imagine biting into a rich, chocolate‑kissed treat that fuels your muscles instead of weighing you down. These Guilt‑Free Chocolate Protein Balls deliver that exact experience—indulgent flavor paired with a clean, protein‑packed punch.
What makes them stand out is the perfect marriage of high‑quality whey isolate, natural sweeteners, and a hint of cocoa that creates a dessert‑like texture without the excess sugar or saturated fat found in typical candy.
Whether you’re a busy professional, a dedicated athlete, or a parent looking for a wholesome snack, these bites fit any moment—from post‑workout recovery to an afternoon pick‑me‑up.
The preparation is straightforward: blend dry and wet components separately, combine them into a sticky dough, roll into bite‑size spheres, and chill until set. In under half an hour you’ll have a portable, nutritious snack ready to enjoy.
Why You'll Love This Recipe
Protein‑Powerful: Each ball delivers around 10 g of high‑quality whey protein, supporting muscle repair and keeping you full longer.
No Refined Sugar: We use natural sweeteners like maple syrup and monk fruit, giving you sweetness without the blood‑sugar spike.
Quick & Easy: No baking required—just mix, roll, and chill. Perfect for hectic mornings or last‑minute snack prep.
Customizable: Swap nuts, seeds, or dried fruit to match your taste preferences or dietary needs.
Tips & Tricks
Perfecting the Recipe
Measure Protein Accurately. Spoon the whey isolate and level it with a flat edge. Too much powder can make the dough dry, while too little reduces the protein benefit.
Use Natural Peanut/Almond Butter. Choose a brand without added sugars or hydrogenated oils to keep the snack clean and maintain the right consistency.
Chill the Bowl. If your kitchen is warm, place the dry bowl in the fridge for 5 minutes before mixing. Cooler ingredients bind more easily.
Flavor Enhancements
Add a pinch of espresso powder for a mocha twist, or swirl in a teaspoon of natural peanut butter for a marbled effect. A dash of cinnamon or a few drops of orange extract can also create surprising flavor layers without extra calories.
Common Mistakes to Avoid
Avoid over‑mixing the dough, which can make the balls dense and rubbery. Also, never skip the chilling step; without it the balls will crumble and lose their shape. Finally, keep an eye on the sweetener level—too much can overpower the chocolate flavor.
Pro Tips
Batch Freeze. Freeze rolled oats and almond butter together for 10 minutes before mixing; this speeds up binding and gives a firmer final texture.
Use a Food Scale. Weighing ingredients yields consistent results, especially important for protein powder which can vary by brand.
Portion Control. A standard tablespoon scoop ensures each ball contains the intended protein amount, helping you track macros accurately.
Variations
Ingredient Swaps
Replace whey isolate with plant‑based pea or soy protein for a vegan version. Swap almond butter for sunflower seed butter if you have a nut allergy. For a different chocolate profile, use raw cacao nibs instead of cocoa powder, adding a slightly bitter crunch.
Dietary Adjustments
To keep it gluten‑free, ensure the oats are certified gluten‑free. For a low‑carb/keto spin, replace maple syrup with a keto‑friendly liquid sweetener like erythritol syrup and increase almond butter to maintain texture. Dairy‑free diets are already accommodated by using nut butter and plant‑based protein.
Serving Suggestions
Pair the balls with a Greek‑yogurt dip flavored with a touch of honey and lemon for a creamy contrast. They also travel well in lunchboxes, gym bags, or as a quick post‑run snack. For a dessert twist, drizzle a few melted dark‑chocolate chips over the chilled balls just before serving.
Storage Info
Leftover Storage
Allow the balls to cool completely, then transfer them to a single‑layer airtight container. Store in the refrigerator for up to 5 days. For longer keeping, place a parchment sheet between layers and freeze in a zip‑top bag; they will maintain quality for up to 3 months.
Reheating Instructions
These bites are best enjoyed cold, but if you prefer a softer texture, let them sit at room temperature for 10 minutes or microwave a single ball for 10‑15 seconds. Avoid overheating, which can melt the nut butter and change the consistency.
Frequently Asked Questions
Can I make these protein balls ahead of time?
What if I don’t have whey protein isolate?
How many grams of protein are in each ball?
Can I use honey instead of maple syrup?
This guide has walked you through every step of creating guilt‑free chocolate protein balls—from ingredient selection to storage tips and creative variations. The recipe is quick, adaptable, and packed with protein, making it an ideal snack for any lifestyle. Feel free to experiment with flavors, nuts, or sweeteners to tailor the balls to your personal preferences. Enjoy the indulgent chocolate taste while staying on track with your health goals!
Guilt-Free Chocolate Protein Balls: Your Ultimate Guide to Preparation and Enjoyment
Delicious Guilt-Free Chocolate Protein Balls: Your Ultimate Guide to Preparation and Enjoyment
Ingredients
Dry Components
- 1 cup vanilla whey protein isolate
- 3/4 cup rolled oats (gluten‑free if needed)
- 1/4 cup unsweetened cocoa powder
- 1/2 teaspoon sea salt
Wet Components
- 1/3 cup almond butter (or peanut butter)
- 1/4 cup pure maple syrup
- 1 tablespoon monk‑fruit liquid sweetener
- 1 teaspoon vanilla extract
Optional Add‑Ins (choose any)
- 2 tablespoons chopped almonds
- 2 tablespoons dried cranberries (unsweetened)
- 1 tablespoon chia seeds
Instructions
Forming the Dough
- Mix Dry into Wet. Pour the dry blend into the wet bowl and stir with a spatula until a thick, slightly sticky dough forms. The dough should hold together when pressed; if it feels crumbly, add a teaspoon of water or extra almond butter.
- Incorporate Add‑Ins. Fold in any optional ingredients—chopped almonds, dried cranberries, or chia seeds—ensuring they are evenly distributed throughout the dough.
- Portion the Balls. Using a tablespoon or a small ice‑cream scoop, portion the dough onto a parchment‑lined tray. Roll each portion between your palms to form smooth, 1‑inch balls. The dough should be cool enough to handle; if it sticks, lightly wet your hands with water.
- Chill to Set. Transfer the tray to the refrigerator and chill for at least 15 minutes. This firming step allows the protein and fats to solidify, giving the balls a satisfying bite.
- Final Check. After chilling, test one ball for texture. It should be firm yet yielding. If any ball feels too soft, return the tray to the fridge for another 5 minutes.
Similar Recipes
 Desserts
Cranberry Almond Cookies: 7 Wholesome Reasons to Bake
Learn how to make delicious Cranberry Almond Cookies: 7 Wholesome Reasons to Bake. Easy recipe with…
 Desserts
Pumpkin Gooey Butter Cake
Learn how to make delicious Pumpkin Gooey Butter Cake. Easy recipe with step-by-step instructions.
 Desserts
Legendary Chocolate Cake Recipe
Learn how to make delicious Legendary Chocolate Cake Recipe. Easy recipe with step-by-step instructions.
 Desserts
Ultimate Healthy Chocolate Muffins: A Guilt-Free Indulgence
Delicious Ultimate Healthy Chocolate Muffins: A Guilt-Free Indulgence
 Desserts
Zesty No-Bake Lemon Cheesecake Jars
Delicious Zesty No-Bake Lemon Cheesecake Jars
 Desserts
Spiced Chai Snickerdoodles Recipe: A Cozy Twist on a Classic Favorite
Delicious Spiced Chai Snickerdoodles Recipe: A Cozy Twist on a Classic Favorite
 Desserts
The Most Delicious Baked Donuts: A Healthier Delight
Delicious The Most Delicious Baked Donuts: A Healthier Delight
 Desserts
Caramel Pecan Pumpkin Cobbler: A Taste of Autumn Delights
Delicious Caramel Pecan Pumpkin Cobbler: A Taste of Autumn Delights

Eva
I cook these recipes at home before they ever land here — simple ingredients, clear steps.