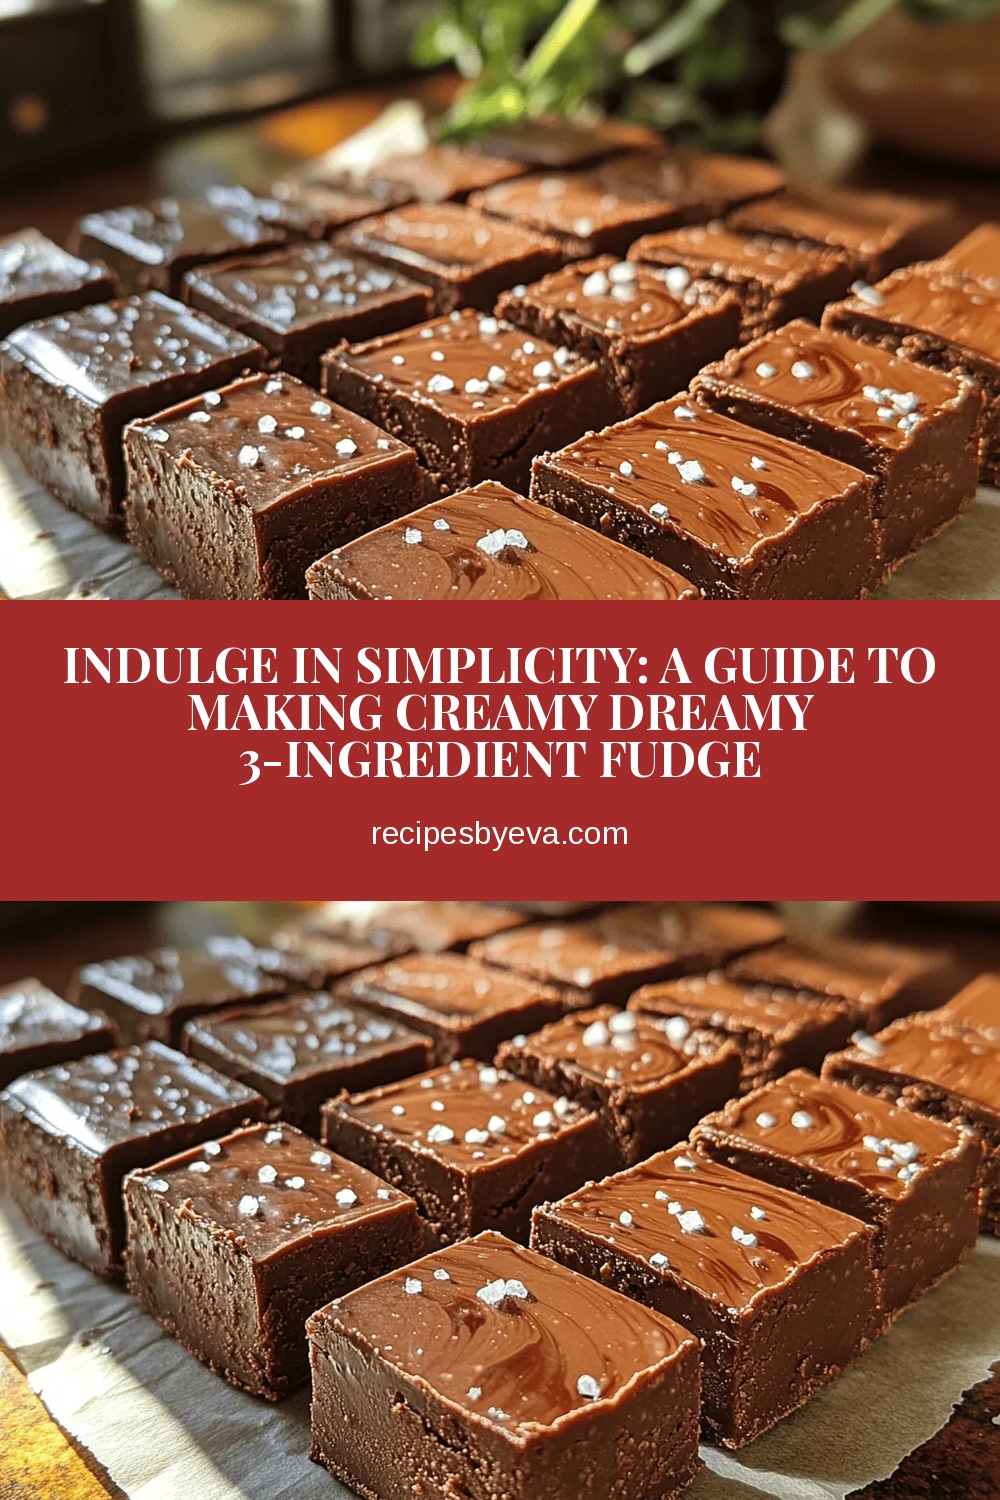
Indulge in Simplicity: A Guide to Making Creamy Dreamy 3-Ingredient Fudge
 Save
Save
Imagine a dessert so silky, so buttery, and so chocolate‑rich that you need only three ingredients to create it. That’s the magic of this Creamy Dreamy 3‑Ingredient Fudge – a nostalgic treat that feels indulgent without the fuss.
What makes it special? It relies on the perfect balance of sweetened condensed milk, high‑quality chocolate chips, and a generous knob of butter. The condensed milk acts as a natural caramelizer, while the butter gives the fudge its glossy sheen and melt‑in‑your‑mouth texture.
This fudge is a hit for anyone with a sweet tooth: kids love its smooth bite, teens appreciate the instant gratification, and adults enjoy the nostalgic throwback to homemade candy bars. Serve it at birthday parties, after‑dinner gatherings, or simply as a midnight snack.
The process is straightforward: melt the trio together, stir until glossy, pour into a pan, and chill until set. In under half an hour you’ll have a batch of glossy squares ready to share.
Why You'll Love This Recipe
Three‑Ingredient Simplicity: No pantry raid required—just chocolate, condensed milk, and butter, making it perfect for spontaneous cravings or last‑minute gatherings.
Velvety Texture: The condensed milk creates a custard‑like base that stays silky even after cooling, delivering a melt‑away experience in every bite.
Customizable Canvas: Once the basic fudge is set, you can fold in nuts, dried fruit, or a dash of sea salt for endless flavor twists.
Kid‑Friendly Fun: Little hands can help press the mixture into a pan and cut the squares, turning dessert time into a shared activity.
Tips & Tricks
Perfecting the Recipe
Use a double boiler. Gentle, indirect heat prevents scorching, which can turn the fudge grainy.
Keep stirring. Continuous motion distributes heat evenly and helps the condensed milk bind the chocolate.
Cool briefly before refrigerating. A short room‑temperature rest reduces condensation that could make the surface soggy.
Use a sharp, warm knife. Warm the blade under hot water and wipe dry for clean cuts without crumbling.
Flavor Enhancements
Stir in a pinch of sea salt just before pouring to brighten the chocolate. For a festive twist, fold in toasted almond slivers, dried cranberries, or a drizzle of caramel after the fudge has set.
Common Mistakes to Avoid
Avoid overheating—the mixture should never boil. Over‑cooking separates the cocoa butter, leaving a dull, grainy texture. Also, don’t skip the parchment paper; it prevents sticking and makes removal effortless.
Pro Tips
Choose high‑cocoa chocolate. 60‑70% cocoa chips give depth without excessive sweetness.
Room‑temperature butter. Softened butter melts faster, reducing the risk of hot spots.
Store in a single layer. When refrigerating, keep the pan uncovered for the first 30 minutes to allow steam to escape, then cover.
Experiment with extracts. A drop of vanilla or almond extract adds subtle complexity without altering the three‑ingredient premise.
Variations
Ingredient Swaps
Swap semi‑sweet chips for dark chocolate for a richer, less sweet fudge, or use white chocolate for a buttery, vanilla‑forward version. Coconut oil can replace butter for a subtle tropical note, though the texture becomes slightly softer.
Dietary Adjustments
For a dairy‑free version, use a plant‑based butter (such as coconut‑oil‑based) and ensure the chocolate is dairy‑free. A sugar‑free condensed milk (available in specialty stores) keeps the recipe keto‑friendly while preserving the silky texture.
Serving Suggestions
Serve the squares atop a scoop of vanilla ice cream for a decadent sundae, or crumble them over brownies for added crunch. Pair with fresh berries to cut through the richness, or drizzle with espresso‑infused caramel for an adult‑only indulgence.
Storage Info
Leftover Storage
Allow any remaining fudge to cool completely, then lift it out of the pan using the parchment overhang. Wrap the slab tightly in plastic wrap and store in an airtight container. It keeps well in the refrigerator for 5‑7 days. For longer storage, freeze in a freezer‑safe bag for up to 3 months; thaw in the fridge before serving.
Reheating Instructions
To soften a chilled square, place it on a microwave‑safe plate, cover with a damp paper towel, and heat on medium power for 10‑15 seconds. For larger batches, warm the entire slab in a 300°F oven for 8‑10 minutes, covered with foil, until it yields to gentle pressure.
Frequently Asked Questions
Can I make this fudge ahead of time?
What if I don’t have a double boiler?
How do I know when the fudge is set enough to cut?
Can I add nuts or other mix‑ins?
This Creamy Dreamy 3‑Ingredient Fudge proves that indulgence doesn’t need a long ingredient list or fancy equipment. By mastering the melt, the timing, and the chill, you’ll create glossy, melt‑away squares every time. Feel free to experiment with salts, nuts, or extracts—your imagination is the only limit. Enjoy each bite of this simple, luxurious treat and share the joy with friends and family!
Indulge in Simplicity: A Guide to Making Creamy Dreamy 3-Ingredient Fudge
Delicious Indulge in Simplicity: A Guide to Making Creamy Dreamy 3-Ingredient Fudge
Ingredients
Base Ingredients
- 2 cups (12 oz) semi‑sweet chocolate chips
- 1 (14 oz) can sweetened condensed milk
- 2 tablespoons unsalted butter, cut into pieces
Instructions
Melting the Base
- Set up a double boiler. Fill a saucepan with 1‑inch of water, bring to a gentle simmer, then place a heat‑proof bowl on top. The indirect heat protects the chocolate from burning, giving you a silky melt.
- Add butter. Toss the butter cubes into the bowl and stir until fully melted. Butter creates an emulsion that will later coat the chocolate, ensuring a glossy finish.
- Stir in chocolate chips. Sprinkle the chips over the melted butter, allowing them to sit for 30 seconds before stirring. This “seeding” method helps the chocolate melt evenly without overheating.
- Incorporate condensed milk. Pour the entire can of sweetened condensed milk into the bowl, stirring continuously. The mixture should become glossy, thick, and start to pull away from the sides of the bowl—this is the “stage” where the fudge will set properly.
- Check consistency. Drop a small spoonful onto a chilled plate; if it firms up within a minute, the fudge is ready. Over‑cooking will make it grainy, while under‑cooking leaves it too soft.
Similar Recipes
 Desserts
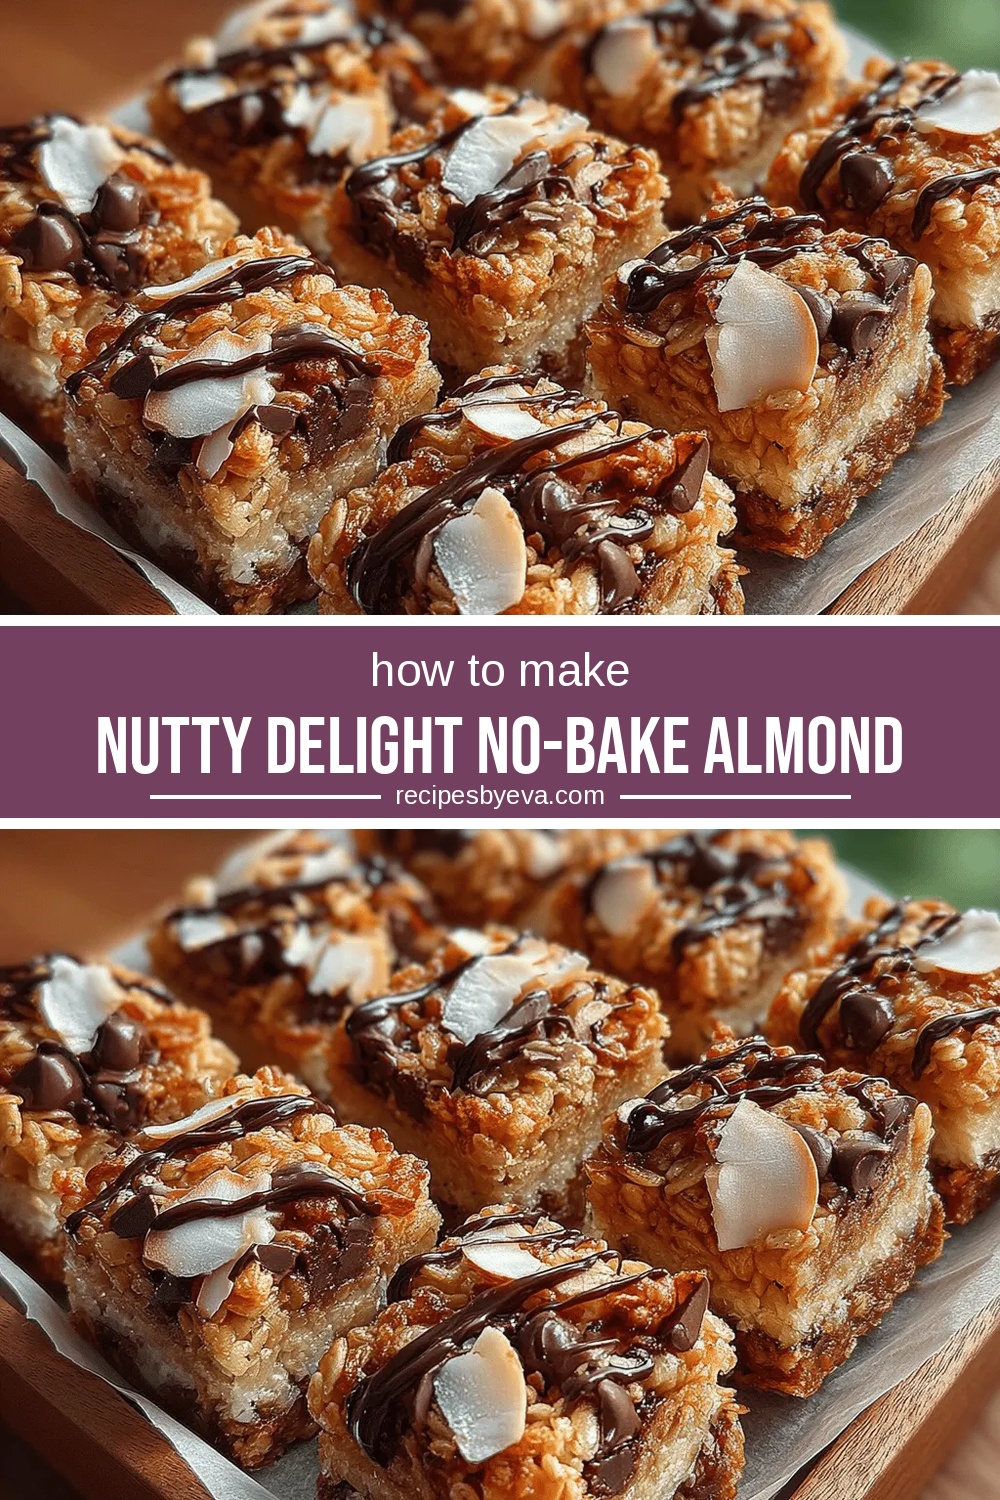
Nutty Delight No-Bake Almond Butter Rice Squares: The Perfect Snack Recipe
Delicious Nutty Delight No-Bake Almond Butter Rice Squares: The Perfect Snack Recipe
 Desserts
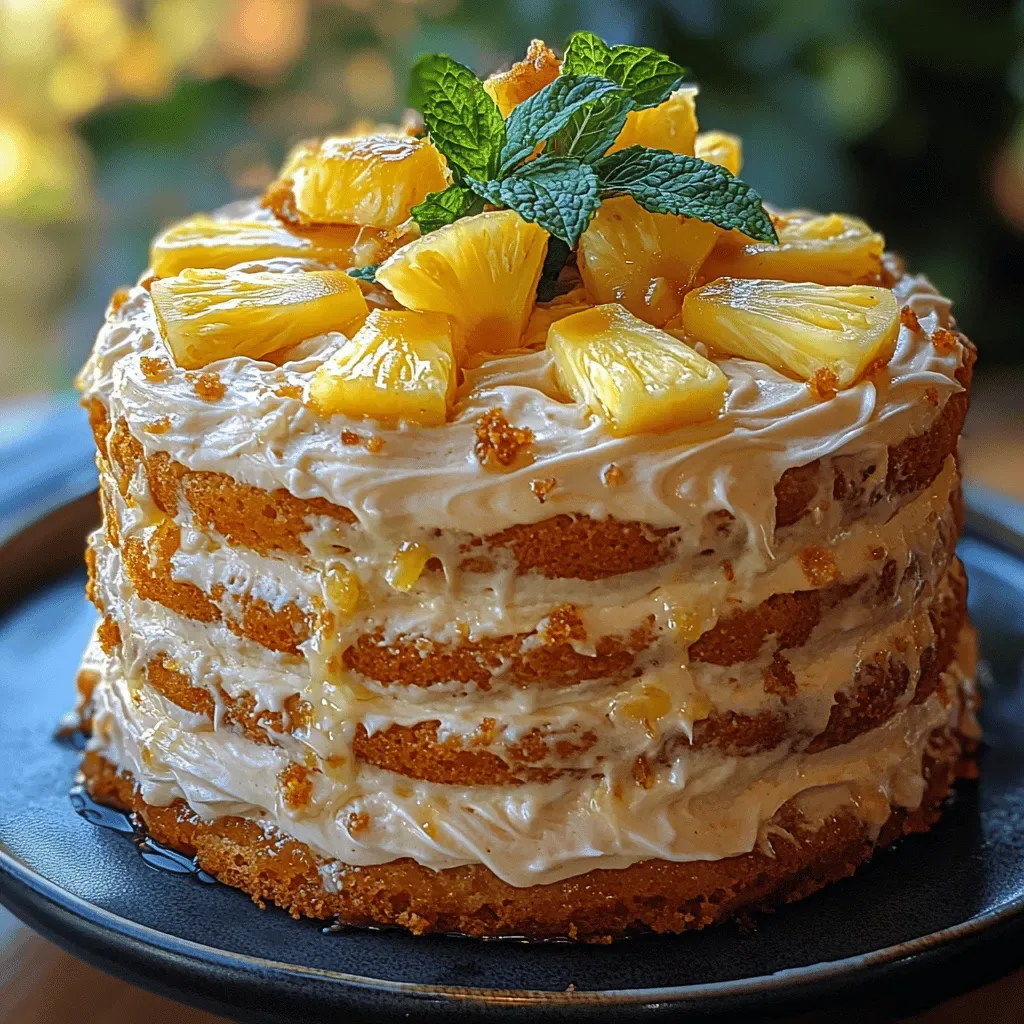
Tropical Bliss Pineapple Cake: A Slice of Paradise
Delicious Tropical Bliss Pineapple Cake: A Slice of Paradise
 Desserts
How to Bake the Perfect Heart Cake for Any Occasion
Learn how to make delicious How to Bake the Perfect Heart Cake for Any Occasion. Easy…
 Desserts
Peanut Butter Marshmallow Squares
Learn how to make delicious Peanut Butter Marshmallow Squares. Easy recipe with step-by-step instructions.
 Desserts
Mexican Chocolate Milk Cake: An Amazing Ultimate Recipe
Learn how to make delicious Mexican Chocolate Milk Cake: An Amazing Ultimate Recipe. Easy recipe with…
 Desserts
Salted Caramel Pretzel Bark Recipe: Sweet & Salty Delight!
Learn how to make delicious Salted Caramel Pretzel Bark Recipe: Sweet & Salty Delight!. Easy recipe…
 Desserts
Chilled Lemon Berry Dessert Bars: A Refreshing Delight!
Learn how to make delicious Chilled Lemon Berry Dessert Bars: A Refreshing Delight!. Easy recipe with…
 Desserts
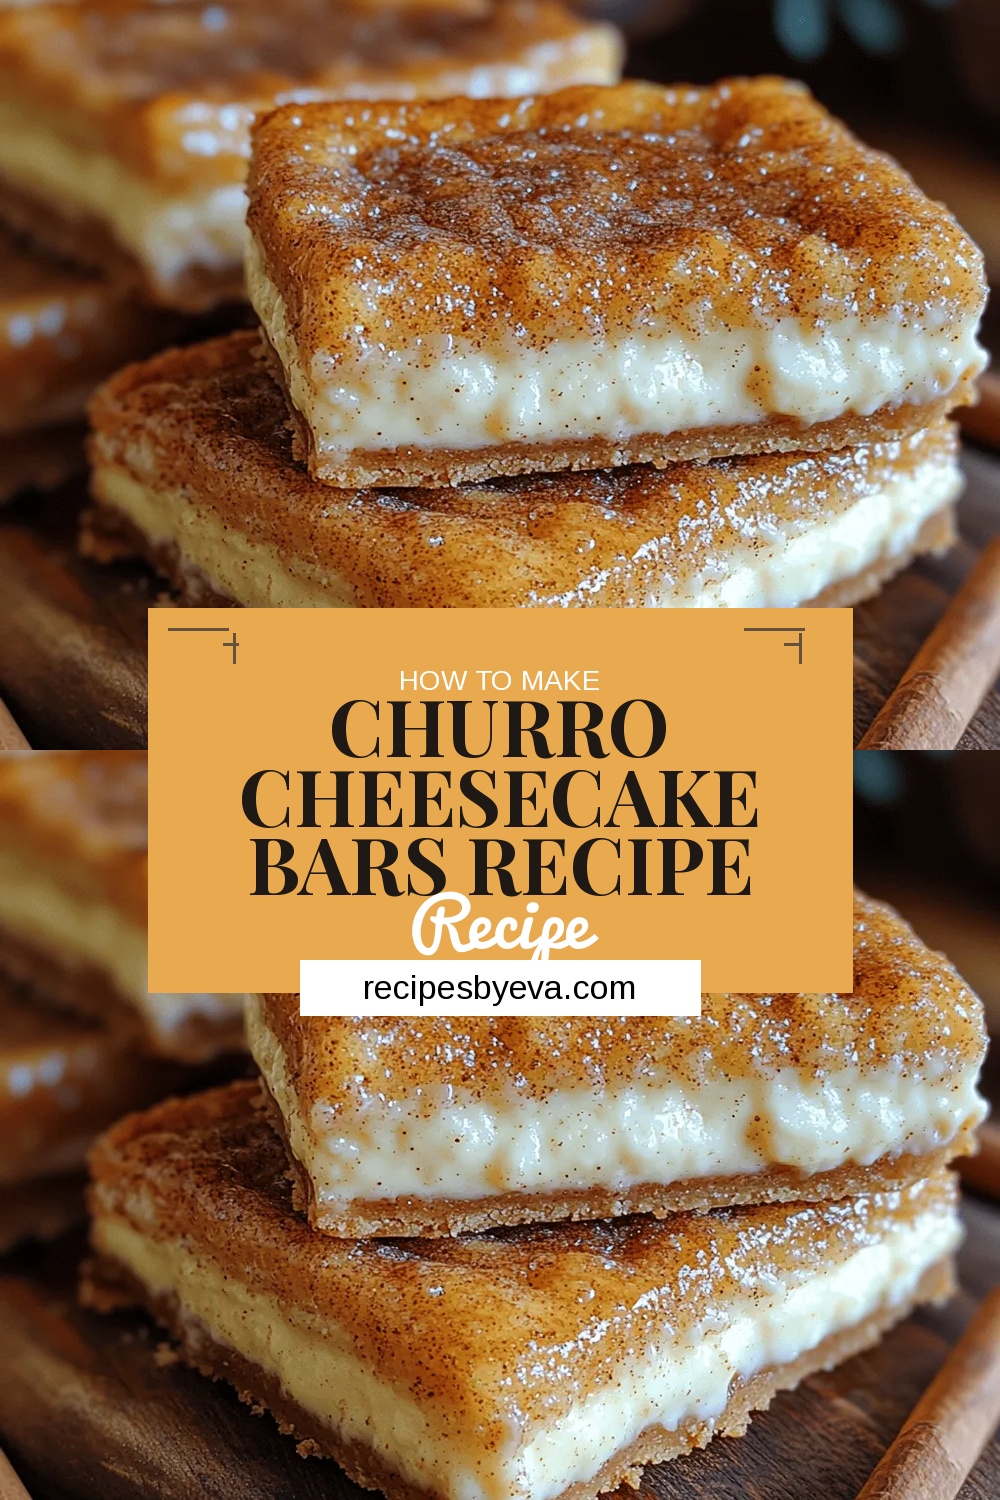
Churro Cheesecake Bars Recipe
Delicious Churro Cheesecake Bars Recipe

Eva
I cook these recipes at home before they ever land here — simple ingredients, clear steps.