Introduction: The Allure of No-Bake Desserts
In the world of desserts, few things can rival the freshness and vibrancy of a strawberry cheesecake. With its luscious, creamy texture and the bright, sweet-tart flavor of strawberries, this classic treat has earned a beloved spot in the hearts of dessert enthusiasts everywhere. However, the process of baking can often be a daunting task, especially during the warm summer months when the last thing you want to do is turn on the oven. Enter the Dreamy No-Bake Strawberry Cheesecake Cups—a delightful twist on the traditional recipe that allows you to indulge without the hassle of baking.
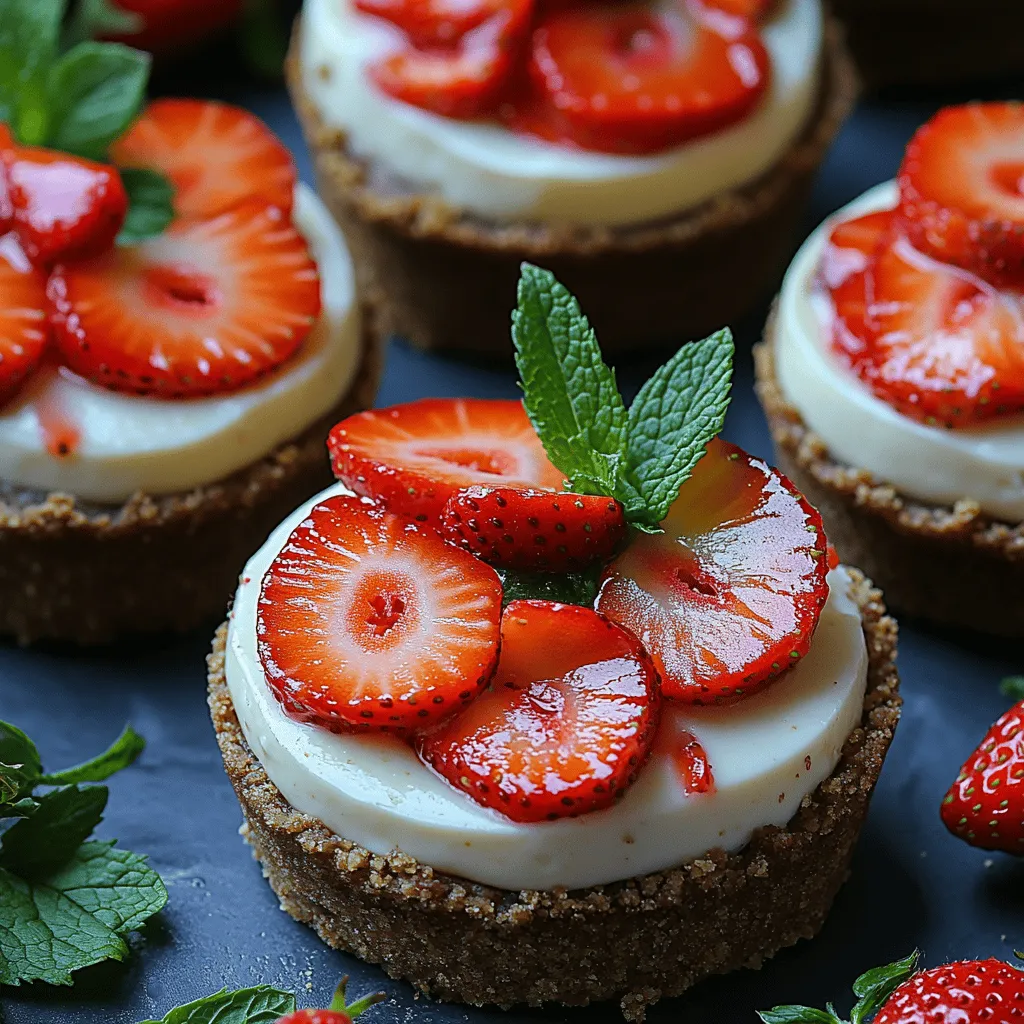
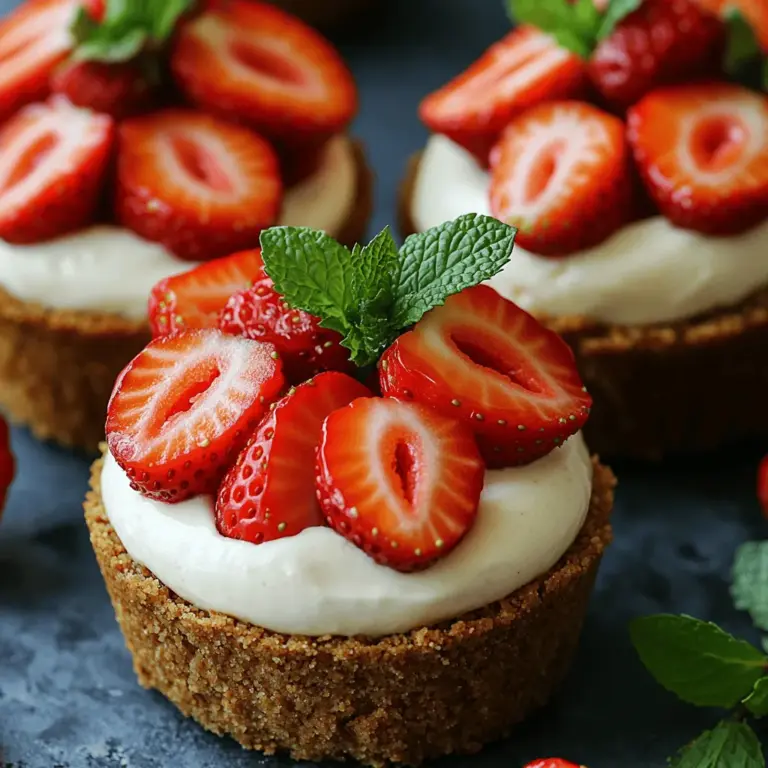
These individual cups not only provide a visually appealing presentation, ideal for gatherings and celebrations, but they also offer a light and refreshing alternative to heavier desserts. With a rich cheesecake filling layered over a crunchy graham cracker crust and topped with fresh strawberries, these cups are as much a feast for the eyes as they are for the palate. Whether you’re a novice baker or a seasoned chef, this recipe promises an easy yet impressive way to satisfy your sweet tooth.
In this article, we will guide you through every aspect of making these Dreamy No-Bake Strawberry Cheesecake Cups—from the essential ingredients that define this dessert to the step-by-step instructions that will lead you to cheesecake perfection. Get ready to embark on a culinary adventure that will leave your guests asking for seconds!
Understanding the Ingredients: A Closer Look at What Makes This Dessert Special
The foundation of any great recipe lies in its ingredients. For the Dreamy No-Bake Strawberry Cheesecake Cups, each component plays a crucial role in creating the perfect balance of flavors and textures. Let’s delve deeper into the ingredients that make this dessert so special.
The Crust: A Crunchy Base
The crust is the unsung hero of any cheesecake, providing a crunchy and flavorful base that complements the creamy filling above.
– Graham Cracker Crumbs: These crumbs form the backbone of the crust, offering a subtle sweetness and a hint of nuttiness. The texture of graham crackers adds a satisfying crunch that contrasts beautifully with the smooth cheesecake filling. When selecting graham crackers, opt for the plain variety to avoid overpowering the delicate flavors of the cheesecake.
– Granulated Sugar: A small amount of granulated sugar is added to the crust mixture to enhance its sweetness. This sugar balances the flavors and contributes to the overall richness of the dessert.
– Unsalted Butter: Using unsalted butter is essential for achieving the perfect texture in your crust. Salted butter can introduce an unintended savory flavor, which may clash with the sweetness of the cheesecake. The butter also acts as a binding agent, helping the crust hold its shape while providing richness and moisture.
The Cheesecake Filling: Creamy Indulgence
The cheesecake filling is the star of this dessert, contributing its creamy indulgence and rich flavor profile.
– Softened Cream Cheese: The key to a smooth and velvety cheesecake filling is using softened cream cheese. Cold cream cheese can lead to lumps and an uneven texture, so it’s important to allow it to come to room temperature before mixing. This creates a luscious filling that spreads easily and sets beautifully.
– Powdered Sugar: In this recipe, powdered sugar is preferred over granulated sugar for the filling. Powdered sugar dissolves quickly, eliminating any graininess and contributing to a silkier texture. It also adds a light sweetness without overwhelming the other flavors.
– Vanilla Extract: A splash of pure vanilla extract is essential for enhancing the flavor of the cheesecake filling. It adds warmth and depth, rounding out the taste profile and making each bite more delicious.
The Topping: Fresh and Flavorful
No cheesecake is complete without a fresh topping, and for our no-bake version, strawberries shine as the star ingredient.
– Fresh Strawberries: The importance of using fresh strawberries cannot be overstated. Their natural sweetness and vibrant color make them the perfect complement to the rich cheesecake filling. Strawberries provide a refreshing contrast and elevate the overall taste of the dessert. When selecting strawberries, choose ripe, fragrant berries for the best flavor.
– Optional Garnishes: For an added touch of elegance, consider garnishing your cheesecake cups with fresh mint leaves. Not only do they enhance the visual appeal, but they also add a hint of freshness that pairs beautifully with the strawberries.
Step-by-Step Instructions: Crafting Your Cheesecake Cups
Now that we’ve explored the ingredients, it’s time to roll up our sleeves and get started on crafting these delightful Dreamy No-Bake Strawberry Cheesecake Cups. Follow these comprehensive instructions to ensure success in your dessert-making journey.
Preparing the Crust: Building the Base
The first step in creating your no-bake cheesecake cups is preparing the crust. This crunchy base is essential for providing structure and flavor.
1. Mixing the Ingredients: In a medium-sized mixing bowl, combine 1 and ½ cups of graham cracker crumbs with ¼ cup of granulated sugar. Stir the two dry ingredients together until they are evenly distributed.
2. Adding Butter: Melt ½ cup of unsalted butter in a microwave-safe bowl or on the stovetop. Once melted, pour the butter into the graham cracker crumb mixture. Use a spatula or wooden spoon to mix until the crumbs are fully coated and the consistency resembles wet sand.
3. Achieving the Right Texture: It’s crucial to ensure that your crust mixture holds together well. When you pinch a small amount between your fingers, it should clump together without falling apart. If it’s too dry, add a little more melted butter, one tablespoon at a time, until the desired texture is achieved.
Assembling the Crust: Creating Layers
With your crust mixture ready, it’s time to assemble it into your individual serving cups.
1. Dividing the Mixture: Depending on the size of your cups, you can make anywhere from 6 to 12 servings. For even distribution, use a measuring cup or a tablespoon to scoop the crust mixture into each cup. Aim for about 3 tablespoons of the mixture per cup.
2. Pressing Techniques: To create an even layer, use the back of a small measuring cup or your fingers to press the mixture firmly into the bottom of each cup. Make sure the crust is compact and evenly distributed, as this will ensure a stable base for the cheesecake filling.
Making the Cheesecake Filling: Achieving Creaminess
With the crust in place, it’s time to create the star of the show: the cheesecake filling.
1. Beating the Cream Cheese: In a large mixing bowl, add 16 ounces of softened cream cheese. Using an electric mixer, beat the cream cheese on medium speed until it becomes smooth and creamy, which should take about 2-3 minutes.
2. Incorporating the Sugar and Vanilla: Gradually add ½ cup of powdered sugar and 1 teaspoon of vanilla extract to the cream cheese. Continue to mix until everything is well combined and the mixture is fluffy and light.
Whipping the Cream: The Key to Lightness
The final step in creating the cheesecake filling is to whip the cream, which adds a light and airy texture.
1. Whipping Heavy Cream: In a separate bowl, pour in 1 cup of heavy cream. Using a hand whisk or electric mixer, whip the cream on high speed until it forms stiff peaks. This means that when you lift the whisk or mixer out of the bowl, the cream should hold its shape.
2. Folding the Cream: Once your cream is whipped, gently fold it into the cream cheese mixture. Use a spatula, and be careful not to deflate the whipped cream. The goal is to combine the mixtures without losing the lightness that the whipped cream provides.
With the crust prepared, the filling mixed to perfection, and the whipped cream folded in, you’re well on your way to creating the Dreamy No-Bake Strawberry Cheesecake Cups. In the next section, we will cover the final steps to assemble these delightful desserts and present them beautifully for your enjoyment. Stay tuned for the continuation of this sweet adventure!


