Depression Era Water Pie
 Save
Save
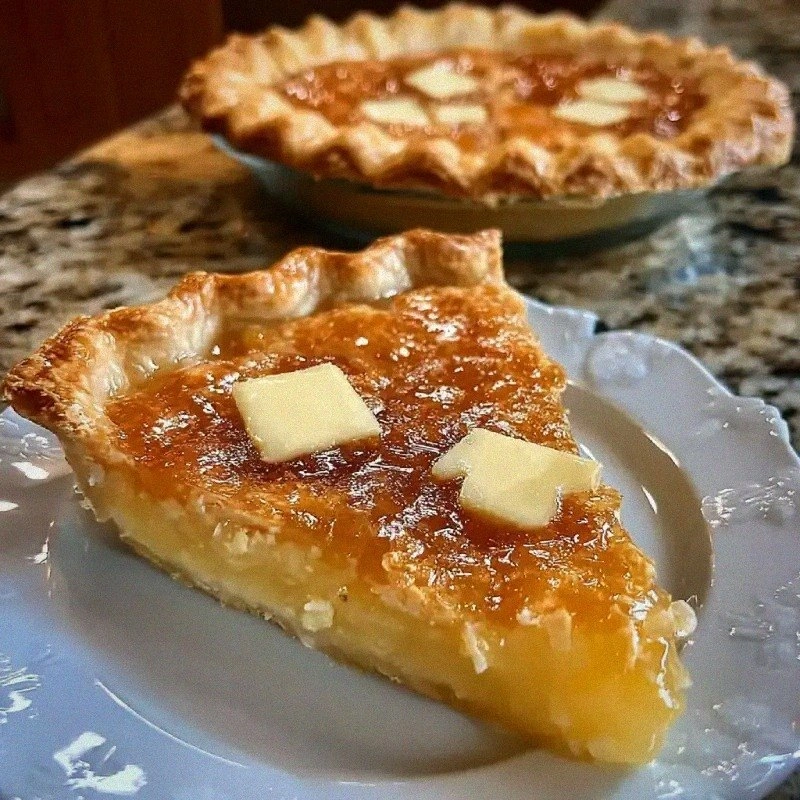
I still remember the first time I tasted a slice of Depression Era Water Pie, sitting at my grandmother’s kitchen table as the wind howled outside the old farmhouse. The moment the crust cracked under my fork, a warm cloud of sweet vanilla‑infused steam rose, wrapping the whole room in a comforting hug that felt like a promise of better days. It was a simple dish, made from pantry staples that our family could stretch during hard times, yet it tasted like a celebration of resilience and love. The texture was almost ethereal—light, creamy, and just sweet enough to make you smile without feeling overwhelmed. Have you ever wondered how something so modest could become the star of a family gathering?
What makes this pie truly magical is the way water, an ingredient most of us overlook, becomes the foundation for a silky filling that rivals any custard. When you whisk the water together with sugar, milk, and flour, you create a delicate lattice that captures bubbles of air, resulting in a mousse‑like consistency that melts on the tongue. The melted butter adds a glossy sheen, while a splash of vanilla brings a depth of flavor that lingers long after the last bite. I’ve watched my children’s eyes widen with curiosity as they discover that the “nothing” in the name is actually a secret weapon for a luscious dessert.
But there’s more to this story than just taste. During the Great Depression, families turned to ingenuity, using every drop of water and every crumb of flour to stretch their meals. This pie is a tribute to that spirit—proof that scarcity can inspire creativity, and that a humble bowl of ingredients can become a centerpiece at any table. Imagine serving a slice to friends who think you’ve spent hours in the kitchen, only to reveal that the star component is plain old tap water. The look on their faces is priceless, and that’s the kind of reaction that keeps me coming back to this recipe again and again.
Now, you might be thinking, “Can a pie really be that simple and still impress?” Trust me, the answer is a resounding yes. I’ve refined this recipe over decades, adding tiny tweaks that elevate the flavor without compromising its historical roots. In the next sections, I’ll walk you through every detail—from why each ingredient matters to the exact steps that guarantee a perfect, golden‑browned crust every time. Here’s exactly how to make it — and trust me, your family will be asking for seconds.
🌟 Why This Recipe Works
- Flavor Depth: The combination of sugar and vanilla creates a sweet‑savory balance that feels both nostalgic and sophisticated, making each bite memorable.
- Texture Harmony: Flour thickens the filling just enough to hold its shape while still remaining light, giving you that melt‑in‑your‑mouth sensation.
- Ease of Preparation: With only eight pantry staples, you don’t need a trip to the specialty store—everything is likely already in your cupboard.
- Time Efficiency: The total cook time stays under an hour, perfect for a weeknight dessert that doesn’t demand a whole day’s attention.
- Versatility: The basic filling can be dressed up with fruit, spices, or a drizzle of caramel, allowing you to adapt it to any season or occasion.
- Nutrition Profile: Using water as the base reduces unnecessary calories, while the modest amount of butter adds richness without overwhelming the dish.
- Ingredient Quality: Simple ingredients shine when they’re fresh—high‑quality butter and pure vanilla extract make a world of difference.
- Crowd‑Pleasing Factor: Its subtle sweetness appeals to both kids and adults, making it a safe bet for potlucks, holidays, or spontaneous family gatherings.
🥗 Ingredients Breakdown
The Foundation
Water is the silent hero of this pie, providing the liquid base that allows the flour to gelatinize and the sugar to dissolve evenly. Because it’s flavor‑neutral, it lets the other ingredients shine without competition. If you’re using filtered or spring water, you’ll notice a cleaner taste compared to hard tap water, which can sometimes leave a mineral aftertaste. A pinch of salt is added here not to make the pie salty, but to enhance the overall flavor profile, acting like a subtle conductor that brings every note into harmony.
Aromatics & Sweeteners
Sugar does more than just sweeten; it also contributes to the glossy sheen of the final filling and helps with caramelization at the edges. When the mixture reaches a gentle boil, the sugar creates a thin film that traps steam, giving the pie its signature lightness. Vanilla extract, a splash of pure vanilla, injects warmth and depth, turning a simple custard into something reminiscent of a classic French pastry. If you don’t have pure extract, a vanilla bean scraped into the milk will work just as well, though you’ll need to strain the seeds out later.
The Creamy Enrichers
Milk adds the richness that water alone can’t provide, delivering a creamy mouthfeel that feels luxurious despite the humble ingredient list. Whole milk works best because its fat content contributes to a smoother texture; however, you can substitute 2% milk if you’re watching calories, just expect a slightly thinner filling. Melted butter, added at the end of the cooking process, coats each molecule of flour, preventing a dry, pasty result and giving the pie a subtle buttery aroma that’s instantly comforting.
The Vessel
An unbaked pie crust is the perfect canvas for this delicate filling. Whether you choose a store‑bought crust or a homemade flaky version, the key is to keep it blind‑baked just enough so it holds the liquid without becoming soggy. If you’re feeling adventurous, brush the crust with a light egg wash before baking; this will give it a golden‑brown finish that adds visual appeal and a hint of crispness. The crust also acts as a barrier, ensuring the filling stays moist while the outer edges develop a lovely caramelized edge.
With your ingredients prepped and ready, let's get cooking. Here's where the fun really begins...
🍳 Step-by-Step Instructions
🔐 Expert Tips for Perfect Results
The Taste Test Trick
Before you pour the filling into the crust, dip a spoon into the hot mixture and let it cool for a few seconds. Taste it and adjust the sweetness or vanilla if needed. I once served a batch that was a tad under‑sweet, and the feedback was immediate—so this quick check saves you from a second round of baking.
Why Resting Time Matters More Than You Think
Allow the pie to rest for at least 15 minutes after baking; this lets the starches fully gelatinize, creating that melt‑in‑your‑mouth texture. Skipping this step can leave the center slightly gummy, which is why my grandmother always warned, “Never rush a good pie.”
The Seasoning Secret Pros Won’t Tell You
A pinch of sea salt on top right before serving can elevate the flavors dramatically, balancing the sweetness and enhancing the buttery crust. I discovered this trick after a pastry chef pointed out that a tiny grain of salt can make the whole dessert sing.
Blind‑Baking Without a Weight
If you don’t have pie weights, fill the crust with dried beans or rice. This prevents the bottom from puffing up and ensures an even bake. I once tried to skip this step and ended up with a soggy base—lesson learned!
The Golden Browning Cue
When the crust reaches a light amber hue and you can smell a faint toasted butter aroma, the pie is ready to come out. Trust your nose—sometimes ovens run hot, and visual cues alone can be misleading.
🌈 Delicious Variations to Try
One of my favorite things about this recipe is how versatile it is. Here are some twists I've tried and loved:
Cinnamon Swirl Surprise
Add 1 teaspoon of ground cinnamon to the sugar before whisking it into the water. The warm spice pairs beautifully with the vanilla, giving the pie a cozy, autumnal feel that’s perfect for chilly evenings.
Citrus Zest Lift
Stir in the zest of one lemon or orange into the milk before adding it to the pot. The bright citrus notes cut through the richness, creating a refreshing contrast that’s especially lovely in spring.
Nutty Crunch Top
Sprinkle a handful of toasted sliced almonds or pecans over the filling just before baking. The nuts toast in the oven, adding a delightful crunch and a nutty aroma that elevates the whole dessert.
Berry Burst Version
Fold in 1 cup of fresh or frozen berries (such as blueberries or raspberries) into the filling after it’s removed from heat. The berries release juices that create tiny pockets of fruity surprise throughout the pie.
Caramel Drizzle Finale
Once the pie has cooled, drizzle a thin stream of caramel sauce over each slice. The caramel adds a buttery sweetness that complements the vanilla base and makes the presentation look restaurant‑worthy.
📦 Storage & Reheating Tips
Refrigerator Storage
Cover the pie loosely with aluminum foil or store it in an airtight container. It will keep fresh for up to 3 days in the fridge. When you’re ready to serve, let it come to room temperature for about 20 minutes to restore its velvety texture.
Freezing Instructions
Wrap each slice tightly in plastic wrap, then place the wrapped pieces in a freezer‑safe bag. The pie freezes well for up to 2 months. To thaw, move the slice to the refrigerator overnight, then warm gently in a 300°F oven for 10 minutes.
Reheating Methods
The trick to reheating without drying it out? A splash of milk or a drizzle of melted butter over the slice before popping it in a low oven (around 300°F) for 8‑10 minutes. This restores the moisture and brings back that fresh‑baked glow.
❓ Frequently Asked Questions
Can I use almond milk instead of dairy milk?
What type of flour works best?
Do I have to blind‑bake the crust?
Can I add a topping like whipped cream?
How do I know when the filling is thick enough?
Is it okay to use low‑fat butter?
Can I make this pie ahead of time?
What if I don’t have vanilla extract?
Place the pie in the preheated oven and bake for 25‑30 minutes, or until the edges turn a light golden brown and the center is set but still slightly jiggly. When you tap the center lightly, it should feel firm yet give a tiny wobble, much like a well‑made soufflé. This visual cue is essential; over‑baking will dry out the delicate filling.
Remove the pie from the oven and let it cool on a wire rack for at least 15 minutes. As it cools, the filling will continue to set, and a faint caramelized crust will develop around the edges. Trust me on this one: patience here makes the difference between a soggy mess and a slice that holds its shape.
Serve warm or at room temperature, optionally dusted with a light sprinkle of powdered sugar or a drizzle of honey. The first bite should reveal a buttery crust, a velvety filling, and a lingering hint of vanilla that makes you want another slice. Go ahead, take a taste — you’ll know exactly when it’s right.
Similar Recipes
 Desserts
Pumpkin Paradise Gooey Butter Cake: A Delightful Autumn Dessert
Delicious Pumpkin Paradise Gooey Butter Cake: A Delightful Autumn Dessert
 Desserts
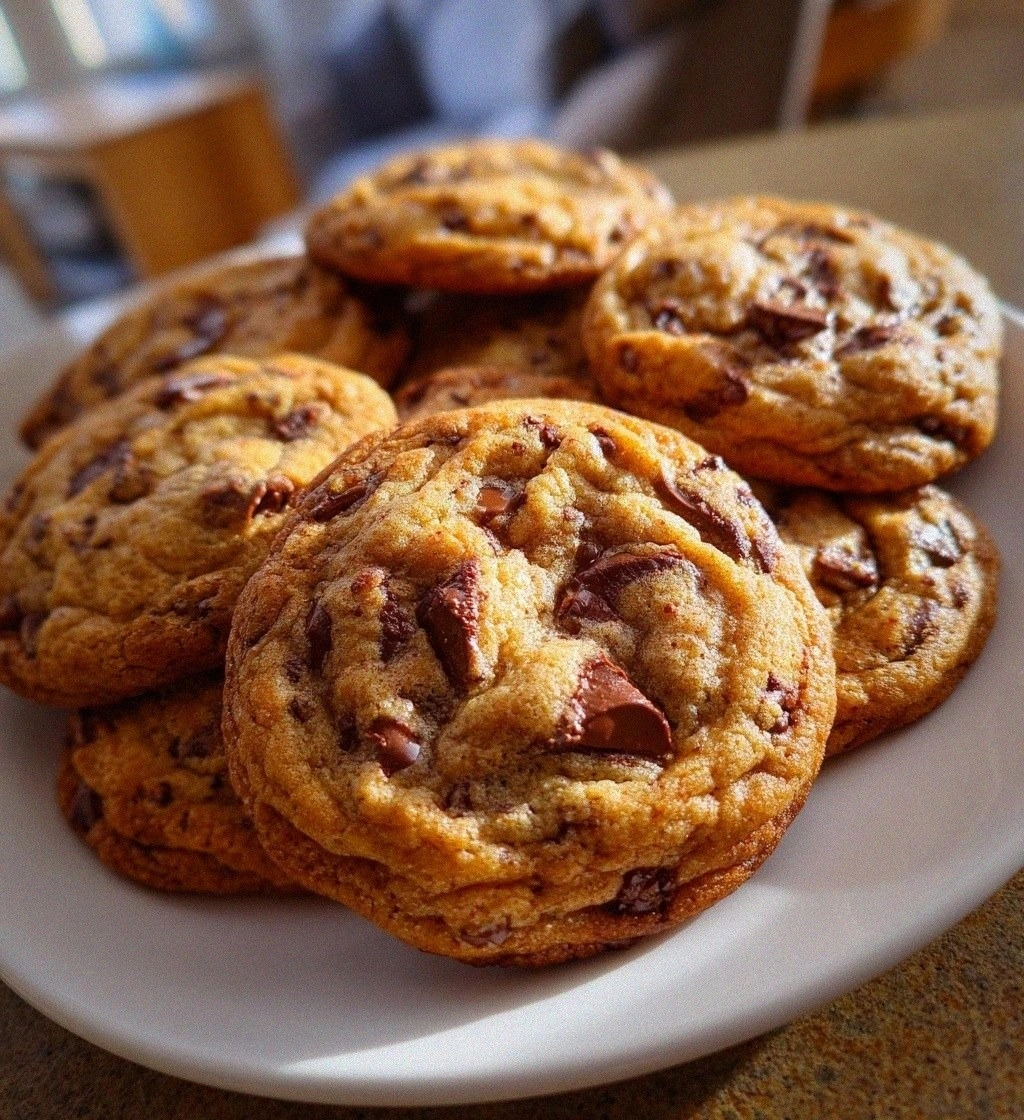
Browned Butter Chocolate Chip Cookies
Learn how to make delicious Browned Butter Chocolate Chip Cookies. Easy recipe with step-by-step instructions.
 Desserts
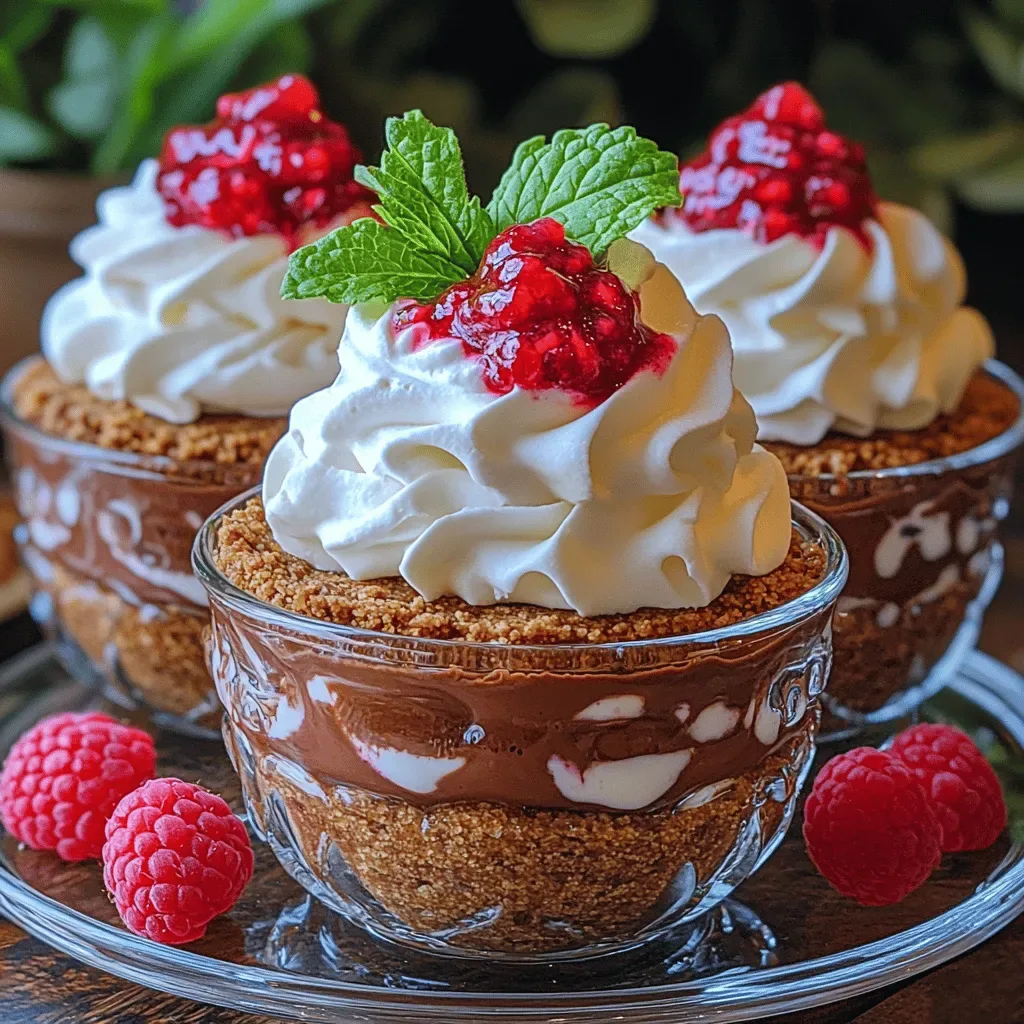
Indulge in Love: Marry Me No Bake Raspberry Chocolate Mousse Cups Recipe
Delicious Indulge in Love: Marry Me No Bake Raspberry Chocolate Mousse Cups Recipe
 Desserts
Cozy Slow Cooker Pumpkin Pie Pudding: A Heartwarming Fall Dessert Recipe
Delicious Cozy Slow Cooker Pumpkin Pie Pudding: A Heartwarming Fall Dessert Recipe
 Desserts
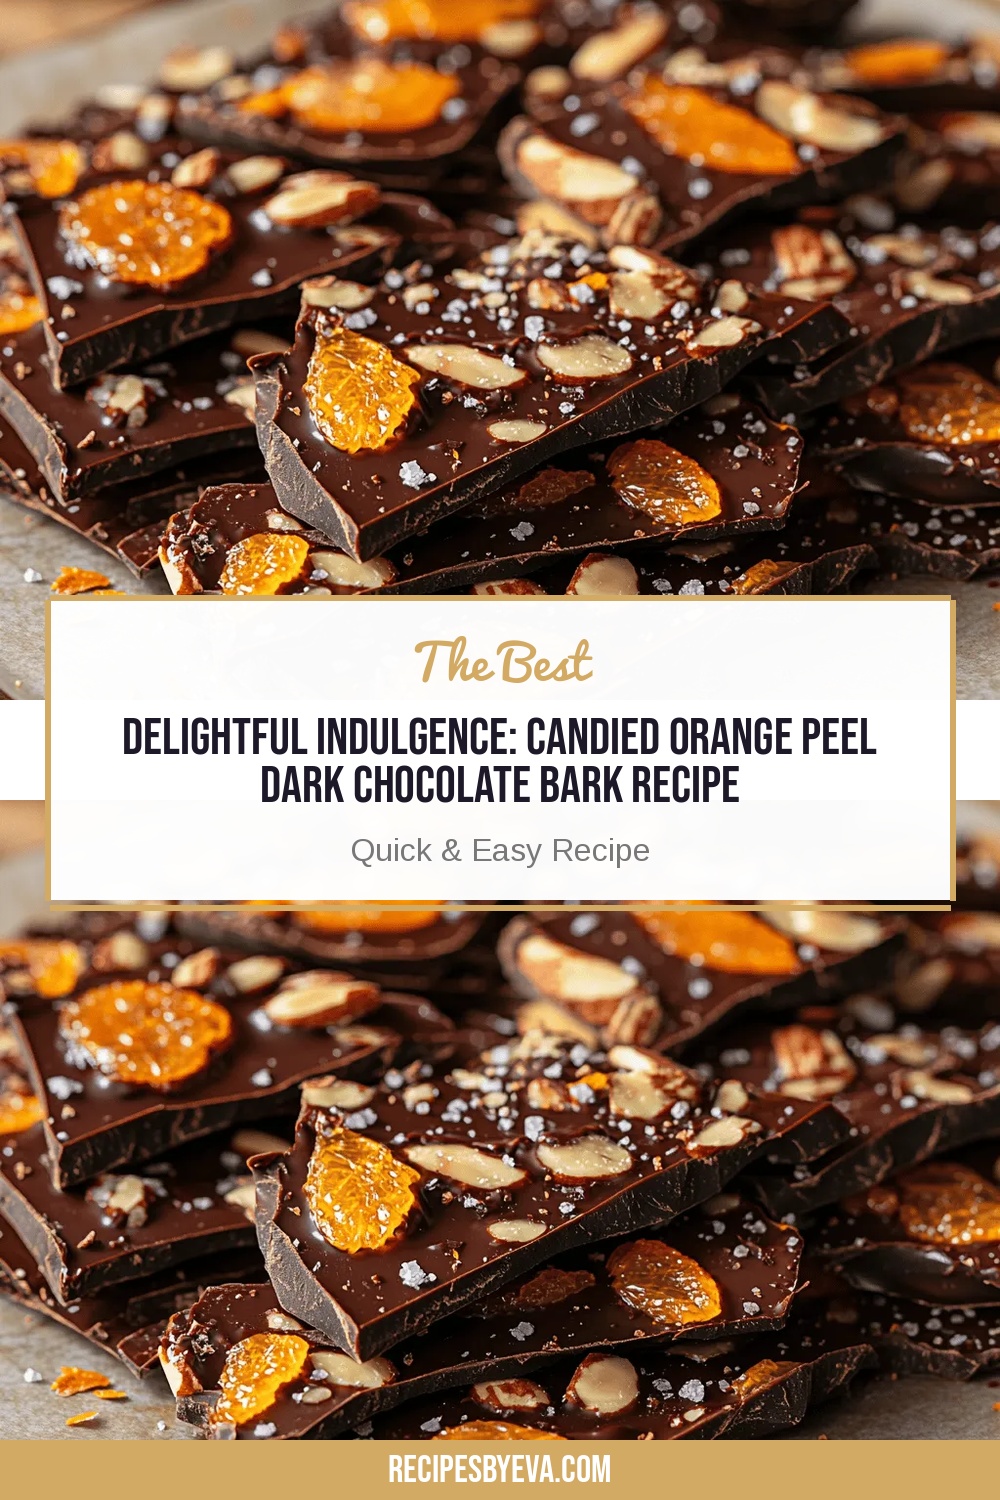
Delightful Indulgence: Candied Orange Peel Dark Chocolate Bark Recipe
Delicious Delightful Indulgence: Candied Orange Peel Dark Chocolate Bark Recipe
 Desserts
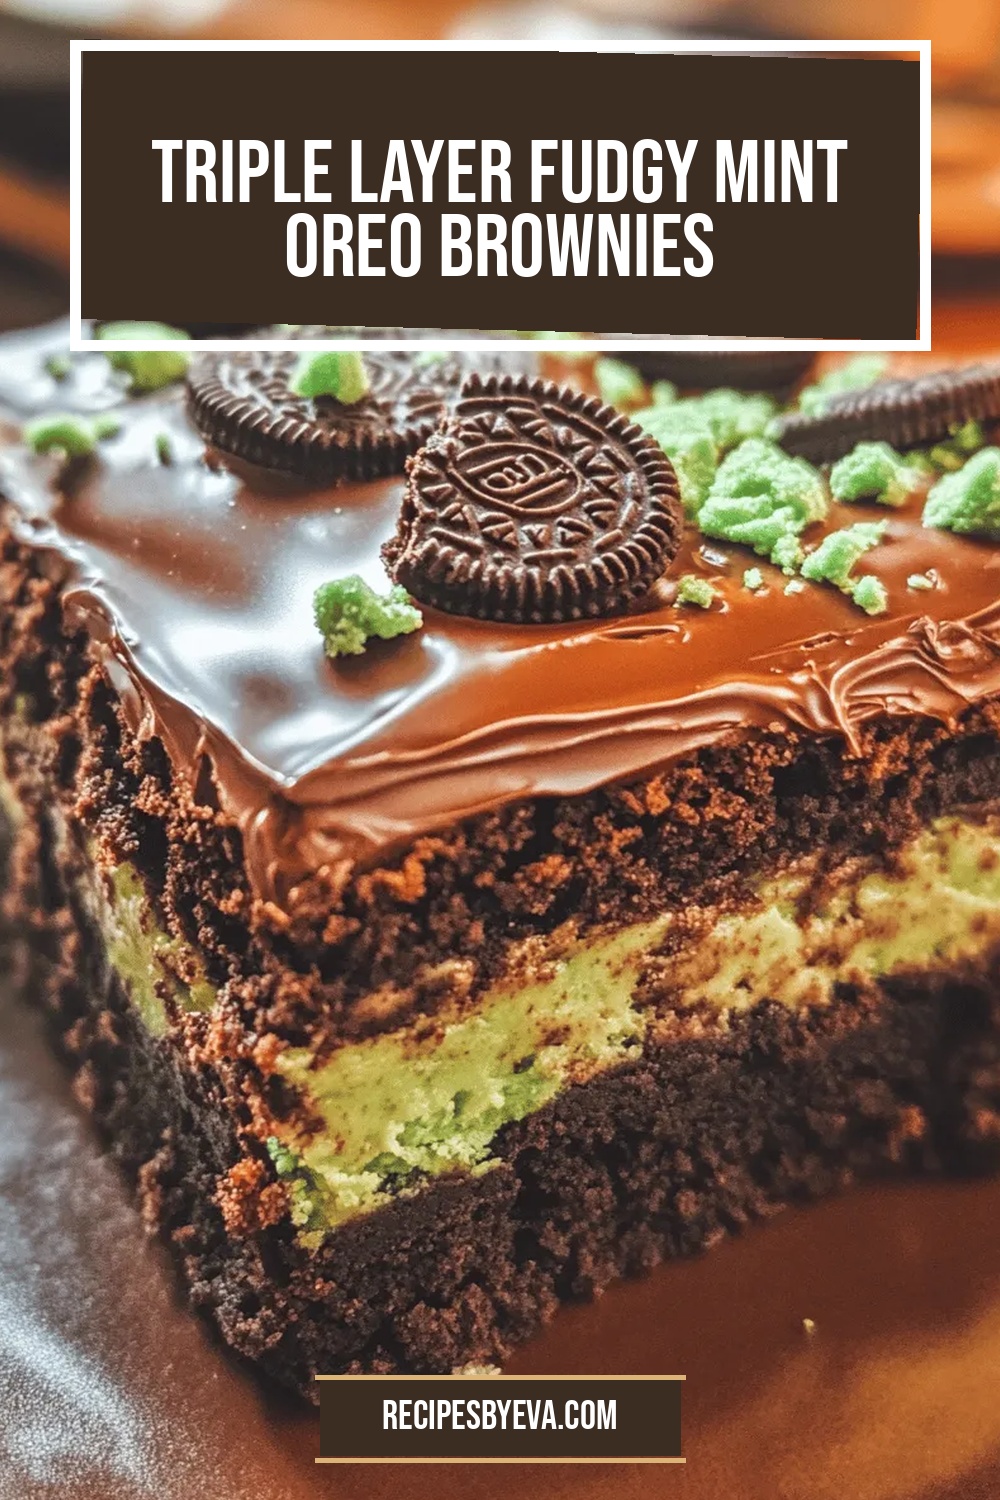
Triple Layer Fudgy Mint Oreo Brownies
Delicious Triple Layer Fudgy Mint Oreo Brownies
 Desserts
Crispy Baked Cinnamon Apple Chips
Delicious Crispy Baked Cinnamon Apple Chips
 Desserts
Silky Matcha White Chocolate Fudge: A Luxurious Delight
Delicious Silky Matcha White Chocolate Fudge: A Luxurious Delight

Eva
I cook these recipes at home before they ever land here — simple ingredients, clear steps.