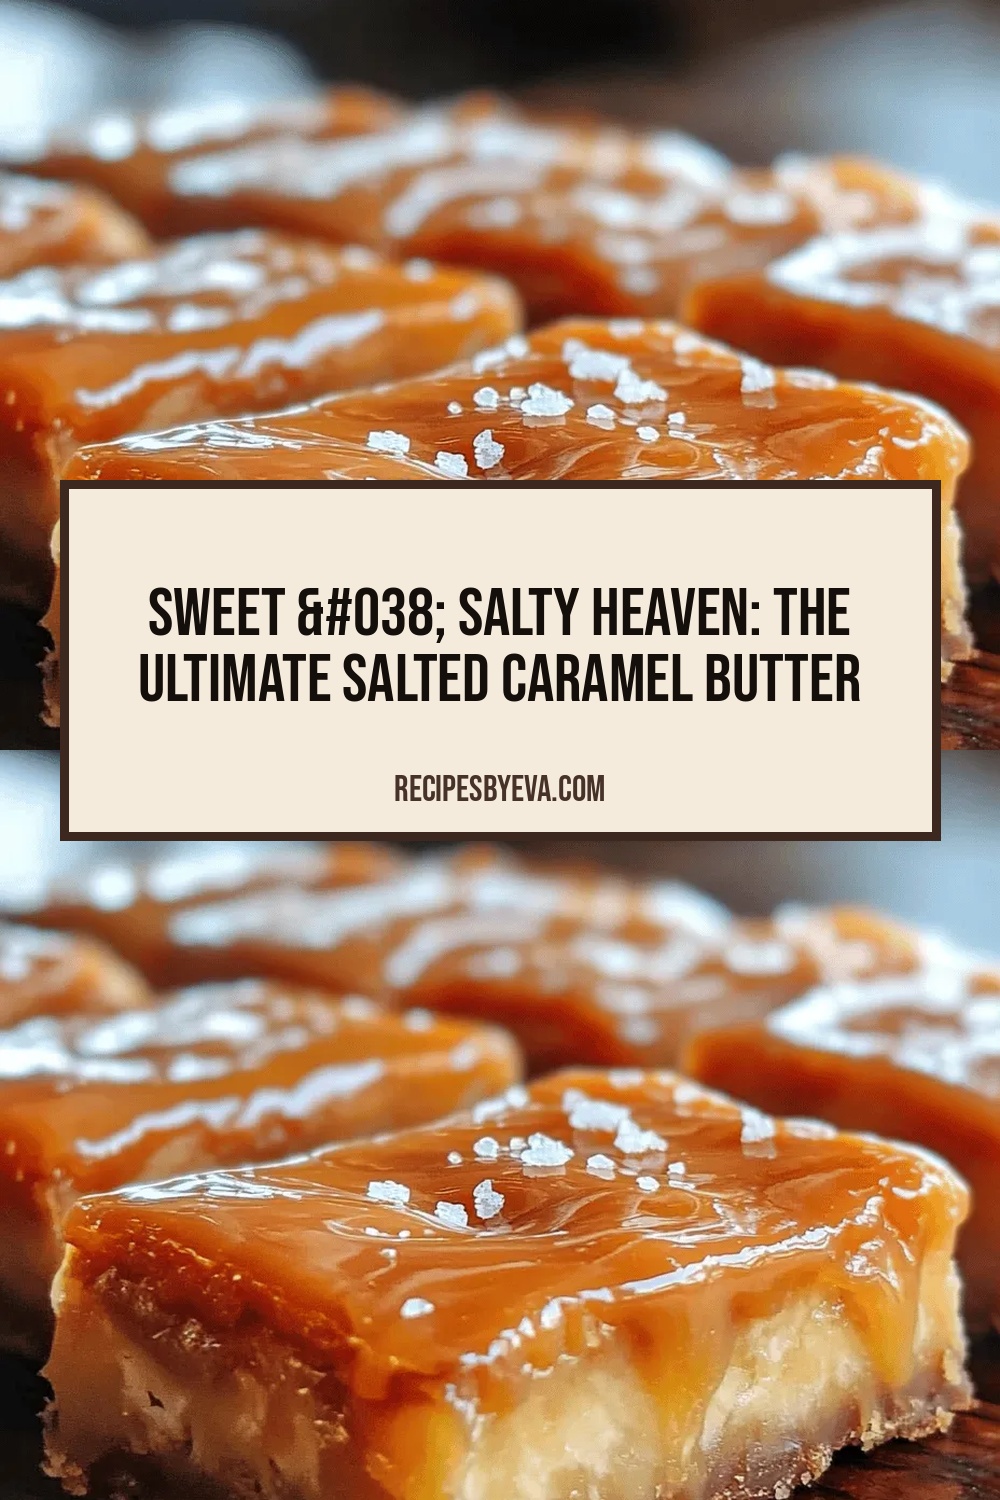
Sweet & Salty Heaven: The Ultimate Salted Caramel Butter Bars Recipe
 Save
Save
Imagine biting into a buttery, golden square that melts into a silky salted caramel swirl—sweetness meets a whisper of sea‑salt in every mouthful. These Salted Caramel Butter Bars deliver that dreamy contrast, turning an ordinary dessert into pure indulgence.
What sets this recipe apart is the layered technique: a crisp short‑bread crust, a luxuriously smooth caramel, and a final butter‑rich topping, all baked together for a harmonious texture.
Perfect for holiday gatherings, brunch spreads, or a simple after‑dinner treat, these bars will charm kids, caramel addicts, and anyone craving a balanced sweet‑salty experience.
The process involves preparing a buttery base, simmering caramel with butter and sea‑salt, assembling the layers in a pan, and baking until set—then cooling and cutting into perfect squares.
Why You'll Love This Recipe
Irresistible Sweet‑Salty Balance: The pinch of flaky sea‑salt cuts through the rich caramel, creating a sophisticated flavor that keeps you reaching for another bite.
Simple Yet Elegant: With just a handful of pantry staples you can produce a dessert that looks bakery‑worthy without any fancy equipment.
Perfect for Any Occasion: Whether it’s a casual family brunch or a formal holiday table, these bars fit seamlessly into any gathering.
Make‑Ahead Friendly: Once baked and cooled, the bars store beautifully, allowing you to prepare them days in advance and still enjoy peak flavor.
Tips & Tricks
Perfecting the Recipe
Cold Butter Matters: Keep the butter chilled until it hits the flour; this creates steam pockets that yield a flaky crust.
Don’t Over‑Mix: Pulse the base just until crumbs form—over‑mixing develops gluten and makes the crust tough.
Watch the Caramel Color: Aim for a deep amber, not burnt; a darker caramel adds bitterness that can overwhelm the sweet‑salty balance.
Chill Before Cutting: Refrigerating firms the caramel, preventing smearing and giving clean edges.
Flavor Enhancements
Add a splash of bourbon or dark rum to the caramel for an adult twist, or stir in a pinch of espresso powder to deepen the chocolatey undertones. A drizzle of high‑quality dark chocolate over the finished bars adds a luxurious contrast.
Common Mistakes to Avoid
Skipping the initial bake of the crust leads to a soggy bottom, as the caramel can seep into raw dough. Also, adding the cream too quickly to the hot sugar can cause splattering and a grainy texture; pour slowly while whisking.
Pro Tips
Use a Light‑Colored Baking Sheet: It lets you see the caramel’s color change more accurately, preventing over‑browning.
Finish with Flaky Sea‑Salt: Sprinkle just before serving to preserve its crunch and bright flavor.
Warm Your Knife: Dip the blade in hot water, dry, then slice; this yields cleaner cuts without dragging caramel.
Store in a Single Layer: If stacking, place parchment between layers to avoid sticking and preserve the glossy top.
Variations
Ingredient Swaps
Swap the all‑purpose flour for almond flour to add a nutty nuance, or replace butter with coconut oil for a dairy‑free twist. For a richer caramel, use dark brown sugar and a dash of smoked sea‑salt. Adding toasted chopped pecans into the base introduces a pleasant crunch.
Dietary Adjustments
Gluten‑free bakers can use a 1:1 gluten‑free flour blend, ensuring it contains xanthan gum for structure. To make the bars vegan, substitute butter with plant‑based margarine and use coconut cream instead of heavy cream; the caramel will remain silky and decadent.
Serving Suggestions
Serve the bars alongside a dollop of lightly sweetened whipped cream or a scoop of vanilla bean ice cream. A drizzle of salted caramel sauce and a sprinkle of toasted sea‑salt on the plate adds visual drama. Pair with a bold espresso or a glass of chilled dessert wine for a sophisticated finish.
Storage Info
Leftover Storage
Allow any remaining bars to cool completely, then place them in an airtight container. Store in the refrigerator for up to four days; the caramel will stay glossy and the crust will remain tender. For longer keeping, freeze individual bars wrapped in parchment and then sealed in a zip‑top bag for up to three months.
Reheating Instructions
Reheat refrigerated bars in a 300°F (150°C) oven for 8‑10 minutes, or until the caramel is gently warm and the butter topping softens. If using a microwave, heat a single bar on medium power for 20‑30 seconds, covering with a damp paper towel to prevent drying.
Frequently Asked Questions
Can I make these bars ahead of time?
What if I don’t have flaky sea‑salt?
Can I substitute the heavy cream?
What’s the best way to serve these bars?
This Sweet & Salty Heaven recipe blends a buttery short‑bread crust with a luxuriously smooth salted caramel, delivering a perfect balance of flavors and textures. We’ve covered every step—from selecting quality ingredients to mastering the caramel and storing leftovers—so you can confidently create these bars anytime. Feel free to experiment with swaps, seasonings, or presentation; the canvas is yours. Enjoy each bite of this decadent, crowd‑pleasing treat!
Sweet & Salty Heaven: The Ultimate Salted Caramel Butter Bars Recipe
Delicious Sweet & Salty Heaven: The Ultimate Salted Caramel Butter Bars Recipe
Ingredients
Butter Bar Base
- 1 ½ cups all‑purpose flour
- ¼ cup granulated sugar
- ½ cup unsalted butter, cold and cubed
- ¼ teaspoon fine sea‑salt
Salted Caramel Sauce
- ¾ cup brown sugar, packed
- ¼ cup heavy cream
- 3 tablespoons unsalted butter
- ½ teaspoon flaky sea‑salt, plus extra for garnish
- ¼ teaspoon pure vanilla extract
Finishing Butter Topping
- 2 tablespoons unsalted butter, softened
- 1 tablespoon powdered sugar (optional)
Instructions
Assembling & Baking
- Combine Layers. Once the crust has baked for 12‑15 minutes and turned lightly golden, remove it from the oven. Pour the warm caramel evenly over the baked base, spreading with a spatula to ensure full coverage.
- Top with Butter Mixture. In a small bowl, blend the softened butter (and powdered sugar if using) until smooth. Dot the butter mixture across the caramel surface, then gently swirl with a knife to create a marbled effect.
- Final Bake. Return the pan to the oven and bake for an additional 10‑12 minutes, or until the caramel is set and the butter topping is lightly browned. This second bake melds the layers together, creating a cohesive bar.
Similar Recipes
 Desserts
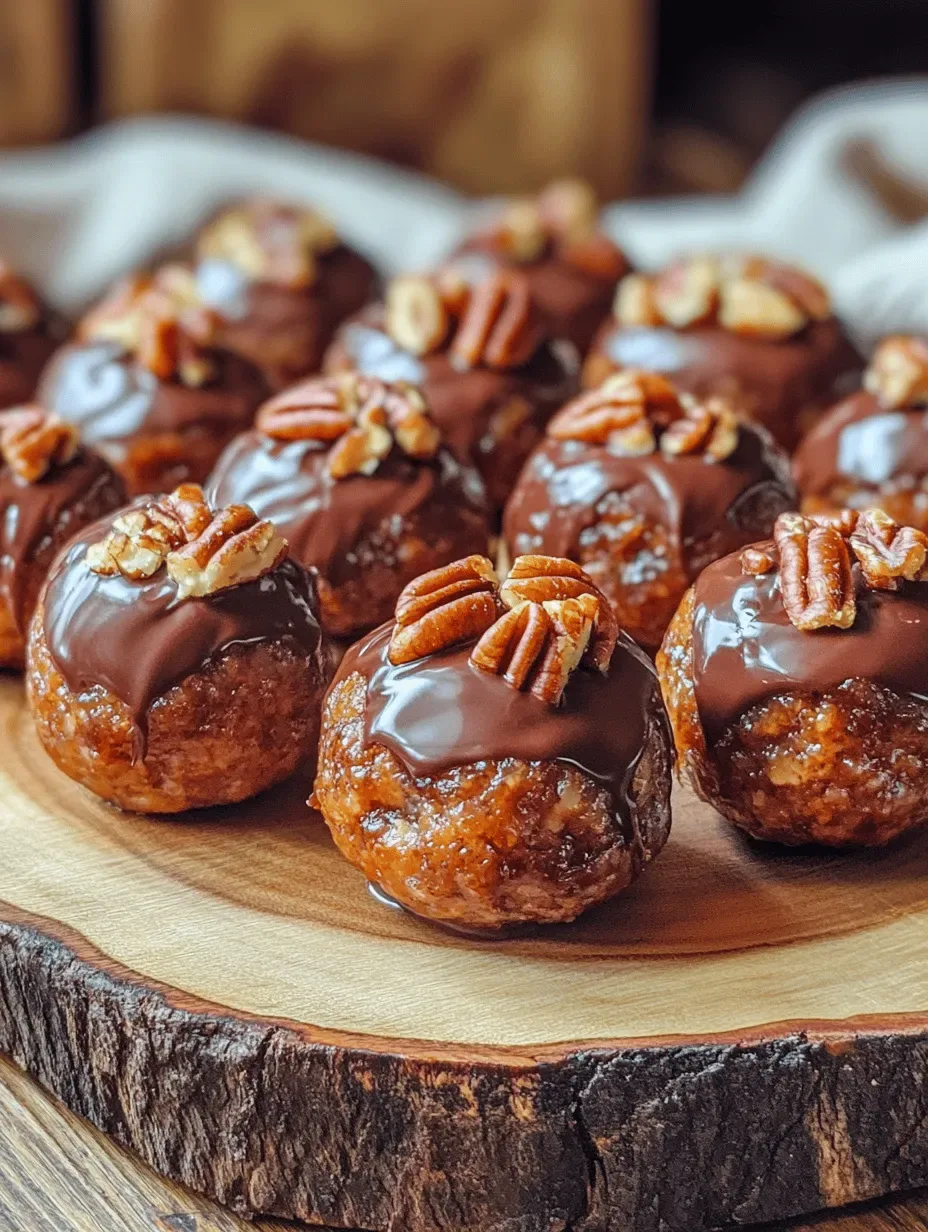
Pecan Pie Balls Delight: A Delectable No-Bake Treat
Delicious Pecan Pie Balls Delight: A Delectable No-Bake Treat
 Desserts
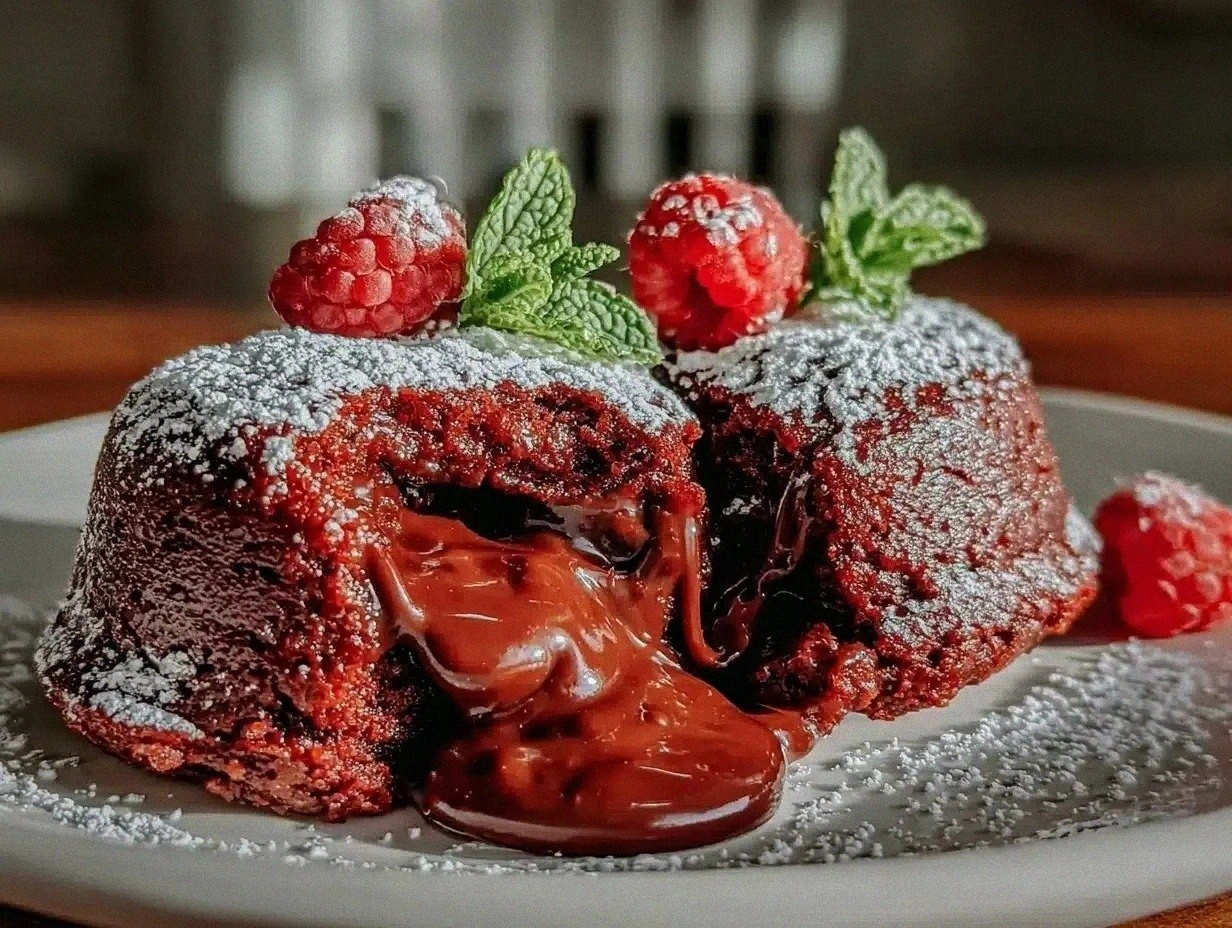
Decadent Red Velvet Lava Cakes for Two Easy Romantic Dessert Recipe
Learn how to make delicious Decadent Red Velvet Lava Cakes for Two Easy Romantic Dessert Recipe.…
 Desserts
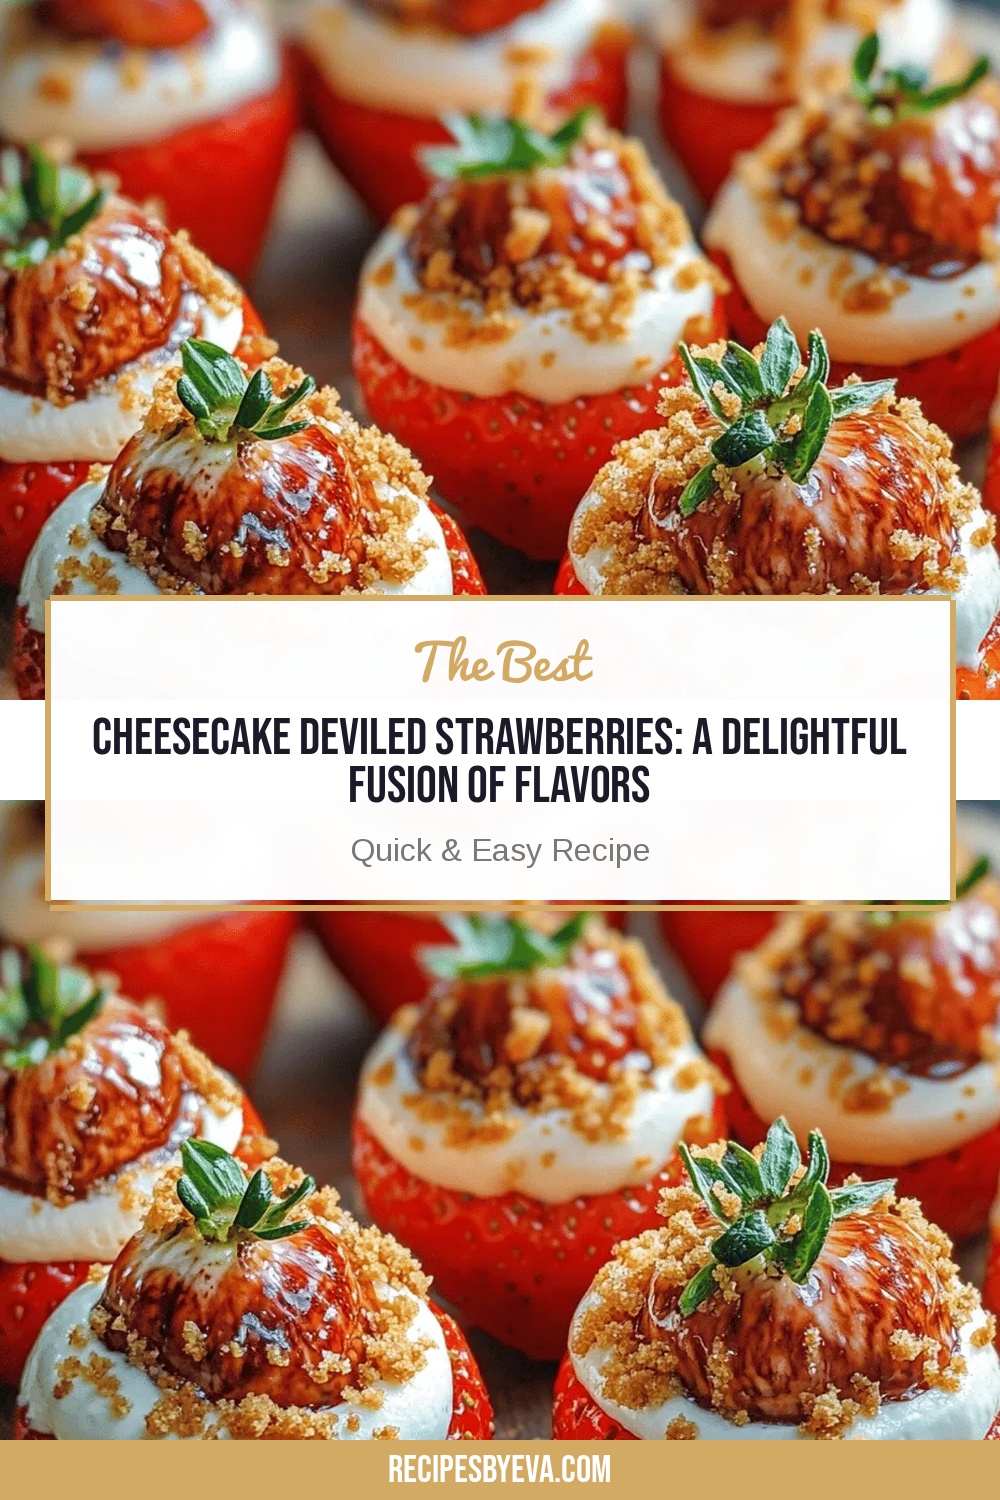
Cheesecake Deviled Strawberries: A Delightful Fusion of Flavors
Delicious Cheesecake Deviled Strawberries: A Delightful Fusion of Flavors
 Desserts
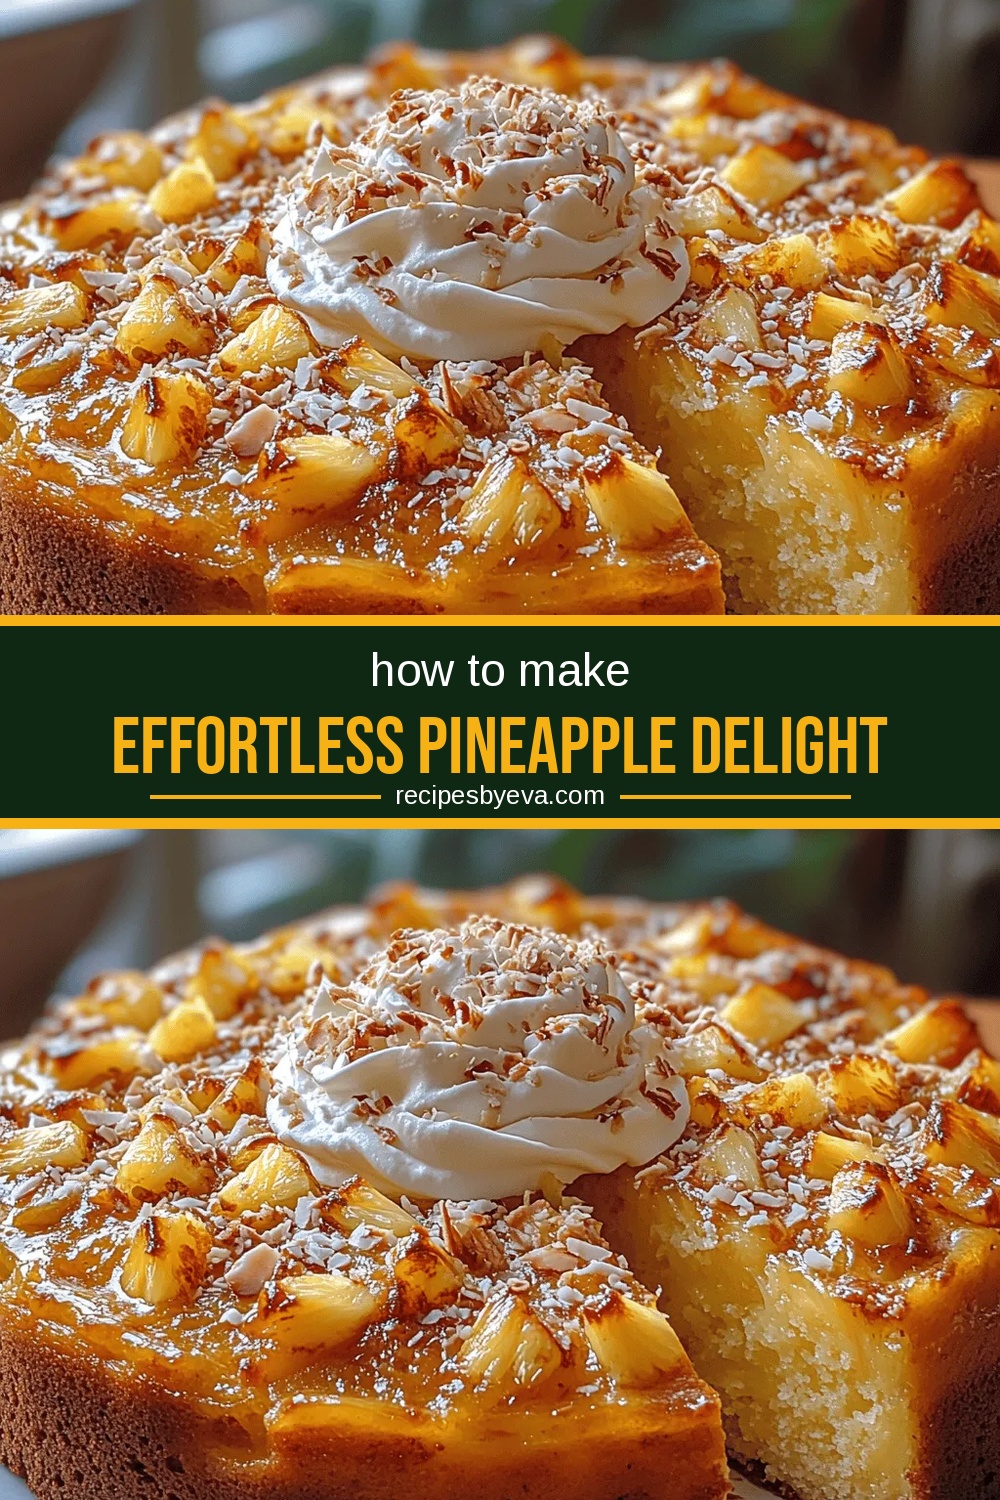
Effortless Pineapple Delight Cake: A Tropical Treat for Every Occasion
Delicious Effortless Pineapple Delight Cake: A Tropical Treat for Every Occasion
 Desserts
Delightful Heart Petit Fours: Elegant Treats to Savor
Learn how to make delicious Delightful Heart Petit Fours: Elegant Treats to Savor. Easy recipe with…
 Desserts
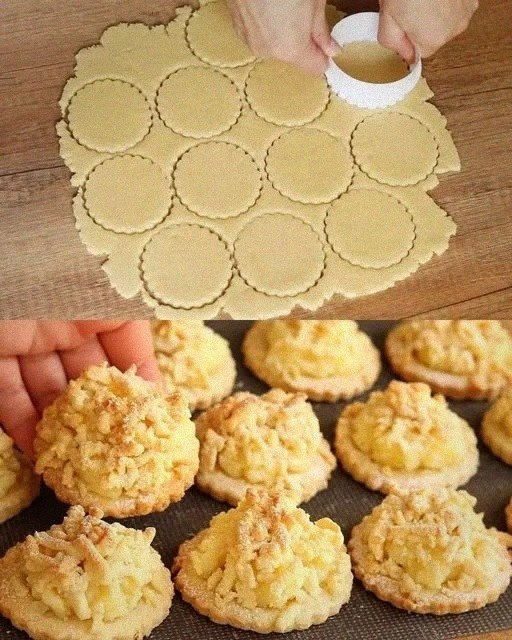
Cream-Filled Pastry Bites
Learn how to make delicious Cream-Filled Pastry Bites. Easy recipe with step-by-step instructions.
 Desserts
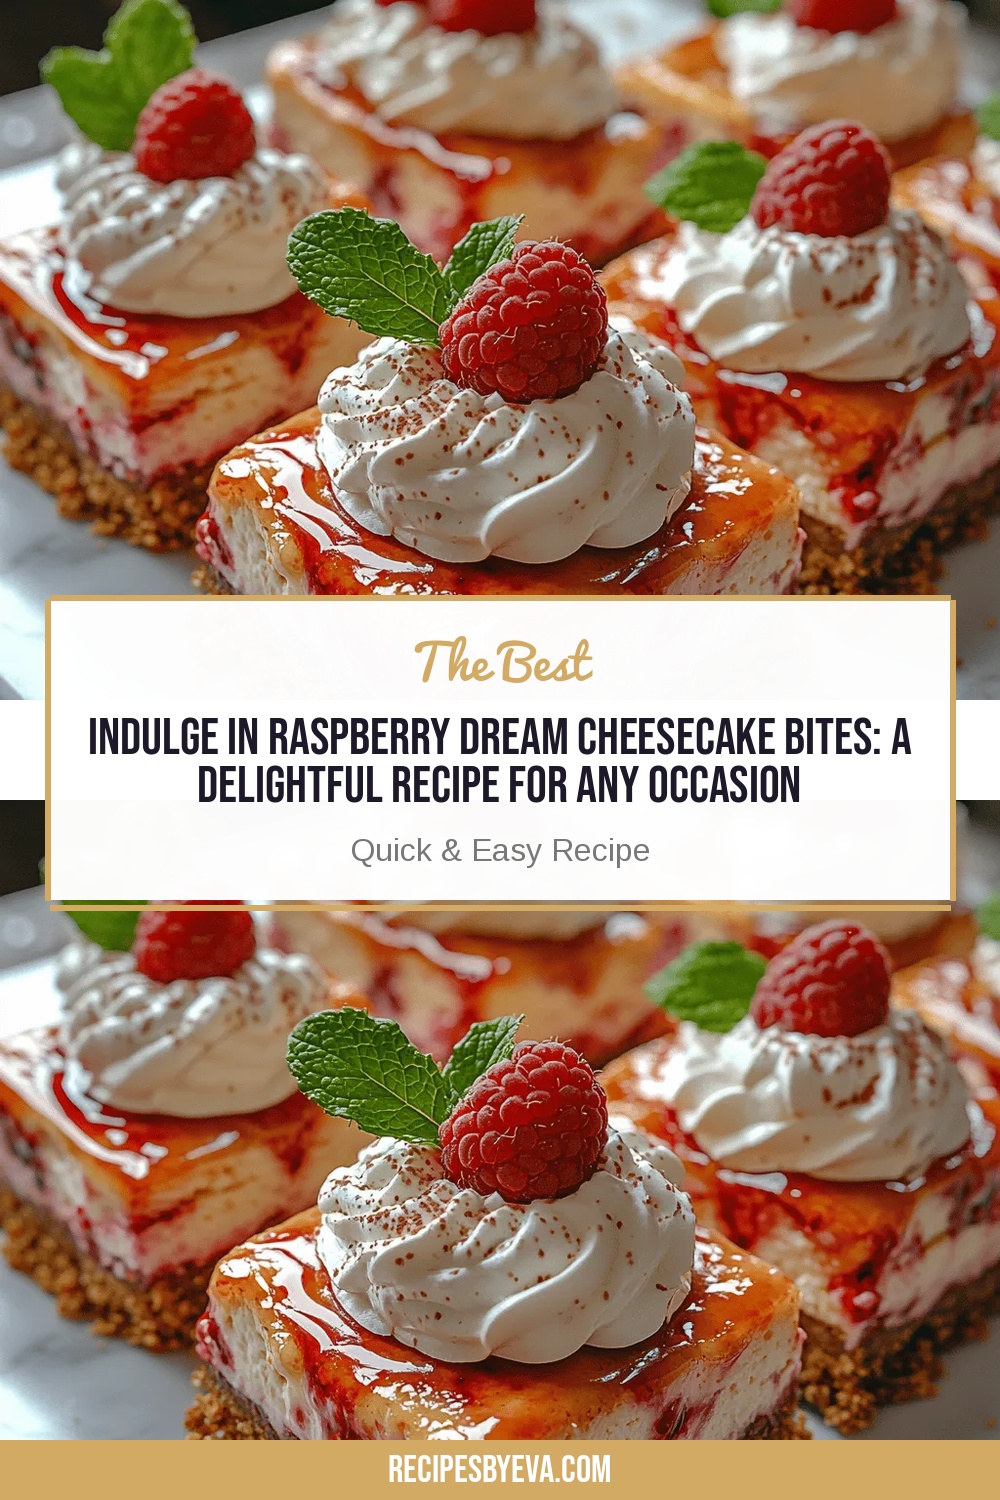
Indulge in Raspberry Dream Cheesecake Bites: A Delightful Recipe for Any Occasion
Delicious Indulge in Raspberry Dream Cheesecake Bites: A Delightful Recipe for Any Occasion
 Desserts
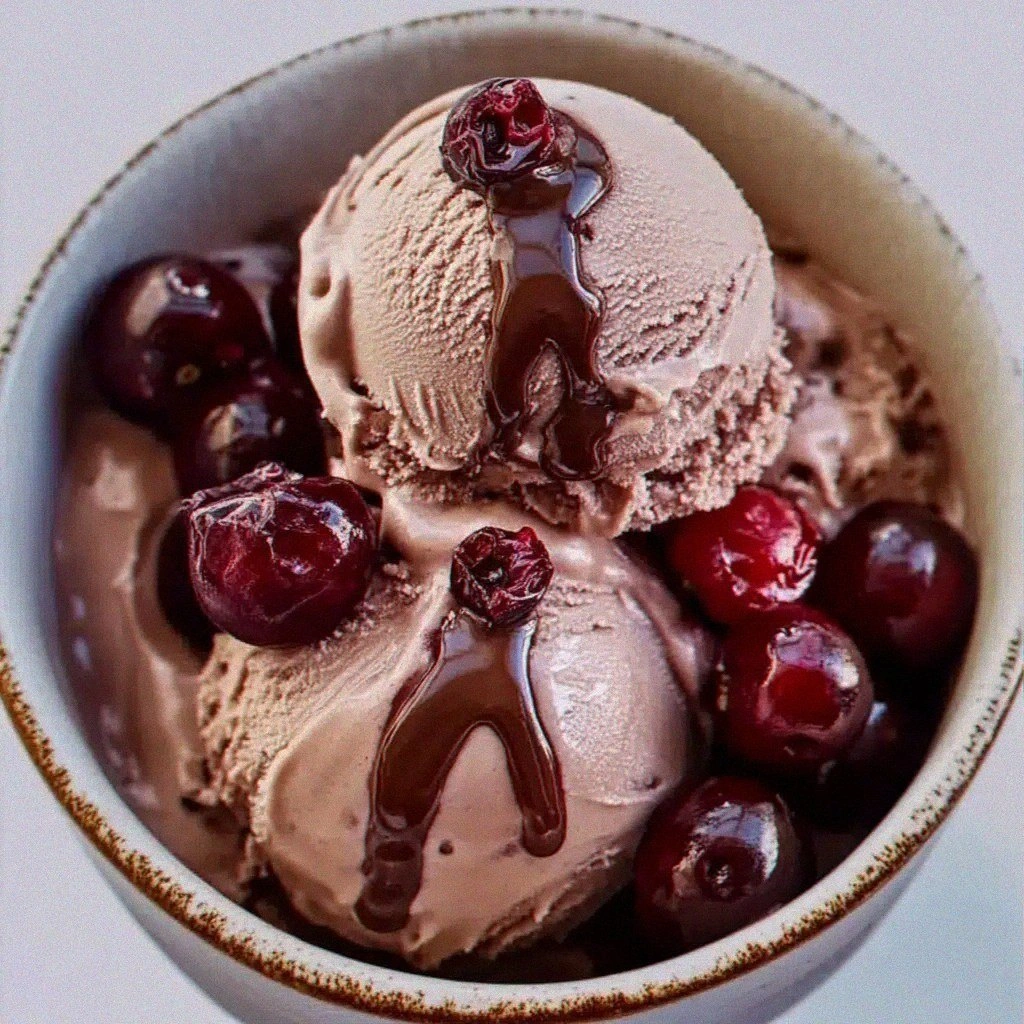
Chocolate Cherry Ice Cream: An Incredible Ultimate Recipe
Learn how to make delicious Chocolate Cherry Ice Cream: An Incredible Ultimate Recipe. Easy recipe with…

Eva
I cook these recipes at home before they ever land here — simple ingredients, clear steps.