Introduction
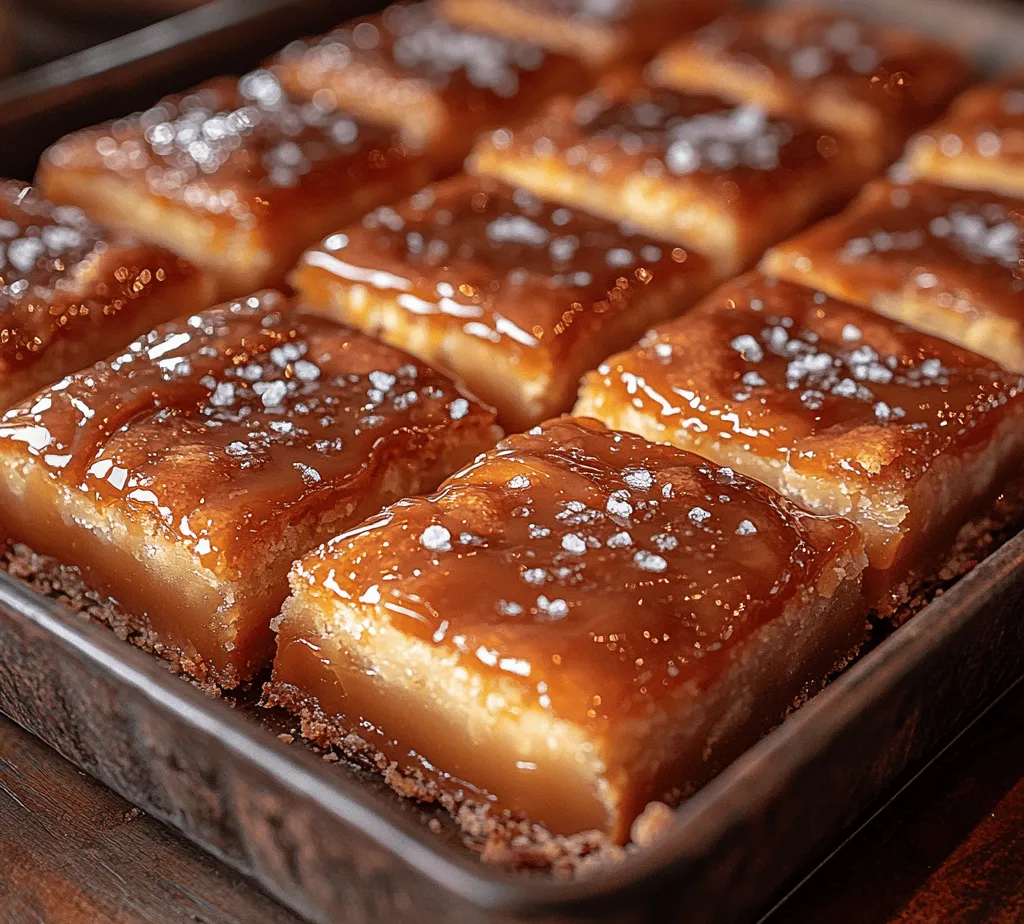
Salted caramel desserts have taken the culinary world by storm, captivating taste buds with their irresistible blend of sweet and salty flavors. The allure of salted caramel lies not only in its rich, buttery sweetness but also in the delightful contrast it offers against a backdrop of savory elements. This heavenly combination creates a multi-dimensional flavor profile that leaves dessert lovers craving more. Among the myriad of salted caramel treats, Decadent Salted Caramel Butter Bars stand out as a perfect fusion of flavors and textures, making them an ideal choice for both special occasions and everyday indulgences.
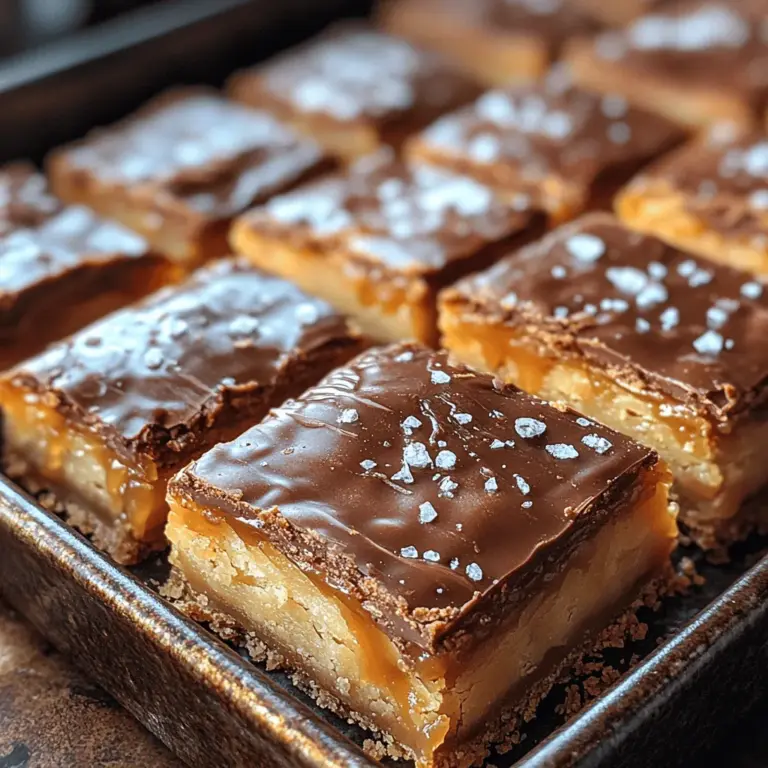
Imagine sinking your teeth into a buttery, crumbly crust that gives way to a luscious layer of homemade salted caramel, all topped with a smooth chocolate layer that adds a delightful richness. These bars are not just a dessert; they are a celebration of flavors that can elevate any gathering or simply satisfy your sweet tooth after a long day. Perfect for sharing at potlucks, birthday parties, or simply enjoying with a cup of coffee, these salted caramel butter bars are sure to impress anyone lucky enough to try them.
With a few simple steps and high-quality ingredients, you can create these decadent treats in your own kitchen. Let’s delve into the ingredients and the basics of this delectable recipe so that you can whip up a batch of these irresistible bars in no time.
Ingredients Overview
Creating the perfect Decadent Salted Caramel Butter Bars requires a harmonious blend of ingredients, each playing a crucial role in the overall flavor and texture of the dessert. Below is a detailed breakdown of the ingredients you will need for the crust, caramel, and chocolate topping.
For the Crust:
1. All-Purpose Flour: This serves as the base of the crust, providing structure and a tender crumb.
2. Granulated Sugar: Adds sweetness and helps create a delicate texture.
3. Cold Unsalted Butter: Essential for achieving a flaky crust. The cold temperature prevents the butter from melting too quickly, allowing for a light and airy texture.
4. Salt: A pinch of salt enhances the flavors and balances the sweetness.
For the Salted Caramel Filling:
1. Granulated Sugar: The primary ingredient for the caramel that will be melted and transformed.
2. Unsalted Butter: Adds richness and creaminess to the caramel.
3. Heavy Cream: Contributes to the smooth and silky texture of the caramel.
4. Sea Salt: The star of the show, a sprinkle of sea salt will elevate the sweetness of the caramel and provide that signature salty kick.
For the Chocolate Topping:
1. Semi-Sweet Chocolate Chips: For a rich and indulgent topping that pairs beautifully with the caramel.
2. Butter: A small amount of butter helps to achieve a smooth, glossy finish when melting the chocolate.
Importance of Quality Ingredients
When it comes to baking, the quality of your ingredients can make a significant difference in the final product. Opting for high-quality butter, fresh cream, and pure vanilla extract can elevate your salted caramel butter bars to new heights. These ingredients not only enhance the flavors but also contribute to the overall texture, ensuring that each bite is as satisfying as the last.
Substitutions for Dietary Considerations
If you have dietary restrictions or preferences, there are several substitutions you can make without sacrificing flavor. For a gluten-free option, you can substitute all-purpose flour with a gluten-free flour blend. If you’re looking to make the recipe dairy-free, consider using coconut cream instead of heavy cream and dairy-free butter alternatives. Additionally, for a healthier twist, you can experiment with coconut sugar in place of granulated sugar for the crust and caramel.
Understanding the Basics of the Recipe
Before diving into the preparation of your Decadent Salted Caramel Butter Bars, it’s essential to understand the role of each component and the importance of the steps involved. Each layer contributes to the overall balance of flavors, creating a dessert that is both indulgent and satisfying.
The Crust
The crust serves as the foundation for the bars, providing a buttery, crumbly texture that complements the silky caramel filling. Achieving the right texture is key; you want it to be firm enough to hold the bars together when sliced but tender enough to crumble in your mouth. Proper mixing techniques and using cold butter will be crucial for achieving that perfect balance.
The Caramel Filling
The caramel filling is the heart of these bars. It requires careful attention as it cooks; the sugar must melt slowly to achieve that deep, rich flavor without burning. The addition of butter and cream transforms the melted sugar into a luscious caramel that is both sweet and salty, creating a delightful contrast against the crust.
The Chocolate Topping
Finally, the chocolate topping adds a luxurious finish to the bars. It not only enhances the overall flavor but also provides a beautiful visual appeal. Melting the chocolate properly and ensuring it’s spread evenly will result in a glossy, decadent layer that completes the experience.
The Sweet and Salty Balance
One of the most appealing aspects of salted caramel desserts is the balance of sweet and salty. The salt enhances the sweetness of the caramel, creating a satisfying contrast that keeps you coming back for more. Mastering this balance is essential in crafting the perfect dessert, and it’s important to taste as you go, adjusting the saltiness to your preference.
Preparing the Crust
Now that we have an understanding of the ingredients and their roles, we can begin the preparation of the crust. Follow these steps carefully to ensure a flaky, buttery base for your salted caramel butter bars.
Step 1: Gather Your Ingredients
Start by gathering all the ingredients needed for the crust. Ensure your butter is cold—this is crucial for achieving a flaky texture.
Step 2: Mix the Dry Ingredients
In a large mixing bowl, combine the all-purpose flour, granulated sugar, and salt. Whisk them together until they are well combined, ensuring that the sugar and salt are evenly distributed throughout the flour.
Step 3: Incorporate the Cold Butter
Cut the cold unsalted butter into small cubes and add it to the dry mixture. Using a pastry cutter or your fingers, work the butter into the flour mixture. You want to create a crumbly texture where the butter is evenly distributed but not fully incorporated. This is the key to a flaky crust.
Step 4: Press the Crust into the Pan
Once you have achieved a crumbly texture, it’s time to press the mixture into your prepared baking pan. Use the back of a measuring cup or your fingers to firmly press the crust into an even layer across the bottom of the pan. Make sure to cover the edges as well to prevent the caramel from leaking out during baking.
Step 5: Bake the Crust
Preheat your oven to 350°F (175°C). Once the oven is heated, place the crust in for about 15-20 minutes or until it is lightly golden brown. Keep a close eye on it to prevent over-baking. Once done, remove it from the oven and allow it to cool slightly before adding the caramel layer.
Step 6: Cooling Time
Let the crust cool for about 10-15 minutes before adding the caramel filling. This cooling period is important as it helps to set the crust, ensuring it holds up well when layered with the warm caramel.
In the next section of this article, we will dive into crafting the perfect caramel, ensuring that it’s smooth, rich, and perfectly salted. Stay tuned for the details on this essential step in creating your Decadent Salted Caramel Butter Bars!


