
Introduction
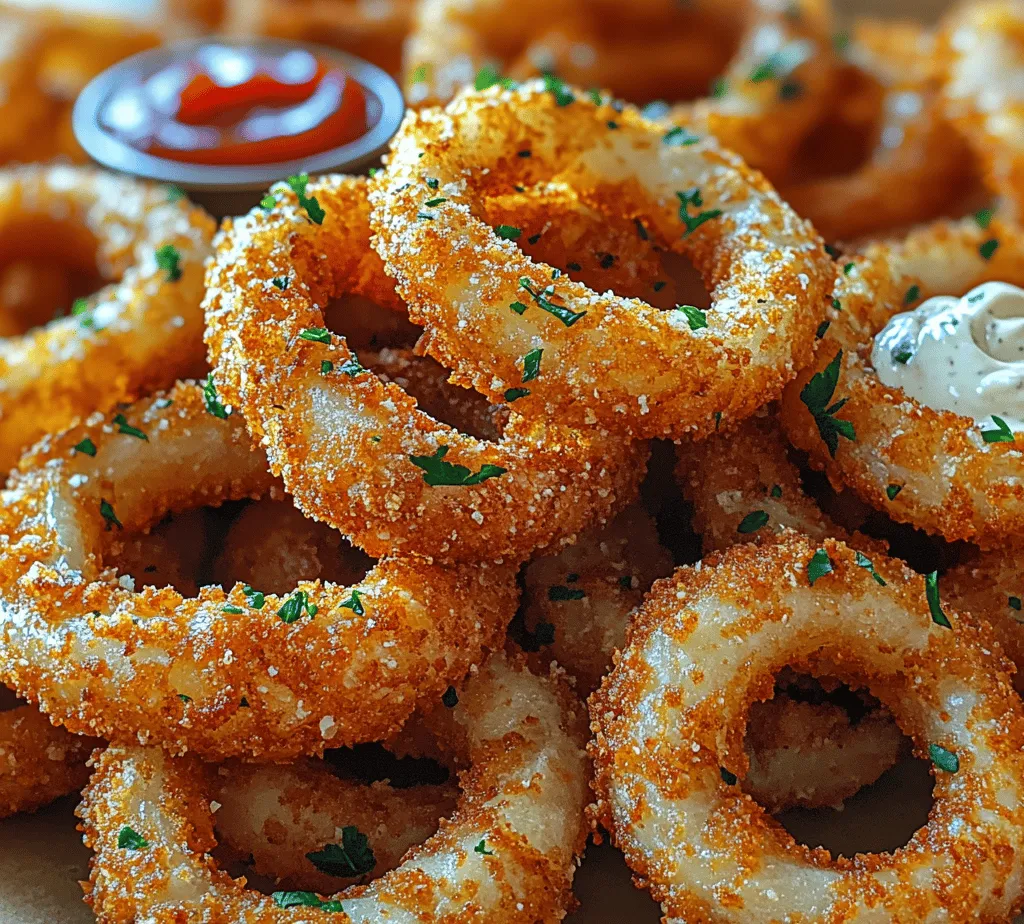
Crispy onion rings are a timeless classic, beloved by many as the ultimate snack or appetizer. Their unmistakable crunch and savory flavor have made them a staple in restaurants, diners, and homes alike. Whether served alongside a juicy burger, as a side to a hearty salad, or enjoyed on their own with a zesty dipping sauce, onion rings are versatile enough to fit into any meal. The allure of these golden-brown rings lies not only in their satisfying texture but also in the myriad of flavors that can be infused into each bite.
What sets homemade onion rings apart from their store-bought counterparts is the freshness and quality of the ingredients. When you make onion rings at home, you have complete control over what goes into the batter, allowing you to tailor the flavors and textures to your liking. The satisfaction derived from creating a batch of perfectly crispy onion rings cannot be overstated—it transforms the cooking process into a delightful culinary adventure.
The Appeal of Homemade Onion Rings
While store-bought onion rings can be convenient, they often fall short in terms of taste and texture. Many commercially available options are frozen and fried in oils that can compromise flavor and quality. In contrast, homemade onion rings offer an unparalleled taste experience, showcasing the natural sweetness of the onions paired with a perfectly seasoned coating.
One of the main advantages of whipping up your own batch is the ability to control the ingredients. You can choose high-quality onions, select your preferred flour, and even adjust the spices to match your palate. This level of customization leads not only to a more flavorful result but also to a healthier dish that is free from artificial additives and preservatives.
Moreover, the joy of frying at home is a rewarding experience. The aroma of onions cooking in hot oil is irresistible, and the sound of them sizzling is enough to whet anyone’s appetite. Mastering the technique of frying allows you to achieve that perfect crunchy texture that is so often sought after but rarely found in pre-packaged onion rings. Plus, there’s something inherently satisfying about creating a dish from scratch, and the pride of serving your homemade onion rings to family and friends is truly fulfilling.
Ingredients Breakdown
To embark on your crispy onion ring adventure, let’s take a closer look at the essential ingredients that will elevate your dish from average to extraordinary.
Yellow Onions
The star of our recipe is, of course, the yellow onion. When selecting onions, look for firm bulbs that feel heavy for their size and have a smooth, papery skin without any blemishes. Yellow onions are ideal for frying due to their balanced sweetness and pungency, which caramelizes beautifully when cooked. They are versatile and can be used in various dishes, but their natural sugars shine through when transformed into crispy onion rings.
All-Purpose Flour
All-purpose flour plays a vital role in the batter, providing structure and a light coating that adheres well to the onion rings. While all-purpose flour is the standard choice, those looking for gluten-free options can substitute it with almond flour or a gluten-free all-purpose blend. This will still create a satisfying crunch while accommodating dietary restrictions.
Panko Breadcrumbs
For that unbeatable crunch, panko breadcrumbs are a must. These Japanese-style breadcrumbs are coarser and flakier than traditional breadcrumbs, allowing for a crispier texture when fried. Panko absorbs less oil, which means your onion rings will be less greasy. Using panko as a final coating will give you that satisfying crunch with each bite.
Buttermilk
Buttermilk is a secret ingredient that enhances both flavor and texture. Its acidity helps to tenderize the onions while adding a rich, tangy taste that elevates the overall profile of the dish. Marinating the onion rings in buttermilk also ensures that the batter adheres more effectively, resulting in a more cohesive and flavorful bite.
Egg
The egg serves as a binding agent in the batter, helping to hold everything together. Beaten eggs create a sticky coating on the onion rings, ensuring that the flour and panko adhere well during frying. This step is crucial for achieving that beloved crispy texture.
Spices
A blend of spices can take your onion rings to the next level. We recommend incorporating garlic powder, smoked paprika, cayenne pepper, salt, and pepper. Garlic powder adds depth and a hint of savoriness, while smoked paprika introduces a subtle smokiness that complements the sweetness of the onions. A pinch of cayenne adds a kick of heat, which can be adjusted to your preference. Salt and pepper enhance the overall flavor profile, ensuring that every bite is seasoned to perfection.
Vegetable Oil
Lastly, the choice of vegetable oil is important for frying. Oils with high smoke points, such as canola oil, peanut oil, or vegetable oil, are ideal for frying onion rings as they can withstand the heat without burning. It’s also crucial to ensure that your oil is at the right temperature before frying—too low, and your onion rings will absorb excess oil; too high, and they may burn before cooking through.
Preparation Steps
Now that we’ve covered the ingredients, it’s time to dive into the preparation steps to create your Crispy Onion Ring Extravaganza. Follow these instructions carefully for the best results.
Step 1: Prepare the Onions
Begin by peeling the yellow onions and trimming off the ends. To cut the onions into rings, slice each onion into ½-inch thick rounds. Aim for consistent thickness to ensure even cooking. Once sliced, gently separate the rings, being careful not to break them.
Step 2: Marinate in Buttermilk
In a large bowl, combine the separated onion rings with enough buttermilk to fully submerge them. Cover the bowl and let the onions marinate in the refrigerator for at least 30 minutes, or up to 2 hours. This step not only infuses the onions with flavor but also helps to tenderize them.
Step 3: Prepare the Breading Station
While the onions are marinating, it’s time to set up your breading station. In one shallow dish, place the all-purpose flour, along with half of your desired spices (garlic powder, smoked paprika, cayenne, salt, and pepper). In another shallow dish, whisk together the eggs until well combined. In a third dish, add the panko breadcrumbs along with the remaining spice mix, ensuring that the breadcrumbs are evenly seasoned.
Step 4: Bread the Onion Rings
After the onions have marinated, remove them from the refrigerator. Take each onion ring and dip it first into the flour mixture, coating it lightly. Shake off any excess flour, then dip the ring into the beaten egg, allowing the excess to drip off. Finally, coat the onion ring in the panko breadcrumbs, pressing gently to ensure an even coating. Place the breaded rings on a baking sheet lined with parchment paper, and repeat the process until all rings are breaded.
Step 5: Heat the Oil
In a deep frying pan or Dutch oven, pour in enough vegetable oil to submerge the onion rings at least halfway. Heat the oil over medium-high heat until it reaches about 350°F (175°C). You can test the oil’s readiness by dropping a small piece of bread into the oil—if it sizzles and bubbles immediately, the oil is hot enough.
Step 6: Fry the Onion Rings
Carefully add the breaded onion rings to the hot oil, ensuring not to overcrowd the pan. Fry the rings in batches, cooking for about 2-3 minutes on each side, or until they turn golden brown and crispy. Use a slotted spoon to remove the rings from the oil, letting the excess oil drain off before transferring them to a plate lined with paper towels to absorb any additional grease.
Step 7: Serve and Enjoy
Once all the onion rings are fried, they are ready to be served. Pair them with your favorite dipping sauces, such as ranch, spicy mayo, or ketchup, and enjoy the fruits of your labor.
—
Stay tuned for the continuation of this article, where we’ll dive deeper into expert tips for achieving the perfect crispy onion rings, address common questions about the recipe, and share some creative variations to try!
Creating the Batter: Importance of Consistency and Avoiding Lumps
To achieve that perfect crunch in your crispy onion rings, the batter is key. Start by combining your dry ingredients, which typically include all-purpose flour, cornstarch, baking powder, and seasonings. The ratio of these ingredients plays a vital role in the texture of the batter. The cornstarch is particularly important as it helps create that light and crispy coating.
When mixing your wet ingredients—usually a blend of cold water or beer for a richer flavor—ensure that you whisk them together thoroughly before adding to the dry mix. The goal is to achieve a smooth batter without any lumps. Lumps not only affect the texture but can also lead to uneven cooking and an unappealing look. If you do see lumps in your batter, don’t fret—simply whisk a bit more vigorously or use a blender to smooth it out. A well-mixed batter will adhere better to the onions and create a delightful crunch when fried.
The Double Coating Technique: Explanation of Why This Step is Crucial for Crunchiness
Once your batter is smooth and ready, it’s time to discuss the double coating technique, a crucial step that elevates the crunchiness of your onion rings. This method involves dipping the onion rings first into the batter, then coating them again in seasoned breadcrumbs or panko. The double layer creates an additional barrier that ensures the onion rings maintain their crispiness even after frying.
To execute this technique, first, make sure your onion rings are well-coated in the batter, allowing any excess to drip off before transferring them to the breadcrumb mixture. Press down gently to ensure the breadcrumbs stick, then shake off any excess. This double layer not only enhances the texture but also adds an appealing golden-brown color to your finished product.
Frying Techniques for Perfect Onion Rings
Explanation of the Frying Process
Frying is where the magic happens. The right frying technique will yield golden, crispy onion rings that are beautifully cooked on the outside while remaining tender inside. Start by heating your oil in a deep fryer or a heavy-bottomed pot. A depth of at least two inches of oil is recommended to ensure even cooking.
Importance of Oil Temperature and How to Test It Effectively
The temperature of the oil is vital for achieving perfectly fried onion rings. Ideally, you want your oil to be between 350°F to 375°F (175°C to 190°C). If the oil is too cool, the onion rings will absorb excess oil and turn soggy. Conversely, if the oil is too hot, the outside will burn before the inside cooks through.
To test the oil temperature without a thermometer, drop a small amount of batter into the oil. If it sizzles and rises to the surface immediately, the oil is ready for frying. You can also use a piece of bread; if it browns in about 60 seconds, your oil is at the perfect frying temperature.
Tips on Frying in Batches and Avoiding Overcrowding
When frying, it’s essential to work in batches. Overcrowding the pot can drastically reduce the oil temperature, leading to poorly cooked onion rings. Frying in small batches allows the oil to maintain its temperature and ensures each ring gets evenly cooked. About four to six rings at a time is a good rule of thumb, depending on the size of your pot.
Keep an eye on the frying process, and use a slotted spoon to turn the onion rings for even cooking. Fry them for about 2-4 minutes or until they reach a beautiful golden brown color.
Signs of Perfectly Fried Onion Rings: Color, Aroma, and Texture Cues
Knowing when your onion rings are done frying comes with experience, but there are some telltale signs. Look for a rich golden brown color, and listen for that satisfying crunch when they come out of the oil. The aroma of fried onions should fill your kitchen, making it hard to resist sampling a piece before serving.
Once cooked, place the onion rings on a plate lined with paper towels to absorb any excess oil. This final step helps maintain their crispiness until you’re ready to serve.
Serving Suggestions
Crispy onion rings are a treat on their own, but pairing them with the right sauces can elevate the experience. Here are some classic and creative serving suggestions:
Ideas for Pairing Onion Rings with Sauces
1. Traditional Options: Ketchup and ranch dressing are classic companions for onion rings. The tanginess of ranch complements the savory flavor of the rings, while ketchup adds a familiar sweetness.
2. Spicy Aioli: For a gourmet twist, try a spicy aioli made from mayonnaise, garlic, lemon juice, and a touch of hot sauce. This creamy dip adds an exciting kick that pairs beautifully with the crispy texture of the rings.
3. Homemade Dips: Consider making a zesty mustard dip or a creamy blue cheese dip. The tang of mustard can cut through the richness of the fried batter, while blue cheese offers a bold flavor contrast.
4. Gourmet Options: For something unique, try a chipotle ranch or a sweet chili sauce. These options add a depth of flavor that can impress your guests at gatherings.
Presentation Tips for Serving Onion Rings at Gatherings or Casual Dinners
When it comes to presentation, a little effort goes a long way. Serve the onion rings in a rustic basket lined with parchment paper for a casual look. For more formal occasions, consider stacking the rings vertically on a skewer for a fun twist. Garnish with fresh herbs or a sprinkle of paprika for added color and flavor.
Crispy Onion Rings as a Versatile Snack
Crispy onion rings are more than just a side dish; they can be a versatile addition to various meals and occasions.
As Appetizers for Parties and Gatherings
Onion rings make fantastic appetizers for any gathering. They are easy to prepare in large batches and can be served as finger food. Guests will love the crunch, and you can easily customize the sauces to fit the theme of your party.
Side Dish Options for Burgers, Sandwiches, and Salads
They pair wonderfully with burgers, sandwiches, and salads, providing a satisfying crunch that complements the other textures on the plate. Consider serving them alongside a classic cheeseburger or a hearty chicken sandwich for a delightful meal.
Creative Uses in Other Dishes, Such as Onion Ring Burgers or Casseroles
You can also get creative and incorporate onion rings into other dishes. Try adding them as a topping to burgers for an extra layer of flavor and crunch. Alternatively, layer them in a casserole for a delightful twist on comfort food. The crispy texture contrasts beautifully with creamy elements in a dish, making it an instant hit.
Conclusion
Making crispy onion rings at home can be a delightful culinary adventure. The satisfaction of biting into a perfectly cooked onion ring, with its crispy exterior and tender onion inside, is an experience worth sharing with family and friends.
As you experiment with this recipe, don’t hesitate to make it your own. Whether it’s by adjusting the spices in the batter, trying out new dipping sauces, or serving them in creative ways, the possibilities are endless. So gather your ingredients, fire up the fryer, and enjoy the deliciousness of homemade crispy onion rings—your taste buds will thank you!
