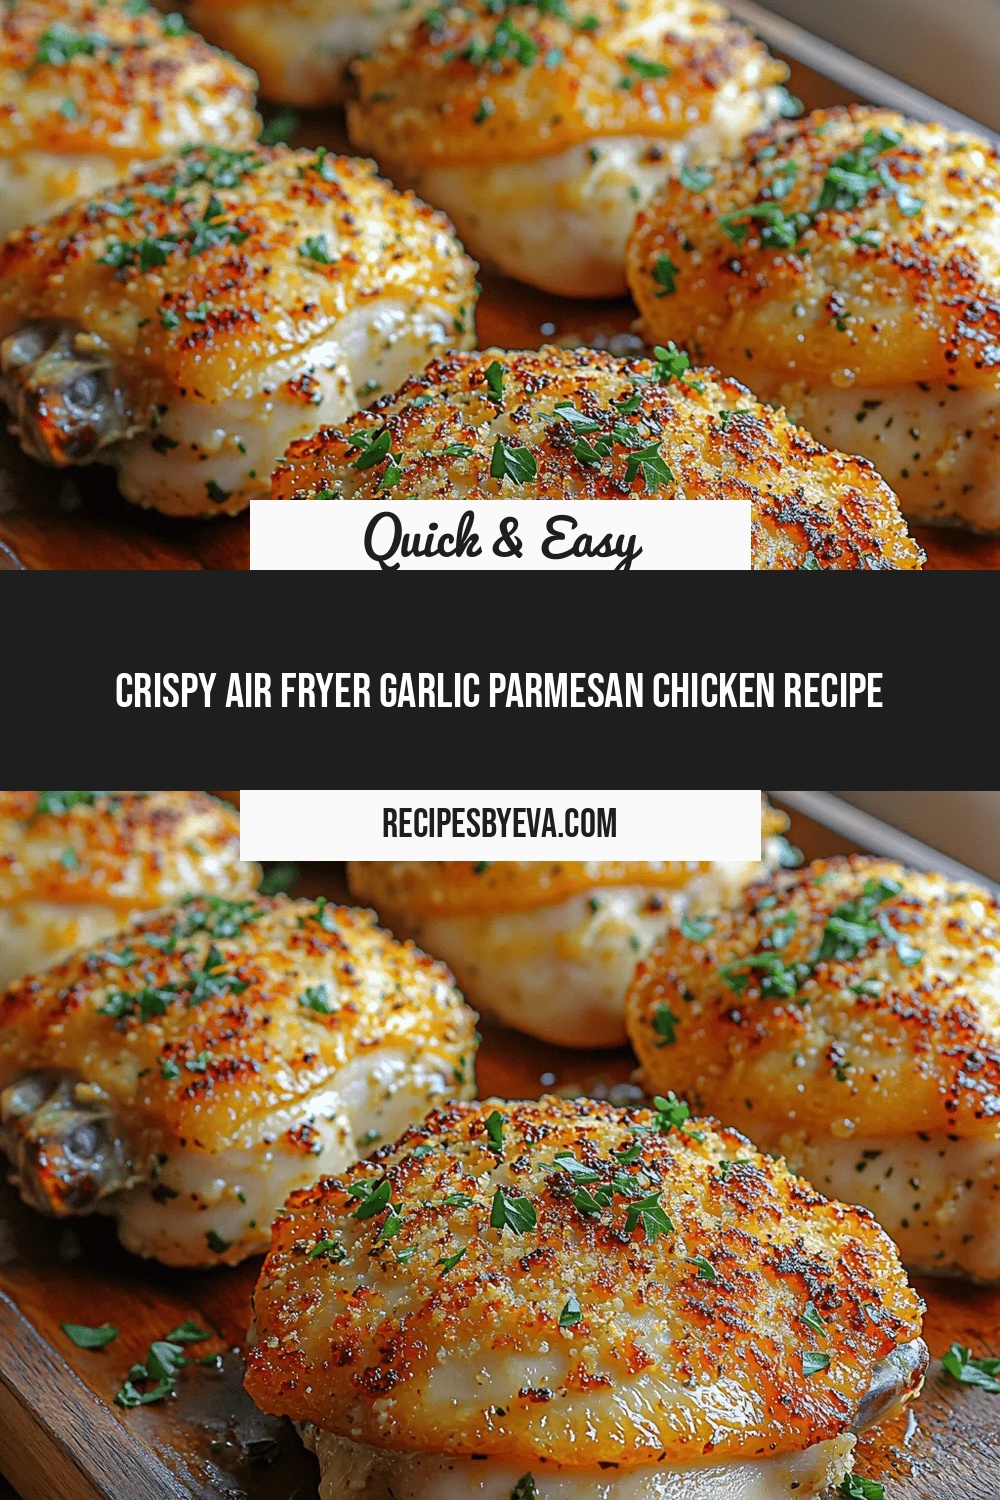
Crispy Air Fryer Garlic Parmesan Chicken Recipe
 Save
Save
Craving that restaurant‑quality crunch without the deep‑fried guilt? This Crispy Air Fryer Garlic Parmesan Chicken delivers a golden, buttery crust, a tender juicy interior, and a garlicky‑parmesan glaze that sings with every bite.
What makes it special is the marriage of two classic flavors—garlic and Parmesan—with the rapid, oil‑light cooking power of an air fryer. The result is a satisfyingly crisp coating that stays light, while the chicken stays moist and flavorful.
Busy families, college students, and anyone who loves a quick, comforting dinner will adore this dish. It’s perfect for weeknight meals, casual get‑togethers, or even a tasty lunch‑box upgrade.
The process is straightforward: coat the chicken in a seasoned breadcrumb mixture, spray lightly with oil, air‑fry until golden, then toss with a warm garlic‑Parmesan sauce. In under thirty minutes you’ll have a crowd‑pleasing plate that looks as good as it tastes.
Why You'll Love This Recipe
Ultra‑Crispy Without Deep‑Frying: The air fryer creates a crunchy crust using a fraction of the oil, giving you that fried feel while keeping calories in check.
Bold Garlic‑Parmesan Flavor: Fresh garlic and aged Parmesan combine for a savory, aromatic glaze that clings perfectly to every bite of chicken.
Ready in 30 Minutes: From prep to plate, the recipe fits into a busy schedule, making it ideal for weeknight dinners or last‑minute gatherings.
Versatile Side Pairings: Serve it over rice, pasta, or a fresh salad—the dish adapts to any cuisine style you crave.
Tips & Tricks
Perfecting the Recipe
Room‑Temperature Chicken: Let the breasts sit out for 10‑15 minutes before seasoning. This promotes even cooking and prevents a cold center.
Don’t Overcrowd the Basket: Cook in batches if necessary. Space allows hot air to circulate, giving each piece a uniform crisp.
Use Fresh Parmesan: Freshly grated cheese melts better and creates a richer, more aromatic crust than pre‑grated packets.
Check Temperature Early: Begin checking at 12 minutes with a probe; the air fryer can vary, and you’ll avoid overcooking.
Flavor Enhancements
Add a teaspoon of Dijon mustard to the sauce for subtle tang, or fold in a pinch of red‑pepper flakes for gentle heat. A splash of white wine during the sauce reduction adds depth without overpowering the garlic‑Parmesan base.
Common Mistakes to Avoid
Skipping the oil mist results in a dry, pale coating. Also, resist the urge to flip the chicken too early; the crust needs at least 8‑10 minutes to set before it can be turned without falling apart.
Pro Tips
Make a Double Coating: Dip the chicken in a beaten egg before the breadcrumb mixture; the egg acts as a glue and yields an extra‑crunchy exterior.
Finish Under a Broiler: After air‑frying, pop the chicken under a hot broiler for 1‑2 minutes to achieve that restaurant‑style char.
Use a Meat Thermometer: This guarantees the chicken reaches 165°F without guessing, preserving juiciness.
Rest Before Slicing: Let the chicken rest 5 minutes after cooking; the juices redistribute, keeping each bite moist.
Variations
Ingredient Swaps
Replace chicken with pork tenderloin medallions or firm tofu for a vegetarian twist. Swap panko for crushed cornflakes for an extra‑light crunch, or use almond flour for a low‑carb version. For a sweet‑savory spin, drizzle a little honey or maple syrup into the final sauce.
Dietary Adjustments
To keep it gluten‑free, use certified gluten‑free panko or ground rice crackers. For dairy‑free diners, substitute the Parmesan with nutritional yeast and use a plant‑based butter. Keto lovers can replace the breadcrumbs with crushed pork rinds and use a sugar‑free sweetener in the sauce.
Serving Suggestions
Pair the chicken with lemon‑herb quinoa, buttery garlic mashed cauliflower, or a simple arugula salad dressed with vinaigrette. For a comforting meal, serve alongside roasted sweet potatoes or a crusty baguette to mop up any extra sauce.
Storage Info
Leftover Storage
Allow leftovers to cool to room temperature, then transfer to an airtight container. Refrigerate for up to 4 days. For longer keeping, portion into freezer‑safe bags, squeeze out excess air, and freeze for up to 3 months. Label with date for easy tracking.
Reheating Instructions
Reheat in a preheated 350°F (175°C) oven for 12‑15 minutes, covered with foil to retain moisture, then uncover for the last 3 minutes to re‑crisp the coating. In a pinch, microwave on medium power for 2 minutes, adding a splash of broth and stirring halfway to avoid sogginess.
Frequently Asked Questions
Can I make this recipe ahead of time?
Can I use frozen chicken breasts?
What side dishes work best with this chicken?
How do I keep the coating extra crispy when reheating?
This Crispy Air Fryer Garlic Parmesan Chicken blends bold flavor, a satisfyingly crunchy crust, and a quick cooking timeline into one unforgettable dish. With detailed steps, storage tips, and plenty of variations, you have everything you need to make it a staple in your kitchen. Feel free to experiment with herbs, proteins, or side dishes—cooking is your canvas. Serve hot, enjoy the aroma, and relish every bite of this deliciously crisp creation.
Crispy Air Fryer Garlic Parmesan Chicken Recipe
Delicious Crispy Air Fryer Garlic Parmesan Chicken Recipe
Ingredients
Main Ingredients
- 4 boneless, skinless chicken breasts (about 1½ pounds)
- 1 cup panko breadcrumbs
- ½ cup freshly grated Parmesan cheese
Sauce / Marinade
- 3 cloves garlic, minced
- ¼ cup unsalted butter, melted
- 2 tablespoons olive oil
- 1 tablespoon lemon juice
Seasonings & Garnish
- 1 teaspoon smoked paprika
- ½ teaspoon garlic powder
- Salt and freshly ground black pepper, to taste
- Fresh parsley, chopped (for garnish)
Instructions
Air Frying
- Preheat the Air Fryer. Set the unit to 400°F (200°C) and let it heat for 3 minutes. A hot environment jump‑starts the Maillard reaction, giving the coating an immediate snap.
- Apply a Light Oil Mist. Lightly spray each seasoned breast with olive oil. This thin layer helps the breadcrumb mixture turn a deep amber without drowning the chicken in fat.
- Coat the Chicken. Press each breast into the breadcrumb‑Parmesan mixture, ensuring an even layer on both sides. A gentle press helps the crumbs adhere during the high‑heat blast.
- Cook. Arrange the coated pieces in a single layer in the air‑fryer basket, leaving a small gap between them. Cook for 10 minutes, then flip, spray the opposite side with a quick mist of oil, and cook another 8‑10 minutes. The chicken is done when the internal temperature hits 165°F (74°C) and the coating is uniformly golden‑brown.
Similar Recipes
 Dinner
Hearty Pumpkin Chili Delight – A Comforting Recipe for Every Season
Delicious Hearty Pumpkin Chili Delight – A Comforting Recipe for Every Season
 Dinner
Sizzling Bacon Cheeseburger Casserole: The Recipe You’ll Keep Coming Back To
Delicious Sizzling Bacon Cheeseburger Casserole: The Recipe You’ll Keep Coming Back To
 Dinner
Balsamic Grilled Chicken with Herbed Mashed Potatoes
Learn how to make delicious Balsamic Grilled Chicken with Herbed Mashed Potatoes. Easy recipe with step-by-step…
 Dinner
Zesty Lemon Pepper Chicken Tenders Recipe
Delicious Zesty Lemon Pepper Chicken Tenders Recipe
 Dinner
Quick Sheet Pan Salmon and Asparagus for Healthy Dinners
Learn how to make delicious Quick Sheet Pan Salmon and Asparagus for Healthy Dinners. Easy recipe…
 Dinner
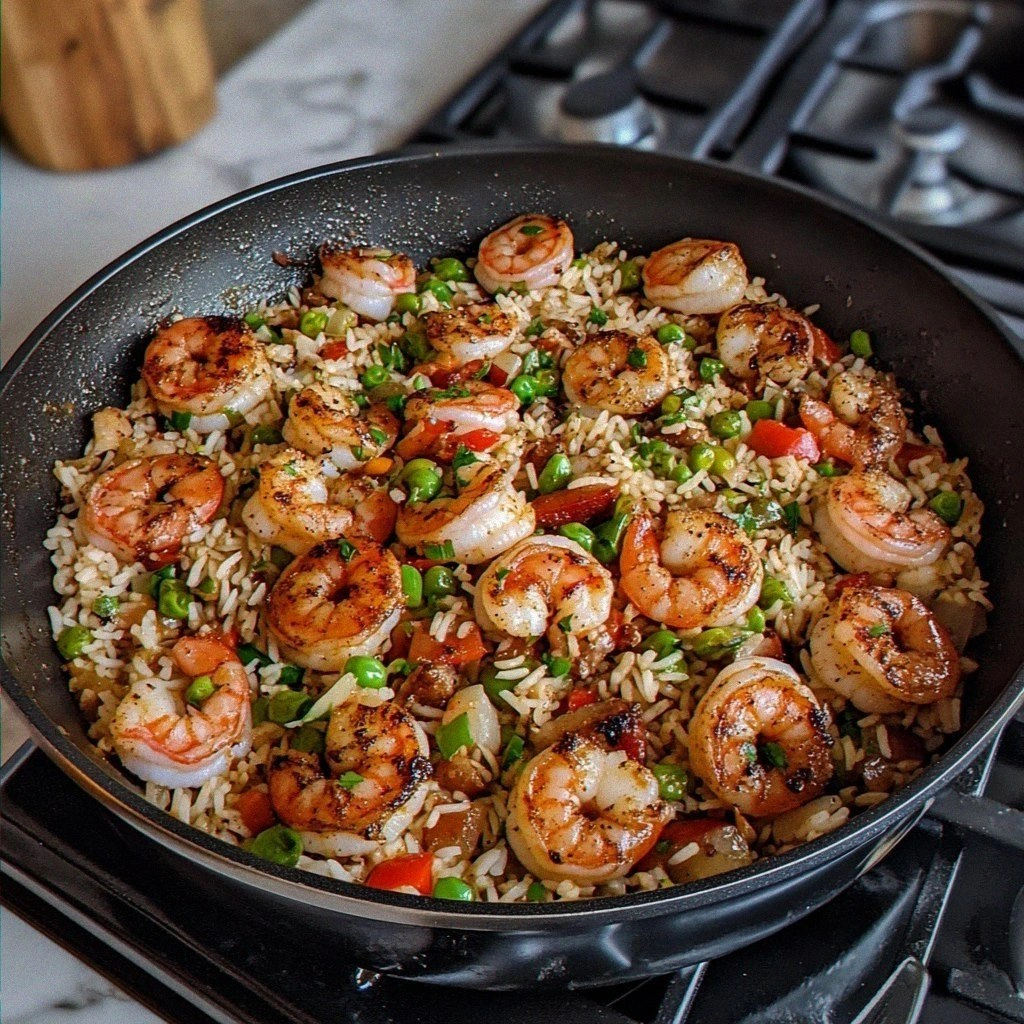
Shrimp Sausage Dirty Rice: A Flavorful One-Pan Delight
Learn how to make delicious Shrimp Sausage Dirty Rice: A Flavorful One-Pan Delight. Easy recipe with…
 Dinner
Sizzling Sweet Potato Sausage Delight: A Flavorful Recipe for Any Occasion
Delicious Sizzling Sweet Potato Sausage Delight: A Flavorful Recipe for Any Occasion
 Dinner
Garlic Parmesan Chicken Drumsticks: The Ultimate Recipe Guide
Delicious Garlic Parmesan Chicken Drumsticks: The Ultimate Recipe Guide

Eva
I cook these recipes at home before they ever land here — simple ingredients, clear steps.