Introduction
In the world of culinary delights, few things are as versatile and satisfying as hard-boiled eggs. From breakfast to dinner, these little protein powerhouses can elevate any meal. Whether you’re looking for a nutritious snack, a protein-packed addition to salads, or a key ingredient for deviled eggs, mastering the art of hard-boiling is a skill that every home cook should possess. This article will guide you through the process of creating the perfect hard-boiled eggs with a simple, foolproof recipe that guarantees delightful results every time.
Hard-boiled eggs have been a staple in kitchens around the globe for centuries. Their popularity can be attributed to their simplicity, nutritional value, and adaptability in various dishes. As we delve into this guide, we will explore the numerous benefits of hard-boiled eggs, share essential tips for achieving the ideal texture, and provide an easy-to-follow recipe that will make you the go-to expert in your kitchen.
Understanding Hard-Boiled Eggs
Exploring the Popularity of Hard-Boiled Eggs
Hard-boiled eggs have earned their place in the culinary spotlight due to their wide-ranging appeal and flexibility in preparing meals. Their straightforward preparation makes them a favorite for both novice cooks and experienced chefs alike. They’re often seen in lunchboxes, picnics, and brunch menus, serving as a convenient yet satisfying option for those on the go.
In many cultures, hard-boiled eggs have also taken on symbolic meanings, representing fertility and new beginnings. For example, in various traditions around the world, colored hard-boiled eggs are used in celebrations such as Easter, marking the arrival of spring and the renewal of life. Their enduring presence in both everyday meals and special occasions speaks to their significance in our culinary heritage.
The Nutritional Benefits of Hard-Boiled Eggs
Hard-boiled eggs are not just delicious; they are also a powerhouse of nutrition. Each egg is packed with high-quality protein, essential vitamins, and minerals. One large hard-boiled egg contains approximately 6 grams of protein, making it an excellent option for those looking to increase their protein intake without excess calories.
In addition to protein, hard-boiled eggs are rich in important nutrients such as vitamin B12, phosphorus, and riboflavin. They also contain healthy fats, which can help keep you feeling full and satisfied. The yolk is particularly nutrient-dense, containing most of the egg’s vitamins and minerals. Furthermore, hard-boiled eggs are low in carbohydrates, making them a suitable choice for various dietary preferences, including low-carb and ketogenic diets.
Different Uses for Hard-Boiled Eggs in Cooking
The culinary versatility of hard-boiled eggs is one of their most appealing attributes. They can be enjoyed on their own, seasoned with a sprinkle of salt and pepper, or incorporated into a myriad of dishes. Here are just a few popular ways to use hard-boiled eggs in cooking:
– Salads: Chopped hard-boiled eggs can add a creamy texture and protein boost to salads, such as classic Cobb salad or a simple garden salad.
– Deviled Eggs: A beloved appetizer at gatherings, deviled eggs can be customized with various fillings and toppings, making them a crowd-pleaser.
– Sandwiches: Sliced hard-boiled eggs can be a delightful addition to sandwiches or wraps, providing both flavor and nutrition.
– Snacks: Hard-boiled eggs make for a convenient and healthy snack option, whether enjoyed plain or dressed up with spices and herbs.
– Curry and Rice Dishes: In some cuisines, hard-boiled eggs are incorporated into curries or served alongside rice dishes, adding depth and richness.
With so many applications, it’s no wonder that hard-boiled eggs have become a kitchen staple around the world.
Ingredients for Eggcellent Hard-Boiled Eggs
Key Ingredients Overview
The beauty of hard-boiled eggs lies in their simplicity; the main ingredient is, of course, eggs. However, there are a few additional components that can enhance the cooking process and final results. Here’s a breakdown of what you need:
– Eggs: Choose fresh, high-quality eggs for the best flavor and texture. Organic or free-range eggs are often recommended for their superior taste and ethical farming practices.
– Salt: Adding salt to the boiling water can help prevent the eggs from cracking and enhance their flavor.
– Vinegar: A splash of vinegar in the boiling water can also aid in preventing cracks and makes peeling the eggs easier later on.
The Importance of Room Temperature Eggs
One key factor to consider when preparing hard-boiled eggs is their temperature. It is generally recommended to start with room temperature eggs instead of cold eggs from the refrigerator. This helps to prevent cracking during cooking and promotes even cooking throughout the egg. If your eggs are cold, you can let them sit at room temperature for about 30 minutes before boiling them, or you can place them in warm water for a few minutes to take the chill off.
Choosing the Right Vinegar and Salt
While any type of vinegar will work, white vinegar or apple cider vinegar are popular choices for hard-boiling eggs. Their mild flavor won’t impact the taste of the eggs significantly, but they do help in making the shells easier to peel. As for salt, regular table salt works perfectly, but you can also use sea salt for an added touch of flavor.
Understanding Ice Baths in Egg Cooking
Another crucial component of achieving perfect hard-boiled eggs is the ice bath. An ice bath is simply a bowl filled with ice and cold water. Once the eggs have finished boiling, transferring them directly into this ice bath serves several purposes:
1. Stops Cooking: The cold water halts the cooking process immediately, preventing overcooking and resulting in a tender egg white and a creamy yolk.
2. Easier Peeling: The drastic temperature change can help separate the egg membrane from the shell, making peeling much easier and preventing unsightly shell fragments from sticking to the egg.
Step-by-Step Instructions for Perfect Hard-Boiled Eggs
Preparing the Pot: A Crucial First Step
Before you begin boiling your eggs, it’s important to prepare your pot properly. Start by selecting a pot that is large enough to accommodate the number of eggs you plan to cook while allowing enough space for water to cover them by at least an inch. Fill the pot with cold water, adding enough to fully submerge the eggs.
Once the pot is filled, add a teaspoon of salt and a tablespoon of vinegar to the water. This combination will help to ensure that your eggs cook perfectly and peel easily.
The Science Behind Boiling Eggs
Now that your pot is ready, it’s time to heat it on the stove. Place the pot over medium-high heat and bring the water to a rolling boil. Once the water reaches a boil, carefully lower the eggs into the pot using a slotted spoon or a ladle to avoid splashing hot water.
The science behind boiling eggs involves understanding the coagulation of proteins. As the eggs cook, the proteins in the egg whites and yolks begin to denature and coagulate, transforming from a liquid to a solid state. The cooking time will vary depending on the desired consistency of the yolk.
Timing is Everything: How to Achieve Your Desired Yolk Consistency
Timing is one of the most critical aspects of hard-boiling eggs. Depending on how you prefer your yolks, cooking times may vary. Here’s a quick guide:
– Soft-Boiled Eggs: For a runny yolk, cook for about 6-7 minutes.
– Medium-Boiled Eggs: For a slightly firmer yolk with a creamy center, aim for 8-9 minutes.
– Hard-Boiled Eggs: For fully cooked yolks that are firm and crumbly, cook for 10-12 minutes.
Once you’ve selected your desired cooking time, keep a timer handy to ensure that you achieve the perfect results.
Preparing an Ice Bath: Why It’s Essential
While your eggs are boiling, prepare your ice bath. Fill a large bowl with cold water and add plenty of ice. The ice bath should be ready to receive the eggs as soon as they finish cooking.
As soon as your timer goes off, carefully transfer the eggs from the pot to the ice bath using a slotted spoon. Allow them to sit in the ice bath for at least 5-10 minutes. This chilling period will not only stop the cooking process but also make peeling the eggs a breeze.
In the next section, we will delve deeper into the final steps of peeling and storing your eggcellent hard-boiled eggs, along with tips for enhancing flavor and presentation. Hard-boiled eggs are just the beginning of an exciting culinary journey that will leave you eager to explore all the ways to enjoy this delightful ingredient.
Cooling the Eggs: Techniques for Best Results
Once your eggs have finished boiling, the cooling process is crucial for achieving optimal texture and ease of peeling. Here are some effective techniques to cool your hard-boiled eggs:
1. Ice Bath Method: Immediately transfer the boiled eggs to a bowl filled with ice water. This method rapidly cools the eggs and stops the cooking process, ensuring that they don’t overcook. Leave the eggs in the ice bath for at least 10 minutes. This not only cools them down but also helps to contract the egg white, making peeling easier.
2. Cold Water Rinse: If you don’t have ice on hand, you can also run cold water over the eggs in the pot. Simply drain the hot water and fill the pot with cold water, allowing the eggs to sit for a few minutes. This method is less effective than the ice bath but can still help in cooling the eggs sufficiently.
3. Air Cooling: If you are in a pinch, you can simply place the boiled eggs in a bowl at room temperature. However, this method is not recommended as it may not cool the eggs quickly enough, potentially leading to overcooking.
Peeling Made Easy: Tips for a Smooth Shell Removal
Peeling hard-boiled eggs can often be more challenging than the boiling process itself. Here are some tips to ensure that your eggs peel easily and without frustration:
1. Older Eggs: Fresh eggs tend to be more difficult to peel because the pH of the egg white is lower, causing it to adhere more strongly to the shell. Using eggs that are at least a week old can significantly improve your peeling success.
2. Cracking Technique: After cooling, gently tap the egg on a hard surface to crack the shell. Rolling the egg between your hands can help to loosen the shell, making it easier to peel.
3. Peeling Under Water: Consider peeling your eggs under running water or submerged in a bowl of water. The water can help to separate the shell from the egg white, making the process smoother.
4. Start at the Wider End: Begin peeling from the wider end of the egg where there is often a small air pocket. This area can provide a starting point for easier shell removal.
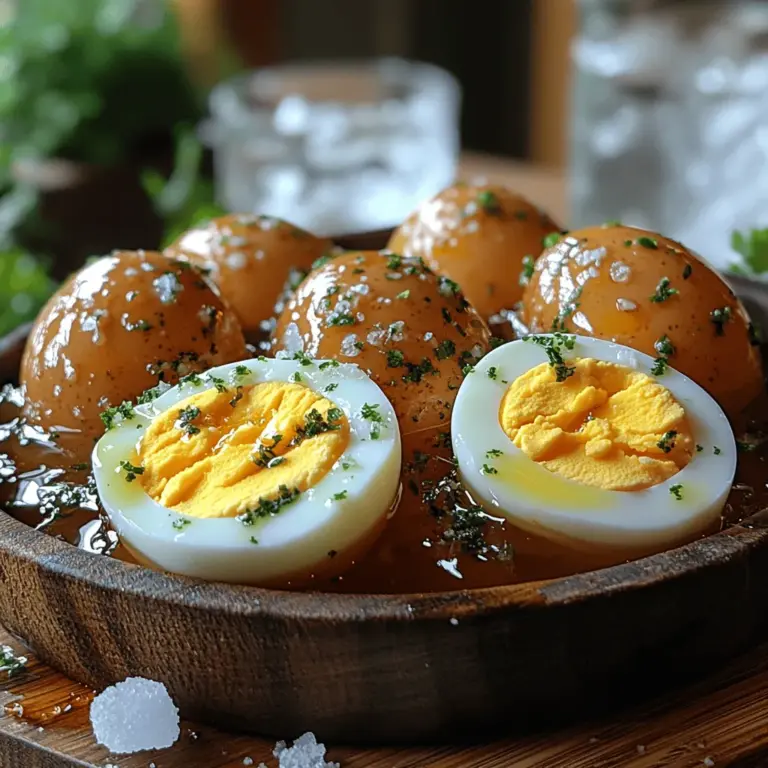
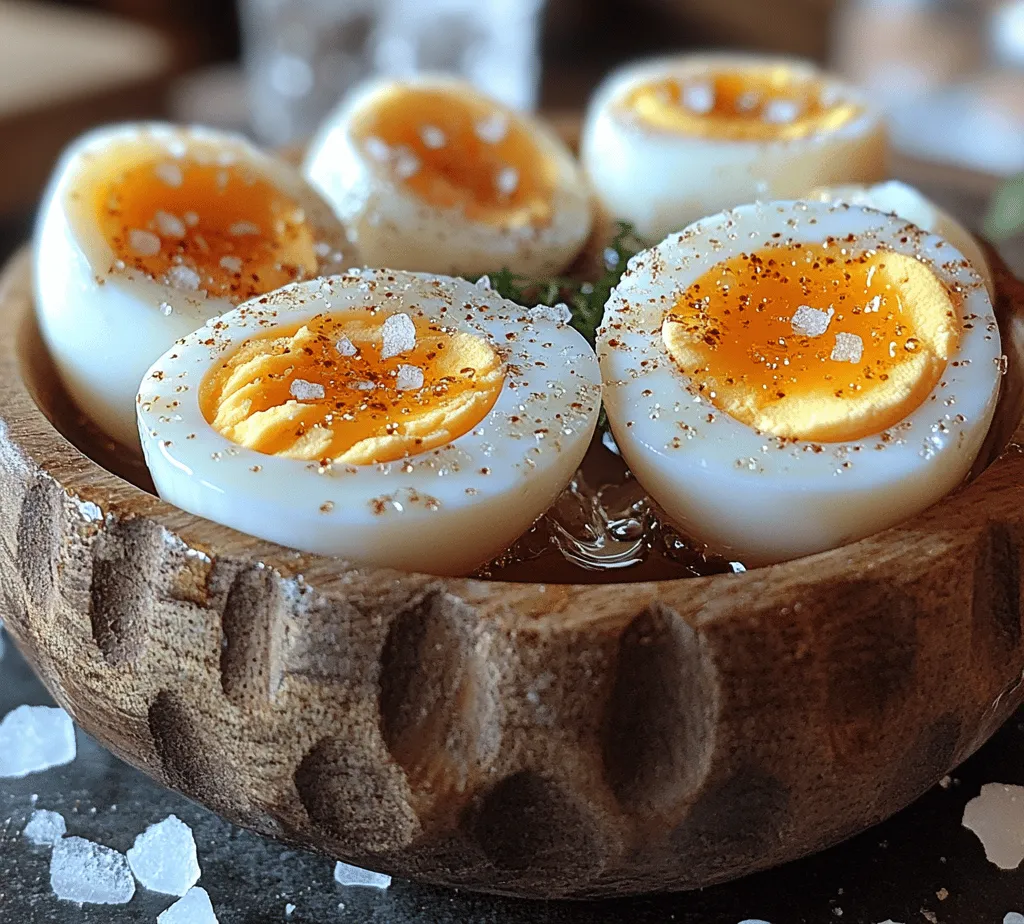
Serving Suggestions: Creative Ways to Enjoy Hard-Boiled Eggs
Hard-boiled eggs are incredibly versatile and can be enjoyed in various ways. Here are some creative serving suggestions to enhance your culinary experience:
1. Classic Deviled Eggs: Halve the hard-boiled eggs and remove the yolks. Mash the yolks with mayonnaise, mustard, and a sprinkle of paprika for a classic deviled egg. Feel free to experiment with additional ingredients like avocado or sriracha for different flavors.
2. Egg Salad: Chop the hard-boiled eggs and mix them with mayonnaise, mustard, diced celery, and seasonings to create a delicious egg salad. Serve it on bread, in lettuce wraps, or as a dip with crackers.
3. Salads and Bowls: Add quartered hard-boiled eggs to salads for added protein. They pair well with greens, beans, and grains, making your salads more filling and nutritious.
4. On Toast: Slice the hard-boiled eggs and serve them on whole grain toast with avocado and a sprinkle of salt and pepper. This simple dish is both satisfying and healthy.
5. As a Snack: Enjoy hard-boiled eggs as a quick snack. Simply sprinkle them with salt, pepper, or your favorite seasoning blend for a nutritious on-the-go option.
Common Mistakes to Avoid When Boiling Eggs
While boiling eggs may seem straightforward, there are common pitfalls that can lead to disappointing results. Here are some mistakes to avoid:
Overcooking vs. Undercooking: Finding the Right Balance
Finding the perfect balance when boiling eggs is key. Overcooked eggs can develop a greenish-grey ring around the yolk and a rubbery texture. Conversely, undercooked eggs may have a runny yolk that doesn’t hold its shape. Aim for the following cooking times based on your desired doneness:
– Soft-Boiled Eggs: 4-6 minutes for a runny yolk.
– Medium-Boiled Eggs: 7-9 minutes for a slightly firmer yolk.
– Hard-Boiled Eggs: 10-12 minutes for a fully cooked yolk.
Skipping the Ice Bath: Consequences for Perfect Peeling
Neglecting the ice bath can lead to overcooked eggs and a frustrating peeling experience. The rapid cooling of the ice bath stops the cooking process, helping to achieve the desired texture and making the eggs easier to peel.
Using Cold Eggs: The Impact on Cooking
Starting with cold eggs directly from the refrigerator can lead to uneven cooking. Instead, let your eggs sit at room temperature for about 10-15 minutes before boiling. This helps them cook evenly and reduces the chances of cracking during boiling.
Flavoring and Enhancing Hard-Boiled Eggs
To elevate the taste of hard-boiled eggs, consider exploring various flavor enhancements and creative combinations.
Experimenting with Seasonings and Herbs
Hard-boiled eggs can be a blank canvas for flavors. Try sprinkling them with different seasonings such as:
– Everything Bagel Seasoning: A mix of sesame seeds, poppy seeds, garlic, onion, and salt adds a burst of flavor.
– Smoked Paprika: This adds a smoky depth that pairs well with the richness of the egg.
– Curry Powder: For a unique twist, sprinkle some curry powder for an exotic flavor.
In addition to seasonings, fresh herbs like dill, chives, or parsley can elevate the flavor profile and add a fresh touch.
Creating Flavor Variations: From Classic to Unique
Consider creating unique flavor variations by incorporating different ingredients:
– Spicy Sriracha: Drizzle sriracha or another hot sauce over your eggs for a spicy kick.
– Balsamic Glaze: A drizzle of balsamic glaze can add a sweet and tangy flavor that complements the richness of the egg.
– Pickling: For a twist, consider pickling your hard-boiled eggs in a mixture of vinegar, water, and spices. This process infuses the eggs with bold flavors and adds a tangy zing.
Incorporating Hard-Boiled Eggs in Your Favorite Dishes
Hard-boiled eggs can easily be integrated into many dishes. Here are some ideas:
– Nicoise Salad: This classic French salad features hard-boiled eggs alongside tuna, green beans, potatoes, and olives for a satisfying meal.
– Ramen: Add sliced hard-boiled eggs to ramen for a protein boost and creamy texture.
– Breakfast Bowls: Combine hard-boiled eggs with grains, vegetables, and your favorite dressing for a hearty breakfast.
Storing Hard-Boiled Eggs
To keep your hard-boiled eggs fresh, proper storage is essential.
Best Practices for Refrigeration
Store hard-boiled eggs in their shells in the refrigerator. If you’ve peeled them, place them in an airtight container and cover them with a damp paper towel to retain moisture. This will help prevent the eggs from drying out.
How Long Do Hard-Boiled Eggs Last?
Hard-boiled eggs can typically be stored in the refrigerator for up to one week. If they are left unpeeled, they may last a few days longer due to the protective shell.
Signs of Spoilage: Keeping Eggs Safe to Eat
Always check your hard-boiled eggs for signs of spoilage before consumption. If they develop an off smell, unusual discoloration, or a slimy texture, it’s best to discard them to avoid foodborne illnesses.
Conclusion
Hard-boiled eggs are not only a staple in many cuisines around the world, but they also provide an excellent source of protein and nutrients. By following the outlined recipe and techniques, you can create perfect hard-boiled eggs that are easy to peel and delicious to eat. Whether you enjoy them on their own, in a salad, or as part of a more complex dish, mastering this simple recipe is sure to elevate your cooking repertoire. Happy cooking!
