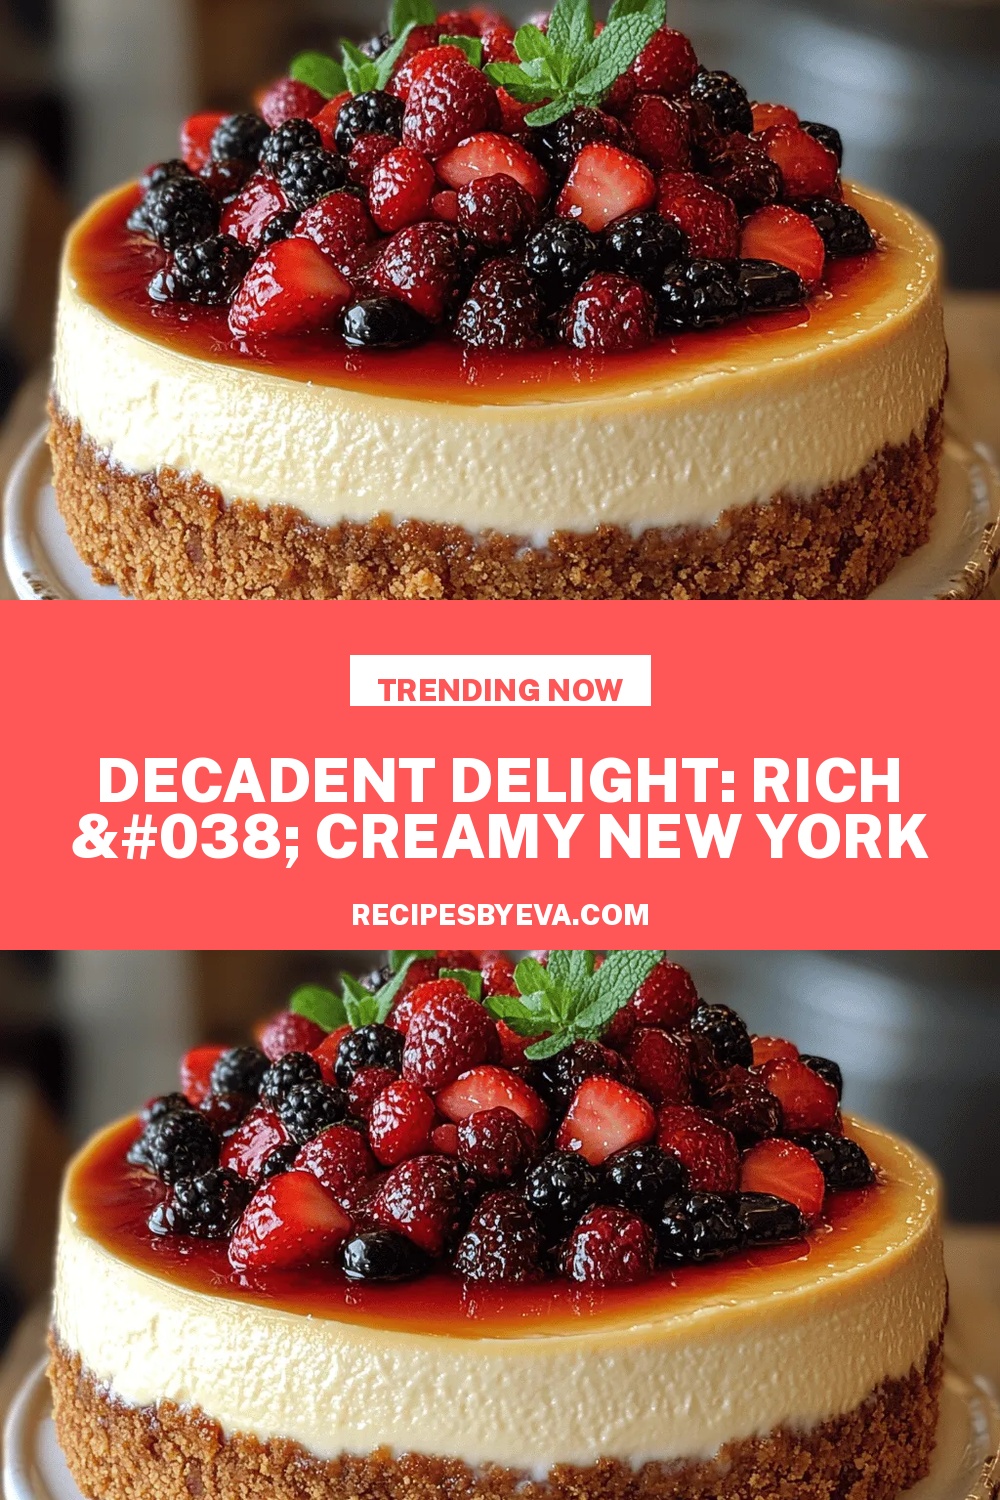
Decadent Delight: Rich & Creamy New York Cheesecake
 Save
Save
Imagine the first bite of a silky, velvety cheesecake that melts on your tongue while a buttery, crumbly crust offers a perfect contrast. That moment of pure indulgence is exactly what Decadent Delight: Rich & Creamy New York Cheesecake delivers, turning any brunch into a celebration.
This recipe stands out because it balances richness with a light, airy texture—thanks to a classic New York‑style method that incorporates sour cream and a gentle bake in a water bath. The result is a cheesecake that’s dense enough to satisfy, yet smooth enough to feel luxurious.
Breakfast lovers, brunch hosts, and even dessert aficionados will adore this treat. Serve it on a lazy weekend, at a holiday brunch, or whenever you crave a sophisticated sweet that still feels comforting.
The process is straightforward: crush the crust, blend a luscious filling, bake in a water‑bath for even cooking, then chill until set. With clear steps and a few pro tips, you’ll achieve bakery‑level perfection at home.
Why You'll Love This Recipe
Rich Yet Light: The combination of cream cheese, sour cream, and a gentle water‑bath bake creates a dense flavor profile while keeping the texture airy and melt‑in‑your‑mouth.
Simple Ingredients: All components are pantry staples—graham crackers, butter, cream cheese, and a few aromatics—making it easy to gather everything without a specialty store run.
Make‑Ahead Friendly: Once baked and chilled, the cheesecake can sit refrigerated for up to four days, giving you flexibility for busy mornings or last‑minute brunch plans.
Customizable Toppings: From fresh berries to caramel drizzle, the neutral base welcomes endless topping ideas, allowing you to tailor each slice to the season or personal taste.
Tips & Tricks
Perfecting the Recipe
Room‑Temperature Dairy: Allow cream cheese, sour cream, and eggs to sit out for 30‑45 minutes. This prevents lumps and ensures a smooth, homogeneous batter.
Don’t Over‑Mix: Once the eggs are added, mix only until just incorporated. Over‑mixing can trap air, leading to cracks during baking.
Water‑Bath Seal: Double‑wrap the springform pan with foil. Any leak will introduce water into the batter, ruining the texture.
Gentle Cooling: Let the cheesecake cool gradually in the oven and then at room temperature. Sudden temperature changes cause surface cracks.
Flavor Enhancements
Add a teaspoon of almond extract for a subtle nutty undertone, or swirl in a ribbon of dark chocolate ganache just before chilling for a decadent marbled effect. A pinch of sea salt sprinkled on the top right before serving heightens the sweet‑savory balance.
Common Mistakes to Avoid
Never bake the cheesecake uncovered at a high temperature; the exterior will set too fast and crack. Also, avoid using a metal springform pan without foil—metal conducts heat unevenly, causing hot spots that can overcook portions of the filling.
Pro Tips
Use a Kitchen Scale: Weighing the graham crackers and butter yields a perfectly compact crust every time.
Invest in a Thermometer: The internal temperature should read 150‑155°F (65‑68°C) at the center for ideal set‑ness without over‑cooking.
Chill the Pan: After baking, place the springform pan on a chilled surface (like a marble slab) for 10 minutes; this helps the cheesecake firm up faster.
Run a Knife Around the Edge: Before releasing the springform, run a thin, hot knife around the perimeter to loosen any sticking crust, preserving a clean edge.
Variations
Ingredient Swaps
Replace graham crackers with crushed Oreo cookies for a chocolate‑cookie crust, or swap sour cream for Greek yogurt to add a tangier note. For a richer flavor, incorporate ¼ cup melted white chocolate into the filling before baking.
Dietary Adjustments
Use gluten‑free graham crackers or almond flour for a celiac‑friendly crust. For a dairy‑free version, substitute cream cheese with a high‑fat vegan cream cheese and butter with coconut oil. A low‑sugar variant can rely on erythritol or monk fruit sweetener in place of granulated sugar.
Serving Suggestions
Serve slices with a dollop of lightly sweetened whipped cream and a drizzle of raspberry coulis for a bright contrast. Pair with a chilled glass of sparkling mimosas for brunch, or match with a robust cold brew coffee for a mid‑morning treat.
Storage Info
Leftover Storage
Allow the cheesecake to cool completely, then cover the springform pan tightly with plastic wrap or transfer slices to an airtight container. Store in the refrigerator for up to 4 days. For longer preservation, freeze individual portions wrapped in cling film and a second layer of foil; they keep well for up to 3 months.
Reheating Instructions
To enjoy a chilled slice warm, place a piece on a microwave‑safe plate, cover loosely with a damp paper towel, and heat on medium power for 30‑45 seconds. For a more even reheating, warm the slice in a 300°F (150°C) oven for 8‑10 minutes, adding a splash of milk or cream if the texture feels dry.
Frequently Asked Questions
Can I make this cheesecake ahead of time?
What if I don’t have a springform pan?
How do I prevent cracks on the surface?
This Decadent Delight cheesecake brings the classic New York bakery experience to your brunch table with straightforward steps, reliable tips, and flexible variations. By mastering the crust, the silky filling, and the gentle water‑bath technique, you’ll consistently achieve a flawless, creamy slice. Feel free to experiment with toppings or flavor twists—making it your own is part of the fun. Enjoy every forkful of this rich, creamy masterpiece!
Decadent Delight: Rich & Creamy New York Cheesecake
Delicious Decadent Delight: Rich & Creamy New York Cheesecake
Ingredients
Crust
- 1½ cups graham cracker crumbs
- ⅓ cup unsalted butter, melted
- 2 tablespoons granulated sugar
Filling
- 32 oz (4 ½ cups) cream cheese, room temperature
- 1 ¼ cup granulated sugar
- 4 large eggs, room temperature
- ¾ cup sour cream
- 2 teaspoons pure vanilla extract
- 1 tablespoon lemon zest
Topping (Optional)
- Fresh berries (strawberries, blueberries, raspberries)
- 2 tablespoons apricot jam, warmed (for glaze)
Instructions
Baking the Cheesecake
- Wrap the pan. Wrap the outside of the springform pan with a double layer of heavy‑duty aluminum foil to prevent water from seeping in during the water‑bath.
- Set up the water‑bath. Place the wrapped pan in a larger roasting pan and pour hot water until it reaches halfway up the sides of the springform pan. This gentle, moist heat ensures even cooking and eliminates cracks.
- Pour and smooth. Pour the filling over the pre‑baked crust, using a spatula to smooth the top. Tap the pan lightly on the counter to release any air bubbles.
- Bake. Bake for 45‑55 minutes, or until the edges are set and the center still has a slight jiggle. The water‑bath keeps the interior from over‑cooking, preserving that coveted creamy texture.
- Turn off the oven. Switch off the oven, crack the door open, and let the cheesecake sit for 1 hour. This gradual cooling reduces the risk of cracks forming on the surface.
Similar Recipes
 Desserts
White Chocolate Raspberry Tiramisu: An Incredible Ultimate Recipe
Learn how to make delicious White Chocolate Raspberry Tiramisu: An Incredible Ultimate Recipe. Easy recipe with…
 Desserts
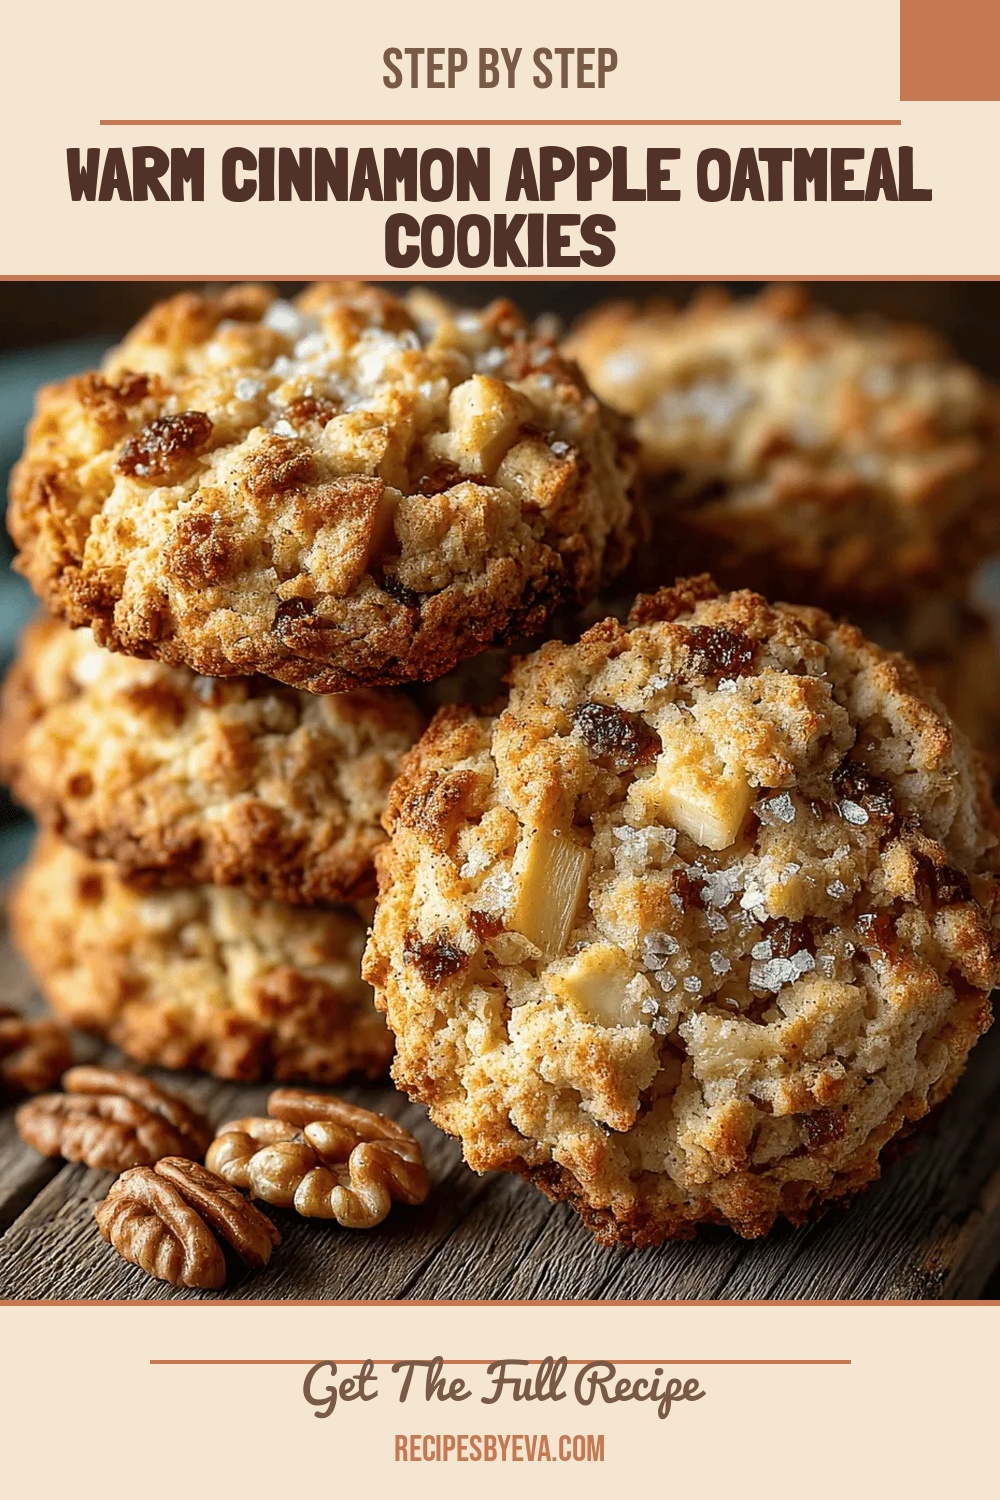
Warm Cinnamon Apple Oatmeal Cookies
Delicious Warm Cinnamon Apple Oatmeal Cookies
 Desserts
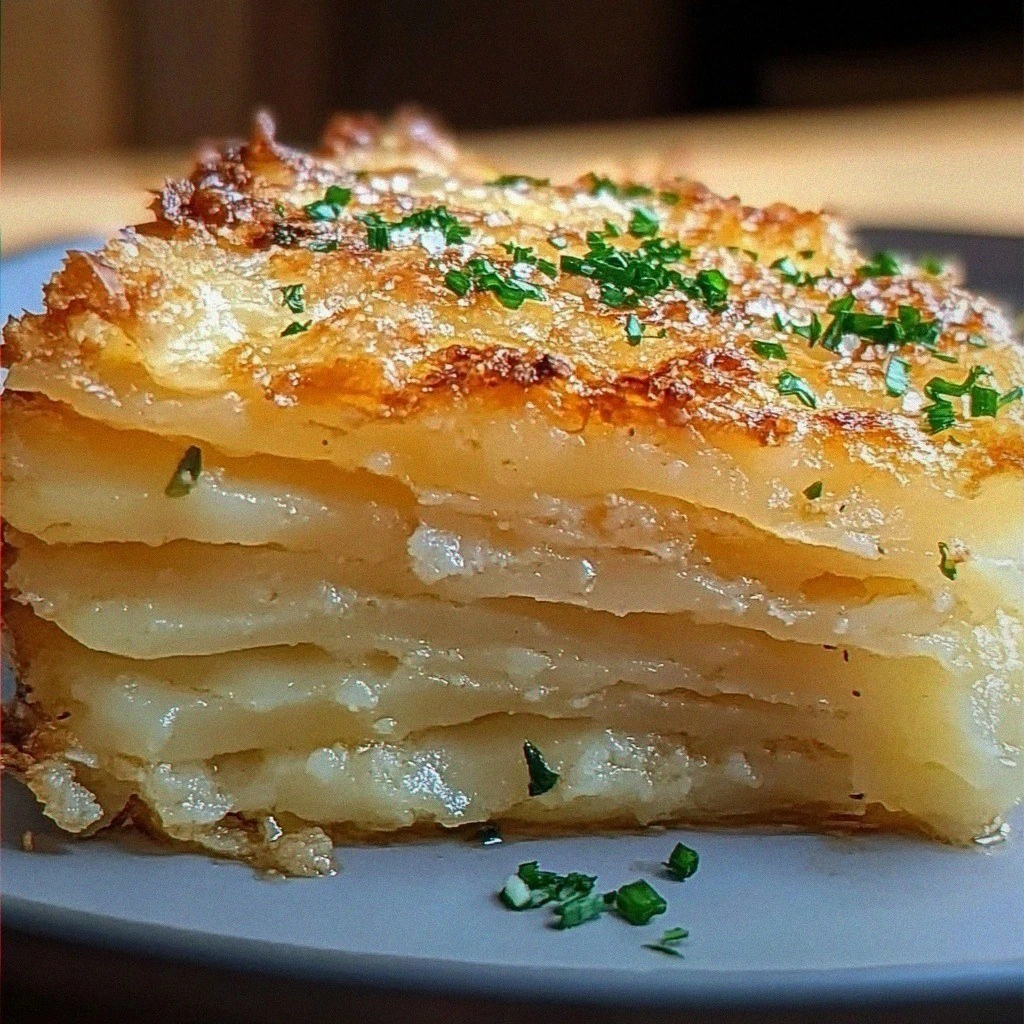
Ultimate Million Layer Potato Cake
Learn how to make delicious Ultimate Million Layer Potato Cake. Easy recipe with step-by-step instructions.
 Desserts
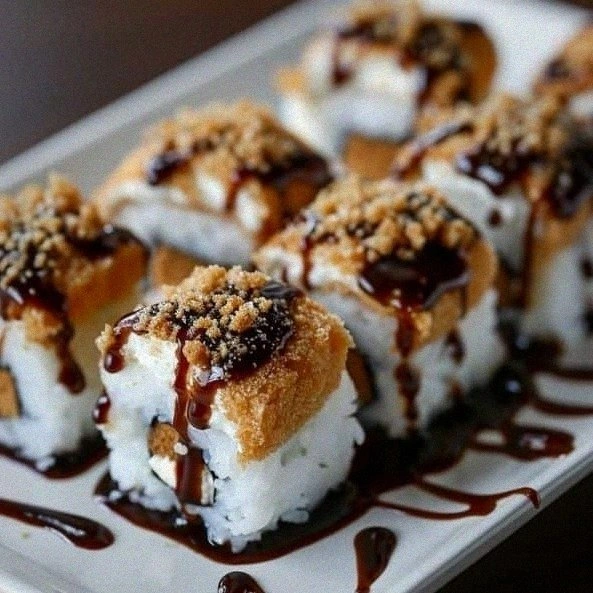
S’mores Sushi Recipe
Learn how to make delicious S’mores Sushi Recipe. Easy recipe with step-by-step instructions.
 Desserts
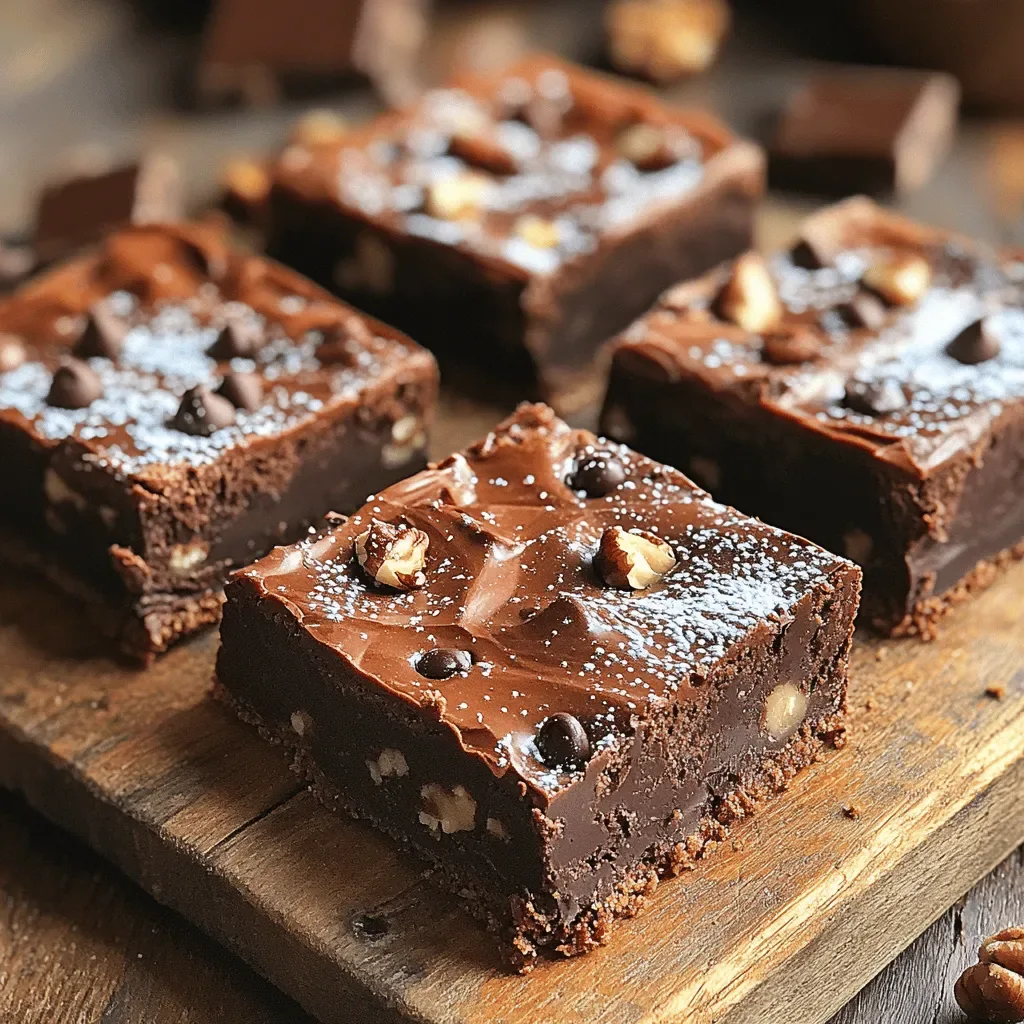
Indulge in Decadent Fudgy Chocolate Squares: A Rich and Easy Recipe
Delicious Indulge in Decadent Fudgy Chocolate Squares: A Rich and Easy Recipe
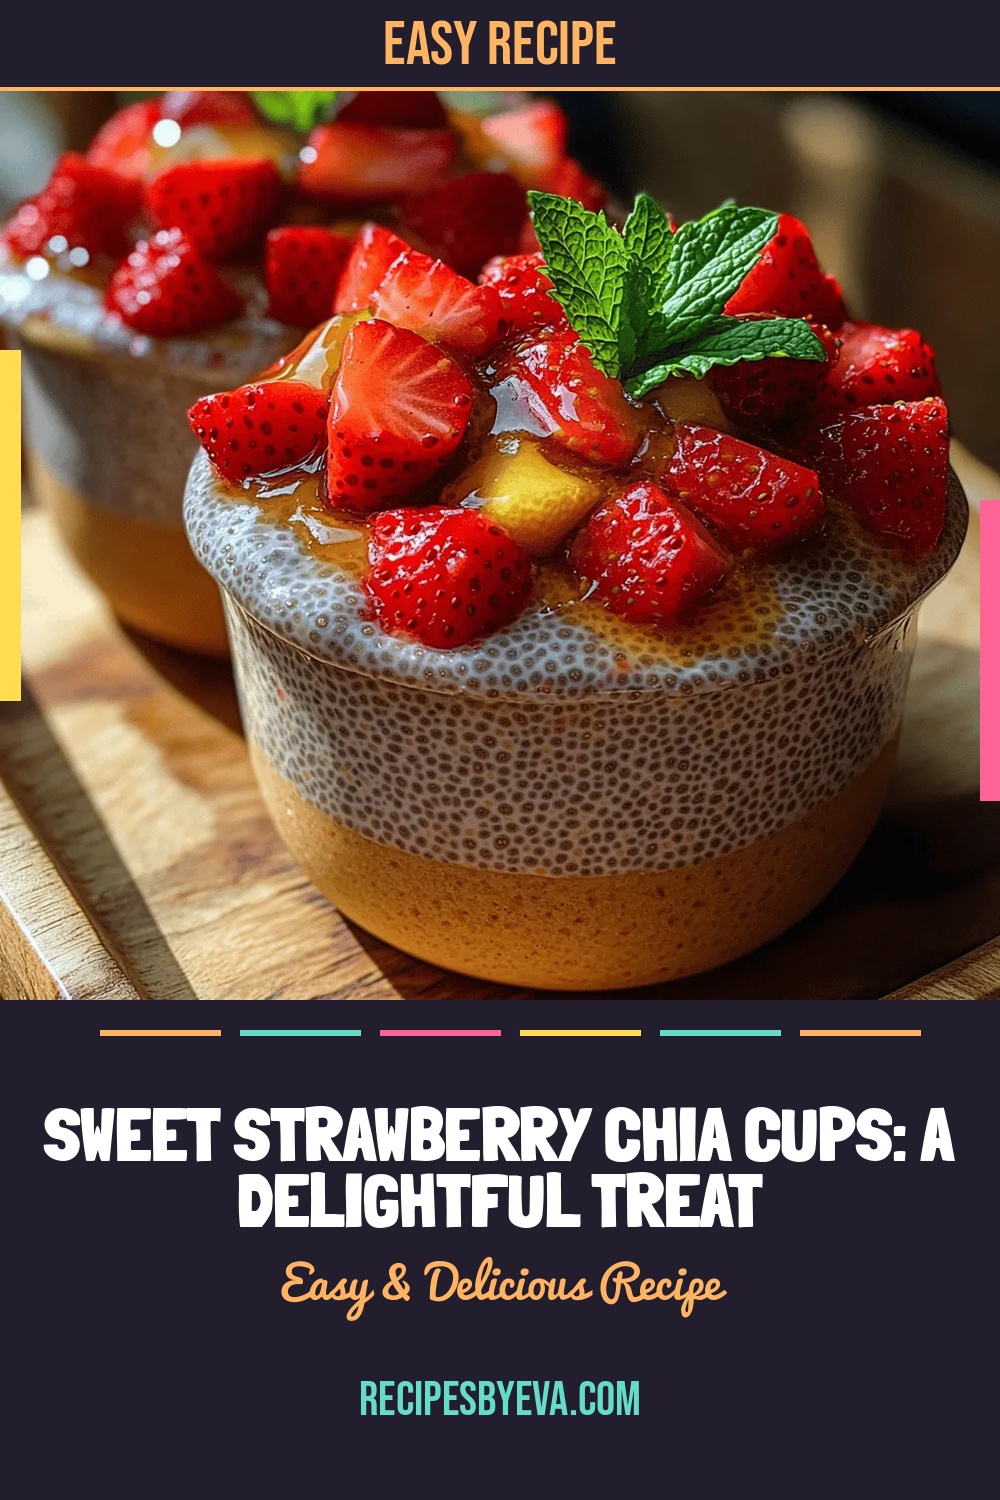 Desserts
Sweet Strawberry Chia Cups: A Delightful Treat
Delicious Sweet Strawberry Chia Cups: A Delightful Treat
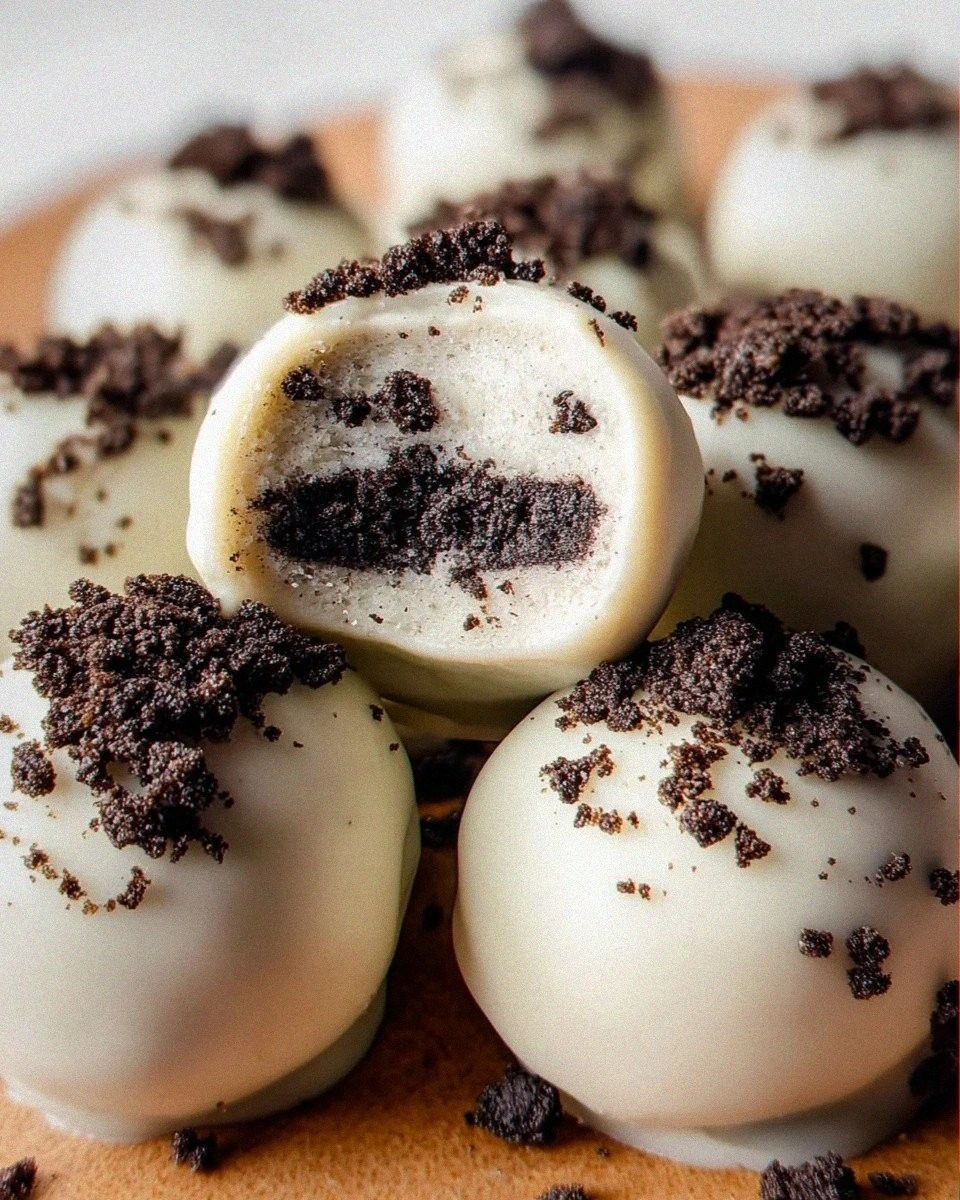 Desserts
Easy Oreo Truffles (Oreo Balls)
Learn how to make delicious Easy Oreo Truffles (Oreo Balls). Easy recipe with step-by-step instructions.
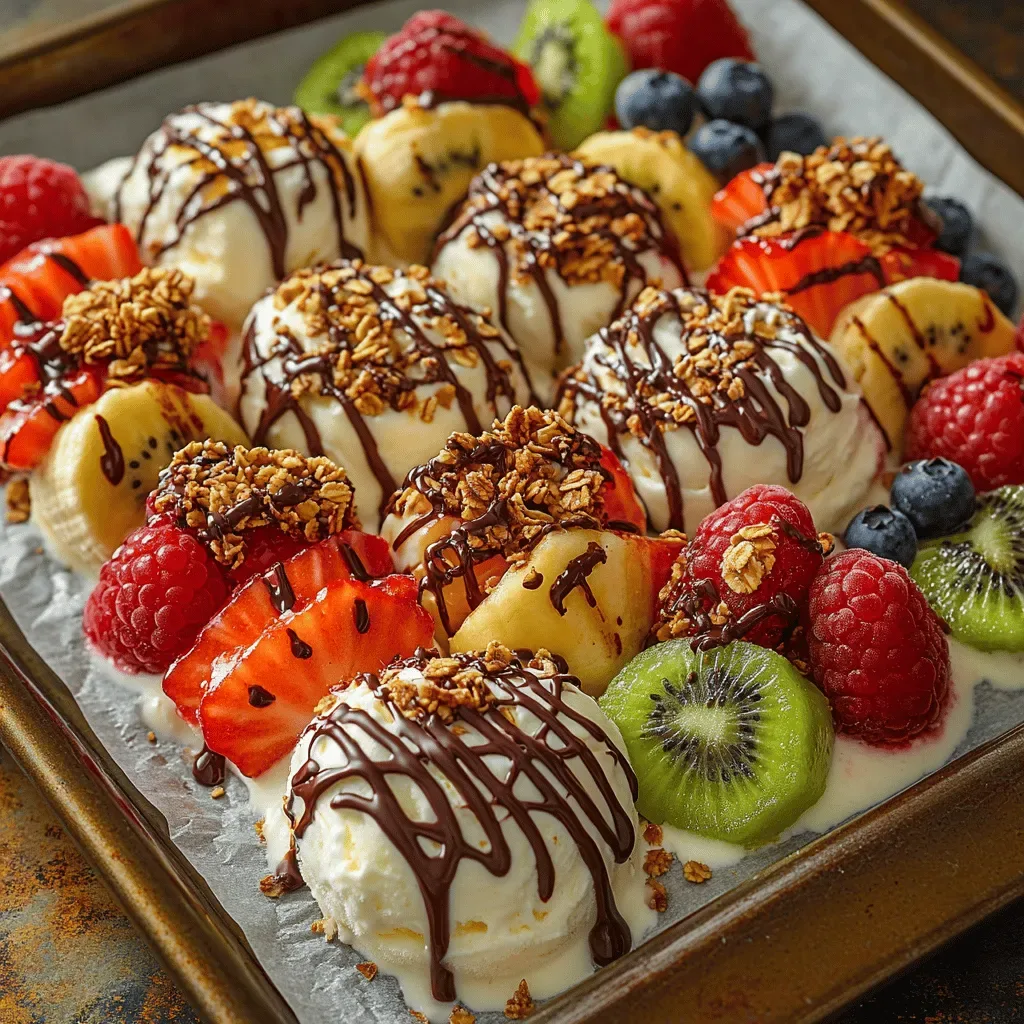 Desserts
Fruity Bliss Frozen Yogurt Clusters: A Refreshing Treat
Delicious Fruity Bliss Frozen Yogurt Clusters: A Refreshing Treat

Eva
I cook these recipes at home before they ever land here — simple ingredients, clear steps.