Mini Cheesy Hash Brown Sliders Recipe
 Save
Save
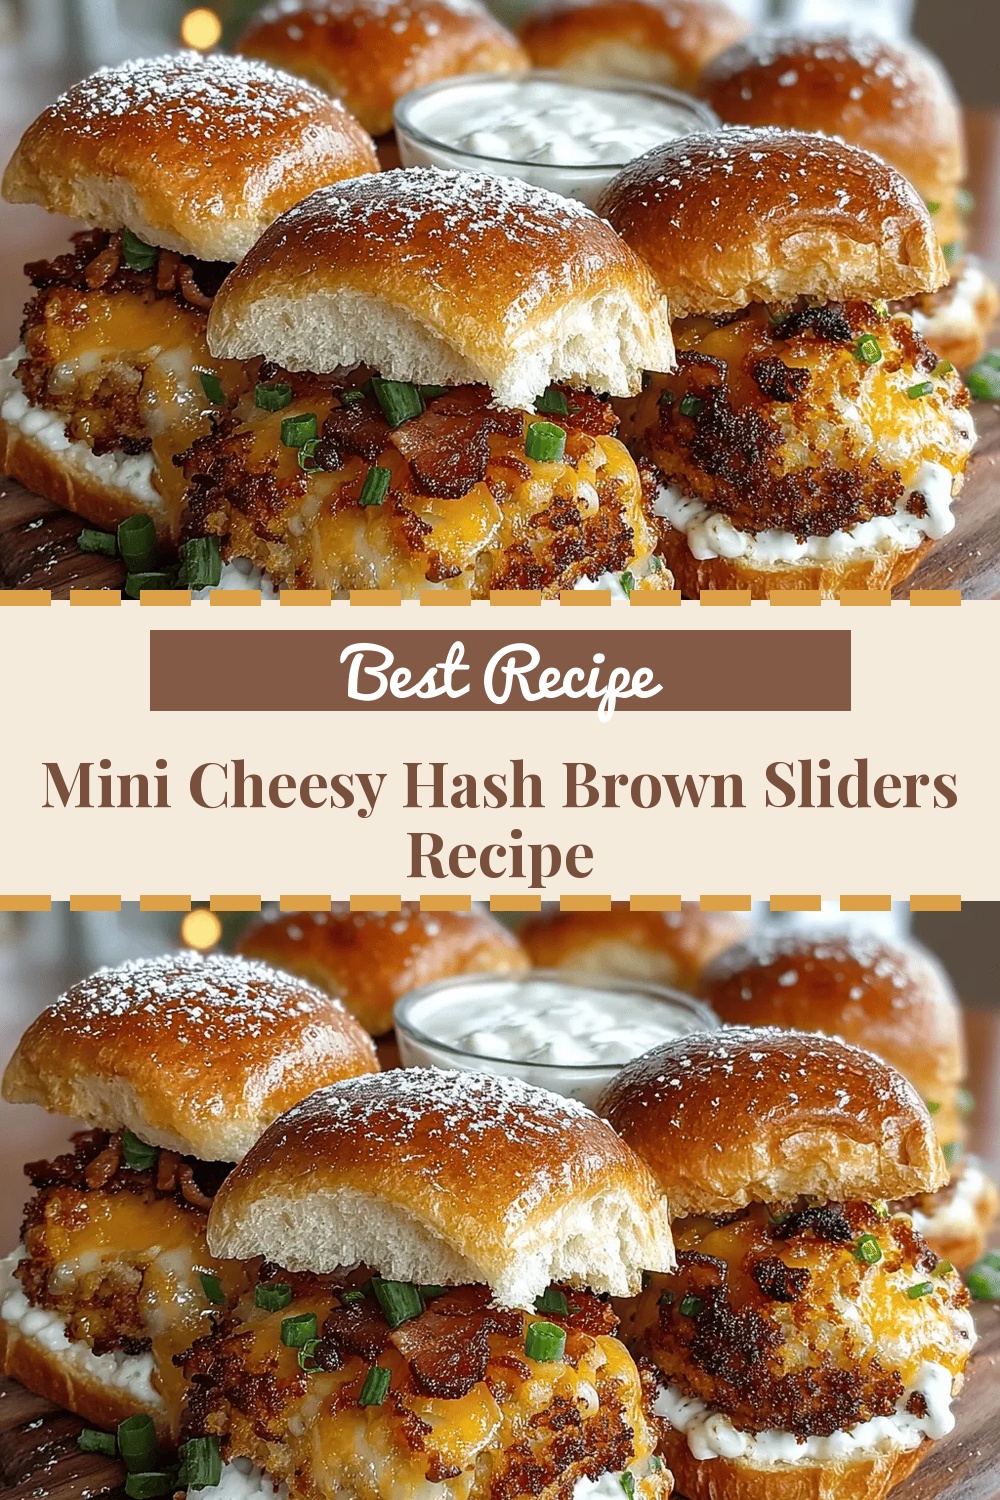
Imagine biting into a golden‑crisp hash brown that melts into a gooey cheese center, all the size of a perfect party slider. These Mini Cheesy Hash Brown Sliders turn a humble breakfast staple into a crowd‑pleasing dinner bite that feels both indulgent and comforting.
What makes this recipe stand out is the marriage of crunchy shredded potatoes with a rich, three‑cheese blend, sandwiched together with a hint of caramelized onion and a touch of herbs. The result is a handheld masterpiece that’s crispy on the outside, creamy on the inside, and packed with flavor in every bite.
Kids, teens, and even the pickiest eaters will love these bite‑size wonders, making them ideal for family movie nights, casual game‑day gatherings, or a fun twist on a weekday dinner. They’re also perfect for potlucks where you want something portable yet unforgettable.
The cooking process is straightforward: form hash brown patties, layer cheese, pan‑fry to a golden hue, finish in the oven, and serve hot with optional toppings. With just a few pantry staples and a little patience, you’ll have a tray of sliders that disappear in minutes.
Why You'll Love This Recipe
Irresistible Texture: A crunchy exterior gives way to a molten cheese core, creating a satisfying contrast that keeps everyone reaching for more.
One‑Pan Simplicity: All the magic happens on a skillet and then a quick bake, minimizing dishes and letting you focus on flavor.
Customizable Toppings: From crisp bacon to fresh chives, you can personalize each slider to suit any palate or occasion.
Portion‑Perfect Fun: Their mini size makes them ideal for parties, snack tables, or a playful dinner that encourages sharing.
Tips & Tricks
Perfecting the Recipe
Dry the hash browns thoroughly. Excess moisture leads to soggy sliders; use a clean kitchen towel or cheesecloth to wring out every drop before mixing.
Don’t over‑mix the batter. Gentle folding keeps the texture light; over‑mixing activates gluten in the flour, making the patties dense.
Use a hot skillet. A properly heated pan creates an instant crust, sealing in moisture and preventing the patties from falling apart.
Cool slightly before stacking. Warm patties seal better around the cheese, reducing the chance of leaks during the final bake.
Flavor Enhancements
Add a splash of Worcestershire sauce to the patty mixture for umami depth, or stir in a pinch of dried thyme for an herbaceous note. For a subtle heat, mix a pinch of cayenne into the cheese blend before stuffing.
Common Mistakes to Avoid
Skipping the moisture‑removal step will result in limp sliders that never crisp. Also, avoid overcrowding the skillet; packed patties steam instead of sear, leading to a greasy texture rather than a golden crust.
Pro Tips
Freeze leftovers on a tray. Pre‑freeze individual sliders on a parchment sheet, then transfer to a zip‑top bag. This prevents them from sticking together and speeds up reheating.
Finish with a butter glaze. Melt a tablespoon of butter with a drizzle of honey and brush over the sliders just before serving for an extra glossy sheen.
Use a silicone spatula. It lets you flip the tiny patties without breaking them, preserving the perfect shape throughout cooking.
Season the cheese. A light sprinkle of smoked paprika or garlic powder into the cheese blend adds a hidden layer of flavor that shines once melted.
Variations
Ingredient Swaps
Replace the classic cheddar‑mozzarella blend with pepper jack and Gruyère for a spicier, nutty profile. Swap frozen hash browns for freshly grated potatoes (squeezed dry) for an even crispier texture. For a smoky twist, add finely chopped smoked ham or a dash of liquid smoke to the patty mixture.
Dietary Adjustments
Make the sliders gluten‑free by using almond flour or a gluten‑free all‑purpose blend instead of regular flour. For a dairy‑free version, swap the cheese trio for a vegan shredded cheese blend and use olive oil in place of butter. Keto diners can omit the flour entirely and add a tablespoon of coconut flour as a low‑carb binder.
Serving Suggestions
Pair the sliders with a tangy coleslaw, a simple cucumber‑dill salad, or a bowl of creamy tomato bisque. For a more indulgent spread, serve alongside loaded potato wedges or a side of garlic aioli. A fresh fruit salsa adds a bright contrast that cuts through the richness.
Storage Info
Leftover Storage
Allow the sliders to cool completely, then arrange them in a single layer inside an airtight container. Refrigerate for up to 3 days. For longer keeping, place a parchment sheet between layers, seal in a freezer‑safe bag, and freeze for up to 2 months. This method prevents sticking and preserves the crisp exterior.
Reheating Instructions
Reheat frozen or refrigerated sliders in a preheated 350°F (175°C) oven for 10‑12 minutes, covered with foil for the first half to retain moisture, then uncovered to re‑crisp the crust. In a pinch, microwave on medium power for 45‑60 seconds, then finish under a hot broiler for 2 minutes to restore crunch.
Frequently Asked Questions
Can I make these sliders ahead of time?
What if I don’t have frozen hash browns?
Can I substitute the cheese blend?
What sides pair best with these sliders?
Mini Cheesy Hash Brown Sliders bring together crunchy comfort and melty indulgence in a bite‑size package that’s perfect for any gathering. By following the detailed steps, using the suggested tips, and exploring the variations, you’ll create a dish that’s both familiar and exciting. Feel free to experiment with toppings, cheeses, or seasonings—cooking is all about making a recipe your own. Enjoy the satisfying snap of each slider and the smiles they inspire around the table!
Mini Cheesy Hash Brown Sliders Recipe
Delicious Mini Cheesy Hash Brown Sliders Recipe
Ingredients
Main Ingredients
- 2 cups frozen hash brown shreds
- 1 large egg, lightly beaten
- 2 tablespoons all‑purpose flour
- 2 tablespoons unsalted butter, melted
Cheese Mixture
- ½ cup shredded sharp cheddar cheese
- ½ cup shredded mozzarella cheese
- ¼ cup grated Parmesan cheese
Seasonings & Aromatics
- ½ small onion, finely diced
- 1 clove garlic, minced
- ½ teaspoon smoked paprika
- ¼ teaspoon freshly ground black pepper
- ½ teaspoon sea salt, or to taste
- 2 tablespoons chopped fresh chives
Optional Toppings
- 4 slices crisp cooked bacon, crumbled
- 2 tablespoons spicy mayo or sriracha aioli
Instructions
Mixing the Patty Dough
- Combine dry ingredients. In a large bowl, whisk together 2 cups frozen hash brown shreds, 2 tablespoons all‑purpose flour, ½ teaspoon smoked paprika, ¼ teaspoon black pepper, and ½ teaspoon sea salt. The flour acts as a binder, while the spices add a subtle smoky backbone.
- Incorporate wet components. Make a well in the center and pour in 1 large egg, 2 tablespoons melted butter, and the minced 1 clove garlic. Stir gently until a cohesive, slightly sticky mixture forms—over‑mixing can make the patties tough.
- Add aromatics. Fold in the ½ small onion, finely diced and 2 tablespoons chopped chives. The onion will caramelize during cooking, adding sweetness, while chives contribute a fresh, oniony lift.
- Shape mini patties. Using a tablespoon or small ice‑cream scoop, portion the mixture onto a parchment‑lined tray. Press each portion into a 2‑inch round, about ¼‑inch thick. This uniform size ensures even cooking and a bite‑sized final product.
- Pre‑cook the patties. Heat a non‑stick skillet over medium‑high heat, add a thin drizzle of oil, and place the patties in a single layer. Cook 2‑3 minutes per side until lightly golden; they don’t need to be fully cooked because the oven will finish them. This step creates a crust that will hold the cheese inside.
Similar Recipes
 Breakfast
High-Protein Cottage Cheese Waffles: A Delicious and Nutritious Breakfast
Delicious High-Protein Cottage Cheese Waffles: A Delicious and Nutritious Breakfast
 Breakfast
Jalapeño Honey Butter Cornbread: A Delicious Twist on a Classic Favorite
Delicious Jalapeño Honey Butter Cornbread: A Delicious Twist on a Classic Favorite
 Breakfast
Easy Peasy Oatmeal Breakfast Cookies: A Wholesome Start to Your Day
Delicious Easy Peasy Oatmeal Breakfast Cookies: A Wholesome Start to Your Day
 Breakfast
Slow Cooker Steel Cut Oats for a Hands-Free Breakfast
Learn how to make delicious Slow Cooker Steel Cut Oats for a Hands-Free Breakfast. Easy recipe…
 Breakfast
Crispy Parmesan Zucchini Potato Muffins: A Nutrient-Packed Delight
Delicious Crispy Parmesan Zucchini Potato Muffins: A Nutrient-Packed Delight
 Breakfast
Spiced Pumpkin Paradise Granola Bites Recipe
Delicious Spiced Pumpkin Paradise Granola Bites Recipe
 Breakfast
Ham and Cheese Butter Swim Biscuits: A Delightful Culinary Experience
Delicious Ham and Cheese Butter Swim Biscuits: A Delightful Culinary Experience
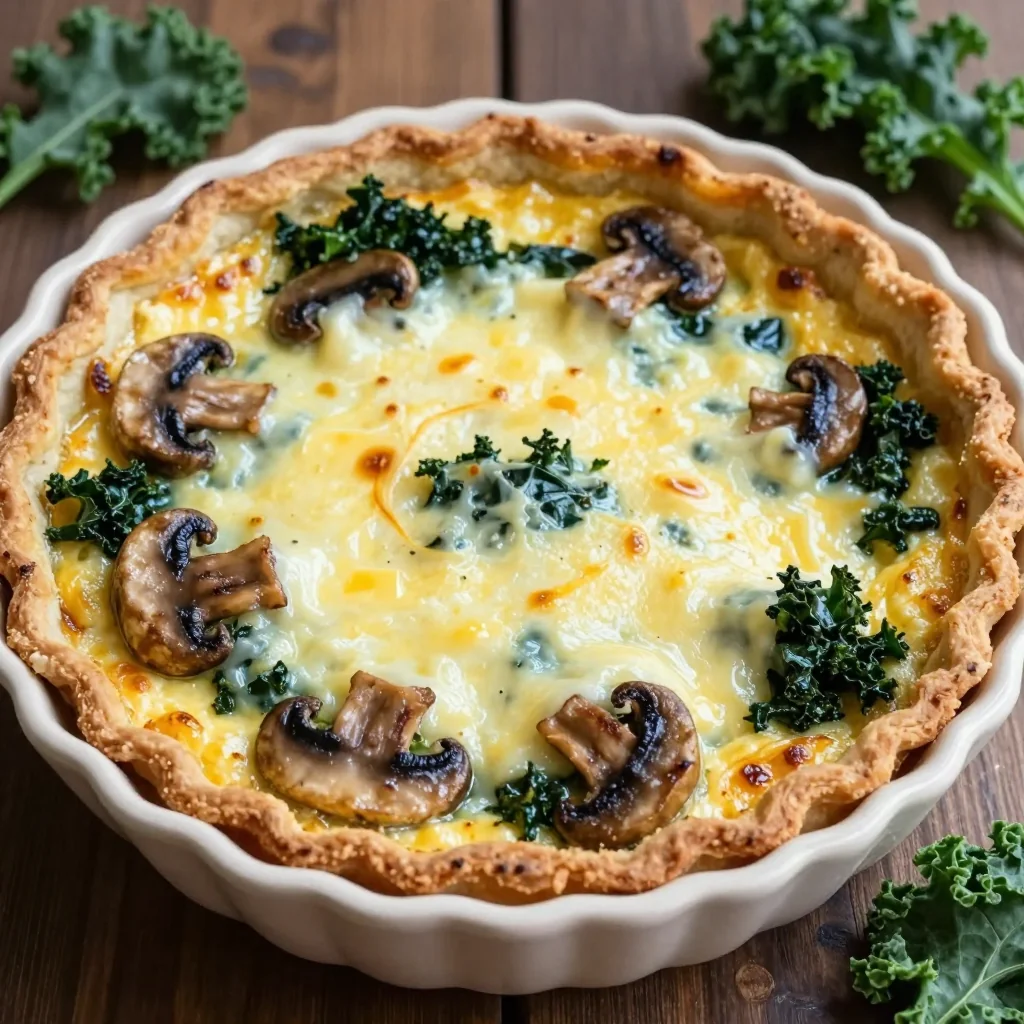 Breakfast
savory mushroom and kale quiche for cozy winter family meals
Learn how to make delicious savory mushroom and kale quiche for cozy winter family meals. Easy…

Eva
I cook these recipes at home before they ever land here — simple ingredients, clear steps.