Pumpkin Banana Baked Oatmeal Cups: Step-by-Step Instructions and Serving Suggestions
 Save
Save
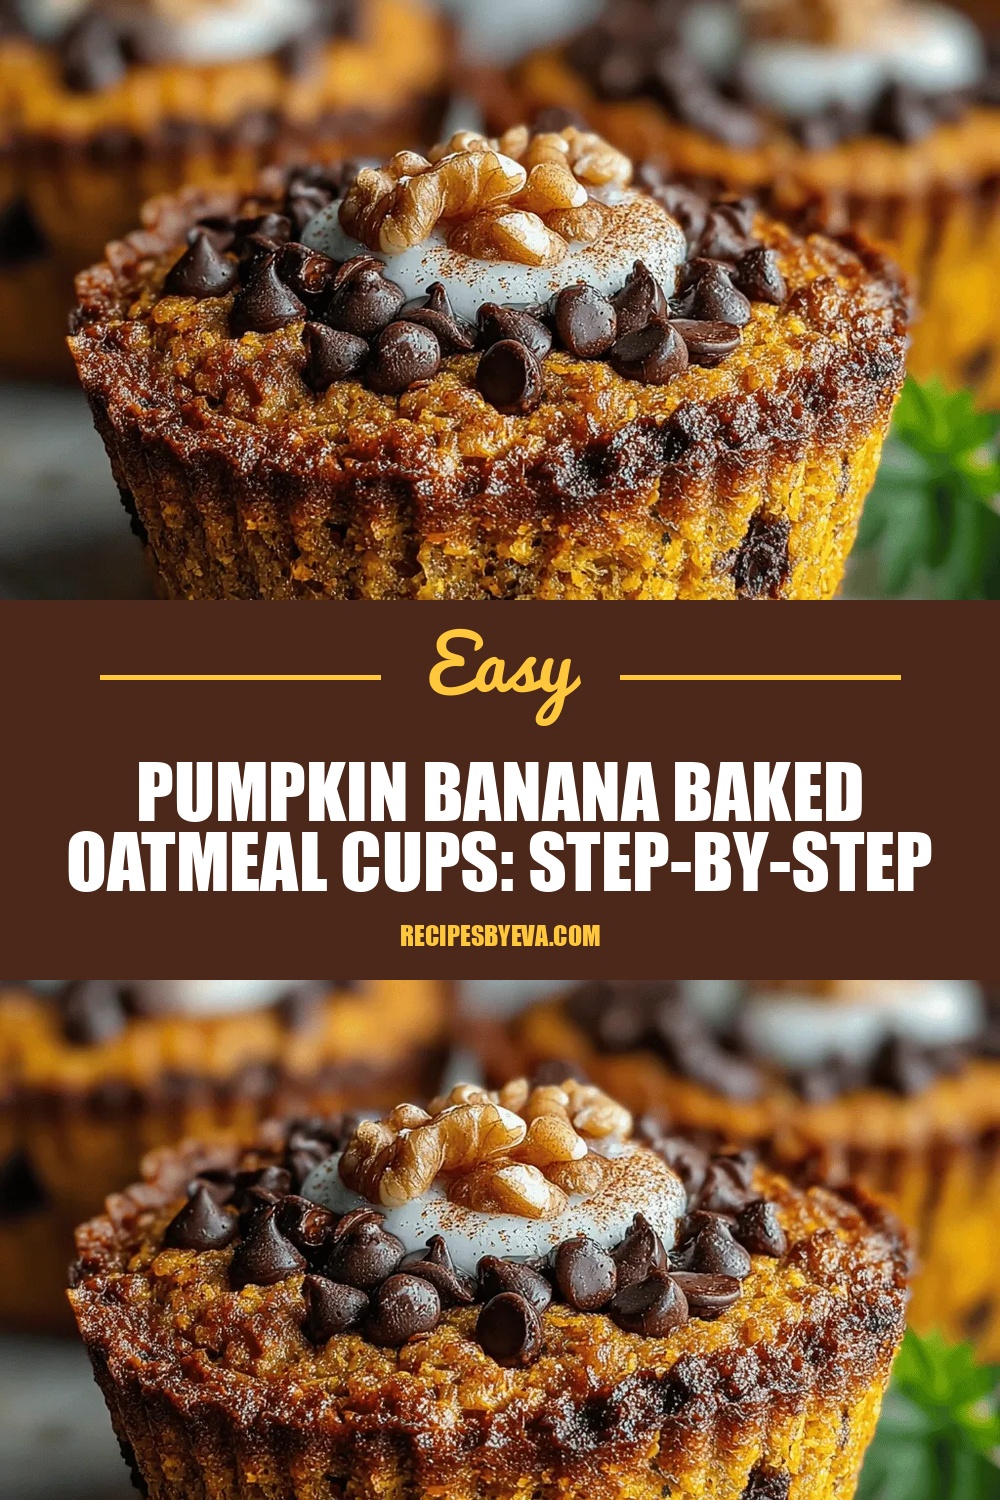
Imagine waking up to the aroma of warm pumpkin, sweet banana, and toasted oats filling your kitchen. These Pumpkin Banana Baked Oatmeal Cups are the perfect marriage of comfort and nutrition, making every morning feel like a small celebration.
What sets this recipe apart is the silky blend of pumpkin purée and mashed ripe banana, which creates a naturally sweet, moist crumb without relying on refined sugars. A hint of cinnamon, nutmeg, and maple syrup adds depth, while crunchy pecan topping delivers texture contrast.
This dish will delight busy parents, college students, or anyone craving a heart‑healthy breakfast that can be grabbed on the go. Serve them at brunch gatherings, holiday mornings, or as a pre‑workout power bite.
The process is straightforward: whisk dry and wet ingredients separately, combine, portion into a muffin tin, and bake until the tops are golden and the centers are set. In under half an hour you’ll have a batch of portable, nutrient‑dense cups ready to fuel your day.
Why You'll Love This Recipe
Seasonal Sweetness: The natural sugars from pumpkin and banana give each bite a gentle sweetness, eliminating the need for heavy syrups or processed sugars.
Make‑Ahead Magic: Once baked, the cups keep beautifully in the fridge or freezer, so you can prep a week’s worth of breakfasts in one sitting.
Protein‑Packed Power: Oats, Greek yogurt, and a scoop of protein powder deliver sustained energy without the crash that comes from refined carbs.
Kid‑Approved Texture: The soft, cake‑like interior paired with a crunchy nut topping makes these cups irresistible to even the pickiest eaters.
Tips & Tricks
Perfecting the Recipe
Measure Oats Accurately. Use a kitchen scale or level the measuring cup. Too much oat can make the cups dense, while too little reduces texture.
Don’t Over‑Mix. Stir just until the wet and dry ingredients are combined. Over‑mixing activates gluten, resulting in a rubbery bite.
Room‑Temp Ingredients. Let the banana, pumpkin, and yogurt sit out for a few minutes. This helps the batter blend evenly and promotes a uniform rise.
Flavor Enhancements
Add a teaspoon of vanilla extract to the wet mixture for a deeper aromatic note. A pinch of ground ginger or cardamom can give the cups an unexpected spice kick. For extra richness, swirl a tablespoon of melted coconut oil into the batter before baking.
Common Mistakes to Avoid
Avoid using overripe bananas that turn mushy; they can make the batter too wet, leading to soggy centers. Also, don’t skip the preheating step—baking in a cold oven prevents the cups from achieving that signature golden crust.
Pro Tips
Use Silicone Liners. They release the cups cleanly and eliminate the need for extra greasing, preserving the crisp nut topping.
Freeze for Future Breakfasts. After cooling, wrap each cup in parchment and place in a zip‑top bag. Reheat directly from frozen for a quick, nutritious start.
Adjust Sweetness. Taste the batter before baking; if you prefer a less sweet cup, reduce the maple syrup by a tablespoon.
Seasonal Add‑Ins. Stir in dried cranberries for a tart pop or pumpkin seeds for extra crunch and nutrients.
Variations
Ingredient Swaps
Replace pumpkin with sweet potato purée for a slightly earthier flavor, or swap banana for unsweetened applesauce to lower the sugar load. If you’re allergic to nuts, use toasted sunflower seeds instead of pecans. For a dairy‑free version, substitute Greek yogurt with coconut‑based yogurt.
Dietary Adjustments
To make the cups gluten‑free, use oat flour or a certified gluten‑free all‑purpose blend in place of whole‑wheat flour. For a high‑protein vegan option, replace the eggs with a flax‑egg (1 tbsp ground flaxseed + 3 tbsp water) and use plant‑based protein powder. Reduce the maple syrup or use a zero‑calorie sweetener for a lower‑calorie version.
Serving Suggestions
Pair the cups with a dollop of almond butter for extra protein, or drizzle with a quick yogurt‑lemon glaze (Greek yogurt mixed with lemon zest). A side of fresh berries adds acidity that balances the sweet, spiced interior, making the plate look vibrant and inviting.
Storage Info
Leftover Storage
Allow the baked cups to cool completely, then transfer them to an airtight container. In the refrigerator they stay fresh for 4‑5 days. For longer keeping, stack the cooled cups in a freezer‑safe zip‑top bag, separating each with parchment paper; they freeze well for up to 3 months without losing texture.
Reheating Instructions
Reheat refrigerated cups in a pre‑heated 350°F oven for 8‑10 minutes, covered with foil to retain moisture. If using the microwave, place a cup on a microwave‑safe plate, cover loosely, and heat on medium power for 45‑60 seconds, adding a splash of milk if the texture feels dry.
Frequently Asked Questions
Can I make these oatmeal cups ahead of time?
What if I don’t have fresh pumpkin purée?
How can I make these cups vegan?
What’s the best way to keep the topping crunchy?
These Pumpkin Banana Baked Oatmeal Cups bring together autumnal warmth, natural sweetness, and wholesome nutrition in a convenient, portable package. By following the step‑by‑step guide, you’ll achieve a tender interior and a crunchy nut topping every time. Feel free to experiment with the suggested swaps or add your own favorite mix‑ins—breakfast is the perfect canvas for creativity. Enjoy each bite and let the flavors fuel your day!
Pumpkin Banana Baked Oatmeal Cups: Step-by-Step Instructions and Serving Suggestions
Delicious Pumpkin Banana Baked Oatmeal Cups: Step-by-Step Instructions and Serving Suggestions
Ingredients
Dry Ingredients
- 1 ½ cups rolled oats
- ½ cup whole‑wheat flour
- 2 teaspoons baking powder
- 1 teaspoon ground cinnamon
- ½ teaspoon ground nutmeg
- ¼ teaspoon sea salt
Wet Ingredients
- 1 cup pumpkin purée (canned or fresh)
- 2 ripe bananas, mashed
- ¾ cup plain Greek yogurt (full‑fat)
- ¼ cup maple syrup
- 2 large eggs
- ¼ cup almond milk (or any milk)
Add‑Ins & Toppings
- ¼ cup chopped pecans
- 2 tablespoons chia seeds (optional)
Instructions
Baking the Cups
- Preheat Oven. Set the oven to 375°F (190°C) and line a 12‑cup muffin tin with silicone liners or lightly grease with oil. A consistent temperature ensures even rising and a golden top.
- Fill the Tin. Spoon the batter into each cup, filling to about ¾ full. This leaves room for the batter to rise without spilling over. Smooth the tops with the back of a spoon.
- Add Topping. Sprinkle a generous pinch of chopped pecans on each cup. The nuts will toast in the oven, creating a crunchy contrast to the soft interior.
- Bake. Place the tin in the middle rack and bake for 20‑25 minutes, or until the tops turn a deep golden brown and a toothpick inserted into the center comes out clean. The edges should look set, while the center remains moist.
- Cool Slightly. Allow the cups to rest in the tin for 5 minutes before transferring to a wire rack. This short cooling period lets the structure firm up, making them easier to remove without crumbling.
Similar Recipes
 Breakfast
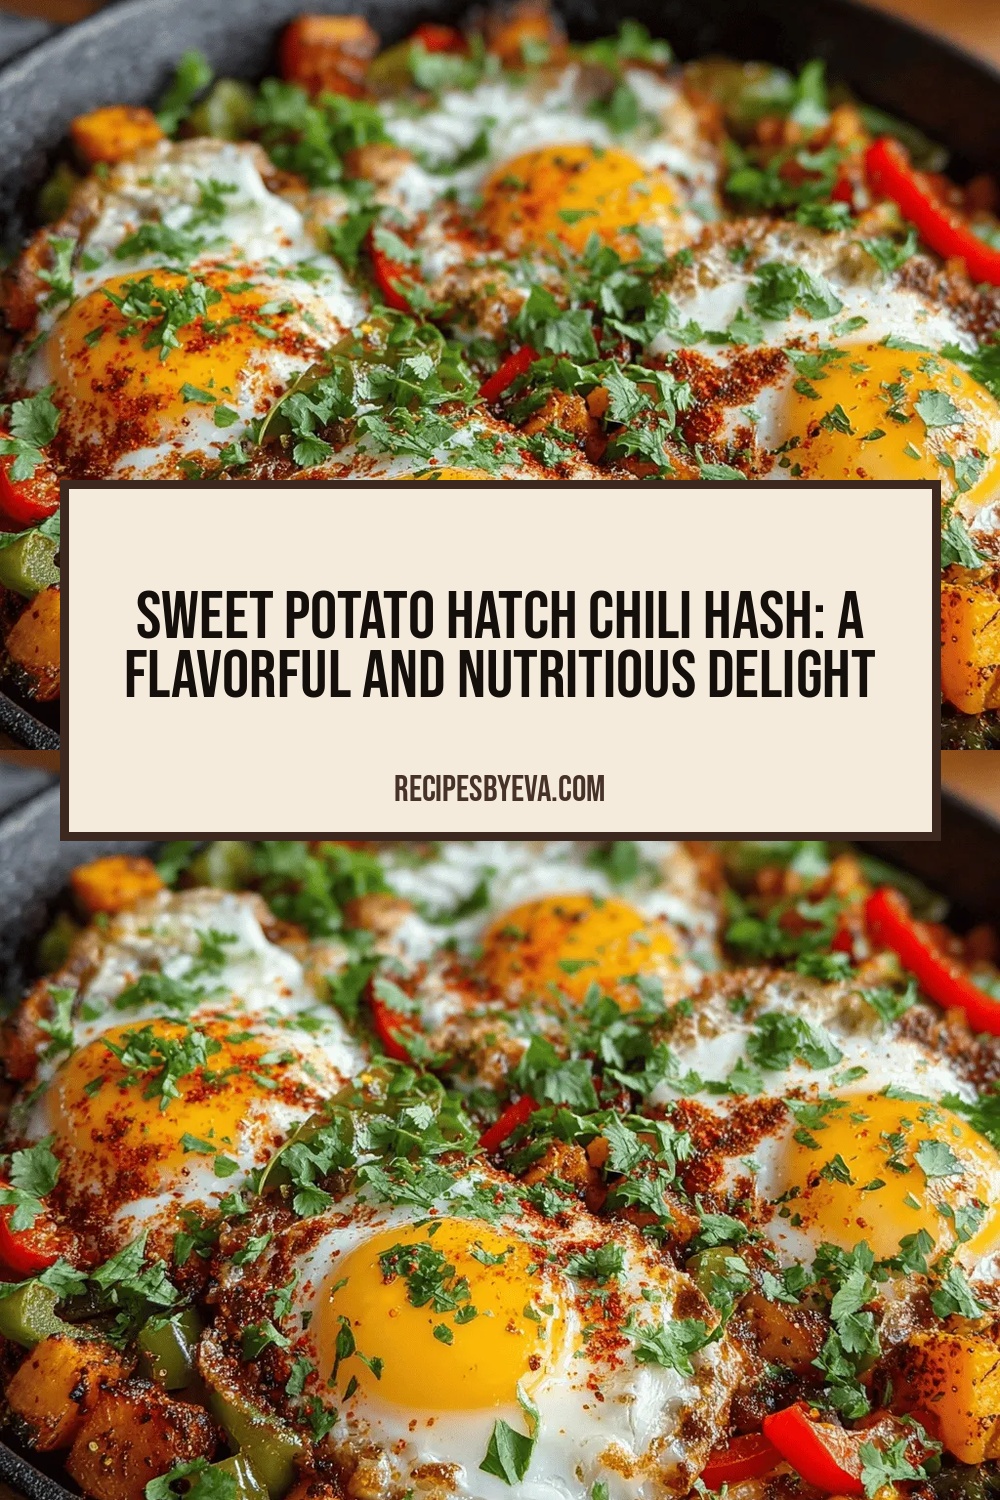
Sweet Potato Hatch Chili Hash: A Flavorful and Nutritious Delight
Delicious Sweet Potato Hatch Chili Hash: A Flavorful and Nutritious Delight
 Breakfast
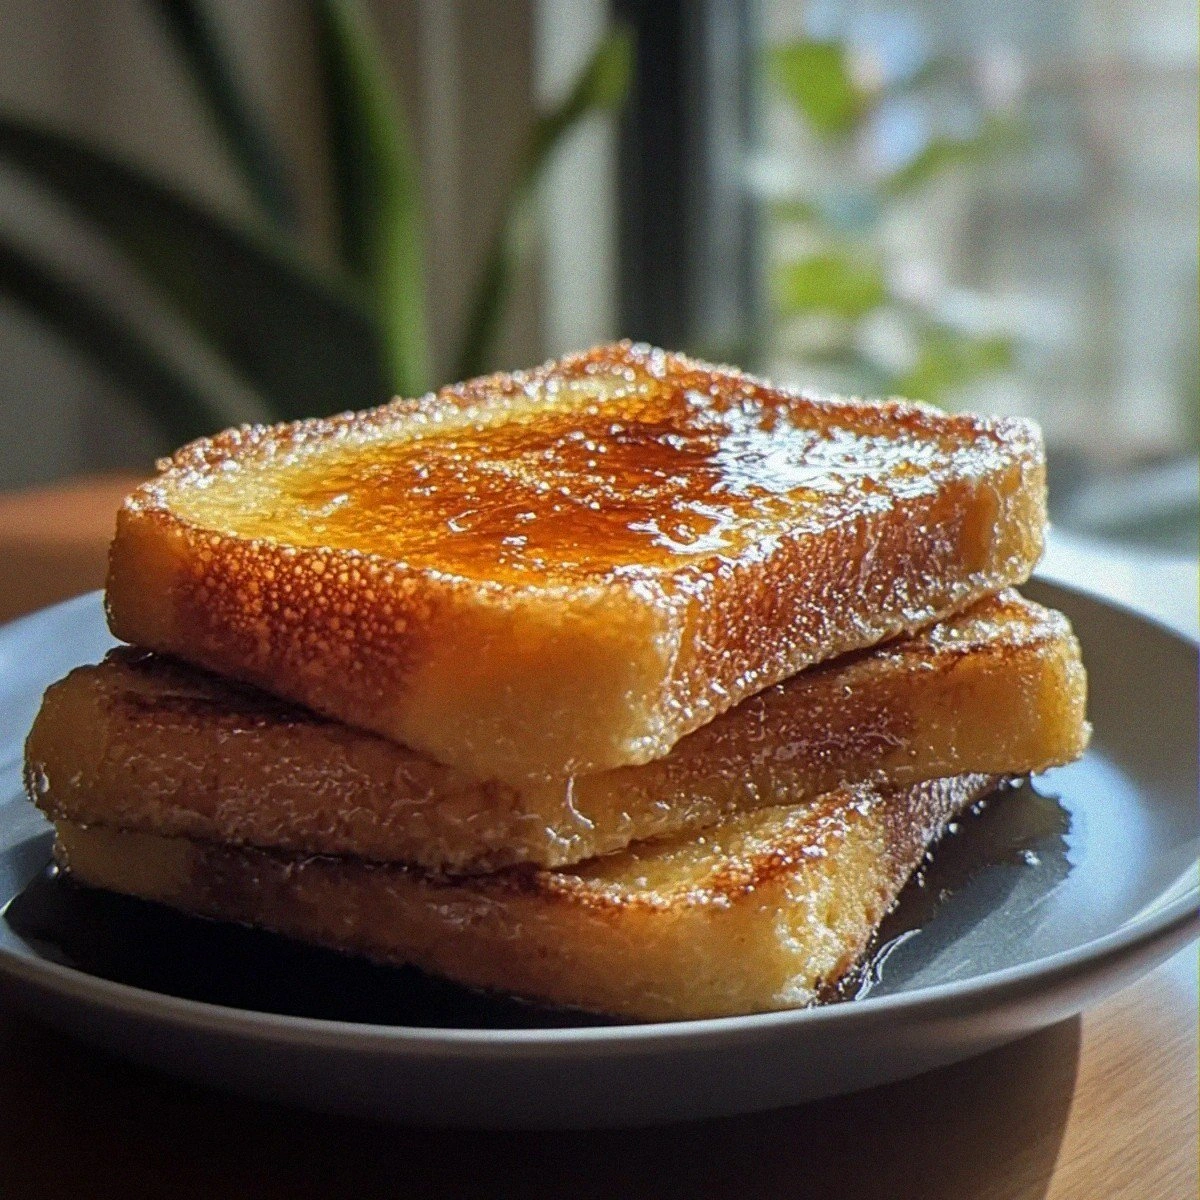
Decadent Crème Brûlée French Toast to Elevate Your Breakfast
Learn how to make delicious Decadent Crème Brûlée French Toast to Elevate Your Breakfast. Easy recipe…
 Breakfast
Easy Sweet Condensed Milk Bread Recipe
Delicious Easy Sweet Condensed Milk Bread Recipe
 Breakfast
Avocado Cloud Toasts – A Fluffy Delight
Delicious Avocado Cloud Toasts – A Fluffy Delight
 Breakfast
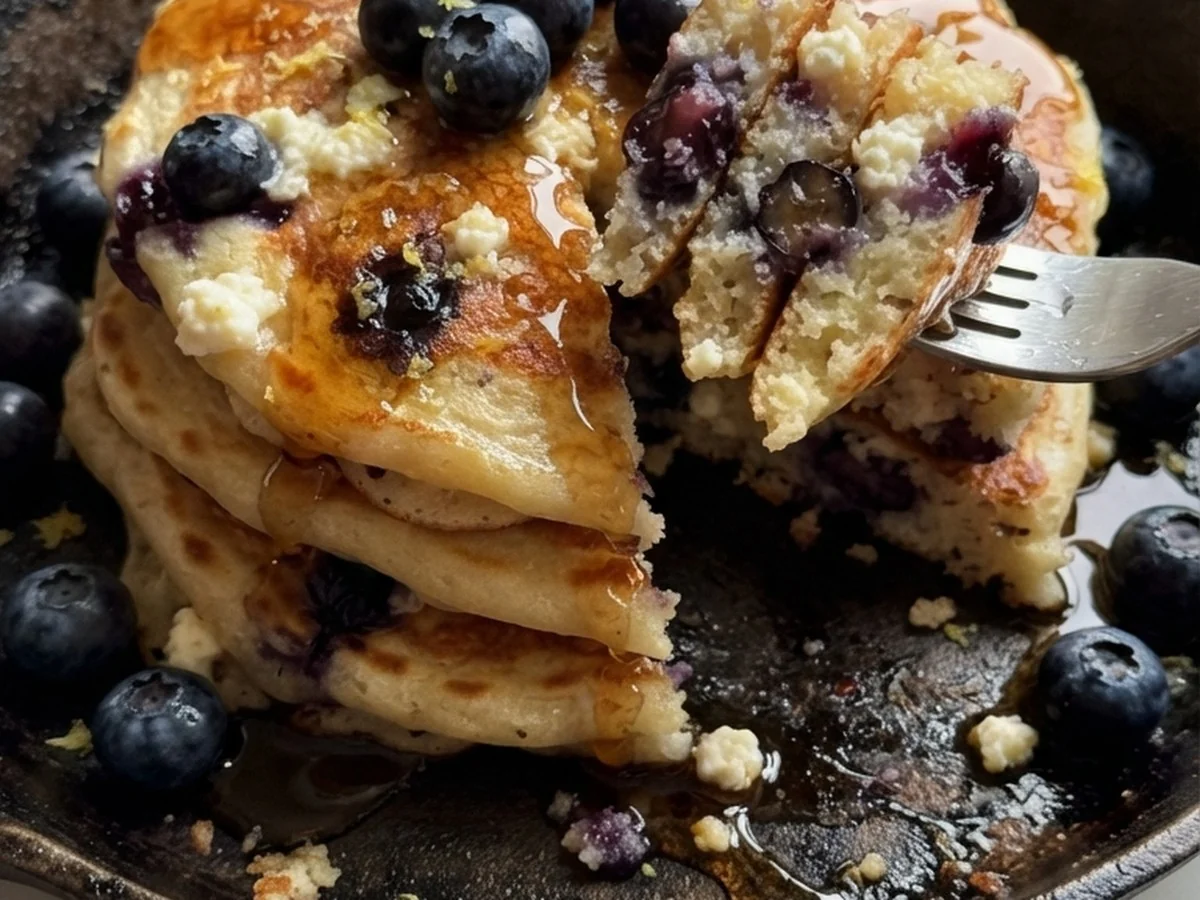
Fluffy Blueberry Lemon Ricotta Pancakes
Light ricotta pancakes burst with fresh blueberries and bright lemon zest for a dreamy morning treat.
 Breakfast
Denver Omelet Scrambled Eggs: A Breakfast Delight
Delicious Denver Omelet Scrambled Eggs: A Breakfast Delight
 Breakfast
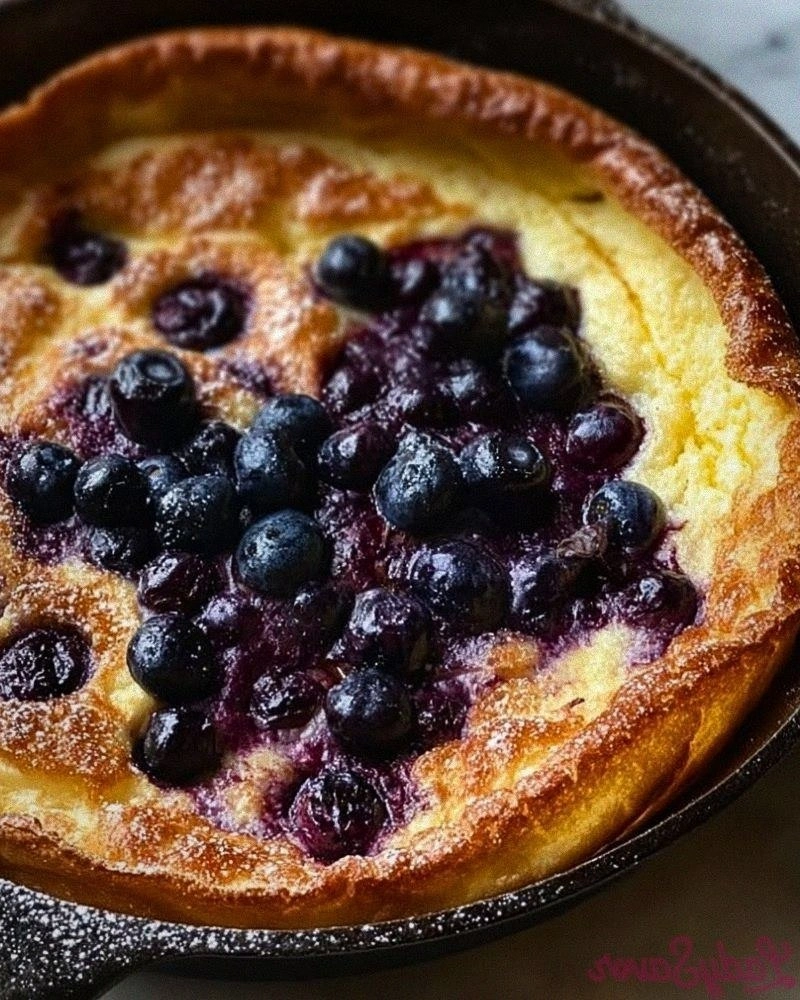
Blueberry Lemon Dutch Baby
Learn how to make delicious Blueberry Lemon Dutch Baby. Easy recipe with step-by-step instructions.
 Breakfast
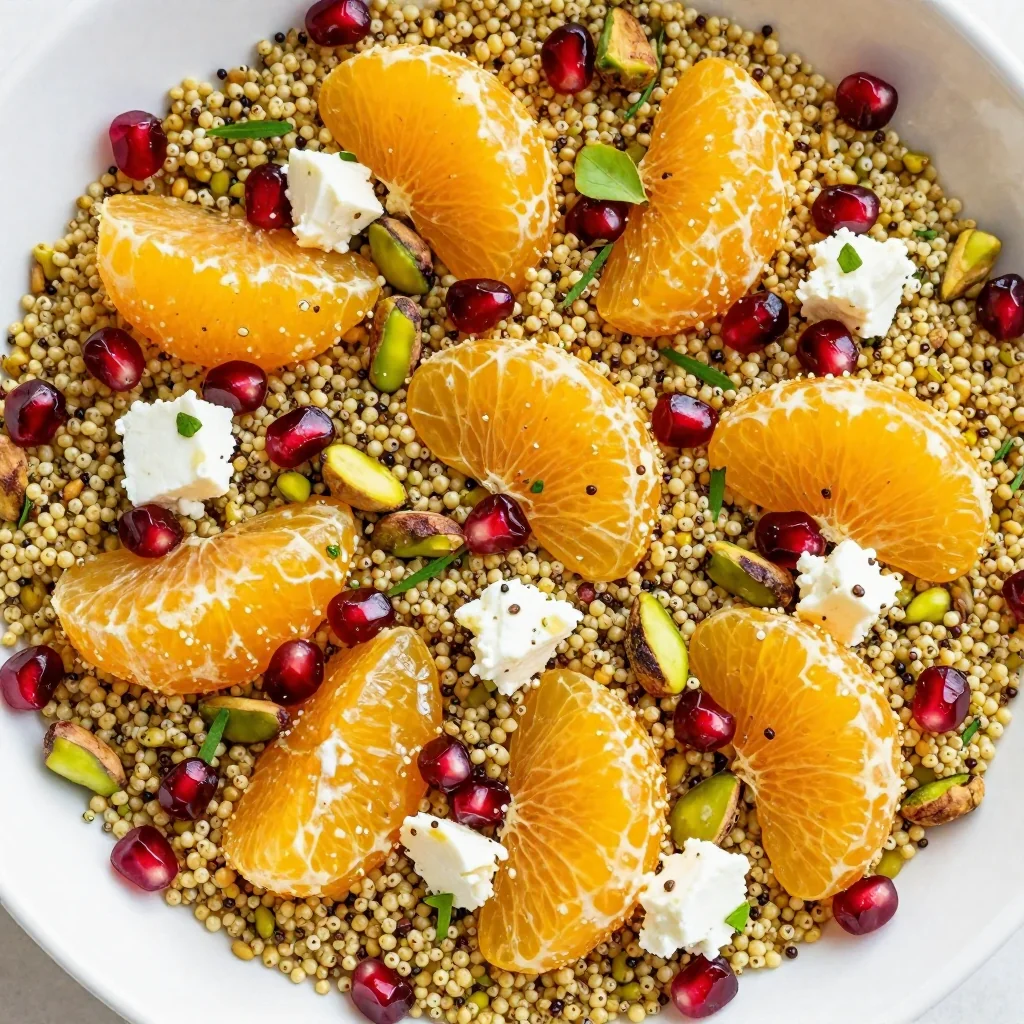
fresh citrus and herb quinoa salad for bright holiday brunch
Light, zesty quinoa salad bursts with citrus, herbs & pomegranate—perfect for a bright holiday brunch. Get…

Eva
I cook these recipes at home before they ever land here — simple ingredients, clear steps.