Heavenly Vanilla Bean Crème Brûlée: A Decadent Dessert Recipe
 Save
Save
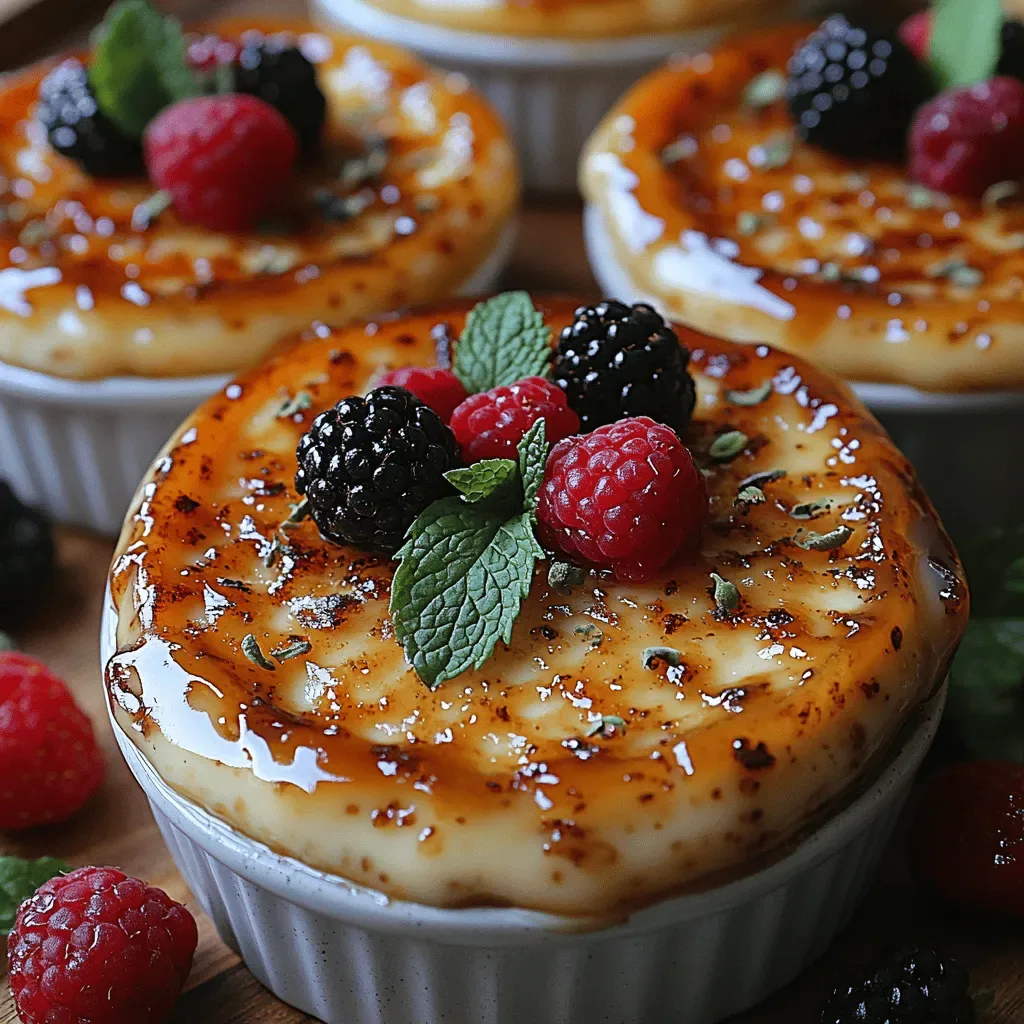
Imagine a silky custard infused with the fragrant perfume of real vanilla beans, crowned with a perfectly caramelized sugar crust that cracks delicately under your spoon. That’s the magic of Heavenly Vanilla Bean Crème Brûlée, a dessert that feels like a celebration in every bite.
What makes this recipe stand out is the use of fresh vanilla beans rather than extract, delivering an authentic depth of flavor. The custard is baked in a water bath, guaranteeing a velvety texture that never turns grainy, while the torch‑finished top adds a satisfying contrast of crisp sweetness.
This dessert is a show‑stopper for dinner parties, intimate date nights, or any occasion where you want to impress without spending hours in the kitchen. Chocolate lovers, vanilla aficionados, and even picky eaters will be drawn to its creamy allure.
The process is straightforward: whisk together the custard, bake it gently in a bain‑marie, chill thoroughly, then torch the sugar topping just before serving. Follow the steps below and you’ll have a restaurant‑quality crème brûlée on your own countertop.
Why You'll Love This Recipe
Real Vanilla Elegance: Fresh vanilla beans give a floral, buttery aroma that artificial extracts can’t match, turning a simple custard into a gourmet experience.
Silky‑Smooth Texture: Baking in a water bath prevents over‑cooking, ensuring the custard stays luxuriously creamy without any grainy edges.
Eye‑Catching Finish: The caramelized sugar crust not only adds a sweet crunch but also creates a dramatic, crack‑through moment that delights guests.
Simple Yet Impressive: With just a handful of pantry staples and a kitchen torch, you can serve a dessert that feels luxurious and restaurant‑grade.
Tips & Tricks
Perfecting the Recipe
Use a Fine‑Mesh Sieve. Straining the custard removes any stray egg bits, guaranteeing a perfectly silky texture.
Chill Overnight. A longer chill firm‑up the custard and intensifies the vanilla flavor, making the final dessert more cohesive.
Water Bath Depth. Ensure the water reaches at least halfway up the ramekins; this prevents the edges from over‑cooking while the center stays creamy.
Room‑Temp Eggs. Using eggs at room temperature helps them blend smoothly with the hot cream, reducing the risk of curdling.
Flavor Enhancements
For an extra aromatic lift, add a splash of Grand Marnier or a pinch of freshly grated nutmeg to the custard before baking. A drizzle of caramel sauce on the side adds a buttery depth that pairs beautifully with the vanilla notes.
Common Mistakes to Avoid
Avoid boiling the cream—once it simmers, remove it from heat to keep the flavor pure. Also, don’t over‑bake; the custard should still jiggle slightly in the center, otherwise it becomes grainy and dry.
Pro Tips
Superfine Sugar. Using caster sugar for the brûlée topping ensures an even melt and a smoother crust.
Torch Technique. Keep the torch moving in a circular motion and hold it about 2‑3 inches from the surface to prevent scorching.
Serve Immediately. The caramelized layer begins to soften after a few minutes; present the dessert right after torching for optimal crunch.
Prep Ahead. The custard can be made up to two days in advance; just keep it covered in the fridge and caramelize the top just before serving.
Variations
Ingredient Swaps
Replace half of the heavy cream with coconut milk for a subtle tropical twist, or stir in 1 tablespoon of espresso powder for a vanilla‑coffee crème brûlée. If you prefer a lighter version, swap whole milk for 2% milk, though the custard will be slightly less rich.
Dietary Adjustments
For a dairy‑free version, use equal parts full‑fat coconut cream and almond milk, and replace the egg yolks with 4 tablespoons of silken tofu blended smooth. A keto‑friendly adaptation keeps the sugar to a minimum and uses a low‑carb sweetener like erythritol for the topping (ensure it caramelizes well). All swaps retain the signature texture.
Serving Suggestions
Pair the brûlée with fresh berries drizzled in a light orange‑liqueur glaze, or serve alongside a crisp glass of late‑harvest Riesling. A small dollop of whipped mascarpone adds an extra layer of indulgence, while a dusting of edible gold leaf makes it perfect for celebrations.
Storage Info
Leftover Storage
Allow any remaining custard to cool completely, then cover each ramekin tightly with plastic wrap. Store in the refrigerator for up to 3 days. If you wish to keep it longer, freeze the uncooked custard in airtight containers for up to 2 months; thaw overnight in the fridge before the final brûlée step.
Reheating Instructions
Reheat chilled custard in a 300°F (150°C) oven for 10‑12 minutes, covered with foil to retain moisture. Once warmed, add fresh superfine sugar and torch the top again. Avoid microwave reheating, as it can cause uneven warming and a rubbery texture.
Frequently Asked Questions
Can I make this crème brûlée ahead of time?
What’s the best way to torch the sugar without a kitchen torch?
How can I tell when the custard is perfectly baked?
This Heavenly Vanilla Bean Crème Brûlée blends the elegance of fresh vanilla with a silky custard and a crackling caramel crown—all achievable in your home kitchen. By following the detailed steps, storing tips, and optional variations, you’ll consistently produce a dessert that feels both classic and unforgettable. Feel free to experiment with flavors, textures, or presentation—creativity is the secret ingredient. Now, light that torch, hear the crack, and enjoy every luxurious spoonful!
Heavenly Vanilla Bean Crème Brûlée: A Decadent Dessert Recipe
Delicious Heavenly Vanilla Bean Crème Brûlée: A Decadent Dessert Recipe
Ingredients
Custard Base
- 2 cups heavy cream
- 1 cup whole milk
- 5 large egg yolks
- ½ cup granulated sugar (plus extra for topping)
Flavor Enhancers
- 1 vanilla bean (or 2 teaspoons pure vanilla extract)
- ¼ teaspoon fine sea salt
Instructions
Baking the Custard
- Whisk Egg Yolks & Sugar. In a large bowl, whisk together the egg yolks, ½ cup granulated sugar, and sea salt until the mixture lightens in color and becomes slightly fluffy, about 2 minutes. This incorporates air and helps prevent a rubbery texture.
- Temper the Eggs. Slowly pour about one‑third of the warm cream mixture into the yolk bowl while whisking constantly. This gradual temperature rise prevents the yolks from curdling. Once combined, whisk the tempered mixture back into the saucepan.
- Strain & Fill. Remove the vanilla pod, then strain the custard through a fine‑mesh sieve into a clean pitcher to eliminate any cooked egg bits. Divide the smooth custard evenly among six 4‑inch ramekins.
- Set Up a Bain‑Marie. Place the ramekins in a deep roasting pan. Carefully pour hot water into the pan until it reaches halfway up the sides of the ramekins. This water bath provides gentle, even heat, crucial for a custard that’s set but still jiggles slightly when shaken.
- Bake. Transfer the pan to the oven and bake for 35–40 minutes, or until the custard is just set—its edges should be firm while the center still has a subtle wobble. Remove the ramekins, let them cool to room temperature, then refrigerate for at least 2 hours (preferably overnight).
Similar Recipes
 Desserts
Homemade Greek Yogurt Ice Cream: 5 Steps to Blissful Delights
Learn how to make delicious Homemade Greek Yogurt Ice Cream: 5 Steps to Blissful Delights. Easy…
 Desserts
Nutty Delight No-Bake Almond Butter Rice Squares: The Perfect Snack Recipe
Delicious Nutty Delight No-Bake Almond Butter Rice Squares: The Perfect Snack Recipe
 Desserts
Zesty Lemon Raspberry Bundt Cake Delight: A Refreshing Treat for Every Occasion
Delicious Zesty Lemon Raspberry Bundt Cake Delight: A Refreshing Treat for Every Occasion
 Desserts
Mexican Chocolate Milk Cake: An Amazing Ultimate Recipe
Learn how to make delicious Mexican Chocolate Milk Cake: An Amazing Ultimate Recipe. Easy recipe with…
 Desserts
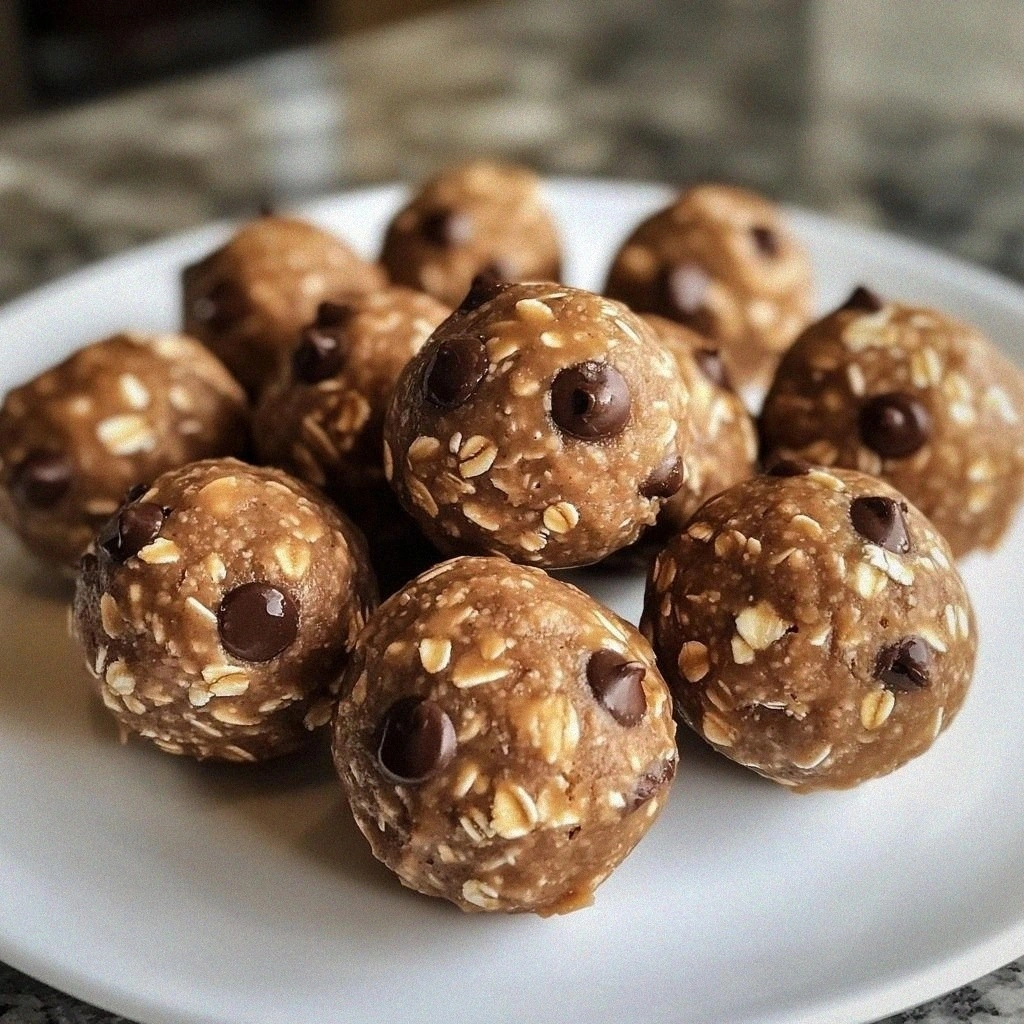
10-Minute Peanut Butter Balls – Irresistible No-Bake Bliss
Learn how to make delicious 10-Minute Peanut Butter Balls – Irresistible No-Bake Bliss. Easy recipe with…
 Desserts
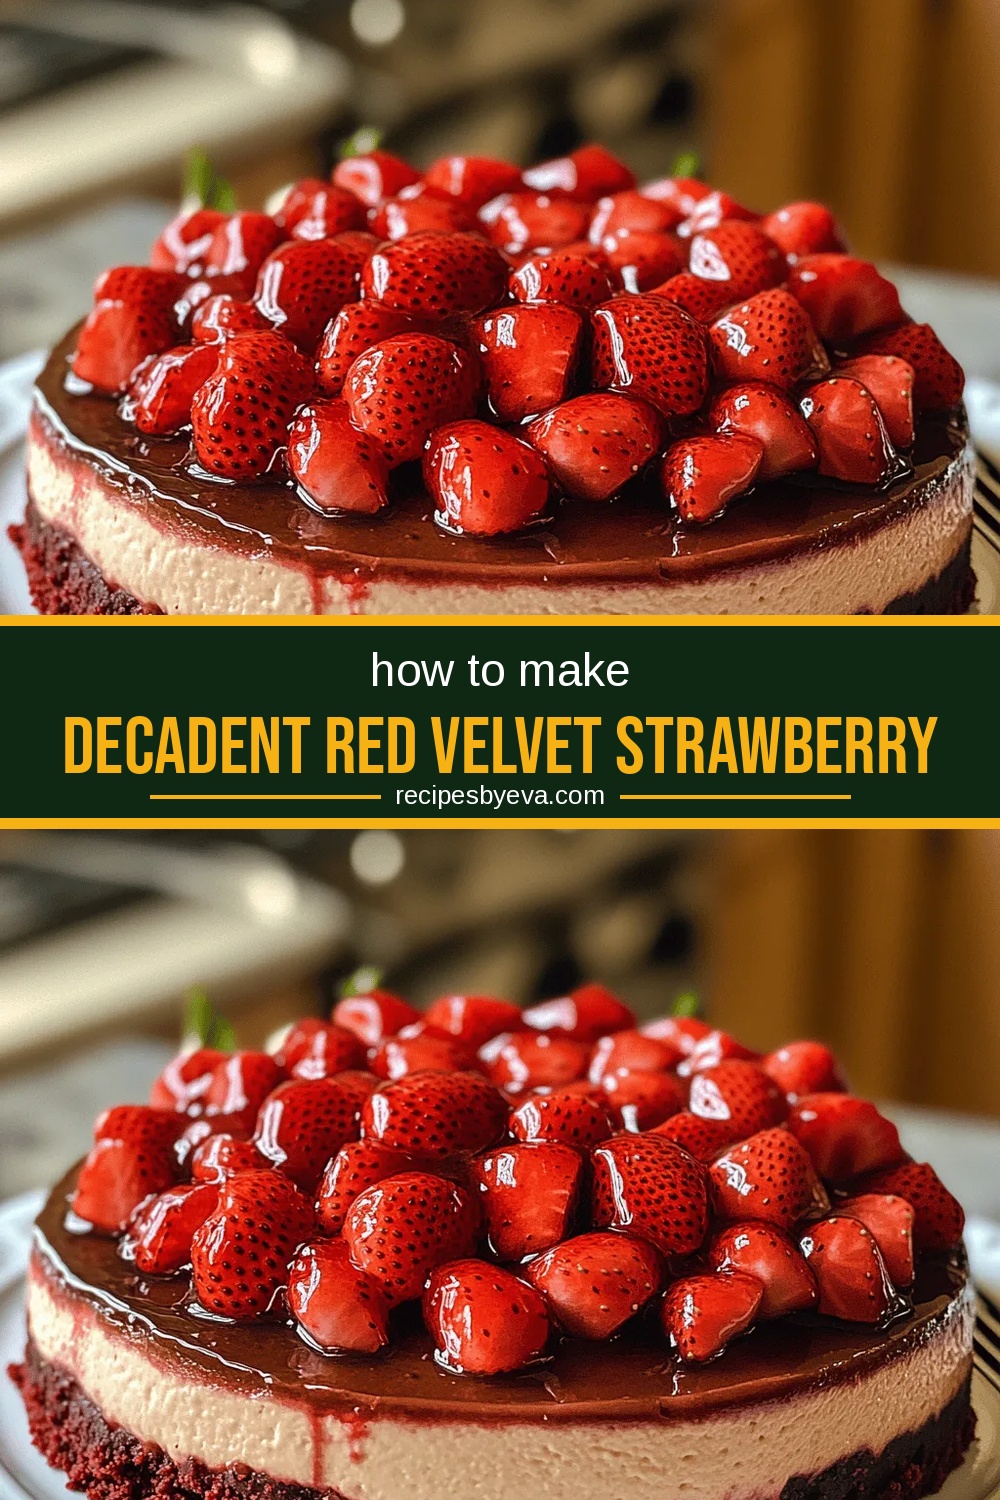
Decadent Red Velvet Strawberry Cheesecake Recipe
Delicious Decadent Red Velvet Strawberry Cheesecake Recipe
 Desserts
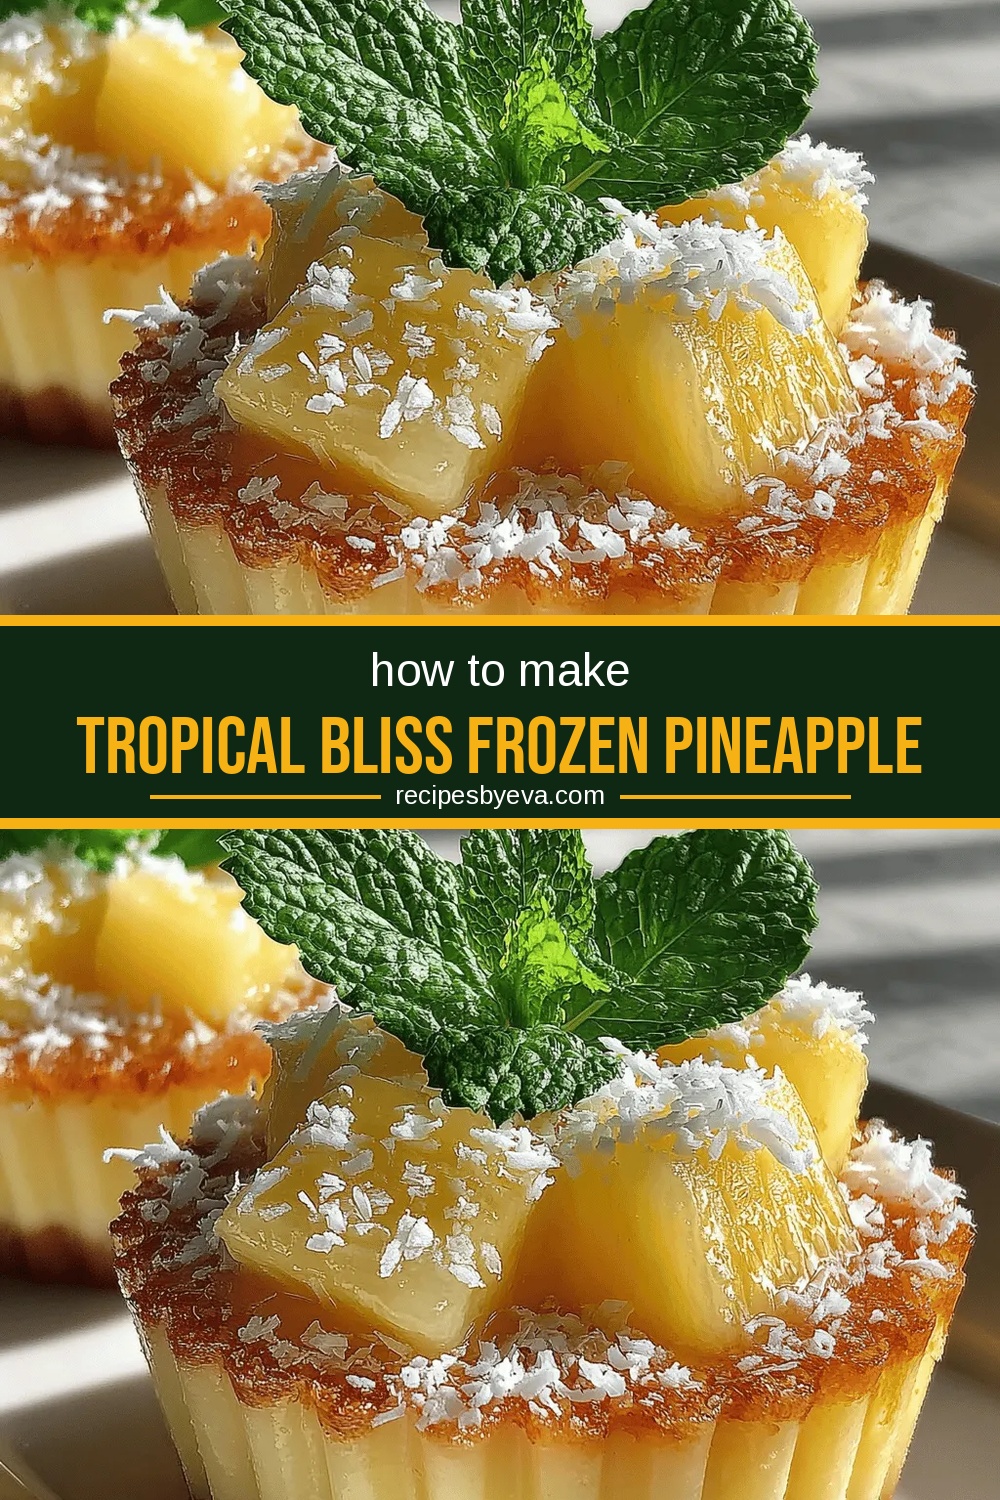
Tropical Bliss Frozen Pineapple Coconut Cups
Delicious Tropical Bliss Frozen Pineapple Coconut Cups
 Desserts
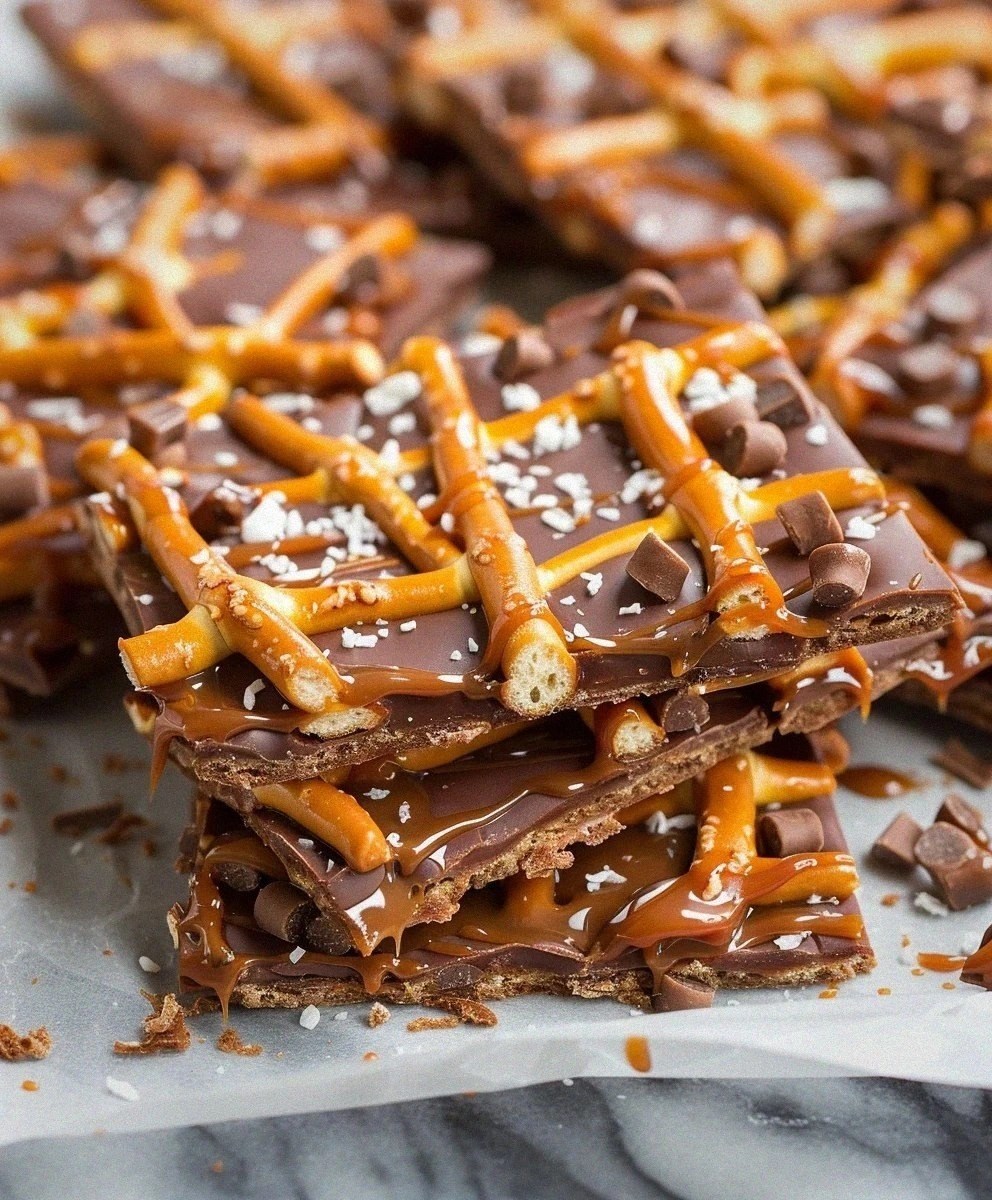
Salted Caramel Pretzel Bark Recipe: Sweet & Salty Delight!
Learn how to make delicious Salted Caramel Pretzel Bark Recipe: Sweet & Salty Delight!. Easy recipe…

Eva
I cook these recipes at home before they ever land here — simple ingredients, clear steps.