Indulging in a warm, comforting dish of baked mac and cheese is a culinary experience that many cherish. This lusciously creamy baked mac and cheese recipe is designed for those who seek the perfect balance of rich flavors and delightful textures. With a melty cheese sauce enveloping perfectly cooked elbow macaroni and a crunchy topping of panko breadcrumbs, this dish is sure to become a family favorite. In this article, we will explore the ingredients, step-by-step instructions, and some insights into making this classic comfort food.
Understanding the Ingredients
Delving into the components of this baked mac and cheese will help you appreciate the flavors and textures that come together in this dish. Each ingredient plays a vital role in creating the ultimate creamy, cheesy experience that has made mac and cheese a staple in kitchens across the globe.
The Pasta
When it comes to the pasta for this recipe, elbow macaroni reigns supreme. Its small, tubular shape is perfect for capturing the creamy cheese sauce, ensuring that each bite is filled with flavor. Elbow macaroni also offers a satisfying chewiness that contrasts beautifully with the smoothness of the cheese sauce. While traditional pasta shapes can also work, elbow macaroni is often preferred for its texture and ability to hold the sauce. When cooking the pasta, be sure to cook it until just al dente, as it will continue to cook in the oven during the baking process, providing the perfect texture for your baked mac and cheese.
Cheese Selection
The heart of any great mac and cheese is, of course, the cheese. For this lusciously creamy baked mac and cheese, we recommend a blend of sharp cheddar, mozzarella, and Parmesan cheese. Sharp cheddar is known for its bold flavor, which adds depth to the dish, while mozzarella offers a creamy texture and excellent melting properties. The addition of Parmesan contributes a delightful nuttiness and enhances the overall flavor profile. Together, this trio of cheeses creates a rich and velvety sauce that coats the pasta beautifully.
When selecting your cheese, consider using freshly grated cheese rather than pre-packaged varieties. Freshly grated cheese melts more smoothly and provides a superior texture and flavor. For a unique twist, feel free to experiment with other cheese varieties, such as Gruyère or Gouda, to create your own signature mac and cheese.
The Roux and Its Importance
The roux is a fundamental component in creating the cheese sauce for this baked mac and cheese. A roux is made by cooking equal parts flour and fat (usually butter) together until they form a smooth paste. This mixture acts as a thickening agent for the cheese sauce, providing the creamy consistency that we all crave in a good mac and cheese.
To make the roux, start by melting the butter in a saucepan over medium heat. Once melted, whisk in the flour, cooking it for a few minutes until it turns a light golden color. This step is essential, as it helps eliminate the raw flour taste and develops a richer flavor in the final dish. Cooking the roux properly is key to achieving a lump-free, velvety cheese sauce.
Flavor Enhancements
While cheese is the star of the show, additional flavor enhancers can elevate your baked mac and cheese to new heights. Ingredients such as Dijon mustard, garlic powder, onion powder, and smoked paprika add depth and complexity to the overall flavor profile.
Dijon mustard provides a subtle tanginess that cuts through the richness of the cheese, while garlic and onion powders offer aromatic notes that round out the dish. Smoked paprika, with its warm, smoky flavor, adds a delightful twist and complements the cheesiness beautifully. Adjust the quantities of these flavor enhancers to suit your palate, as they can significantly impact the final taste of your mac and cheese.
Creating the Perfect Cheese Sauce
Now that we’ve covered the essential ingredients, let’s dive into the step-by-step breakdown of preparing the cheese sauce. This process is crucial for achieving a lump-free, velvety texture that will envelop each piece of pasta.
1. Prepare the Roux: In a medium saucepan, melt 4 tablespoons of unsalted butter over medium heat. Once melted, add 4 tablespoons of all-purpose flour, whisking continuously for about 2-3 minutes until the mixture turns light golden brown and is bubbling gently.
2. Add the Milk: Gradually pour in 3 cups of whole milk while continuing to whisk. This is the key step to prevent lumps from forming. Keep whisking until the mixture thickens, which should take about 5-7 minutes. You want it to coat the back of a spoon.
3. Incorporate the Cheese: Once the mixture has thickened, reduce the heat to low and start adding the cheese blend (2 cups of shredded sharp cheddar, 1 cup of shredded mozzarella, and 1/2 cup of grated Parmesan) in increments. Stir continuously until the cheese is fully melted and the sauce is smooth.
4. Season the Sauce: Add 1 teaspoon of Dijon mustard, 1 teaspoon of garlic powder, 1 teaspoon of onion powder, and 1/2 teaspoon of smoked paprika. Stir to combine and enhance the flavor profile of the sauce. Taste and adjust the seasoning with salt and freshly ground black pepper as necessary.
Combining Pasta and Sauce
After preparing the cheese sauce, it’s time to combine it with the cooked elbow macaroni. This step is essential for ensuring that the pasta is evenly coated and that every bite is bursting with flavor.
1. Combine the Pasta and Sauce: In a large mixing bowl, combine the cooked elbow macaroni (about 3 cups) with the cheese sauce. Gently stir to ensure all the pasta is coated with the sauce. If the mixture appears too thick, you can add a splash of milk to reach your desired consistency.
2. Transfer to Baking Dish: Pour the mac and cheese mixture into a greased 3-quart baking dish, spreading it out evenly.
3. Topping: For a crunchy topping, mix 1 cup of panko breadcrumbs with 2 tablespoons of melted butter and sprinkle it evenly over the mac and cheese.
4. Baking: Preheat your oven to 350°F (175°C) and bake the mac and cheese for 25-30 minutes, or until the top is golden brown and crispy.
By following these steps, you will create a lusciously creamy baked mac and cheese that is sure to impress your family and friends. Stay tuned for the next part of this article, where we will delve into additional tips for achieving the best results and answer common questions about this beloved comfort food.
Preparing for Baking
Before your mac and cheese reaches its glorious final state, it’s essential to prepare your baking dish properly. Start by preheating your oven to 350°F (175°C). This temperature ensures that the mac and cheese bakes evenly and that the cheese melts to perfection without burning.
While the oven is heating, take a moment to grease your baking dish. Use a generous amount of butter or cooking spray to coat the bottom and sides. This step not only helps prevent sticking but also contributes to an extra layer of flavor. If you’re using a glass or ceramic dish, be especially mindful to grease it well, as these materials can sometimes cause sticking if not adequately prepared. Once greased, set the dish aside while you finish preparing your mac and cheese mixture.
The Crunchy Topping
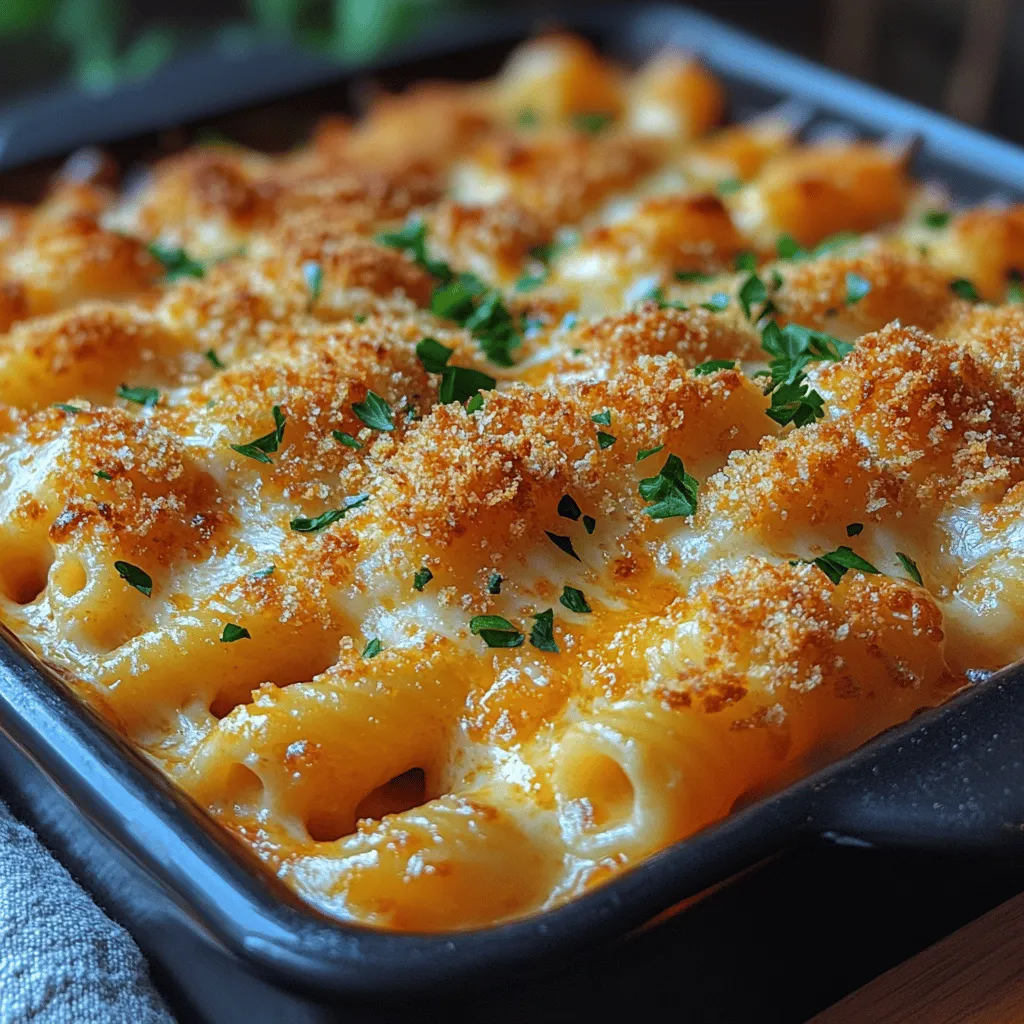
The crunchy topping is one of the defining features of a great baked mac and cheese. Panko breadcrumbs are the star here, providing a light, crispy texture that contrasts beautifully with the creamy pasta underneath. Unlike traditional breadcrumbs, panko is flakier and larger, resulting in a crunchier topping.
To achieve the perfect golden crust, mix your panko breadcrumbs with a bit of melted butter and a pinch of salt before sprinkling it over the top of your mac and cheese. The butter not only adds flavor but helps the breadcrumbs toast evenly in the oven. For an added layer of flavor, consider mixing in some grated Parmesan cheese or a sprinkle of smoked paprika into the breadcrumb mixture. This not only enhances the taste but also gives your dish a vibrant color as it bakes.
Baking to Perfection
Now that your dish is prepped and topped, it’s time to bake to perfection. Place your baking dish in the preheated oven and set a timer for 25 to 30 minutes. Keep an eye on the dish as it bakes; you want to look for a few key signs that it’s ready. The cheese should be bubbling around the edges, and the top should be a lovely golden brown.
If you find that the top is browning too quickly while the inside is still bubbling, you can cover the dish loosely with aluminum foil to prevent over-browning. For the last 5 minutes of baking, remove the foil to allow the cheese to crisp up and achieve that desirable texture. Once you remove the dish from the oven, let it rest for about 5 minutes. This allows the cheese to set slightly, making it easier to serve without losing its shape.
Garnishing for Appeal
A simple garnish can elevate your baked mac and cheese from a comforting dish to a visually appealing centerpiece. Fresh parsley is an excellent choice for garnishing. Not only does it add a pop of color, but it also brings a fresh, herbal note that cuts through the richness of the cheese. Simply chop a handful of parsley and sprinkle it over the top just before serving.
For a bit more flair, consider adding a drizzle of truffle oil or a sprinkle of chili flakes for heat. These additions can give your dish a gourmet twist, impressing your guests with minimal effort.
Nutritional Insights
While baked mac and cheese is undeniably indulgent, understanding its nutritional aspects can help with portion control. A typical serving of mac and cheese can range from 300 to 500 calories, depending on the ingredients used. To lighten the dish, consider using low-fat cheese or substituting some pasta with vegetables like cauliflower or zucchini. These substitutions retain the comforting nature of the dish while adding extra nutrients and fiber.
If you’re concerned about sodium content, opt for unsalted butter and low-sodium cheese. Additionally, incorporating whole-grain pasta can increase the fiber content, making it a more balanced meal. As you prepare your baked mac and cheese, having these modifications in mind can allow you to enjoy this classic dish without the guilt.
Serving Suggestions
Baked mac and cheese is versatile and can be served in various ways. For a complete meal, consider pairing it with a fresh green salad tossed with a light vinaigrette. The acidity from the dressing will balance the richness of the cheese beautifully.
For a heartier option, serve your mac and cheese alongside grilled chicken, barbecued ribs, or roasted vegetables. This adds protein and additional textures to your meal. If you’re hosting a gathering, consider serving it as a side dish to other comfort foods like meatloaf or fried chicken.
To create a fun twist, you can also serve individual portions in ramekins, allowing for easy customization. Guests can mix in their favorite ingredients, such as crispy bacon or sautéed mushrooms, for added flavor and texture.
Cultural Significance of Mac and Cheese
Mac and cheese is more than just a dish; it is a cultural icon woven into the fabric of comfort food across many regions and generations. Tracing its origins back to 18th-century Europe, particularly Italy and France, this dish has evolved into a beloved staple in many households around the world.
In the United States, mac and cheese gained popularity during the Great Depression as a cheap and filling meal. It became a symbol of comfort during tough times, and its presence at family dinners and potluck gatherings solidified its status as an American classic. Today, variations can be found globally, from creamy versions topped with breadcrumbs in the U.S. to baked pasta dishes with unique spices and ingredients in other cultures.
The nostalgia associated with mac and cheese often ties back to childhood memories, making it a dish that resonates deeply with many. Whether it’s a homemade version or a boxed mix, mac and cheese continues to be a favored dish that brings people together, evoking joy and satisfaction with every bite.
Conclusion
The journey of making lusciously creamy baked mac and cheese is not just about the end result but the joy of cooking and sharing this classic dish with loved ones. The balance of rich, creamy cheese, tender pasta, and a crispy topping creates a delightful dish that satisfies both hunger and nostalgia.
As you navigate the steps of preparing this comfort food, remember that it’s about more than just the ingredients and cooking techniques; it’s about creating memories and enjoying time with family and friends. Whether it’s for a casual weeknight dinner, a festive gathering, or a cozy night in, this baked mac and cheese recipe delivers comfort and satisfaction in every bite. So gather your ingredients, preheat your oven, and prepare to indulge in a timeless favorite that’s sure to warm hearts and appetites alike. Enjoy crafting and sharing this delicious dish that celebrates the simple pleasures of home cooking.