Tropical Bliss Chewy Coconut Bars Recipe
 Save
Save
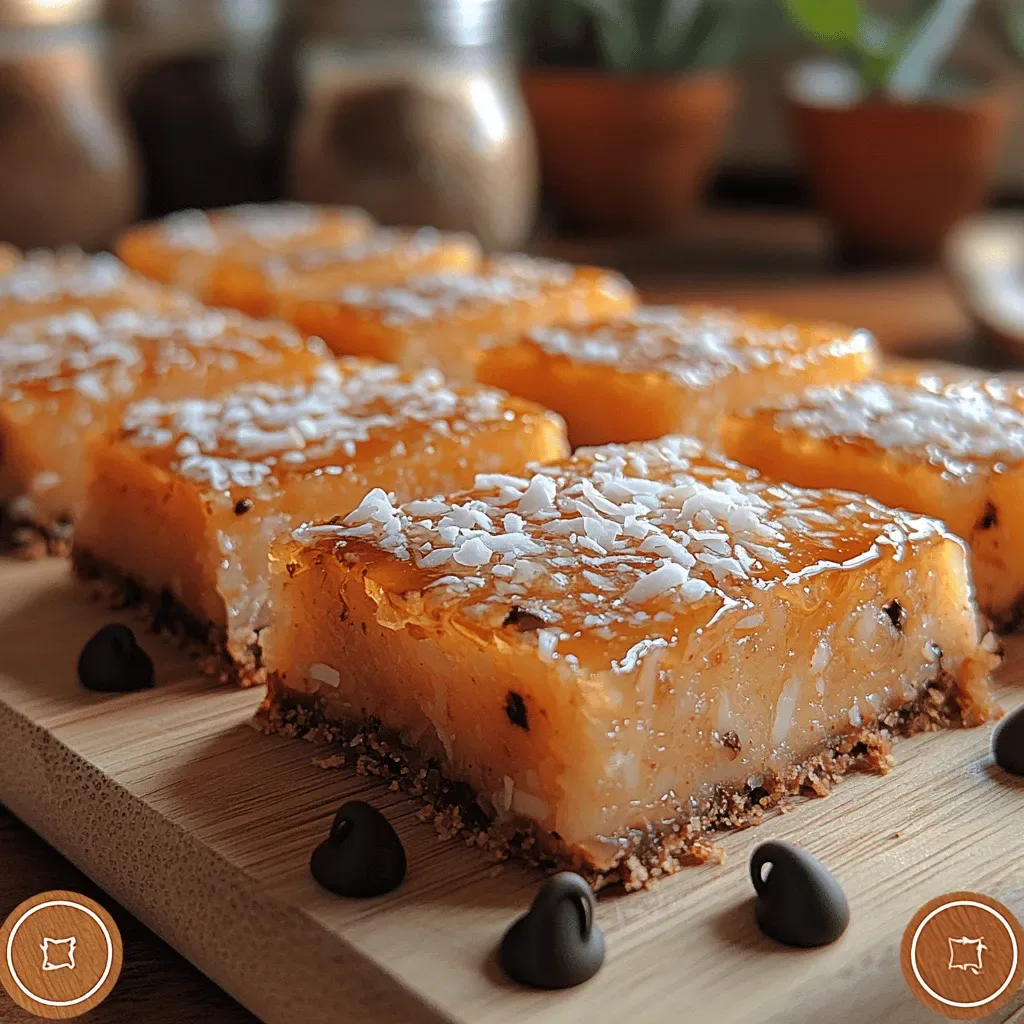
Imagine a bite that transports you straight to a sun‑kissed beach, where the scent of toasted coconut mingles with a hint of tropical fruit. That’s exactly what the Tropical Bliss Chewy Coconut Bars deliver—soft, chewy centers wrapped in a caramel‑golden coconut crust that melts in your mouth.
What makes these bars truly special is the perfect balance between sweet and salty, the use of real shredded coconut for texture, and a simple glaze that adds just enough shine without overwhelming the natural flavors.
These bars are a hit with anyone who loves a dessert that feels both indulgent and breezy—kids, busy parents, and even the most discerning sweet‑tooth. Serve them at brunch, as an after‑dinner treat, or pack them in a beach‑day cooler for an instant tropical escape.
The recipe is straightforward: combine dry ingredients, melt butter and honey, fold in coconut, press the mixture into a pan, bake until golden, and finish with a quick lime‑infused glaze. In under an hour you’ll have a tray of glossy, chewy goodness ready to slice.
Why You'll Love This Recipe
Bright Tropical Flavor: The combination of toasted coconut, lime zest, and a hint of vanilla creates a fresh, island‑inspired taste that brightens any dessert spread.
Chewy, Not Crumbly: The ratio of butter to honey and the addition of a light corn syrup glaze give the bars a satisfyingly chewy texture without falling apart.
One‑Pan Simplicity: All steps happen in a single baking pan, which means minimal cleanup and a perfect, uniform bar that looks as good as it tastes.
Customizable Sweetness: Adjust the honey or maple syrup to suit your preferred level of sweetness, and add optional mix‑ins like dried pineapple or macadamia nuts for extra flair.
Tips & Tricks
Perfecting the Recipe
Use fresh coconut. Freshly toasted shredded coconut gives a richer flavor and a better chew than pre‑toasted, which can become overly dry.
Press firmly. Compact the batter with a flat spatula; a denser base prevents crumbling when you cut the bars.
Watch the color. Pull the bars out when the edges are golden‑brown; they will continue to firm as they cool.
Flavor Enhancements
Add ¼ cup chopped dried pineapple or toasted macadamia nuts to the dry mix for extra tropical texture. A drizzle of dark chocolate over the glaze adds a decadent contrast without overpowering the coconut.
Common Mistakes to Avoid
Do not over‑bake; the bars will become hard instead of chewy. Also, avoid using unsweetened coconut unless you add extra sweetener, as the flavor balance will shift dramatically.
Pro Tips
Warm the knife. Run a hot, damp knife under hot water before each cut to achieve clean, glossy edges without tearing.
Make the glaze ahead. Whisk the lime glaze while the bars bake; it will be ready to drizzle the moment they exit the oven.
Store in parchment. Layer bars with parchment paper before stacking in a container to prevent them from sticking together.
Variations
Ingredient Swaps
Replace the sweetened coconut with unsweetened coconut plus an extra tablespoon of honey for a less sugary version. Swap corn syrup for maple syrup for a deeper caramel note, or use agave nectar for a vegan‑friendly alternative.
Dietary Adjustments
For a gluten‑free bar, simply ensure the flour is a gluten‑free blend. To make it dairy‑free, substitute butter with coconut oil; the coconut flavor will be amplified. Keto eaters can replace the flour with almond flour and use a sugar‑free sweetener like erythritol.
Serving Suggestions
Pair the bars with a scoop of coconut‑milk ice cream or a dollop of whipped coconut cream for extra indulgence. A side of fresh mango slices adds a juicy contrast, while a cup of tropical iced tea completes the island vibe.
Storage Info
Leftover Storage
Allow the bars to cool completely, then place them in an airtight container lined with parchment. Store in the refrigerator for up to 5 days. For longer keeping, freeze individual bars wrapped tightly in plastic wrap and then in a freezer bag; they’ll retain flavor for up to 3 months.
Reheating Instructions
Reheat refrigerated bars in a 300°F (150°C) oven for 8‑10 minutes, covered with foil to prevent drying. For a quick microwave fix, heat a single bar on medium power for 20‑30 seconds, then drizzle a little fresh lime juice to revive the glaze.
Frequently Asked Questions
Can I make these bars ahead of time?
What if I don’t have corn syrup?
Can I add other mix‑ins without ruining the texture?
This Tropical Bliss Chewy Coconut Bars recipe delivers a perfect blend of sweet, buttery, and citrusy flavors with a satisfyingly chewy texture. You’ve learned how to choose the right ingredients, master each step, store leftovers, and even customize the bars for dietary needs. Feel free to experiment with nuts, fruit, or chocolate for your personal twist. Now, slice, serve, and let the island vibes brighten every bite—enjoy!
Tropical Bliss Chewy Coconut Bars Recipe
Delicious Tropical Bliss Chewy Coconut Bars Recipe
Ingredients
Dry Base
- 2 ½ cups sweetened shredded coconut
- ½ cup all‑purpose flour
- ¼ teaspoon sea salt
Wet Mix
- ½ cup unsalted butter, melted
- ¼ cup honey
- ¼ cup light corn syrup
- 1 teaspoon pure vanilla extract
Lime Glaze
- 2 tablespoons freshly squeezed lime juice
- 1 tablespoon powdered sugar
- ½ teaspoon lime zest (optional)
Instructions
Combining Wet Ingredients
- Melting the butter. In a saucepan over low heat, melt the butter until it’s just bubbling. Remove from heat and immediately stir in honey, light corn syrup, and vanilla extract. The warm mixture helps the honey stay liquid, ensuring a smooth coating.
- Incorporating the wet into the dry. Pour the melted butter mixture over the coconut‑flour blend. Using a sturdy spoon or rubber spatula, fold until every strand of coconut is glossy and the batter holds together when pressed. This step creates the chewy texture that defines the bars.
- Pressing the batter. Transfer the batter to the prepared pan. Using the back of a spoon or a piece of parchment, press it firmly and evenly into the corners. A compact, level surface guarantees uniform baking and a tidy slice.
- Baking. Slide the pan into the preheated oven and bake for 20‑25 minutes, or until the edges turn a deep golden brown and a light crust forms on top. The bars should still feel slightly soft in the center; they’ll firm up as they cool.
Similar Recipes
 Desserts
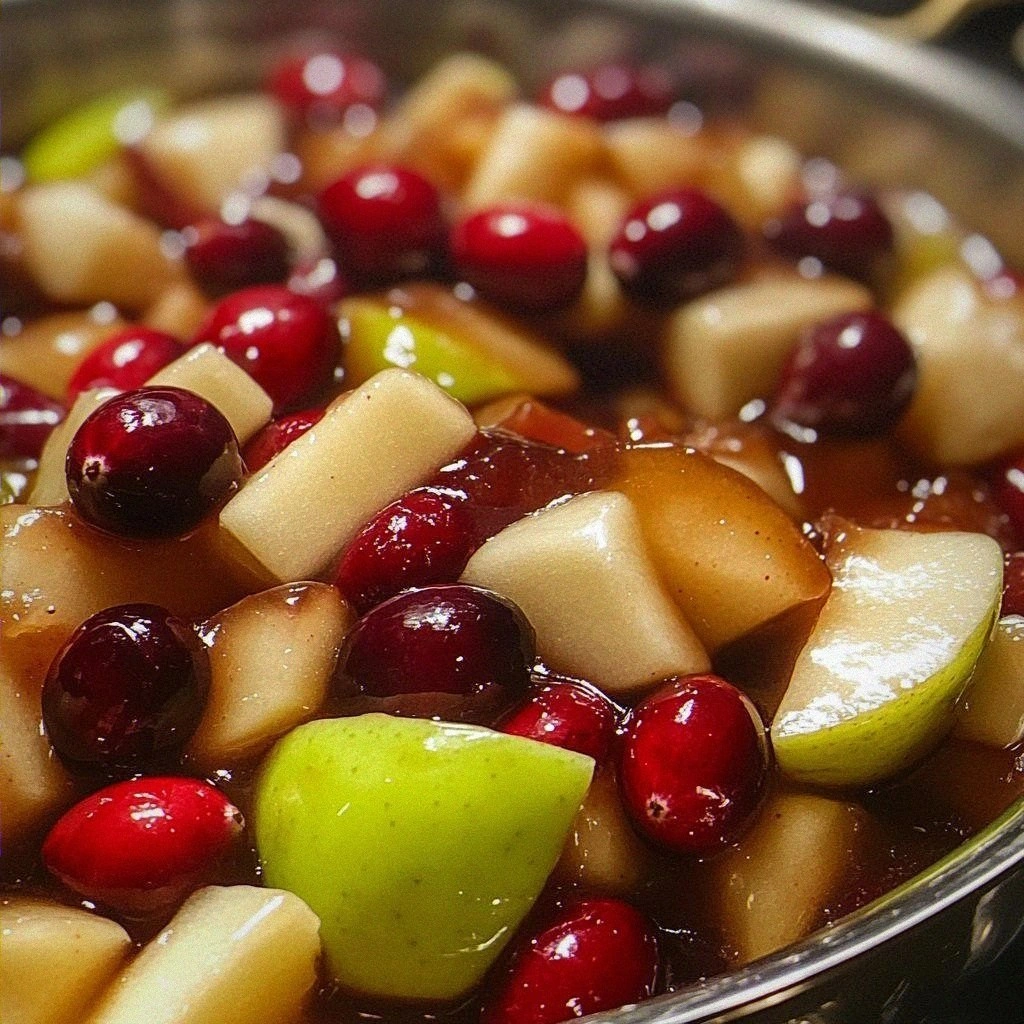
Apple Cranberry Delight: 5 Reasons to Savor It Now
Learn how to make delicious Apple Cranberry Delight: 5 Reasons to Savor It Now. Easy recipe…
 Desserts
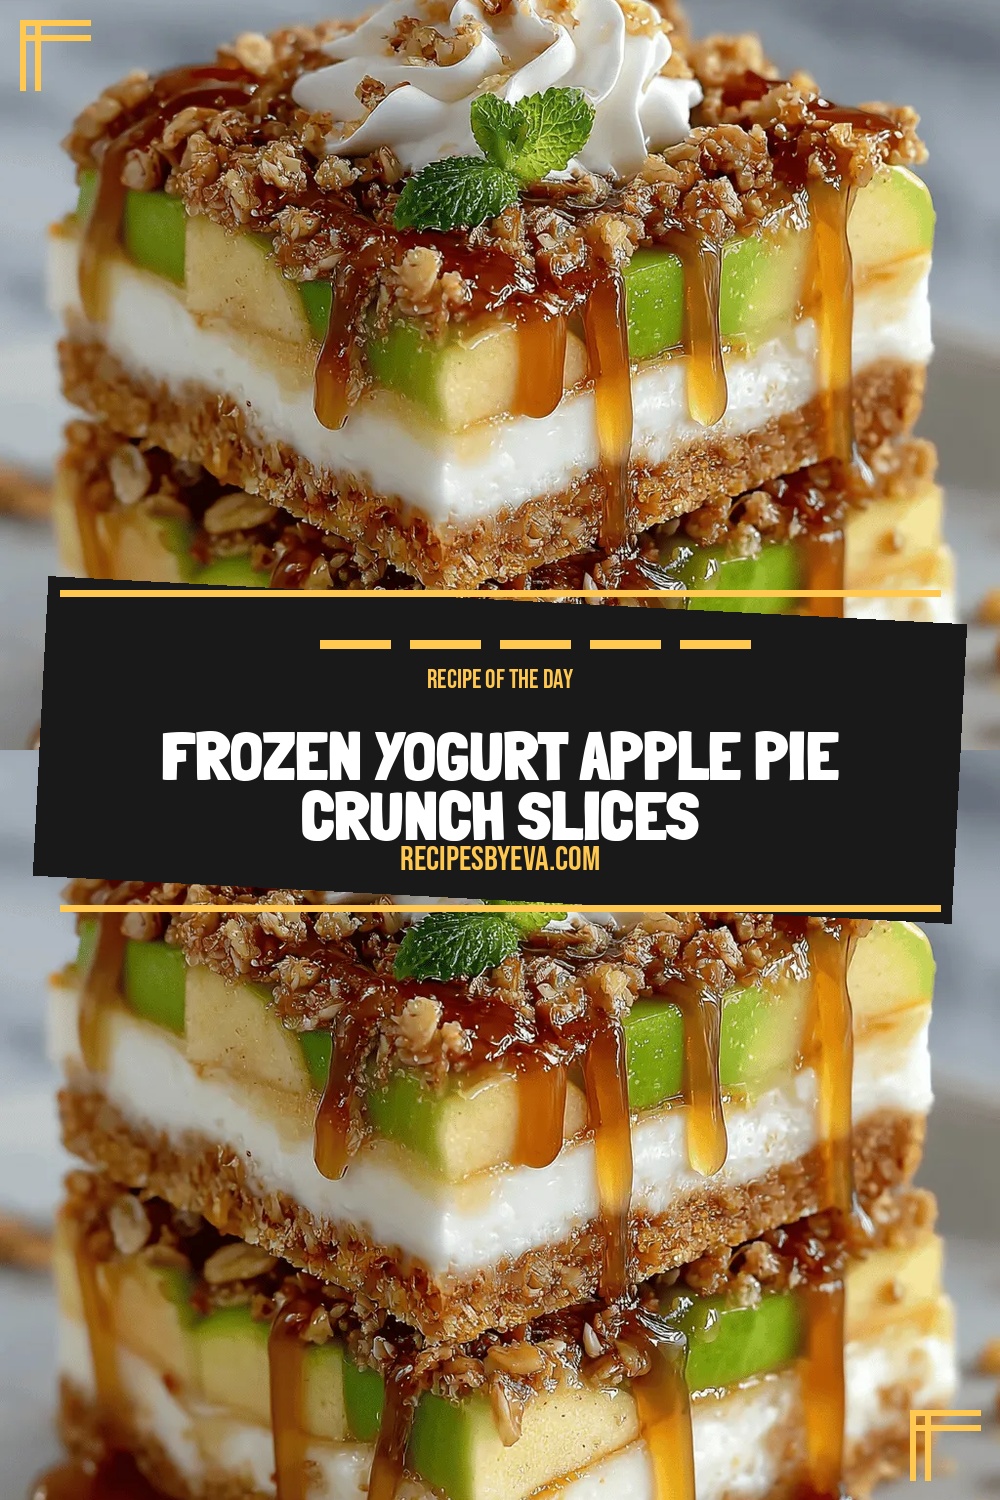
Frozen Yogurt Apple Pie Crunch Slices
Delicious Frozen Yogurt Apple Pie Crunch Slices
 Desserts
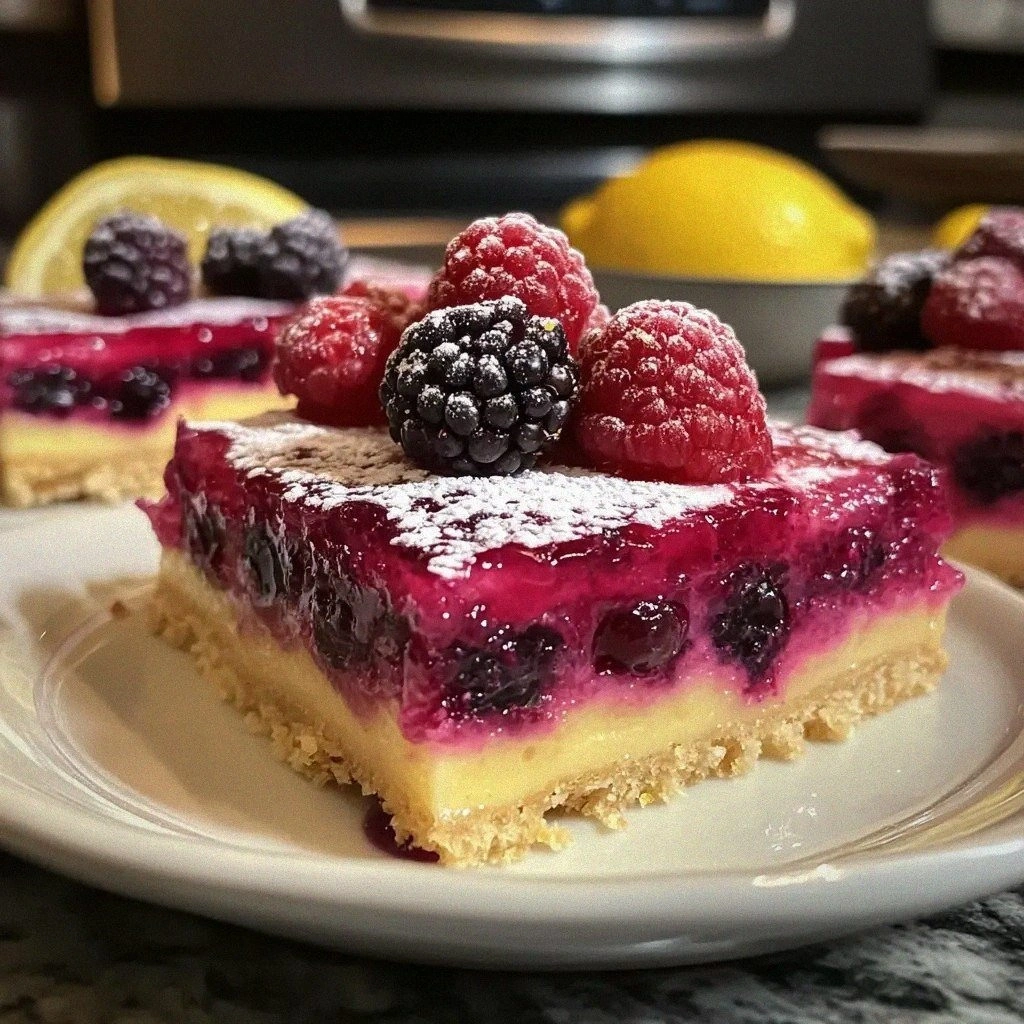
Chilled Lemon Berry Dessert Bars: A Refreshing Delight!
Learn how to make delicious Chilled Lemon Berry Dessert Bars: A Refreshing Delight!. Easy recipe with…
 Desserts
Creamy Homemade Orange Creamsicle Ice Cream: A Refreshing Delight
Delicious Creamy Homemade Orange Creamsicle Ice Cream: A Refreshing Delight
 Desserts
Perfect Rolled Sugar Cookies Recipe – Easy, Tender & Crisp Edges
Learn how to make delicious Perfect Rolled Sugar Cookies Recipe – Easy, Tender & Crisp Edges.…
 Desserts
Indulge in Decadence: Homemade Butterfinger Bliss Balls Recipe
Delicious Indulge in Decadence: Homemade Butterfinger Bliss Balls Recipe
 Desserts
No-Bake Balsamic Vinaigrette Energy Bites
Delicious No-Bake Balsamic Vinaigrette Energy Bites
 Desserts
Fruity Bliss Frozen Yogurt Clusters: A Refreshing Treat
Delicious Fruity Bliss Frozen Yogurt Clusters: A Refreshing Treat

Eva
I cook these recipes at home before they ever land here — simple ingredients, clear steps.