Serowe roladki z kurczaka: 7 powodów, by je pokochać
 Save
Save
It was a chilly Saturday evening in early autumn, the kind of night when the kitchen feels like the heart of the house. I remember pulling a heavy cast‑iron skillet out of the cupboard, the metal still warm from the last batch of soup, and laying out a fresh stack of chicken breasts that my mother had marinated the night before. The moment I lifted the lid of the skillet, a cloud of fragrant steam rose, carrying whispers of garlic, melted cheese, and a faint hint of smoked paprika that seemed to dance with the flickering candlelight on the table. That first whiff was enough to convince my teenage son that dinner was going to be something special, and his eyes widened with the same excitement I felt as a child watching my grandma roll out dough for pierogi.
What makes these cheese‑stuffed chicken rolls so unforgettable isn’t just the combination of tender poultry and gooey cheese; it’s the layers of texture and flavor that build with each bite. The chicken stays juicy because it’s pounded thin, then wrapped around a creamy cheese blend that melts into a silky river when the roll meets the pan. A crisp breadcrumb crust adds a satisfying crunch that contrasts beautifully with the soft interior, while a splash of olive oil gives the whole thing a golden, caramelized finish that sings of comfort and home cooking. Imagine the sound of the roll sizzling as it hits the hot pan, the gentle crackle that tells you it’s turning just right, and the aroma that fills the kitchen, making everyone wonder what’s cooking.
I’ve been perfecting this recipe for years, tweaking the spice balance and the cheese ratio, and each iteration has taught me something new about how simple ingredients can become extraordinary when treated with care. But wait—there’s a secret technique in step four that most home cooks overlook, and it’s the difference between a good roll and a restaurant‑level masterpiece. I’ll reveal that little trick later, so keep reading if you want to impress your family with a dish that feels both familiar and exciting.
Here’s exactly how to make it — and trust me, your family will be asking for seconds, your friends will beg for the recipe, and you’ll feel a warm sense of pride every time you hear that first bite of cheese‑filled goodness. Ready to roll? Let’s dive in and discover the seven reasons you’ll fall head over heels for these cheese‑stuffed chicken rolls.
🌟 Why This Recipe Works
- Flavor Depth: The combination of smoked paprika, garlic, and fresh herbs creates a layered taste profile that evolves from the first bite to the lingering aftertaste. Each spice is carefully balanced so that none overpowers the delicate chicken, allowing the cheese to shine as the star of the show.
- Texture Harmony: You get a tender, juicy interior wrapped in a crunchy breadcrumb crust, and the creamy cheese filling adds a luscious, melt‑in‑your‑mouth sensation. This contrast keeps every mouthful interesting and satisfying.
- Ease of Preparation: Despite its elegant appearance, the recipe uses simple techniques—flattening chicken, rolling, and pan‑frying—that anyone can master with a little patience. No fancy equipment required, just a sturdy cutting board and a skillet.
- Time Efficiency: With a prep time of just fifteen minutes and a cooking time of thirty, you can have a restaurant‑quality appetizer on the table in under an hour, perfect for weeknight dinners or unexpected guests.
- Versatility: The base recipe is a canvas for endless variations—add sun‑dried tomatoes, swap mozzarella for feta, or drizzle a spicy aioli for a different flavor direction. It adapts to whatever you have on hand.
- Nutrition Balance: Lean chicken provides high‑quality protein, while the cheese adds calcium and a satisfying richness. By using whole‑grain breadcrumbs and controlling the amount of oil, you keep the dish relatively light without sacrificing flavor.
- Crowd‑Pleasing Factor: Kids love the cheesy center, adults appreciate the sophisticated spice blend, and even picky eaters can’t resist the golden crust. It’s a true crowd‑pleaser that works for parties, family meals, or a cozy dinner for two.
🥗 Ingredients Breakdown
The Foundation
Four boneless, skinless chicken breasts form the sturdy base of our rolls. I always choose breasts that are evenly sized, about 150‑180 g each, because they flatten more uniformly and roll without tearing. If you can, pick organic or free‑range chicken for a richer flavor and better texture. When you’re at the butcher, ask for the breasts to be trimmed of excess fat; this ensures a lean roll that still stays juicy.
Aromatics & Spices
The aromatics—two cloves of minced garlic, a teaspoon of smoked paprika, and a teaspoon of dried oregano—are the secret sauce behind the dish’s depth. Garlic brings a pungent, slightly sweet bite that awakens the palate, while smoked paprika adds a subtle earthiness and a hint of wood‑smoked flavor without actual smoking. Oregano contributes a Mediterranean herbaceous note that ties the cheese and chicken together. If you’re a fan of heat, a pinch of red pepper flakes can be added without overwhelming the balance.
The Secret Weapons
Our cheese blend combines 150 g of shredded mozzarella and 100 g of softened cream cheese. Mozzarella melts smoothly, creating those beautiful stringy pockets, while cream cheese adds a tangy richness that prevents the filling from becoming too oily. The blend is also a great carrier for herbs; a tablespoon of finely chopped fresh parsley folded in adds a burst of green freshness that brightens each bite. For a more adventurous twist, try swapping half the mozzarella for smoked gouda.
Finishing Touches
The coating trio—½ cup all‑purpose flour, two beaten eggs, and one cup of panko breadcrumbs—creates that coveted golden crust. Flour adheres the egg wash to the chicken, while the egg adds richness and helps the breadcrumbs cling. Panko, with its light, airy texture, yields a crunchier finish than regular breadcrumbs. Finally, a drizzle of two tablespoons of olive oil in the pan ensures an even, caramelized browning. A sprinkle of fresh parsley and a zest of lemon right before serving adds a final pop of color and aroma.
With your ingredients prepped and ready, let's get cooking. Here’s where the fun really begins…
🍳 Step-by-Step Instructions
🔐 Expert Tips for Perfect Results
The Taste Test Trick
Before you seal the final roll, take a tiny bite of the cheese mixture straight from the bowl. This quick taste test lets you adjust seasoning on the spot—add a pinch more salt, a dash of pepper, or a sprinkle of chili flakes if you crave heat. I once served this to a chef friend who said the cheese needed just a whisper more garlic; a small tweak turned the dish from good to legendary in his eyes.
Why Resting Time Matters More Than You Think
Allowing the cooked rolls to rest for five minutes is not optional; it’s essential. During this brief pause, the protein fibers in the chicken relax, preventing them from squeezing out the juices when you cut into the roll. The cheese also firms up slightly, which means you’ll get clean, beautiful slices instead of a mess of melted cheese spilling onto the plate.
The Seasoning Secret Pros Won’t Tell You
Professional kitchens often finish a dish with a splash of acid—lemon juice, vinegar, or even a dash of white wine—to brighten the flavors. For our chicken rolls, a quick drizzle of fresh lemon juice right after plating lifts the richness and adds a zing that makes every bite feel lighter. Trust me, the contrast of bright citrus against the creamy cheese is a game‑changer.
Crispness Control: The Double‑Fry Method
If you crave an ultra‑crunchy exterior, try a double‑fry technique: fry the rolls for two minutes, remove them, let them rest for a minute, then finish them off in the oven or a second quick fry. This method creates a barrier that locks in moisture while giving the breadcrumbs a super‑crisp texture. I discovered this trick while experimenting with tempura, and it works wonders for any breaded dish.
The Secret of Even Browning
To achieve an even golden color, rotate the skillet halfway through the stovetop cooking stage. The heat distribution in most pans isn’t uniform, and a simple turn ensures each side receives the same amount of heat. This small habit prevents one side from becoming overly dark while the other stays pale, giving you a professional‑looking finish every time.
🌈 Delicious Variations to Try
One of my favorite things about this recipe is how versatile it is. Here are some twists I’ve tried and loved:
Mediterranean Sun‑Dry Tomato Twist
Finely chop a tablespoon of sun‑dried tomatoes and fold them into the cheese mixture. The tomatoes add a sweet‑tart burst that pairs beautifully with the herbs, creating a Mediterranean vibe. Expect a deeper, slightly tangy flavor profile that complements a glass of crisp white wine.
Spicy Jalapeño Kick
Add two finely diced jalapeños (seeds removed for less heat) to the cheese blend, and sprinkle a pinch of cayenne into the breadcrumb coating. This variation brings a pleasant heat that builds gradually, perfect for those who love a little fire. Serve with a cooling cucumber‑yogurt dip to balance the spice.
Herb‑Infused Goat Cheese Delight
Swap half the mozzarella for creamy goat cheese and mix in fresh thyme and rosemary. The goat cheese adds a tangy, earthy note, while the herbs deepen the aromatic experience. This version feels more upscale and pairs nicely with a light salad of mixed greens.
Bacon‑Wrapped Crunch
Wrap each chicken roll with a half‑slice of smoked bacon before coating in breadcrumbs. As the bacon cooks, its fat renders and bastes the chicken, adding smoky depth and an extra crunch. The bacon’s salty richness elevates the dish to a hearty, indulgent treat.
Pesto‑Swirl Surprise
Spread a thin layer of basil pesto over the flattened chicken before adding the cheese. The pesto’s bright, herbaceous flavor infuses the meat, creating a green‑gold contrast that’s as pleasing to the eye as it is to the palate. Pair with a drizzle of extra‑virgin olive oil for a glossy finish.
📦 Storage & Reheating Tips
Refrigerator Storage
Allow the rolls to cool completely before transferring them to an airtight container. Stored in the fridge, they keep fresh for up to three days. To maintain the crispiness of the breadcrumb crust, place a paper towel on top of the rolls before sealing the container; the towel absorbs excess moisture.
Freezing Instructions
If you want to make a batch ahead of time, freeze the uncooked, coated rolls on a parchment‑lined tray. Once solid, transfer them to a zip‑top freezer bag. They’ll stay good for up to two months. When you’re ready to eat, bake them straight from frozen at 200 °C (400 °F) for 20‑25 minutes, or until the internal temperature reaches 75 °C (165 °F).
Reheating Methods
To reheat leftovers without drying them out, place the rolls on a baking sheet, drizzle a teaspoon of olive oil over each, and warm them in a 180 °C (350 °F) oven for 10‑12 minutes. The oil helps restore the crust’s crunch while keeping the interior moist. Alternatively, a quick pan‑sear over medium heat for three minutes per side works well if you’re short on time.
❓ Frequently Asked Questions
Can I use chicken thighs instead of breasts?
What cheese can I substitute if I’m lactose intolerant?
Do I need to bake the rolls after pan‑frying?
Can I make these rolls gluten‑free?
How do I prevent the cheese from leaking out during cooking?
Can I prepare the rolls ahead of time?
What side dishes pair best with these rolls?
Can I use a different protein, like pork or turkey?
Recipe Card
Remove the rolls from the oven and let them rest on a cutting board for five minutes. Resting allows the juices to redistribute and the cheese to set just enough so it won’t ooze out when sliced. While you wait, remove the toothpicks or twine; the rolls should hold their shape effortlessly. This pause is where the anticipation builds—imagine the steam rising as you slice into the golden crust.
Slice each roll into 1‑inch thick rounds and arrange them on a serving platter. Garnish with a sprinkle of fresh parsley and a zest of lemon for a bright, citrusy finish that cuts through the richness. Serve immediately while the crust is still crisp and the cheese is still oozing. Go ahead, take a taste—you’ll know exactly when it’s right because the flavors will dance on your palate, and the texture will be a perfect harmony of tender, juicy, and crunchy.
Similar Recipes
 Dinner
Sweet & Spicy Hoisin Beef Noodles Recipe
Delicious Sweet & Spicy Hoisin Beef Noodles Recipe
 Dinner
Spicy Sweet Potato Chili Bowl
Delicious Spicy Sweet Potato Chili Bowl
 Dinner
Sunny Creamy Corn and Zucchini Chowder Recipe
Delicious Sunny Creamy Corn and Zucchini Chowder Recipe
 Dinner
warm citrus roasted carrots and beets with garlic for family dinners
Learn how to make delicious warm citrus roasted carrots and beets with garlic for family dinners.…
 Dinner
Creamy Slow Cooker Chicken Alfredo Lasagna: A Comforting Delight
Delicious Creamy Slow Cooker Chicken Alfredo Lasagna: A Comforting Delight
 Dinner
Quick Honey Mustard Pork Chops for Weeknight Dinner
Learn how to make delicious Quick Honey Mustard Pork Chops for Weeknight Dinner. Easy recipe with…
 Dinner
Sticky Sweet Honey Garlic Chicken Thighs
Delicious Sticky Sweet Honey Garlic Chicken Thighs
 Dinner
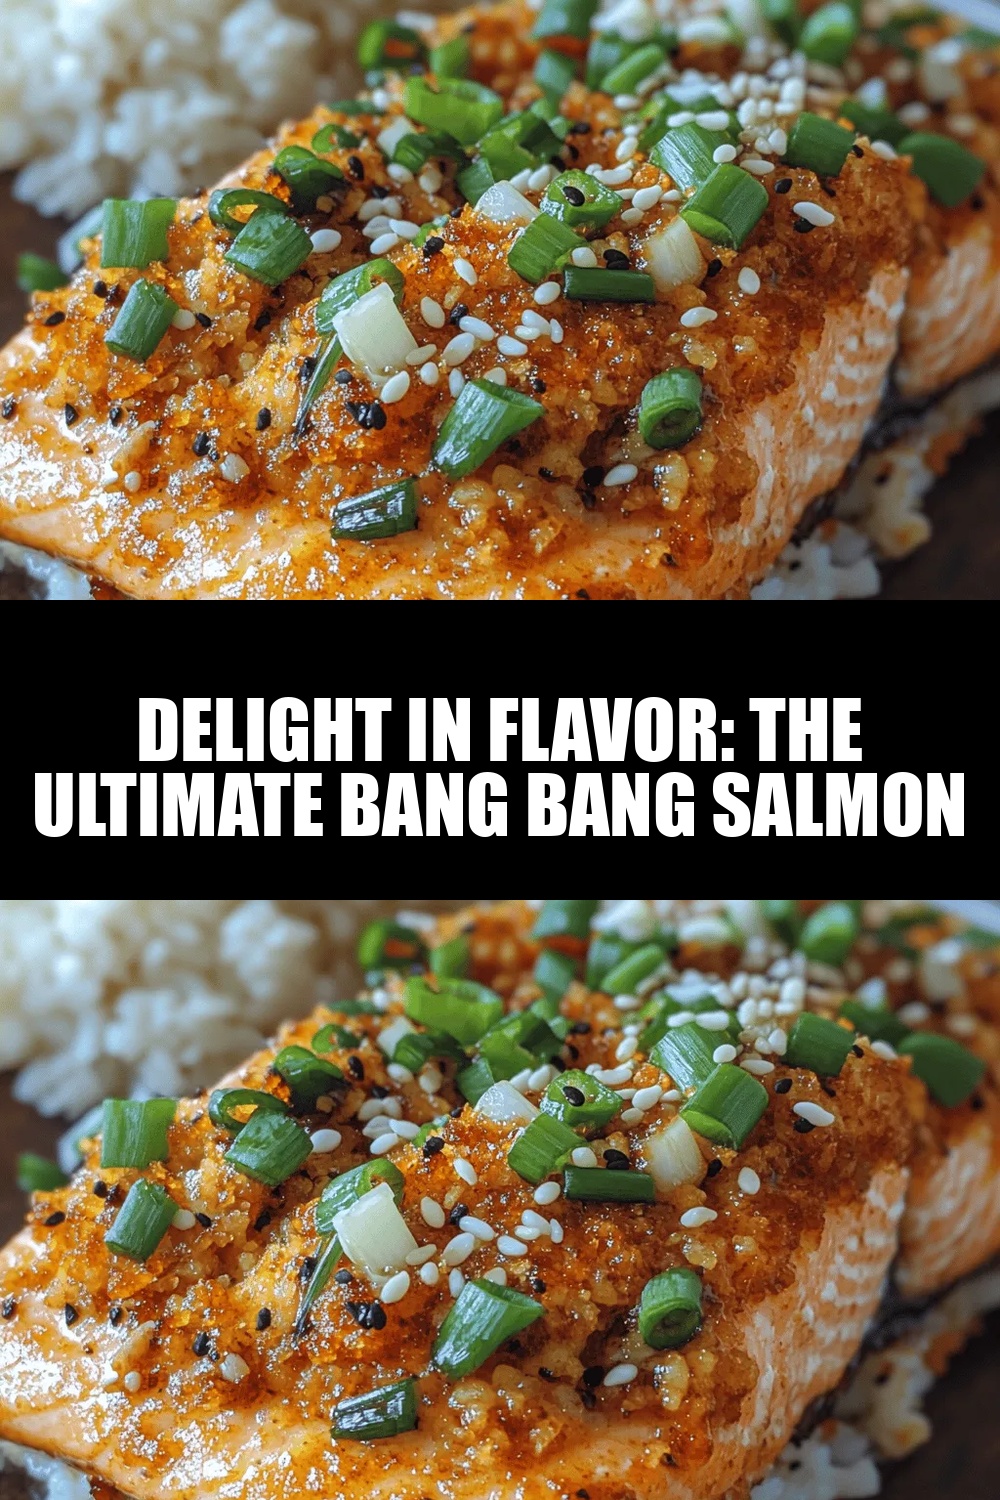
Delight in Flavor: The Ultimate Bang Bang Salmon Recipe
Delicious Delight in Flavor: The Ultimate Bang Bang Salmon Recipe

Eva
I cook these recipes at home before they ever land here — simple ingredients, clear steps.