Roasted Apple Sage Stuffing Recipe
 Save
Save
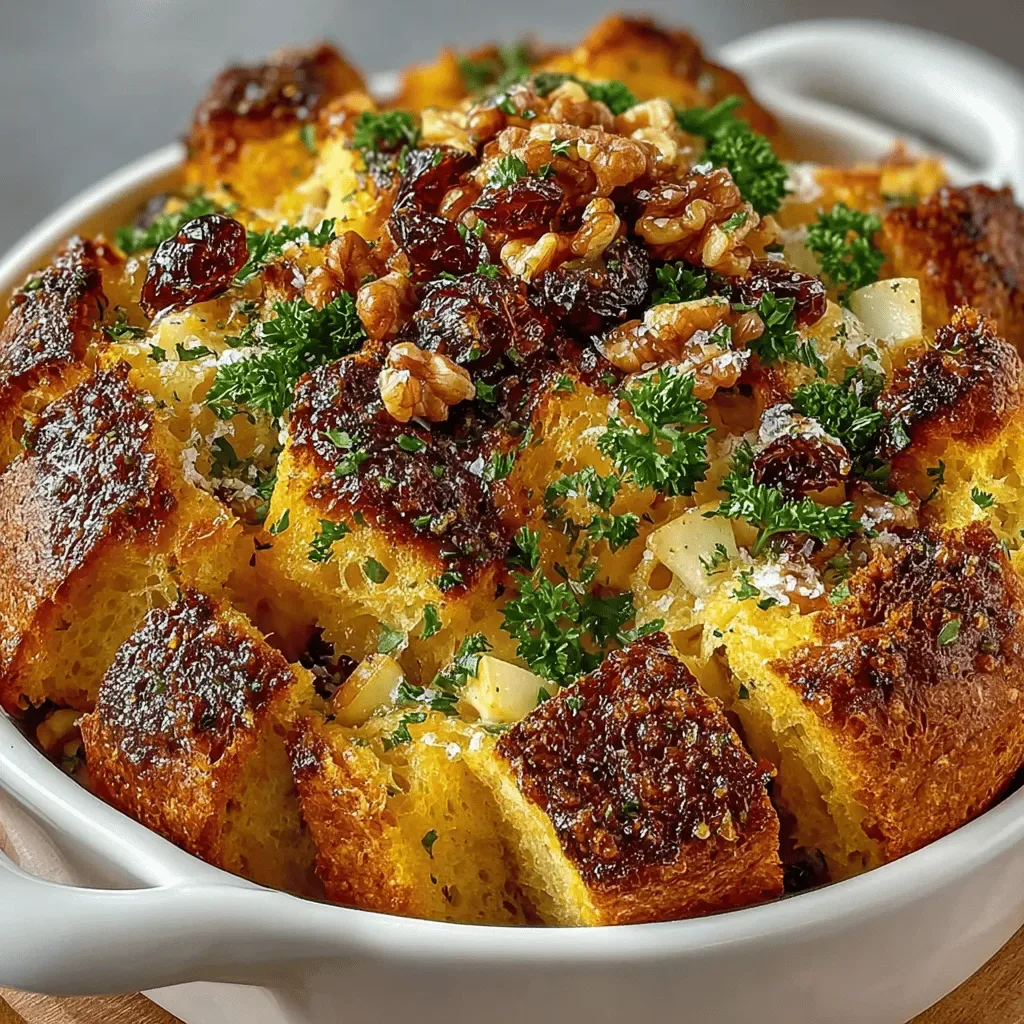
Imagine the aroma of caramelized apples mingling with earthy sage drifting through your kitchen—that’s the moment this Roasted Apple Sage Stuffing steals the spotlight. It’s a side dish that feels both rustic and refined, perfect for making any dinner feel special.
What sets this stuffing apart is the balance of sweet, savory, and herbaceous notes. Roasted apples add natural sweetness and a tender bite, while crisp sage leaves lend a fragrant, pine‑y depth that pairs beautifully with buttery, herb‑infused bread cubes.
This dish is a crowd‑pleaser for holiday tables, cozy family nights, or when you simply crave a comforting, autumn‑inspired side. It pairs wonderfully with roasted poultry, pork loin, or a hearty vegetarian main.
The process is straightforward: roast the apples, sauté aromatics, toss everything with toasted bread, and finish the mixture in the oven until golden and fragrant. In under an hour, you’ll have a stunning, flavorful stuffing ready to serve.
Why You'll Love This Recipe
Seasonal Sweetness: Roasted apples bring a natural caramel flavor that eliminates the need for added sugars, keeping the dish wholesome and balanced.
Herbaceous Aroma: Fresh sage infuses every bite with a fragrant, pine‑like note that elevates the stuffing from ordinary to memorable.
Texture Contrast: Crispy toasted bread cubes mingle with soft apple pieces, delivering a satisfying crunch and melt‑in‑your‑mouth tenderness.
Versatile Pairings: This stuffing shines alongside turkey, chicken, pork, or as a hearty vegetarian centerpiece, making it a flexible addition to any menu.
Tips & Tricks
Perfecting the Recipe
Use Day‑Old Bread. Stale bread absorbs liquid without becoming mushy, giving the stuffing a light, airy texture.
Dry the Apples Slightly. After roasting, pat the apples with a paper towel to remove excess caramel liquid; this prevents a soggy final product.
Don’t Over‑Mix. Gentle folding preserves the integrity of the bread cubes and apple pieces, maintaining distinct textures.
Flavor Enhancements
Add a splash of dry white wine to the broth for subtle acidity, or stir in a handful of toasted walnuts for crunch. A pinch of ground nutmeg deepens the autumnal flavor profile without overwhelming the sage.
Common Mistakes to Avoid
Skipping the resting time after baking can cause the stuffing to collapse and lose moisture. Also, avoid using overly sweet apples; they can dominate the savory notes and make the dish cloying.
Pro Tips
Toast the Bread Cubes. Lightly toast the cubes in a 350°F oven for 10 minutes before mixing; this adds an extra layer of crunch.
Season in Layers. Salt the apples, then the onion mixture, and finally the broth. Layered seasoning builds depth without over‑salting.
Use a Thermometer. Ensure the internal temperature reaches 165°F for safety when using chicken broth; it also guarantees the stuffing is fully heated.
Variations
Ingredient Swaps
Replace apples with diced pears for a softer sweetness, or swap sage for thyme and rosemary for a Mediterranean twist. Use gluten‑free bread crumbs if you need a wheat‑free version, and substitute the chicken broth with mushroom broth for a fully vegetarian take.
Dietary Adjustments
For a vegan version, use plant‑based butter and vegetable broth, and add a tablespoon of nutritional yeast for a subtle umami boost. To keep it low‑carb, replace the bread cubes with cauliflower rice and toasted almond flour, adjusting the broth amount accordingly.
Serving Suggestions
Pair this stuffing with roasted turkey, honey‑glazed ham, or a seared pork tenderloin. For a vegetarian feast, serve it alongside a mushroom‑stuffed squash or a hearty lentil loaf. A simple green salad with a citrus vinaigrette adds bright contrast to the rich stuffing.
Storage Info
Leftover Storage
Allow the stuffing to cool to room temperature, then transfer it to an airtight container. Refrigerate for up to 4 days. For longer keeping, portion into freezer‑safe bags, squeeze out excess air, and freeze for up to 3 months. Proper sealing prevents freezer burn and preserves flavor.
Reheating Instructions
Reheat in a 350°F oven, covered with foil, for 15‑20 minutes until the interior is steaming hot. Uncover for the final 5 minutes to restore crispness. In a microwave, add a splash of broth, cover, and heat on medium for 2‑3 minutes, stirring halfway through.
Frequently Asked Questions
Can I make this stuffing ahead of time?
What type of apples work best?
Can I use fresh herbs instead of dried?
How do I keep the stuffing from getting soggy?
This Roasted Apple Sage Stuffing blends sweet fruit, fragrant herbs, and buttery breadcrumbs into a side dish that feels both classic and fresh. By following the step‑by‑step guide, you’ll achieve a perfect balance of texture and flavor every time. Feel free to experiment with the suggested swaps or add your own twist—cooking is all about making a recipe your own. Serve it hot, enjoy the aroma, and let the compliments roll in!
Roasted Apple Sage Stuffing Recipe
Delicious Roasted Apple Sage Stuffing Recipe
Ingredients
Main Ingredients
- 8 cups day‑old country‑style bread, cubed
- 2 large apples (such as Honeycrisp or Granny Smith), peeled, cored, and cut into ½‑inch cubes
- 1/4 cup unsalted butter, divided
Apple & Sage Mix
- 2 teaspoons fresh sage leaves, finely chopped
- 1 small onion, finely diced
- 2 cloves garlic, minced
Liquid & Binding
- 1 ½ cups low‑sodium chicken broth (or vegetable broth for vegetarian)
- 2 tablespoons pure maple syrup
Seasonings & Garnish
- ½ teaspoon freshly ground black pepper
- ½ teaspoon sea salt (adjust to taste)
- Extra fresh sage leaves for garnish
Instructions
Combining Bread, Apples, and Broth
- Mix dry ingredients. In a large mixing bowl, combine the cubed bread, roasted apples, and the sautéed onion‑garlic‑sage mixture. Toss gently to distribute the fruit and aromatics evenly throughout the bread.
- Create the liquid base. In a measuring cup, whisk together the chicken broth, maple syrup, black pepper, and sea salt. Warm the mixture for a minute so it blends smoothly—warm liquid is absorbed more readily by the bread.
- Moisten the stuffing. Pour the broth mixture over the bread mixture, stirring gently with a wooden spoon. The bread should be moist but not soggy; let it sit for 5 minutes, allowing the cubes to fully absorb the flavors.
- Transfer to a baking dish. Lightly grease a 9‑inch square baking dish with butter. Spoon the stuffing into the dish, smoothing the top with a spatula. Dot the surface with a few extra pats of butter for an ultra‑golden crust.
- Bake to perfection. Place the dish in the preheated oven and bake for 25‑30 minutes, or until the top is golden brown and the interior is hot throughout. A quick visual cue: the edges should be crisp, and the center should steam gently when you cut a slice.
Similar Recipes
 Dinner
Nutritious and Hearty Slow Cooker Chili
Delicious Nutritious and Hearty Slow Cooker Chili
 Dinner
one pot chicken and winter squash soup for easy meal prep nights
Learn how to make delicious one pot chicken and winter squash soup for easy meal prep…
 Dinner
Sweet & Spicy Air Fryer BBQ Riblets
Delicious Sweet & Spicy Air Fryer BBQ Riblets
 Dinner
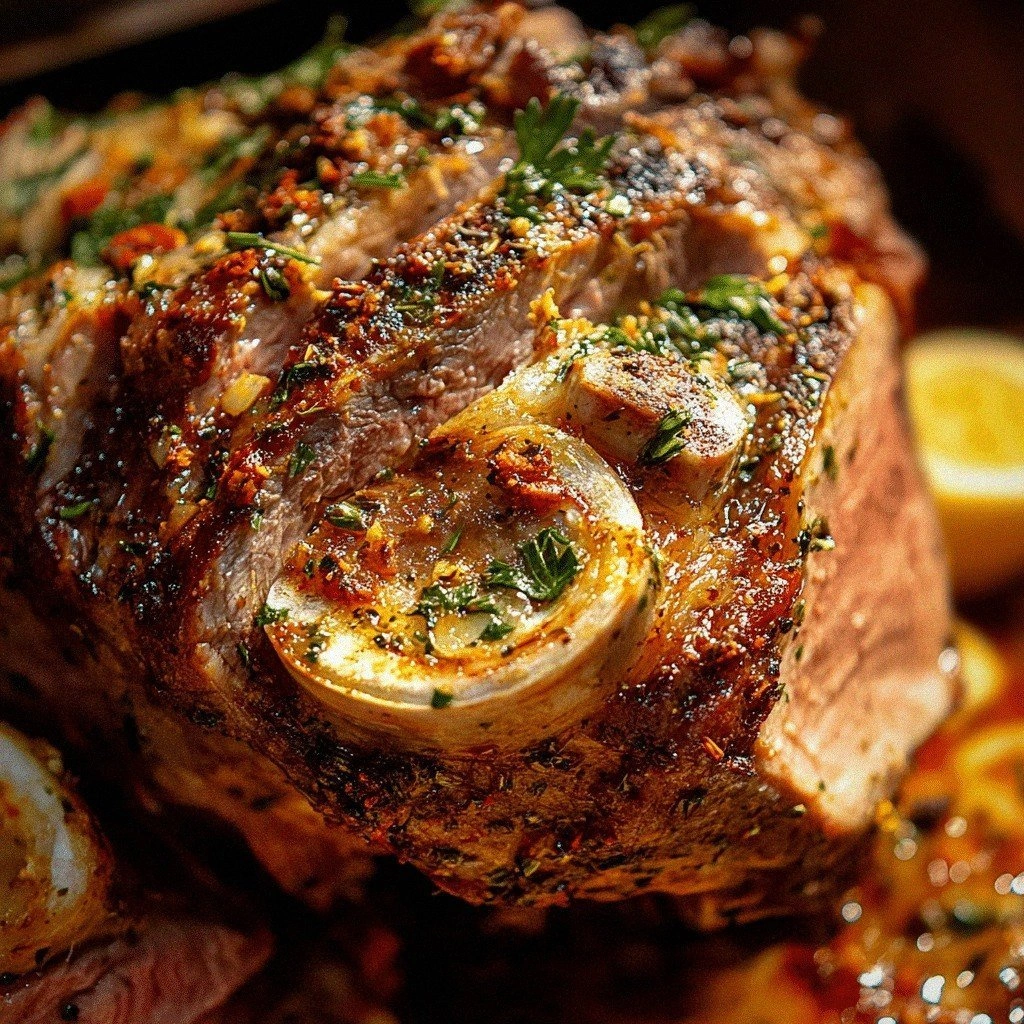
Slow Roasted Lamb Shoulder
Learn how to make delicious Slow Roasted Lamb Shoulder. Easy recipe with step-by-step instructions.
 Dinner
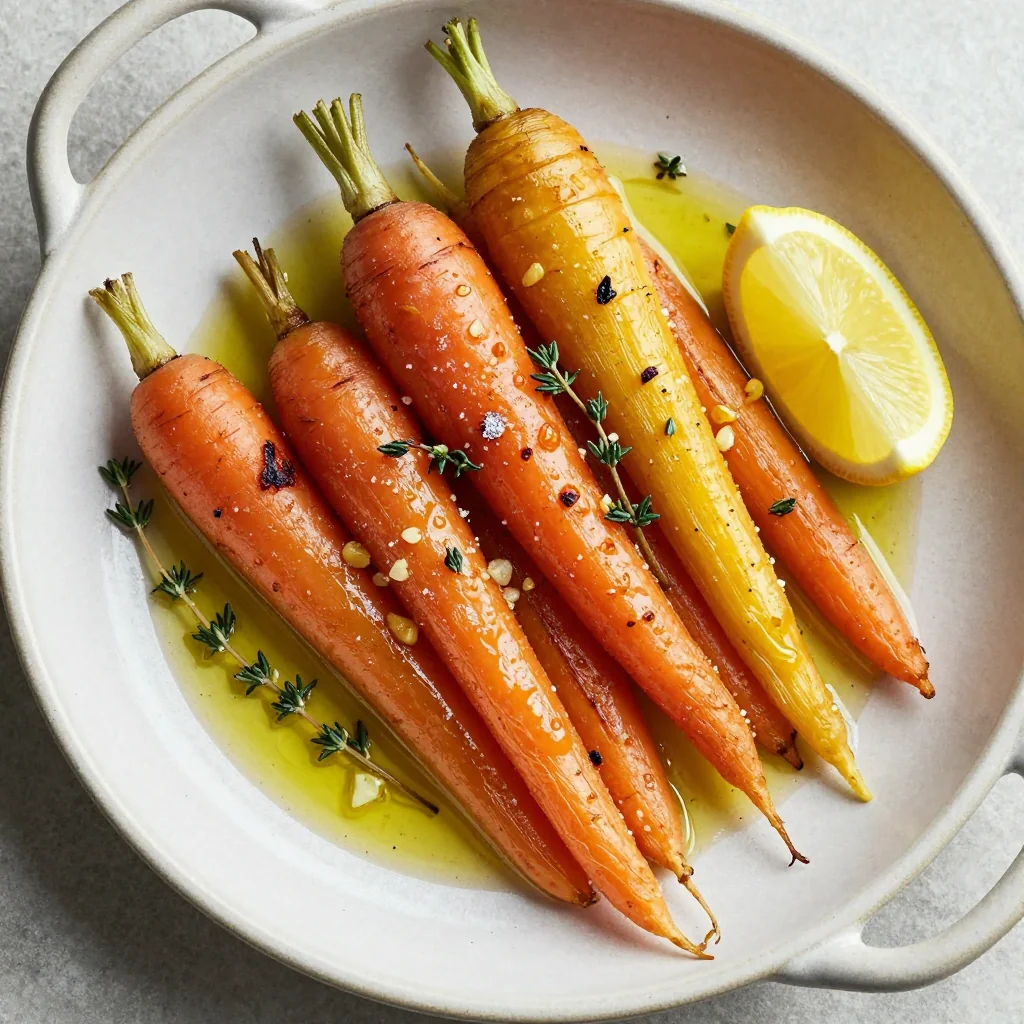
cozy lemon garlic roasted carrots and parsnips for family weeknights
Learn how to make delicious cozy lemon garlic roasted carrots and parsnips for family weeknights. Easy…
 Dinner
Indulge in Creamy Chicken Bacon Ranch Pasta: A Comfort Food Delight
Delicious Indulge in Creamy Chicken Bacon Ranch Pasta: A Comfort Food Delight
 Dinner
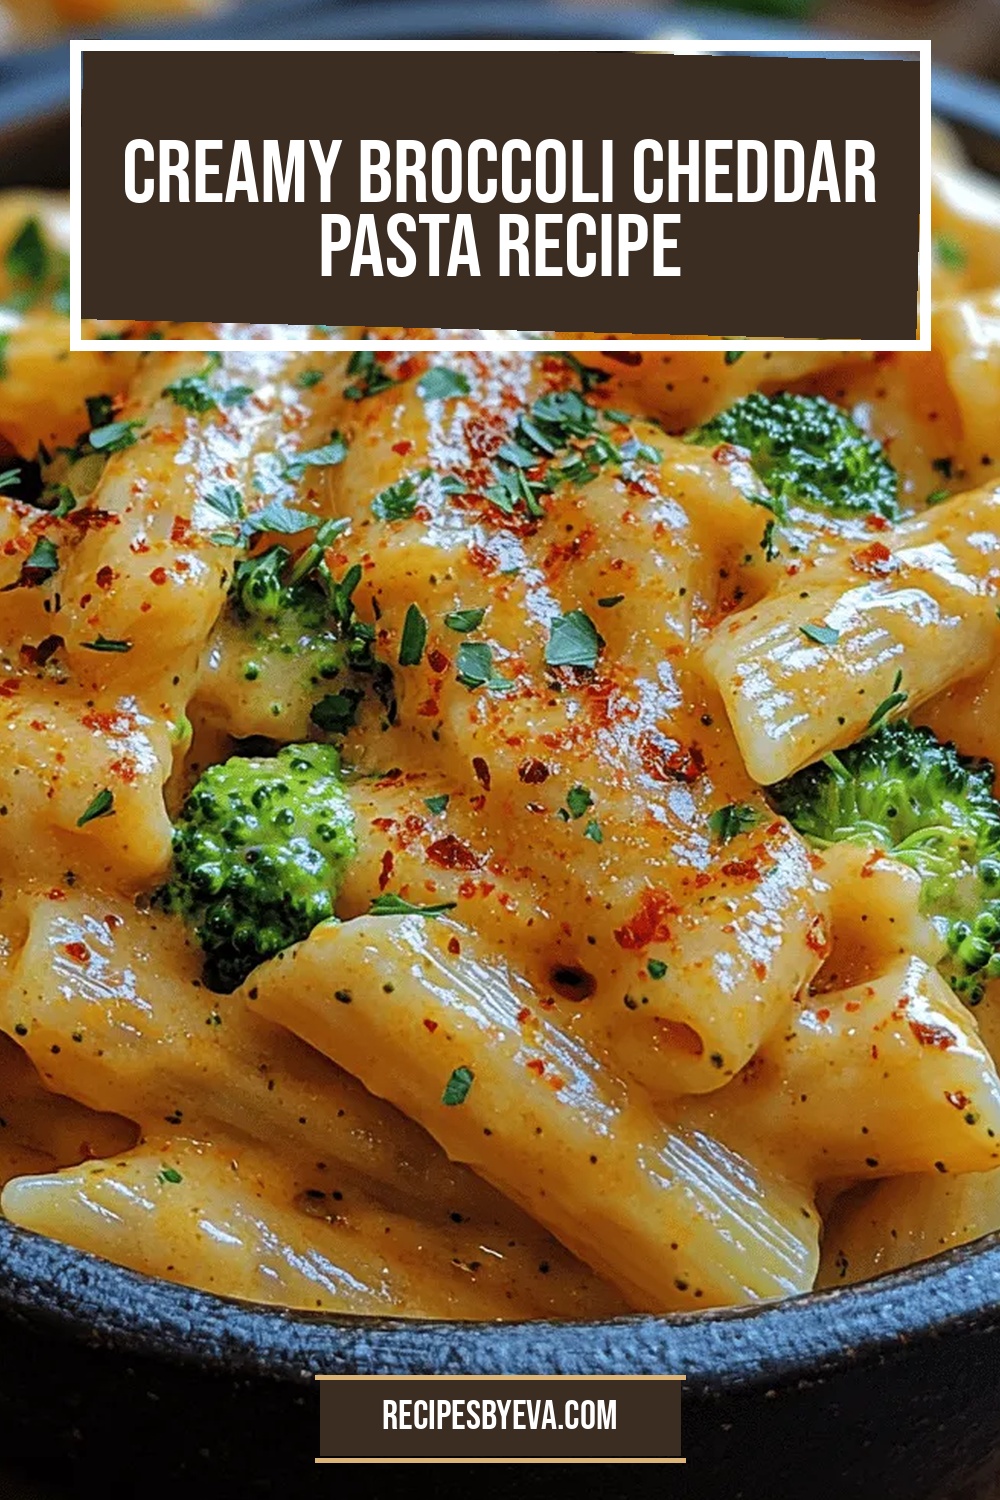
Creamy Broccoli Cheddar Pasta Recipe
Delicious Creamy Broccoli Cheddar Pasta Recipe
 Dinner
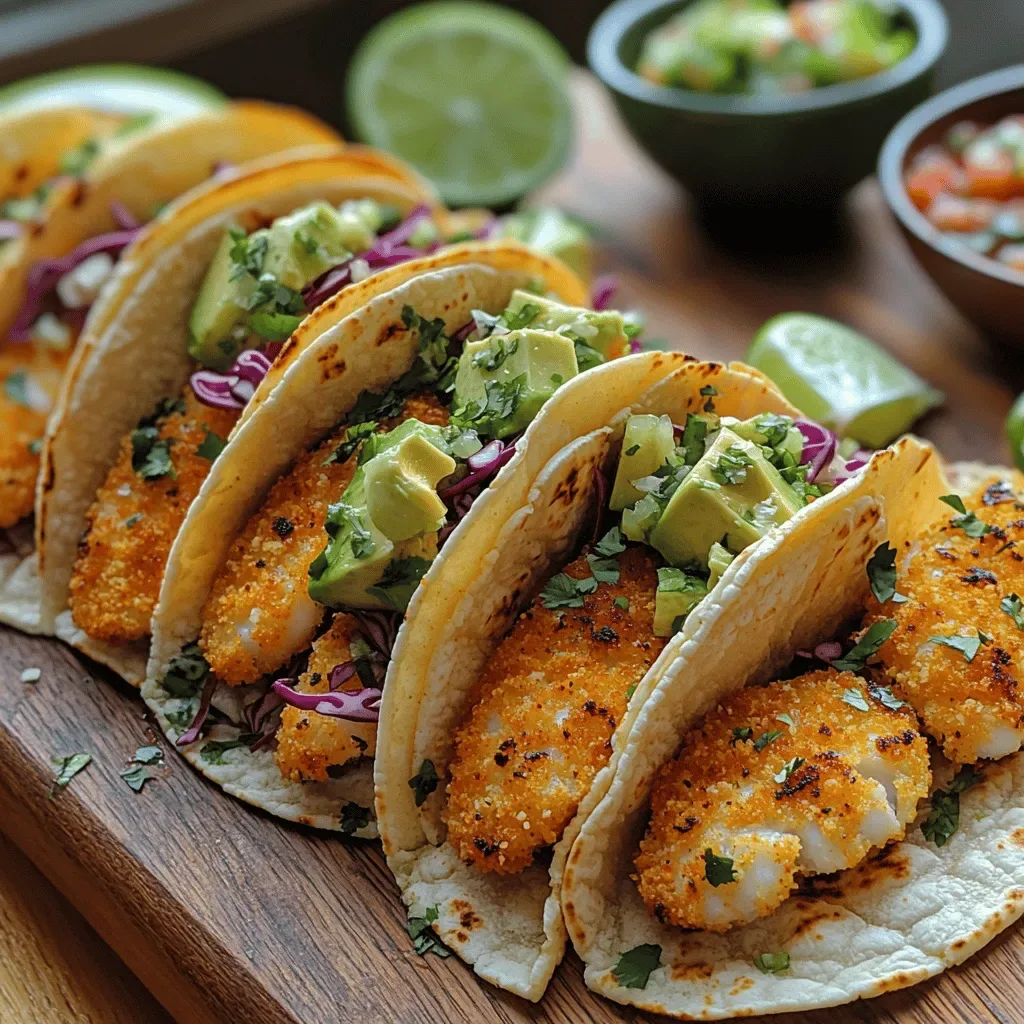
Crispy Air Fryer Fish Tacos Delight
Delicious Crispy Air Fryer Fish Tacos Delight

Eva
I cook these recipes at home before they ever land here — simple ingredients, clear steps.