No Bake Chocolate Oat Bars Recipe
 Save
Save
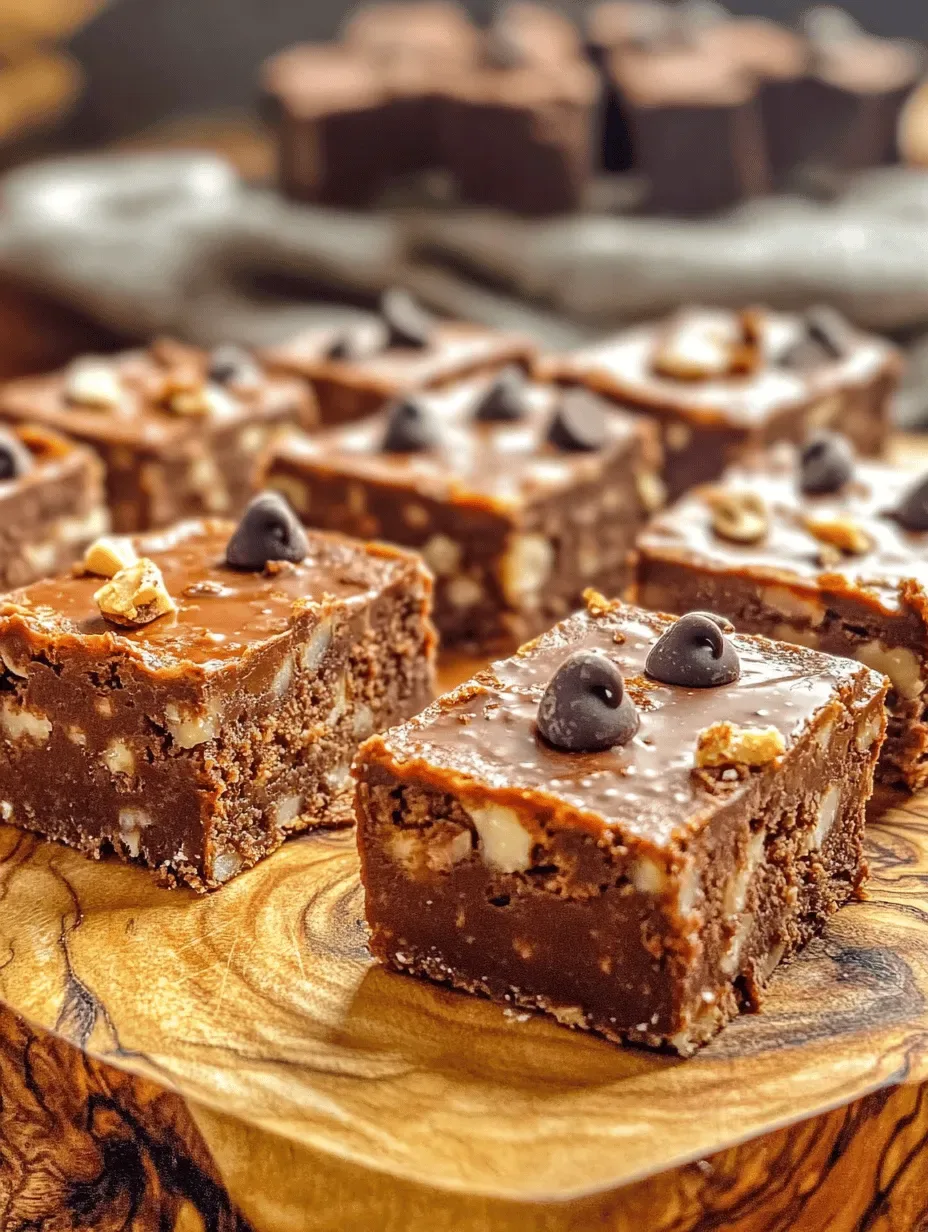
Imagine a dessert that satisfies a chocolate craving, offers a hearty bite of oats, and never requires an oven. These No‑Bake Chocolate Oat Bars deliver exactly that—rich, fudgy layers balanced by wholesome oats, all set in minutes.
What makes them truly special is the combination of melted dark chocolate, creamy peanut butter, and a touch of maple syrup that binds the toasted oats into a chewy, melt‑in‑your‑mouth bar. The result is a decadent treat that feels indulgent without the heaviness of traditional brownies.
Busy parents, college students, or anyone looking for a quick sweet fix will love these bars. They’re perfect for after‑school snacks, potluck desserts, or a simple after‑dinner treat that doesn’t require a lot of clean‑up.
The process is straightforward: melt the chocolate and butter, stir in the peanut butter and sweetener, fold in oats, press the mixture into a pan, and chill until firm. No baking, no fuss, just pure chocolatey goodness.
Why You'll Love This Recipe
Zero Oven Required: The entire bar sets in the refrigerator, making it ideal for hot summer days or kitchens without a working oven, while still delivering a rich, baked‑like texture.
Quick Prep Time: In just fifteen minutes you’ll have a glossy chocolate mixture ready to pour, meaning you can satisfy a sweet tooth in under an hour, including chilling.
Nutritious Oats: Rolled oats add fiber and a pleasant chew, turning a purely indulgent dessert into a snack that also offers a modest nutritional boost.
Customizable Layers: Swap peanut butter for almond butter, add dried fruit, or drizzle extra chocolate on top—each variation creates a new flavor adventure.
Tips & Tricks
Perfecting the Recipe
Use a double boiler. Melting chocolate over a simmering pot of water prevents scorching and gives a smoother final texture.
Press firmly. When spreading the mixture into the pan, apply even pressure with a spatula to avoid air pockets that cause cracks.
Cool the pan. Allow the pan to sit at room temperature for 5 minutes before refrigerating; this reduces condensation and helps the bars set uniformly.
Warm the knife. Dipping the knife in hot water between cuts yields clean, professional‑looking slices.
Flavor Enhancements
Add a teaspoon of espresso powder to intensify chocolate depth, or swirl in a tablespoon of caramel sauce before chilling for a marbled effect. A pinch of smoked sea salt on top just before serving adds a sophisticated contrast.
Common Mistakes to Avoid
Avoid overheating the chocolate, which can cause it to seize and become grainy. Also, don’t skip the chilling step; the bars need a full hour to firm up, otherwise they’ll crumble when sliced.
Pro Tips
Toast the oats. Lightly toasting the rolled oats in a dry skillet for 3‑4 minutes adds a nutty aroma and extra crunch.
Use high‑quality chocolate. A cocoa content of 70% or higher provides a richer flavor and a smoother melt.
Adjust sweetness. If you prefer a less sweet bar, reduce the maple syrup by a tablespoon; the peanut butter still offers natural sweetness.
Store with parchment. Keep the bars wrapped in parchment before placing them in an airtight container to prevent them from sticking together.
Variations
Ingredient Swaps
Replace peanut butter with almond or cashew butter for a different nutty profile. Swap dark chocolate chips for white chocolate or white‑chocolate‑covered raisins for a sweeter twist. For a fruity note, fold in dried apricots or chopped dates instead of cranberries.
Dietary Adjustments
Use dairy‑free butter or coconut oil to make the bars vegan. Choose certified gluten‑free oats for those with gluten sensitivities. For a low‑sugar version, substitute maple syrup with a sugar‑free maple‑flavored syrup or erythritol‑based liquid sweetener.
Serving Suggestions
Serve each bar with a dollop of Greek yogurt or a scoop of vanilla ice cream for a contrast of cold creaminess. Drizzle a little extra melted chocolate on top for an elegant finish, or dust with cocoa powder for a rustic look.
Storage Info
Leftover Storage
Allow any remaining bars to cool completely, then wrap each piece individually in parchment and place them in an airtight container. Store in the refrigerator for up to 5 days. For longer keeping, freeze the wrapped bars in a freezer‑safe bag; they’ll retain quality for up to 3 months.
Reheating Instructions
When ready to serve, let frozen bars thaw in the refrigerator for several hours or at room temperature for 30 minutes. For a warm treat, microwave a bar on medium power for 15‑20 seconds; the chocolate will soften, creating a gooey center without melting the whole bar.
Frequently Asked Questions
Can I make these bars ahead of time?
What if I don’t have dark chocolate chips?
Can I use quick‑cooking oats instead of rolled oats?
How can I make these bars gluten‑free?
This No‑Bake Chocolate Oat Bars recipe blends indulgent chocolate with wholesome oats, delivering a dessert that’s both satisfying and surprisingly easy to prepare. You now have a complete guide—from ingredient choices to storage tips—so you can whip up a batch any time cravings strike. Feel free to experiment with nuts, dried fruit, or different sweeteners to make the bars truly your own. Enjoy every bite of this effortless, chocolate‑laden treat!
No Bake Chocolate Oat Bars Recipe
Delicious No Bake Chocolate Oat Bars Recipe
Ingredients
Dry Ingredients
- 2 cups rolled oats
- 1/4 teaspoon sea salt
Wet Ingredients
- 1/2 cup unsalted butter (1 stick)
- 1 cup dark chocolate chips (70% cacao)
- 1/2 cup creamy peanut butter
- 1/3 cup pure maple syrup
Optional Mix‑Ins & Toppings
- 1/4 cup chopped toasted almonds
- 2 tablespoons dried cranberries, roughly chopped
- Extra chocolate chips for sprinkling
Instructions
Adding Oats and Optional Mix‑Ins
- Fold in the oats. Remove the pan from heat and gently fold in the rolled oats until every oat is coated with the chocolate‑peanut butter mixture. The oats should look glossy and slightly clumped together.
- Season. Sprinkle the sea salt over the mixture and give a quick stir. The salt will accentuate the chocolate’s depth and balance the sweetness.
- Optional additions. If you’re using chopped almonds, dried cranberries, or extra chocolate chips, fold them in now. These add texture and bursts of flavor without affecting the bar’s ability to set.
Similar Recipes
 Desserts
Amazing Strawberry Shortcake Ice Cream Sandwiches: Only 2 Hours to Joy
Learn how to make delicious Amazing Strawberry Shortcake Ice Cream Sandwiches: Only 2 Hours to Joy.…
 Desserts
Ultimate Million Layer Potato Cake
Learn how to make delicious Ultimate Million Layer Potato Cake. Easy recipe with step-by-step instructions.
 Desserts
Zesty Lemon Bliss Shortbread Cookies: A Refreshing Treat
Delicious Zesty Lemon Bliss Shortbread Cookies: A Refreshing Treat
 Desserts
Orange Creamsicle Mini Cheesecakes Recipe
Delicious Orange Creamsicle Mini Cheesecakes Recipe
 Desserts
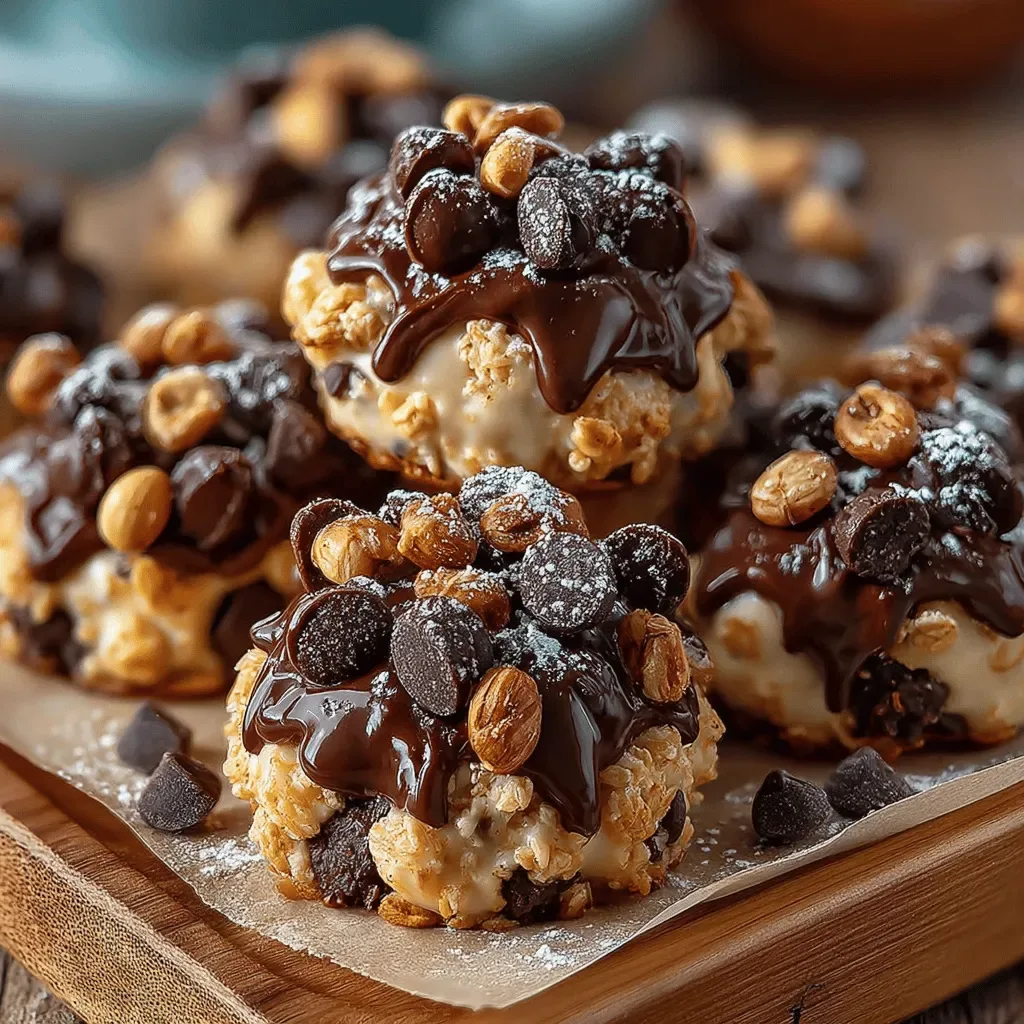
Mocha Bliss Frozen Yogurt Granola Clusters
Delicious Mocha Bliss Frozen Yogurt Granola Clusters
 Desserts
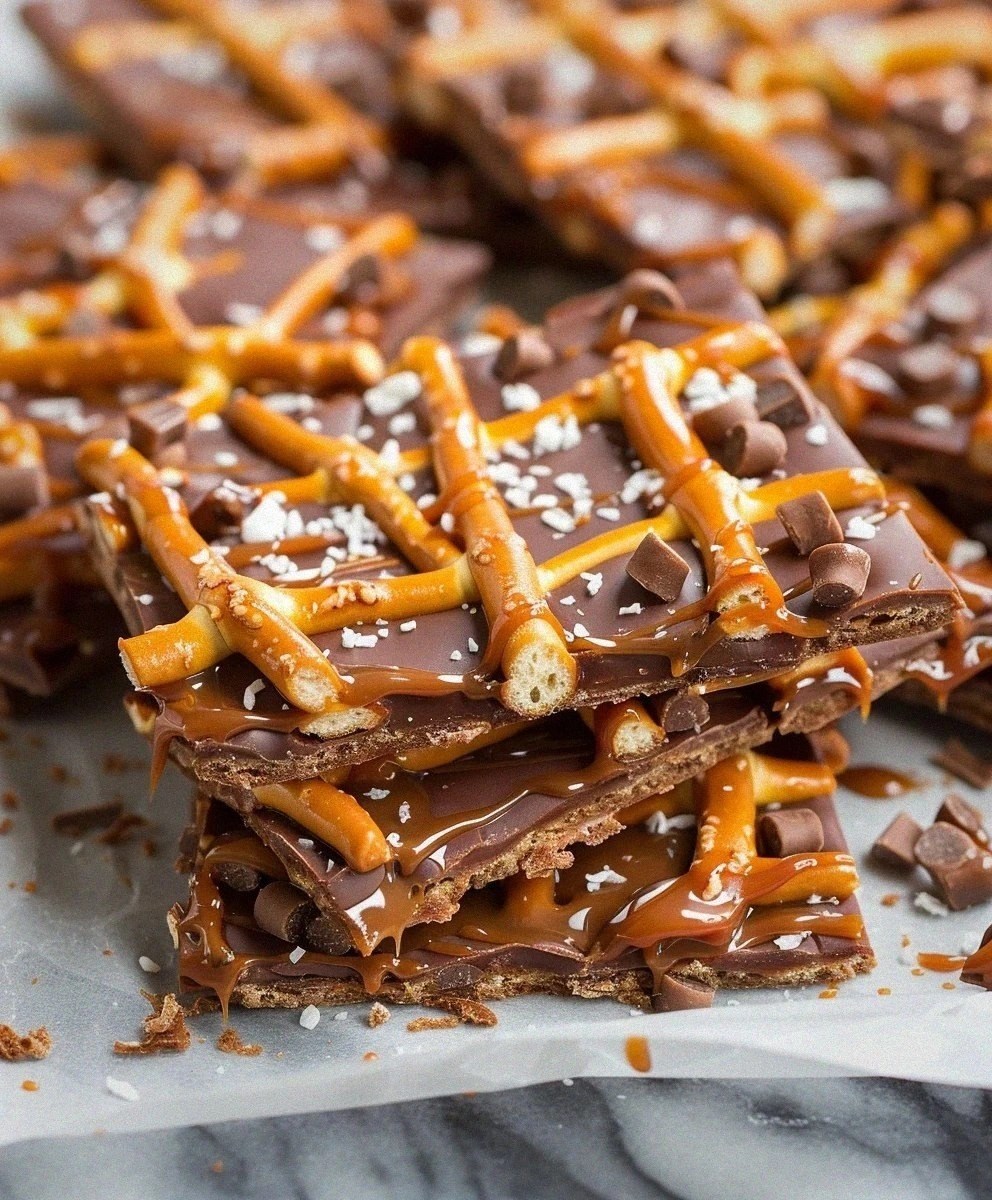
Salted Caramel Pretzel Bark Recipe: Sweet & Salty Delight!
Learn how to make delicious Salted Caramel Pretzel Bark Recipe: Sweet & Salty Delight!. Easy recipe…
 Desserts
Hearty Neapolitan Cake Bowls: Baking and Serving Guide
Delicious Hearty Neapolitan Cake Bowls: Baking and Serving Guide
 Desserts
Rosemary Infused Shortbread Delights
Delicious Rosemary Infused Shortbread Delights

Eva
I cook these recipes at home before they ever land here — simple ingredients, clear steps.