Loaded Nacho Sweet Potato Skins: A Delicious Recipe
 Save
Save
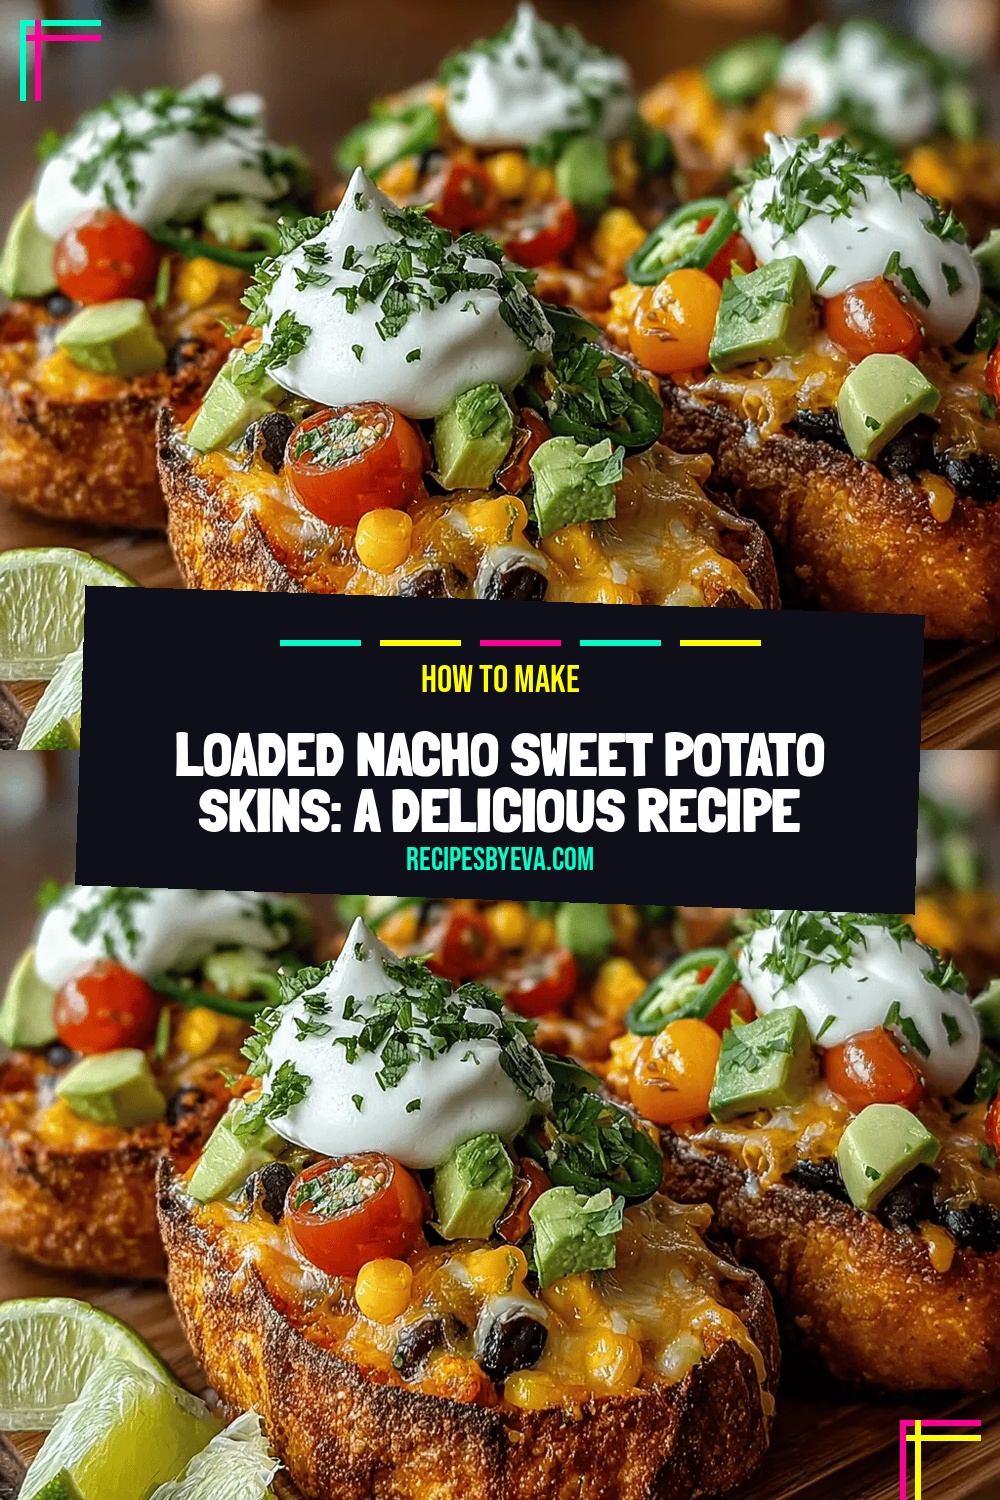
Imagine biting into a crisp sweet‑potato skin that’s stuffed with all the bold flavors of classic nachos—cheesy, spicy, and wonderfully comforting. This Loaded Nacho Sweet Potato Skins recipe takes the beloved snack and turns it into a hearty, handheld appetizer that feels both indulgent and wholesome.
What makes it special is the marriage of naturally sweet, caramelized potato flesh with a vibrant medley of black beans, corn, jalapeños, and melty cheeses, all finished with fresh cilantro and a drizzle of cool sour‑cream‑lime sauce.
Game night enthusiasts, brunch crowds, and anyone craving a guilt‑free finger food will love this dish. It shines as a party starter, a side for tacos, or a satisfying snack on a lazy weekend.
The process is straightforward: roast the sweet potatoes until tender, spoon in a seasoned bean‑corn mixture, top with cheese and bake until bubbly, then finish with bright garnishes. In under an hour you’ll have a crowd‑pleasing plate that looks as good as it tastes.
Why You'll Love This Recipe
Bold Flavor Fusion: The sweet‑potato base provides a mellow caramel note that perfectly balances the smoky, spicy nacho toppings for a truly layered taste experience.
Hand‑Held Convenience: Each skin acts as its own vessel, making it easy to serve, eat, and clean up—ideal for casual gatherings or busy weeknights.
Nutritious Comfort: Sweet potatoes deliver fiber, vitamin A, and potassium, while beans add protein, turning a snack into a balanced mini‑meal.
Customizable Canvas: Swap cheeses, add extra veggies, or adjust the heat level; the recipe adapts to any palate without losing its core appeal.
Tips & Tricks
Perfecting the Recipe
Even cuts matter: Slice the potatoes uniformly so they roast at the same rate, preventing some skins from being under‑ or over‑cooked.
Leave a thin wall: When scooping out the flesh, keep at least ¼‑inch of potato around the edges; this maintains structural strength for stuffing.
Pre‑roast before stuffing: Giving the skins a head start ensures they become crispy before the cheese melts, avoiding soggy results.
Use a hot oven: A high initial temperature creates a quick caramelization on the potato surface, locking in flavor.
Flavor Enhancements
Add a splash of fresh orange juice to the bean‑corn mix for a subtle citrus lift, or sprinkle a pinch of cumin for earthy depth. For an extra kick, drizzle a few drops of hot sauce on the finished skins just before serving.
Common Mistakes to Avoid
Avoid over‑filling the skins; too much topping can cause the cheese to spill over and burn. Also, don’t skip the final lime‑sour‑cream drizzle—without it the dish can feel overly heavy and miss the bright contrast that balances the flavors.
Pro Tips
Use a kitchen torch: After baking, lightly torch the cheese edges for a smoky, restaurant‑style finish.
Make a quick salsa: Dice a tomato, onion, and cilantro, toss with lime juice, and spoon over the skins for added freshness.
Season the sweet‑potato flesh: Save the scooped‑out potato, mash with a little butter and salt, and serve on the side for extra heartiness.
Prep ahead: Roast the skins and store them in the fridge; assemble and bake just before serving to keep them crisp.
Variations
Ingredient Swaps
Swap black beans for pinto or chickpeas for a different texture, and replace corn with roasted red peppers for a sweeter note. If you prefer a sharper cheese, use pepper jack instead of mozzarella, or add crumbled queso fresco for a Mexican‑style crumble.
Dietary Adjustments
For a gluten‑free version, ensure the taco seasoning is certified gluten‑free. Make it vegan by swapping dairy cheeses for plant‑based shreds and using coconut‑milk sour cream. Keto diners can omit the corn and use a low‑carb cheese blend, while still enjoying the creamy, crunchy experience.
Serving Suggestions
Pair the skins with a simple cilantro‑lime quinoa or a crisp mixed green salad dressed with avocado‑lime vinaigrette. For a heartier spread, serve alongside grilled chicken strips or pulled pork sliders. A side of guacamole or a smoky chipotle aioli adds an extra layer of indulgence.
Storage Info
Leftover Storage
Allow any leftovers to cool to room temperature, then place the skins in a single layer inside an airtight container. Store in the refrigerator for up to 3 days. For longer keeping, wrap each skin tightly in plastic wrap, then foil, and freeze for up to 2 months; this prevents freezer burn and preserves flavor.
Reheating Instructions
Reheat frozen or refrigerated skins in a preheated 350°F (175°C) oven for 12‑15 minutes, covered with foil to retain moisture, then uncover for the last 3 minutes to re‑crisp the edges. A quick microwave (30‑45 seconds) works in a pinch, but the oven method keeps the texture closest to the original.
Frequently Asked Questions
Can I make this recipe ahead of time?
Can I use frozen sweet potatoes instead of fresh?
What side dishes work best with these skins?
This Loaded Nacho Sweet Potato Skins recipe delivers the excitement of classic nachos in a wholesome, handheld form. By roasting the potatoes first, layering seasoned beans and melty cheese, and finishing with fresh herbs and a zesty lime‑cream drizzle, you get texture, flavor, and visual appeal in every bite. Feel free to experiment with proteins, cheeses, or spice levels—making it your own is part of the fun. Gather your friends, plate the skins, and enjoy the fiesta on a plate!
Loaded Nacho Sweet Potato Skins: A Delicious Recipe
Delicious Loaded Nacho Sweet Potato Skins: A Delicious Recipe
Ingredients
Sweet Potatoes & Base
- 4 medium sweet potatoes
- 2 tablespoons olive oil
- 1 teaspoon sea salt
- ½ teaspoon freshly ground black pepper
Nacho Topping Mix
- 1 cup canned black beans, rinsed and drained
- ½ cup frozen corn kernels, thawed
- 1 small jalapeño, thinly sliced (seeds removed for mild heat)
- 1 teaspoon taco seasoning
- ½ teaspoon smoked paprika
Cheese & Creamy Finish
- ¾ cup shredded sharp cheddar cheese
- ½ cup shredded mozzarella cheese
- ¼ cup sour cream
- 1 tablespoon fresh lime juice
Garnish
- 2 green onions, sliced thin
- ¼ cup fresh cilantro, chopped
- ½ avocado, diced (optional)
Instructions
Building the Nacho Topping Mix
- Combine beans and corn. In a medium bowl, mix the rinsed black beans, thawed corn, sliced jalapeño, taco seasoning, and smoked paprika. Stir until the spices coat every kernel and bean, creating a cohesive, aromatic mixture that will infuse the potatoes with classic nacho flavor.
- Season the mixture. Add a pinch of extra salt if needed, then drizzle a teaspoon of olive oil to help the beans and corn caramelize slightly when baked. This light coating also prevents the toppings from drying out during the final bake.
- Stuff the skins. Spoon the bean‑corn blend evenly into each roasted sweet‑potato skin, pressing gently to fill the cavity. The mixture should mound slightly above the rim, allowing space for the cheese melt.
- Add the cheeses. Sprinkle shredded cheddar first for sharp bite, then top with mozzarella for that gooey stretch. The dual‑cheese approach ensures a flavorful base and a beautiful, bubbly finish.
- Bake to melt. Return the assembled skins to the oven, lowering the temperature to 375°F (190°C). Bake for 10‑12 minutes, or until the cheese is fully melted, lightly browned, and the edges of the skins are crisped to perfection.
Similar Recipes
 Appetizers
Delicious Pizza Sliders Recipe: A Perfect Twist on a Classic Favorite
Delicious Delicious Pizza Sliders Recipe: A Perfect Twist on a Classic Favorite
 Appetizers
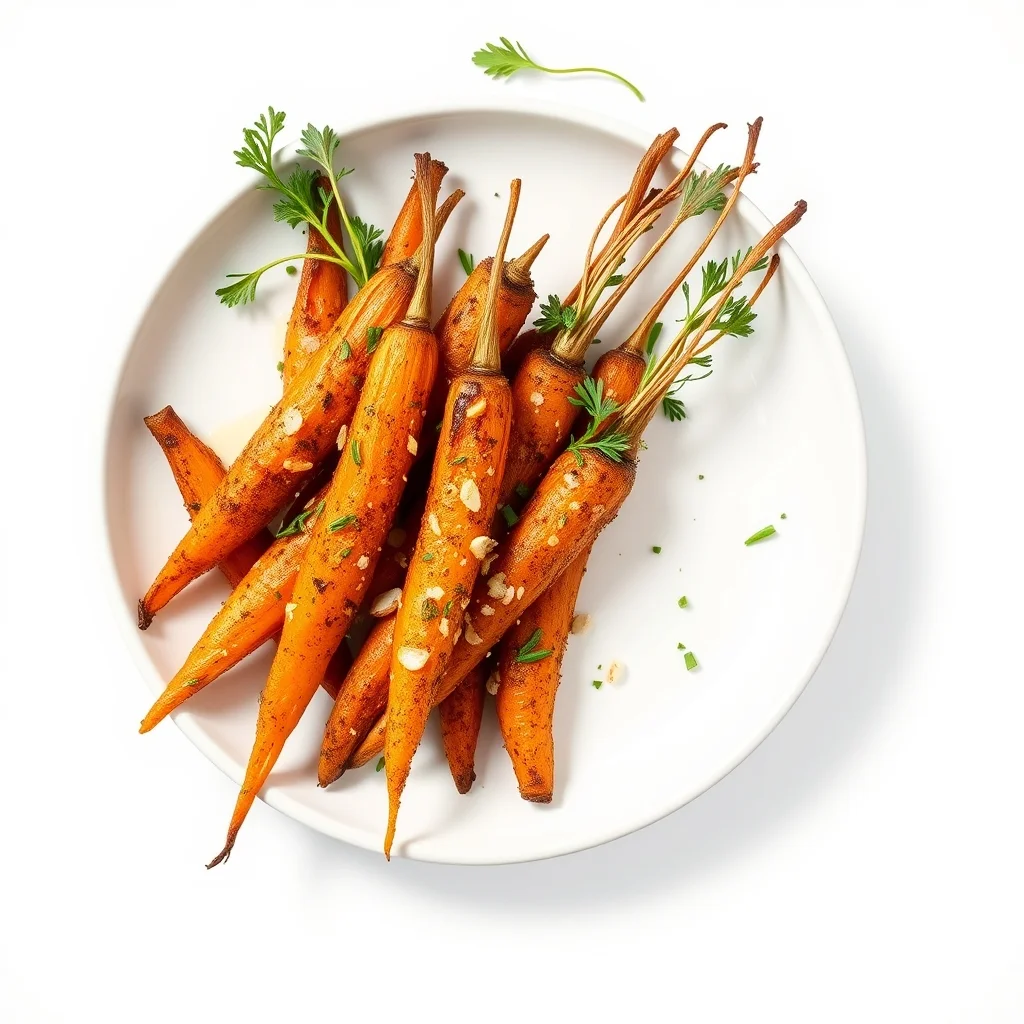
Crispy Garlic Herb Baby Carrots
Delicious Crispy Garlic Herb Baby Carrots
 Appetizers
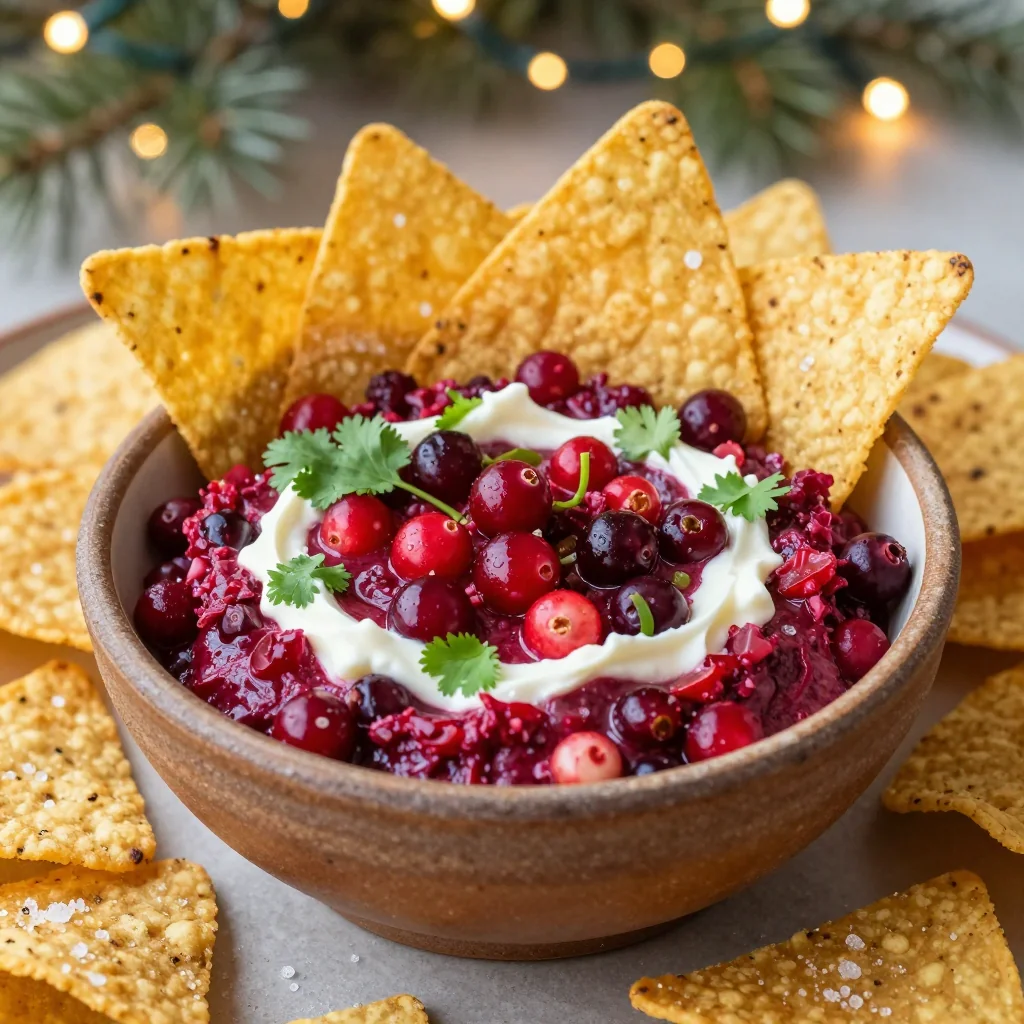
spicy cranberry jalapeño dip with corn chips for new years eve parties
Fire up your New Year's Eve bash with this spicy cranberry-jalapeño dip served with crisp corn…
 Appetizers
Golden Sage Butternut Squash Fritters with a Crunchy Twist
Delicious Golden Sage Butternut Squash Fritters with a Crunchy Twist
 Appetizers
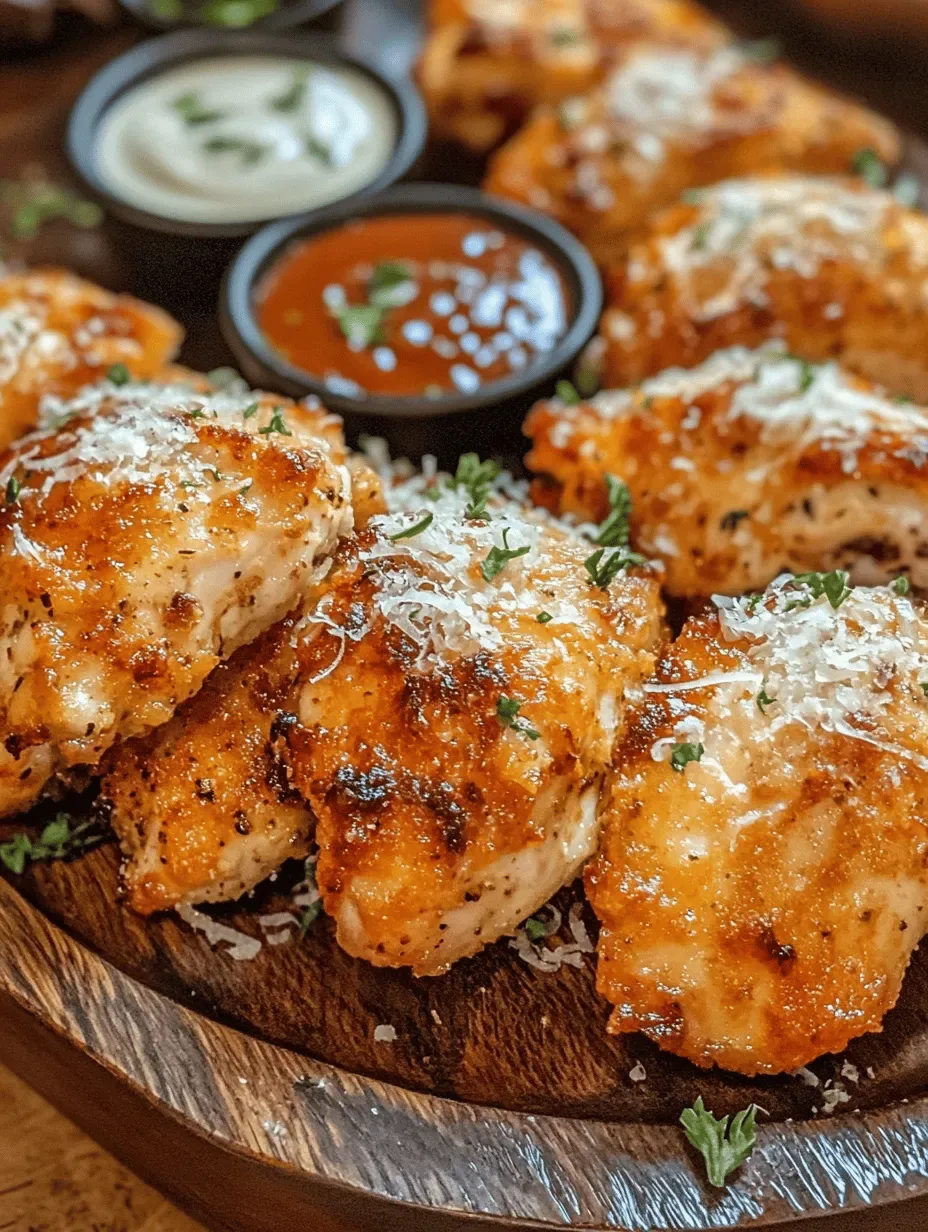
Crispy Oven Baked Chicken Bites Recipe
Delicious Crispy Oven Baked Chicken Bites Recipe
 Appetizers
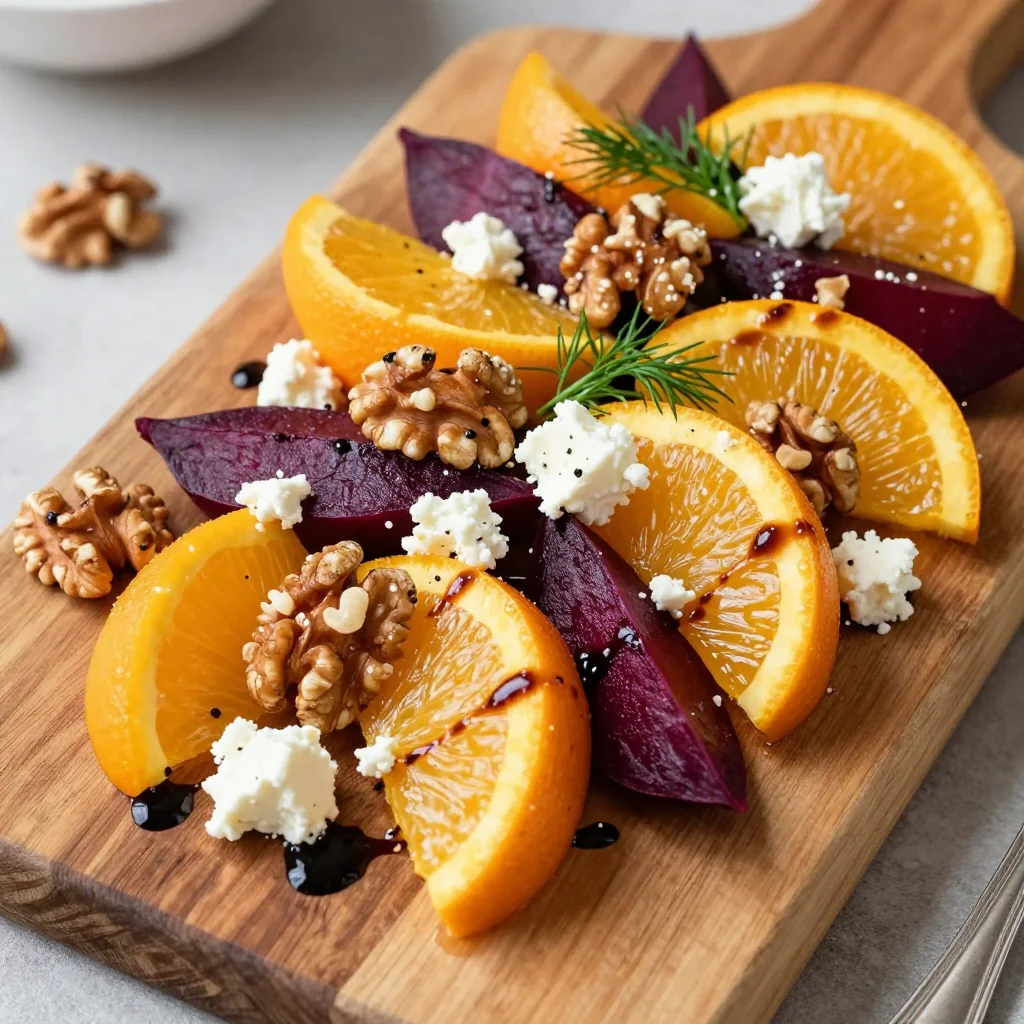
cozy roasted beet and orange salad with walnuts for january lunch
Learn how to make delicious cozy roasted beet and orange salad with walnuts for january lunch.…
 Appetizers
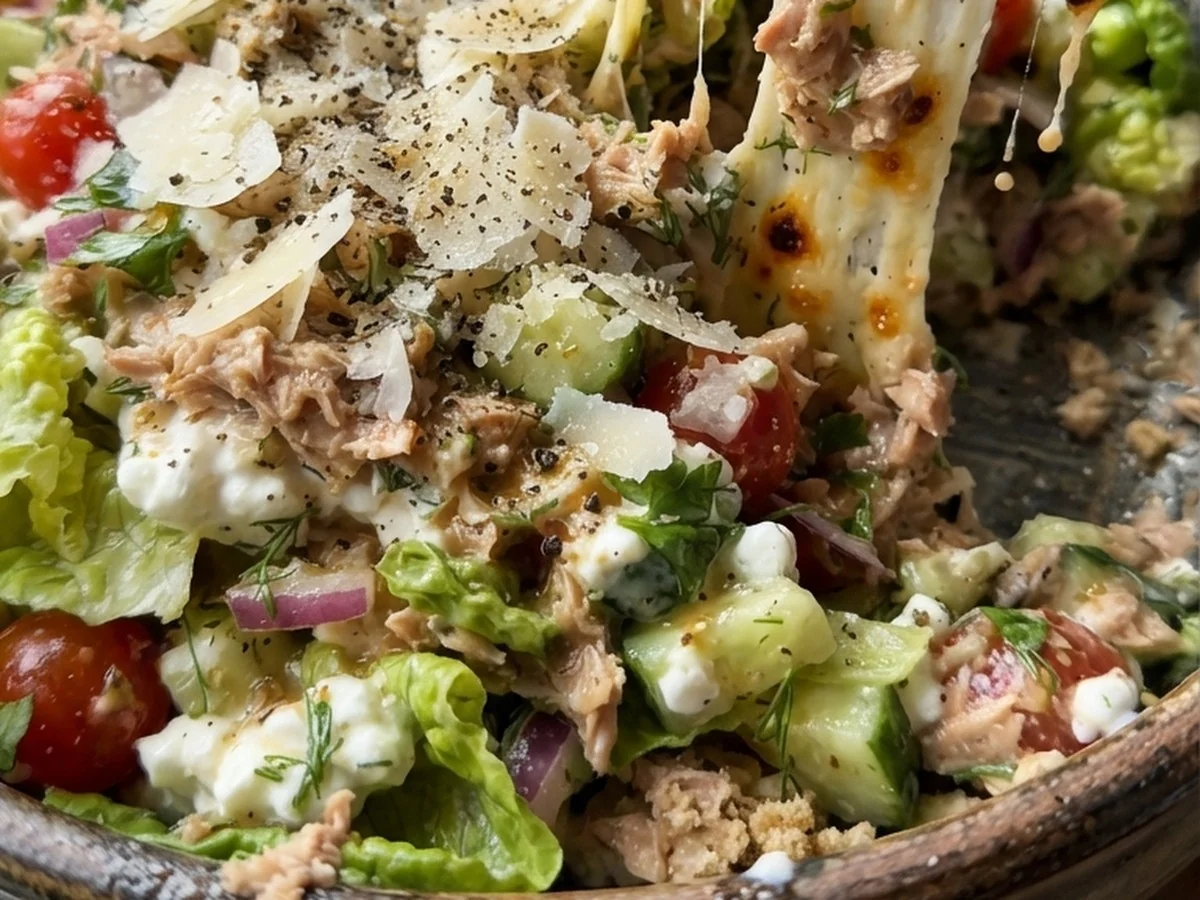
Protein-Packed Cottage Cheese Tuna Salad
A creamy, high‑protein salad that blends tuna, cottage cheese, and fresh veggies for a quick, satisfying…
 Appetizers
Fluffy Herb-Infused No-Knead Focaccia Bread
Delicious Fluffy Herb-Infused No-Knead Focaccia Bread

Eva
I cook these recipes at home before they ever land here — simple ingredients, clear steps.