Indulge in Decadence: Homemade Butterfinger Bliss Balls Recipe
 Save
Save
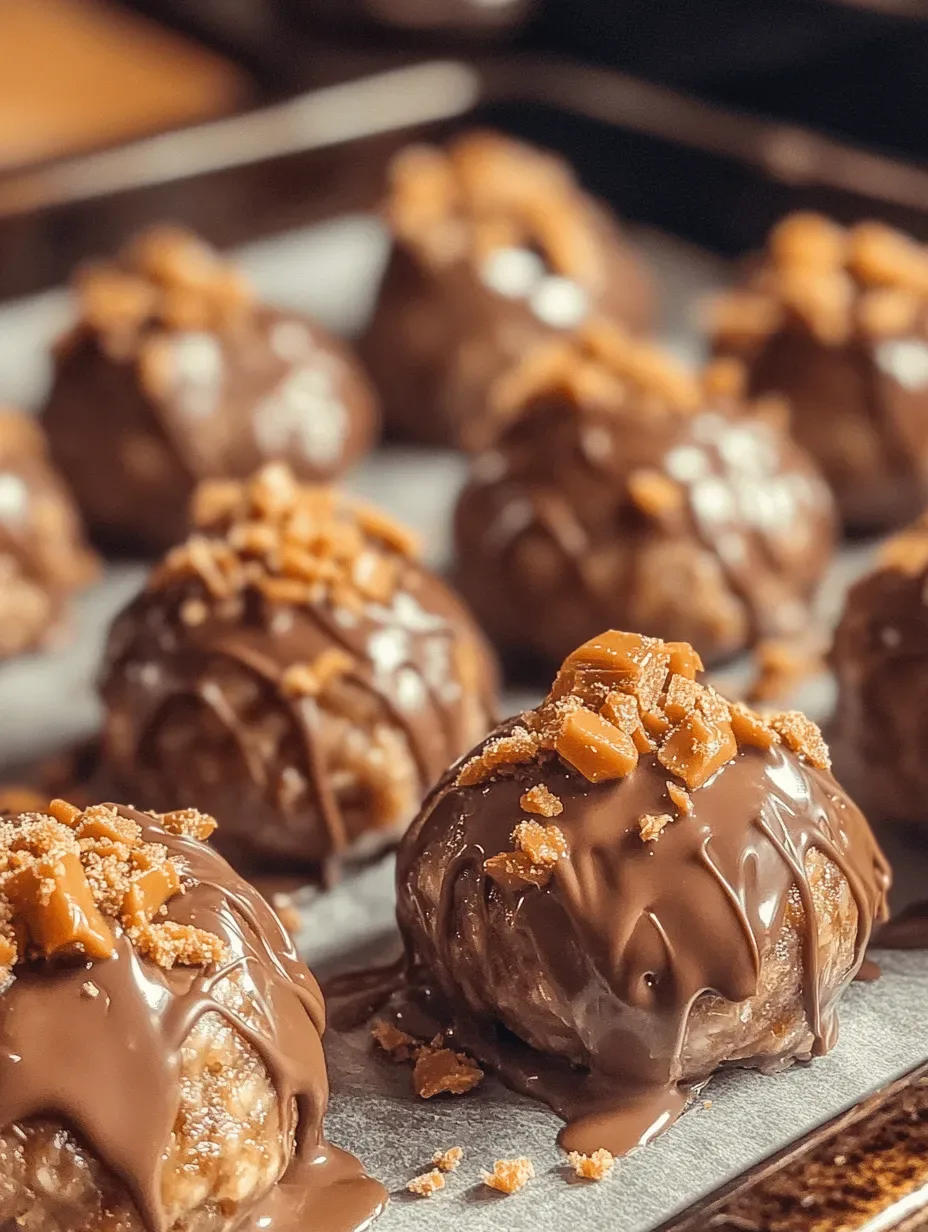
Imagine biting into a silky, buttery center that explodes with caramelized peanuts, all wrapped in a glossy chocolate‑coconut coating. That’s the magic of these Homemade Butterfinger Bliss Balls—tiny, handheld indulgences that feel like a candy‑store secret you’ve just discovered.
What makes this recipe stand out is the combination of real butter, crunchy peanut butter, and a hint of sea‑salt that mimics the iconic Butterfinger snap without any artificial additives. The coating, a quick melt‑and‑dip of dark chocolate and toasted coconut, adds texture and a sophisticated finish.
Chocolate lovers, peanut‑butter fans, and anyone craving a bite‑size dessert will adore these bliss balls. They shine at holiday parties, as a after‑dinner treat, or whenever you need a quick pick‑me‑up that feels luxuriously decadent.
The process is straightforward: blend the base, roll into balls, chill, then dip in chocolate. In under forty minutes you’ll have a tray of glossy, melt‑in‑your‑mouth delights ready to impress.
Why You'll Love This Recipe
Irresistible Texture: A buttery, soft core contrasts with a crisp chocolate‑coconut shell, delivering a satisfying snap followed by a melt‑away center that keeps you reaching for more.
Minimal Equipment: No fancy kitchen gadgets are required—just a food processor, a spoon, and a microwave or double boiler for the chocolate dip.
Customizable Sweetness: Adjust the sugar level or swap dark chocolate for milk chocolate to match your personal sweetness preference without compromising flavor.
Perfect for Gifting: Their bite‑size charm and elegant appearance make them ideal for party favors, holiday stockings, or a thoughtful homemade present.
Tips & Tricks
Perfecting the Recipe
Room‑Temperature Butter. Soften butter fully before mixing; it blends more evenly with peanut butter, preventing grainy pockets in the final dough.
Chill Before Dipping. A brief chill (10‑15 min) firms the balls, making them less likely to fall apart when submerged in warm chocolate.
Use a Silicone Mat. Lining your work surface with silicone helps roll the balls smoothly without sticking, saving time and reducing waste.
Flavor Enhancements
Add a dash of vanilla extract to the base for a subtle aromatic lift, or fold in a teaspoon of espresso powder for a mocha twist. For a salty‑sweet contrast, sprinkle a pinch of flaky sea‑salt on the chocolate just before it sets.
Common Mistakes to Avoid
Over‑mixing the dough can cause it to become too soft, making rolling difficult. Also, avoid overheating the chocolate; burnt chocolate will taste bitter and lose its glossy finish. Finally, don’t skip the final coconut sprinkle—without it the coating may look dull.
Pro Tips
Use High‑Quality Chocolate. A good dark chocolate with at least 70 % cacao yields a richer flavor and a firmer snap once set.
Store in a Single Layer. When chilling, keep the balls in a single layer to prevent them from sticking together, preserving each ball’s pristine coating.
Freeze for Longer Shelf Life. If you need to keep them for weeks, freeze the uncoated balls first, then dip and freeze again; this avoids freezer‑burn on the chocolate.
Variations
Ingredient Swaps
Replace creamy peanut butter with almond or cashew butter for a nut‑free twist. Swap dark chocolate for milk chocolate if you prefer a sweeter coating, or use white chocolate with a drizzle of raspberry for a festive look. For extra crunch, fold in crushed pretzel pieces into the base.
Dietary Adjustments
For a gluten‑free version, ensure all packaged ingredients are certified gluten‑free (they naturally are, but double‑check). To make the recipe vegan, substitute butter with coconut butter and use a plant‑based chocolate chip. For a low‑sugar option, replace powdered sugar with a blend of erythritol and a touch of maple‑flavored stevia.
Serving Suggestions
Arrange the bliss balls on a decorative platter with fresh berries for a pop of color. Pair them with a scoop of vanilla bean ice cream for an indulgent sundae, or serve alongside a glass of cold milk or a bold espresso to balance the richness.
Storage Info
Leftover Storage
Allow the balls to cool completely, then transfer them to an airtight container. Store in the refrigerator for up to 5 days. For longer keeping, place a parchment sheet between layers and freeze for up to 3 months; this prevents the chocolate from sticking together.
Reheating Instructions
To enjoy them warm, let frozen balls sit at room temperature for 10 minutes, then pop them in a 300°F (150°C) oven for 5‑7 minutes. The chocolate will soften slightly, releasing the buttery center without melting completely. Microwaving for 10‑15 seconds works for a quick treat, but watch closely to avoid overheating.
Frequently Asked Questions
Can I make these bliss balls ahead of time?
What if I don’t have a double boiler for melting chocolate?
How can I make these gluten‑free without sacrificing texture?
What’s the best way to serve these at a party?
This Homemade Butterfinger Bliss Balls recipe captures the iconic candy’s crunchy‑sweet profile in a bite‑size, no‑bake treat. You’ve learned the exact ingredient ratios, the step‑by‑step technique, storage methods, and plenty of ways to personalize the flavor. Feel free to experiment with nuts, chocolate types, or festive toppings—making it truly your own. Enjoy the buttery decadence, share them with friends, and savor every glossy, crunchy bite!
Indulge in Decadence: Homemade Butterfinger Bliss Balls Recipe
Delicious Indulge in Decadence: Homemade Butterfinger Bliss Balls Recipe
Ingredients
Base & Core
- ½ cup (1 stick) unsalted butter, softened
- ⅓ cup creamy peanut butter
- 1 ½ cups powdered sugar, sifted
- ¼ cup finely shredded toasted coconut
- ¼ cup chopped roasted peanuts
- ¼ teaspoon flaky sea‑salt
Chocolate Coating
- 1 ½ cups dark chocolate chips (70% cacao)
- 2 tablespoons coconut oil
- 1 tablespoon finely shredded toasted coconut (for garnish)
Instructions
Melting the Chocolate
- Set Up a Double Boiler. Fill a saucepan with 1‑inch of water, bring to a gentle simmer, and place a heat‑proof bowl on top. Ensure the bowl does not touch the water. This indirect heat melts chocolate evenly without scorching.
- Combine Chocolate and Coconut Oil. Add the dark chocolate chips and coconut oil to the bowl. Stir continuously until the mixture is smooth and glossy, about 3‑4 minutes. The oil creates a fluid coating that hardens with a beautiful shine.
- Temper (Optional). For a snap that cracks when bitten, remove the bowl from heat once most chocolate is melted, stir in a handful of unmelted chips, and let them melt gently. This simple tempering step yields a professional finish.
Similar Recipes
 Desserts
Decadent Delight: Rich & Creamy New York Cheesecake
Delicious Decadent Delight: Rich & Creamy New York Cheesecake
 Desserts
Berry Bliss Turnovers: A Delightful Pastry Recipe
Delicious Berry Bliss Turnovers: A Delightful Pastry Recipe
 Desserts
Harry Potter Butterbeer Cheesecake Recipe
Delicious Harry Potter Butterbeer Cheesecake Recipe
 Desserts
No-Bake Balsamic Vinaigrette Energy Bites
Delicious No-Bake Balsamic Vinaigrette Energy Bites
 Desserts
Heavenly Apple Fritter Donuts Recipe
Delicious Heavenly Apple Fritter Donuts Recipe
 Desserts
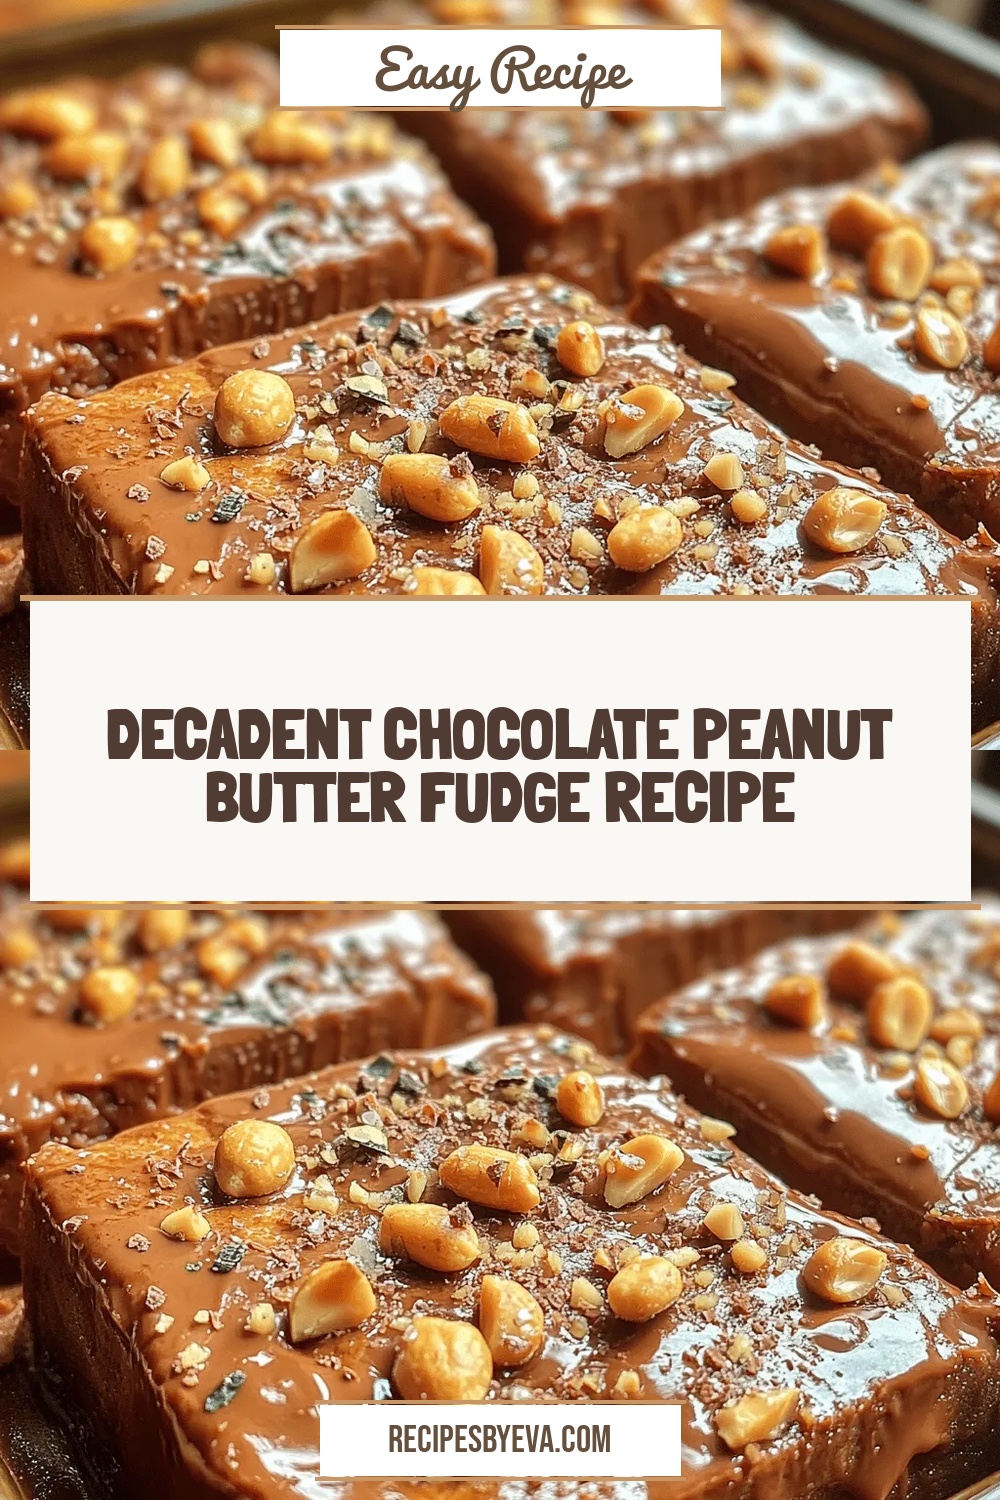
Decadent Chocolate Peanut Butter Fudge Recipe
Delicious Decadent Chocolate Peanut Butter Fudge Recipe
 Desserts
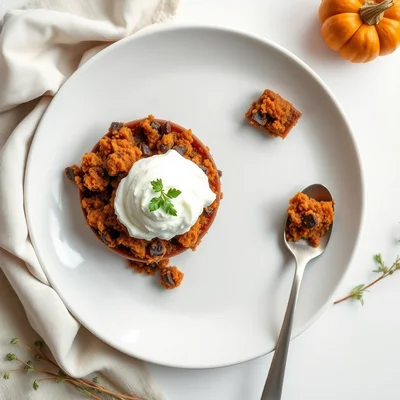
Pumpkin Chocolate Crumble
Discover how to make a Pumpkin Chocolate Crumble, combining creamy pumpkin puree, rich chocolate, and a…
 Desserts
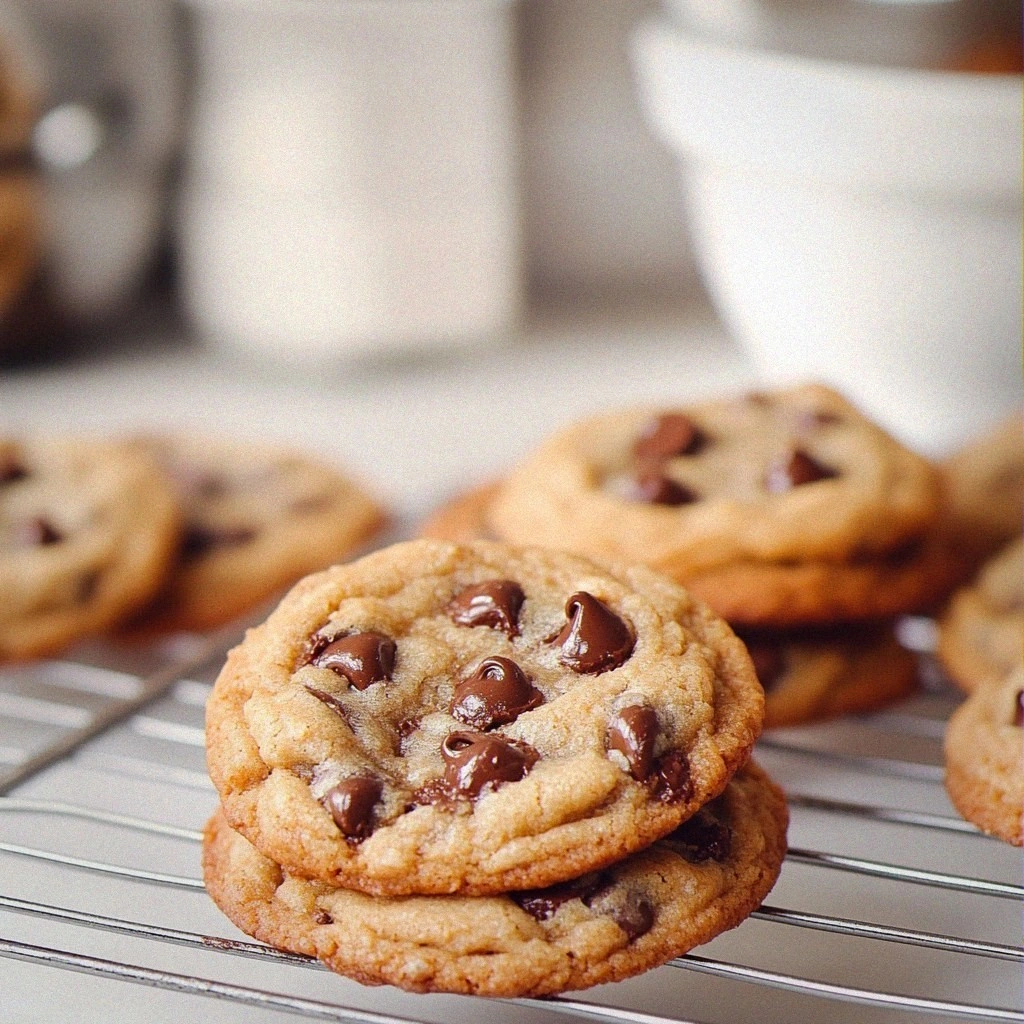
Ultimate Better than a Bakery Chocolate Chip Cookies Recipe
Learn how to make delicious Ultimate Better than a Bakery Chocolate Chip Cookies Recipe. Easy recipe…

Eva
I cook these recipes at home before they ever land here — simple ingredients, clear steps.