Delightful Indulgence: Candied Orange Peel Dark Chocolate Bark Recipe
 Save
Save
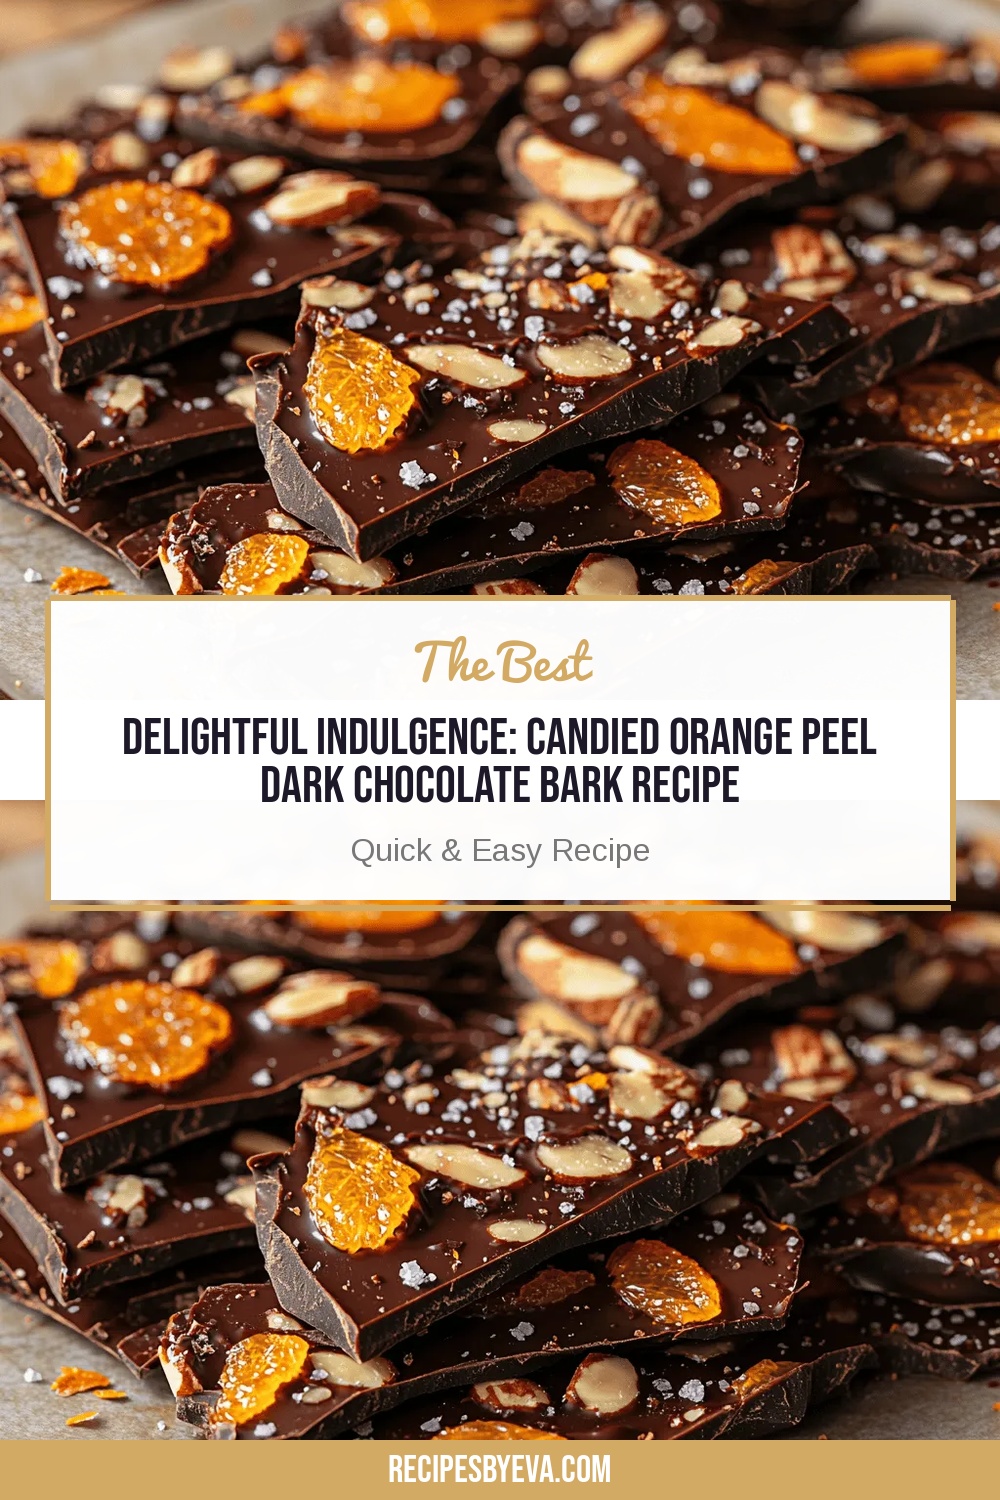
Imagine a glossy slab of rich dark chocolate studded with bright, citrusy jewels that melt on your tongue and leave a lingering whisper of orange zest. That’s the magic of our Delightful Indulgence: Candied Orange Peel Dark Chocolate Bark—a treat that feels luxurious yet is astonishingly simple to create.
What makes this bark truly special is the balance between the deep, slightly bitter notes of high‑cocoa dark chocolate and the sweet‑tart, caramelized orange peel that adds both texture and a burst of sunshine in every bite.
This dessert is perfect for anyone with a sweet tooth who also appreciates a sophisticated flavor profile—ideal for holiday gatherings, elegant brunches, or a quiet evening indulgence.
The process is straightforward: melt the chocolate, fold in the candied orange peel (and any optional crunch), spread, sprinkle with sea salt, and let it set. In under half an hour you’ll have a stunning, bite‑size masterpiece ready to share.
Why You'll Love This Recipe
Contrast of Flavors: The bitter depth of dark chocolate is perfectly offset by the bright, caramelized orange, creating a harmonious sweet‑and‑tart experience.
Effortless Elegance: With just a few steps and minimal equipment, you can produce a polished, restaurant‑quality dessert that looks as good as it tastes.
Customizable Crunch: Add toasted nuts, dried berries, or even a sprinkle of toasted coconut for extra texture without complicating the recipe.
Great for Gifting: Cut into elegant shards, wrap in parchment, and you have a thoughtful, homemade gift that’s both beautiful and delicious.
Tips & Tricks
Perfecting the Recipe
Use a silicone mat. Lining the sheet with a silicone baking mat instead of parchment makes removal even easier and leaves no sticky residue.
Control the temperature. Keep the chocolate below 95 °F (35 °C) while mixing in add‑ins; higher heat can cause the orange peel to soften excessively.
Even thickness. Use the back of a spoon or a small offset spatula to achieve a uniform 1/4‑inch layer, ensuring consistent snap and breakage.
Quick cooling. Place the sheet on a metal cooling rack in the fridge; this speeds up setting without condensation forming on the surface.
Flavor Enhancements
For an extra aromatic lift, add a pinch of ground cardamom or a drizzle of orange‑infused olive oil just before the bark sets. A splash of vanilla extract (¼ tsp) also deepens the chocolate’s natural notes without overpowering the citrus.
Common Mistakes to Avoid
Avoid stirring the chocolate too vigorously, which can introduce air bubbles and create a dull finish. Also, never add the orange peel while the chocolate is overheated; the sugar coating can melt and lose its candied texture, resulting in a soggy bark.
Pro Tips
Pre‑toast nuts. Lightly toast almonds or pistachios in a dry skillet for 2‑3 minutes to intensify their flavor before sprinkling them on the bark.
Use a kitchen scale. Precise chocolate measurements ensure consistent thickness and prevent over‑ or under‑melting.
Layer flavors. For a multi‑dimensional bite, drizzle a thin line of white chocolate over the dark bark after it sets, then swirl with a toothpick.
Store in a cool, dark place. Heat and light degrade chocolate’s snap and flavor; a pantry away from sunlight preserves the bark’s quality.
Variations
Ingredient Swaps
Swap the dark chocolate for milk chocolate for a sweeter, creamier bark, or use white chocolate to let the orange peel shine even brighter. Replace candied orange peel with candied grapefruit or lemon zest for a different citrus profile. Nuts can be exchanged for pistachios, hazelnuts, or even toasted pumpkin seeds for seasonal flair.
Dietary Adjustments
Choose a vegan dark chocolate that contains no dairy for a plant‑based version. Ensure the candied orange peel is made with organic cane sugar to keep it gluten‑free. For a low‑sugar adaptation, use a sugar‑free candied peel (available in specialty stores) and a chocolate sweetened with erythritol or stevia.
Serving Suggestions
Pair the bark with a glass of ruby red wine, a robust port, or a chilled espresso for a sophisticated after‑dinner treat. It also works beautifully as a garnish on vanilla ice cream or as a crunchy topping for a citrus‑infused panna cotta.
Storage Info
Leftover Storage
Once the bark has hardened, break it into pieces and store them in an airtight tin or a zip‑top bag with a parchment sheet between layers. Keep the container in a cool, dark pantry for up to two weeks. For longer preservation, place the sealed bag in the refrigerator; the chocolate will stay fresh for up to three months.
Reheating Instructions
If the bark has become firm from refrigeration, allow it to sit at room temperature for 15 minutes before serving. For a melt‑in‑your‑mouth experience, gently warm a single piece over a low flame or in a microwave at 30 % power for 5–10 seconds, just until the surface softens.
Frequently Asked Questions
Can I make this bark ahead of time?
What if I don’t have candied orange peel?
How do I achieve a glossy finish without tempering?
Can I add a drizzle of another chocolate on top?
With just a handful of premium ingredients and a few simple steps, you can craft a stunning, palate‑pleasing chocolate bark that feels both indulgent and sophisticated. The guide above covers everything from ingredient selection to storage, ensuring consistent success. Feel free to experiment with nuts, spices, or alternative chocolates to make the recipe truly your own. Enjoy each glossy shard and share the delight with friends and family!
Delightful Indulgence: Candied Orange Peel Dark Chocolate Bark Recipe
Delicious Delightful Indulgence: Candied Orange Peel Dark Chocolate Bark Recipe
Ingredients
Main Ingredients
- 8 oz (225 g) high‑quality dark chocolate (70 % cocoa)
- 1/3 cup candied orange peel, finely chopped
- 1 teaspoon flaky sea salt
Optional Add‑Ins
- 2 tablespoons toasted sliced almonds
- 1 tablespoon dried cranberries, roughly chopped
- 1 teaspoon toasted coconut flakes (optional)
Instructions
Incorporating Flavors
- Temper (optional). If you desire a glossy finish and a crisp snap, cool the melted chocolate to 88 °F (31 °C) while stirring, then gently re‑heat to 90 °F (32 °C). Proper tempering aligns the cocoa butter crystals for a professional look.
- Add candied orange peel. Fold the chopped orange peel into the chocolate until evenly distributed. The peel should be suspended throughout, creating speckles that will appear as bright orange islands once the bark sets.
- Stir in optional add‑ins. If using almonds, cranberries, or coconut, sprinkle them in now. This ensures they become lightly coated, preventing them from sinking to the bottom.
- Spread the mixture. Pour the chocolate onto a parchment‑lined baking sheet, using a spatula to spread it to an even thickness of about 1/4 inch (6 mm). A uniform layer guarantees consistent texture and easy breaking later.
- Season with sea salt. While the chocolate is still fluid, scatter the flaky sea salt evenly across the surface. The salt crystals should be visible but not overwhelming, providing that essential flavor contrast.
Similar Recipes
 Desserts
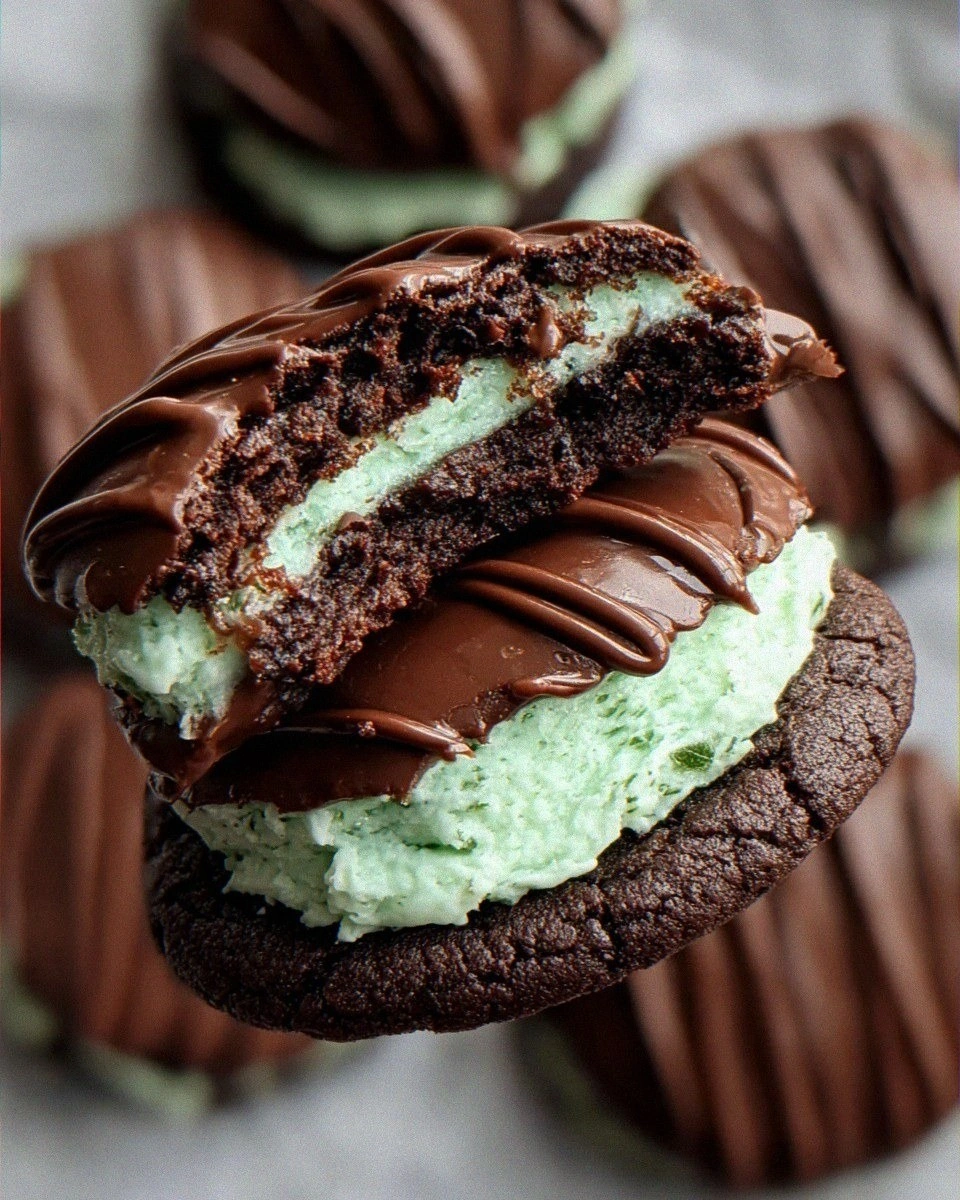
Chocolate Mint Cookies
Learn how to make delicious Chocolate Mint Cookies. Easy recipe with step-by-step instructions.
 Desserts
Zesty Lemon Burst Energy Balls Recipe
Delicious Zesty Lemon Burst Energy Balls Recipe
 Desserts
Frozen Chocolate Coconut Yogurt Rounds
Delicious Frozen Chocolate Coconut Yogurt Rounds
 Desserts
Peach Paradise Upside Down Cake: A Delightful Baking Experience
Delicious Peach Paradise Upside Down Cake: A Delightful Baking Experience
 Desserts
Caramel Pecan Pumpkin Cobbler: A Taste of Autumn Delights
Delicious Caramel Pecan Pumpkin Cobbler: A Taste of Autumn Delights
 Desserts
Brown Butter Cinnamon Popcorn: A Delicious Homemade Snack
Delicious Brown Butter Cinnamon Popcorn: A Delicious Homemade Snack
 Desserts
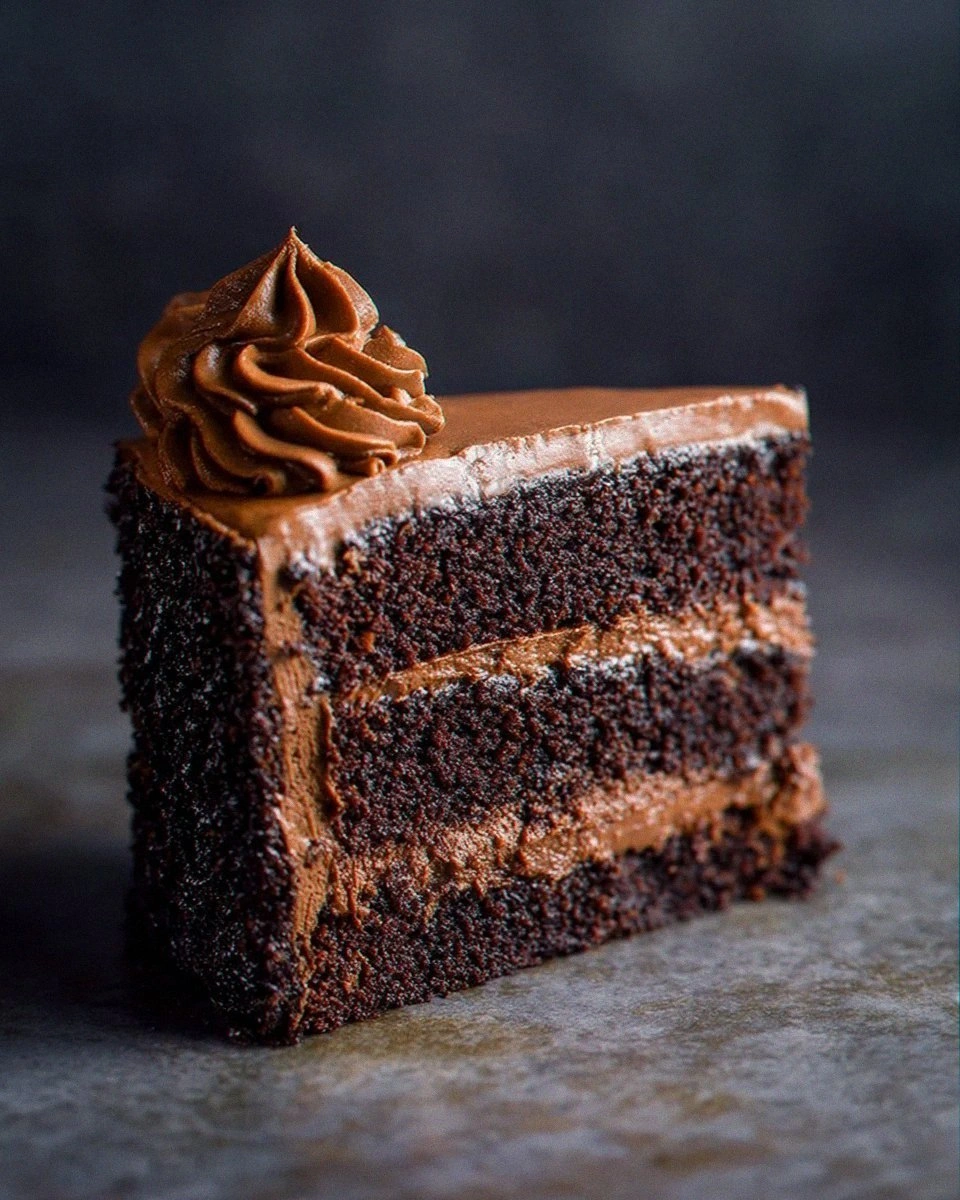
Legendary Chocolate Cake Recipe
Learn how to make delicious Legendary Chocolate Cake Recipe. Easy recipe with step-by-step instructions.
 Desserts
Cherry Delight Chocolate Bliss Bars
Delicious Cherry Delight Chocolate Bliss Bars

Eva
I cook these recipes at home before they ever land here — simple ingredients, clear steps.