Introduction to Classic Chocolate Cake
Chocolate cake is more than just a dessert; it’s a celebration of life’s sweetest moments. This beloved treat has become a staple in dessert culture across the globe, gracing birthday parties, anniversaries, and family gatherings with its rich, indulgent flavor. Each slice of classic chocolate cake tells a story of love, joy, and the simple pleasure of sharing something homemade with those we cherish. The act of baking a cake embodies the spirit of kindness and creativity, inviting bakers of all skill levels to explore their culinary talents.
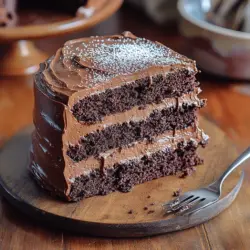
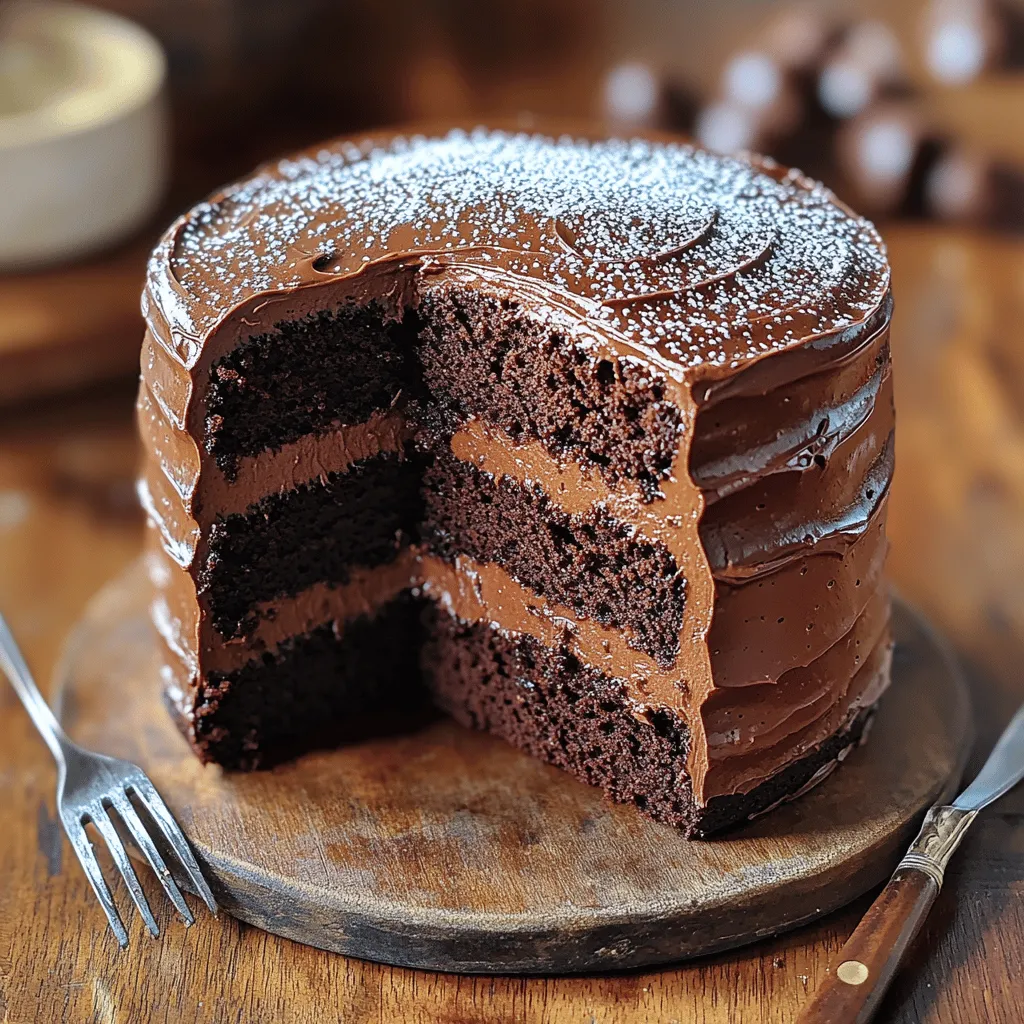
What makes chocolate cake a perennial favorite? It’s the combination of a deep chocolate flavor, a moist and tender crumb, and a simple, yet elegant presentation. The layers of chocolate cake can be adorned with a luscious frosting, or enjoyed simply dusted with powdered sugar, making it a versatile dessert that can suit any occasion. Whether you’re a seasoned baker or a novice in the kitchen, the classic chocolate cake offers an approachable recipe that delivers extraordinary results.
In this guide, we will walk you through the process of creating your own decadent chocolate cake, highlighting the essential ingredients that contribute to its rich flavor profile and moist texture. Plus, we’ll equip you with step-by-step instructions to ensure your baking experience is as delightful as the finished product.
Understanding the Ingredients
Before diving into the baking process, it’s important to familiarize yourself with the ingredients that will bring your chocolate cake to life. Each component plays a vital role in creating the perfect balance of flavor and texture.
All-Purpose Flour
All-purpose flour is the foundation of your cake’s structure. It provides the necessary gluten that gives the cake its shape and density. When measuring flour, it’s crucial to avoid packing it into the measuring cup, as this can lead to a dense cake. Instead, spoon the flour into the cup and level it off with a knife for accurate measurement.
Granulated Sugar
Sugar is not just for sweetness; it plays a significant role in the cake’s texture. Granulated sugar helps retain moisture, contributing to a tender crumb. Additionally, when creamed with butter or oil, it creates air pockets that aid in leavening the cake, resulting in a lighter texture.
Unsweetened Cocoa Powder
Cocoa powder is the star of the show when it comes to chocolate flavor. Using high-quality unsweetened cocoa powder will enhance the chocolatey richness of your cake while providing a deep, dark color. It’s important to sift the cocoa powder with the dry ingredients to avoid clumps in your batter.
Baking Powder and Baking Soda
These leavening agents are crucial for achieving a light and fluffy chocolate cake. Baking powder contains both an acid and a base, which react when mixed with wet ingredients, producing carbon dioxide bubbles that help the cake rise. Baking soda, on the other hand, requires an acidic ingredient (like cocoa powder) to activate its leavening properties. Using both ensures optimal lift and texture.
Salt
While it may seem counterintuitive, salt enhances the sweetness of baked goods. It balances flavors and brings out the richness of the cocoa. Just a pinch can elevate your cake from good to great, making it an essential ingredient.
Eggs
Eggs serve multiple purposes in baking. They act as a binding agent, helping to hold the cake together, while also adding moisture and richness. The proteins in eggs provide structure, allowing the cake to rise as it bakes. For best results, use room temperature eggs, as they incorporate better into the batter.
Whole Milk
Whole milk adds richness and flavor to your chocolate cake. It also contributes to the cake’s moisture, ensuring a tender crumb. If you don’t have whole milk on hand, you can substitute with 2% milk or a non-dairy milk alternative, but keep in mind that the flavor and texture may vary slightly.
Vegetable Oil
Oil is a key ingredient for maintaining moisture in your cake. Unlike butter, which can create a firmer texture, vegetable oil yields a softer and more tender crumb. This is particularly important for chocolate cake, as the oil helps to enhance the overall richness and mouthfeel.
Vanilla Extract
Vanilla extract is the secret ingredient that adds depth to your chocolate cake. Its aromatic flavor complements the chocolate beautifully, creating a well-rounded taste. Always opt for pure vanilla extract for the best results, as artificial extracts can contain additives that may alter the flavor.
Boiling Water
This unique technique may seem unconventional, but adding boiling water to your batter enhances moisture and helps dissolve the cocoa powder, intensifying the chocolate flavor. The heat from the water will also help to activate the baking soda and baking powder, ensuring a light texture.
Step-by-Step Instructions to Bake the Perfect Chocolate Cake
Now that we’ve covered the essential ingredients, let’s dive into the step-by-step instructions for baking a classic chocolate cake. Follow these guidelines carefully to ensure your cake turns out beautifully every time.
Preparing the Oven and Pans
The first step in your baking journey is preheating your oven to 350°F (175°C). Preheating is crucial, as it allows the cake to rise properly from the moment it goes in the oven. While the oven is heating, take a moment to prepare your cake pans. Grease the bottoms and sides of two 9-inch round cake pans with cooking spray or butter, then line the bottoms with parchment paper. This step is essential to prevent sticking and ensure a clean release from the pans once baked.
Mixing the Dry Ingredients
In a medium mixing bowl, sift together the all-purpose flour, granulated sugar, unsweetened cocoa powder, baking powder, baking soda, and salt. Sifting not only breaks up clumps but also aerates the dry ingredients, creating a light and even mixture. Use a whisk to combine the ingredients thoroughly, ensuring an even distribution of leavening agents and cocoa.
Incorporating the Wet Ingredients
In a separate large mixing bowl, combine the eggs, whole milk, vegetable oil, and vanilla extract. Using a hand mixer or a whisk, mix the ingredients until they are well incorporated. Gradually add the dry ingredients to the wet mixture, stirring just until combined. Be careful not to overmix; a few lumps are perfectly fine. The batter should be smooth but not overly beaten.
Once your batter is mixed, the next step is to add the boiling water. Carefully pour the hot water into the batter, stirring until the mixture is smooth. This step may seem unusual, but it’s key to achieving a moist and decadent cake. The batter will be thin, but don’t worry; this is normal and will result in a tender crumb.
With the batter prepared, you’re now ready to pour it evenly into the prepared cake pans and bake, but these steps will be covered in more detail in the next part of the article. Stay tuned for the exciting continuation of your decadent chocolate cake journey!
The Role of Boiling Water in Cake Making
In the realm of baking, the science behind ingredient interactions often leads to delightful results. One such ingredient that plays a surprisingly critical role in the texture and moisture of a cake is boiling water. When added to the chocolate cake batter, boiling water behaves almost like a magic ingredient. It helps to dissolve cocoa powder, which allows the chocolate flavor to bloom and intensify.
The heat from the boiling water also activates the cocoa solids, ensuring that they integrate smoothly into the batter. This process contributes to a more velvety texture and a rich taste. Furthermore, the addition of boiling water creates a batter that is thinner than typical cake batters. This might seem counterintuitive, but it allows for even baking and a moist cake crumb once baked. The steam generated during the baking process contributes to the lightness of the cake, making it a decadent delight as intended.
Baking Process and Temperature
Once your batter is ready, it’s time to focus on the baking process. Preheat your oven to 350°F (175°C) to ensure a consistent and optimal baking environment. The importance of maintaining the right temperature cannot be overstated; too high a temperature can lead to a dry cake, while too low can result in a dense, undercooked interior.
When placing the cake in the oven, set a timer for 30 to 35 minutes. However, don’t rely solely on time to determine doneness. Instead, use a toothpick or a cake tester inserted into the center of the cake. If it comes out clean or with just a few moist crumbs clinging to it, your cake is ready. Keep in mind that ovens can vary, so it may take a bit longer or shorter than expected. Always check a few minutes before the timer goes off to avoid overbaking.
Cooling Techniques for Optimal Texture
Cooling your chocolate cake properly is crucial for achieving the ideal texture and flavor. After removing the cakes from the oven, allow them to cool in the pans for about 10 minutes. This initial cooling period helps the cake to firm up slightly, making it easier to remove from the pans without breaking.
Once the cakes have cooled slightly, carefully turn them out onto wire racks. This step is essential because allowing the cakes to cool in the pans can lead to a soggy bottom. The wire rack promotes airflow around the cake, helping it to cool evenly. For the best texture, let the cakes cool completely before frosting, ideally for at least an hour. This will ensure that the frosting doesn’t melt upon contact and will adhere better to the cake.
Frosting and Decorating Your Chocolate Cake
Options for Topping
The beauty of a classic chocolate cake is not just in the cake itself but also in how it can be adorned. There are several frosting options that can take your chocolate cake from delightful to decadent. The most popular choice is chocolate buttercream frosting, which is rich and pairs beautifully with the moist cake. Alternatively, you might prefer a lighter whipped cream frosting for a less intense sweetness. For a simpler finish, a dusting of powdered sugar can add a touch of elegance without overwhelming the chocolate flavor.
Techniques for Frosting a Layered Cake
Frosting a layered cake may seem daunting, but with a few simple techniques, you can achieve a professional-looking finish. Begin by placing one layer of cake on a cake stand or a serving plate. Use an offset spatula to spread an even layer of frosting across the top of the first cake layer. Ensure you don’t use too much pressure to avoid tearing the cake.
Next, place the second layer on top and repeat the process. Once the top layer is frosted, apply a thin layer of frosting around the sides of the cake to create a crumb coat. This first layer seals in any loose crumbs and provides a smooth base for your final coat. Chill the cake in the refrigerator for about 20 minutes to set the crumb coat before applying a thicker layer of frosting.
When you apply the final layer of frosting, use an offset spatula to create a smooth, even surface. For a decorative touch, you can use a bench scraper to create a textured finish or pipe decorative borders on the edges.
Creative Decoration Ideas
To elevate your chocolate cake’s presentation, consider adding some creative touches. Chocolate shavings, fresh berries, or even a drizzle of caramel or chocolate ganache can add visual interest. Edible flowers or mint leaves can also provide a pop of color and freshness. If you’re feeling adventurous, you might incorporate candy bars or sprinkles that complement the chocolate theme.
Serving Suggestions and Pairings
Ideal Occasions for Serving Chocolate Cake
The classic chocolate cake is a versatile dessert, making it perfect for a variety of occasions. Birthdays, anniversaries, and holiday gatherings all call for a cake that is both delicious and visually appealing. Its rich flavor and moist texture can satisfy guests of all ages, making it a crowd-pleaser.
Moreover, chocolate cake can be a fantastic centerpiece for casual gatherings, such as family reunions or potluck dinners. Its universal appeal means that it can fit seamlessly into any event, whether it’s a formal celebration or a casual get-together.
Pairing with Beverages
When it comes to pairing beverages with chocolate cake, you have several delightful options. A classic choice is a glass of cold milk, which balances the richness of the chocolate. For adults, consider serving the cake with a robust cup of coffee or espresso, which can enhance the cake’s flavors.
If you prefer something non-caffeinated, you might opt for herbal tea or a sweet dessert wine, such as port or a rich red wine like Cabernet Sauvignon. These beverages can provide a delightful contrast to the sweetness of the cake, making each bite even more enjoyable.
Nutritional Information and Serving Size
When indulging in a classic chocolate cake, it can be helpful to be aware of the nutritional information. A typical serving of chocolate cake contains around 350-400 calories, depending on the frosting and serving size. It typically has around 20 grams of fat, 5 grams of protein, and 50-60 grams of carbohydrates, making it a decadent treat.
For those mindful of portion control, consider cutting smaller slices, especially if you are serving the cake at an event. Smaller portions allow everyone to enjoy a taste of the cake without overindulging, making it easier to savor the experience.
Conclusion: The Timeless Appeal of Classic Chocolate Cake
The classic chocolate cake remains a beloved dessert for bakers of all skill levels. Its rich, moist texture, coupled with the versatility of frosting and decoration options, makes it a timeless choice for any occasion. Whether you’re celebrating a special event or simply indulging in a sweet treat, this chocolate cake recipe is sure to impress.
Creating and sharing this chocolate cake with friends and family can be a joyous experience, allowing you to spread the delight that comes with each slice. Its ability to evoke nostalgia and happiness makes it a go-to recipe, ensuring that it will be cherished for generations to come. So gather your ingredients, follow the steps, and enjoy the blissful journey of baking and sharing this decadent delight.