Creamy Dill Ranch Chicken Pita Pockets: Complete Guide to Serving, Nutritional Benefits, and More
 Save
Save
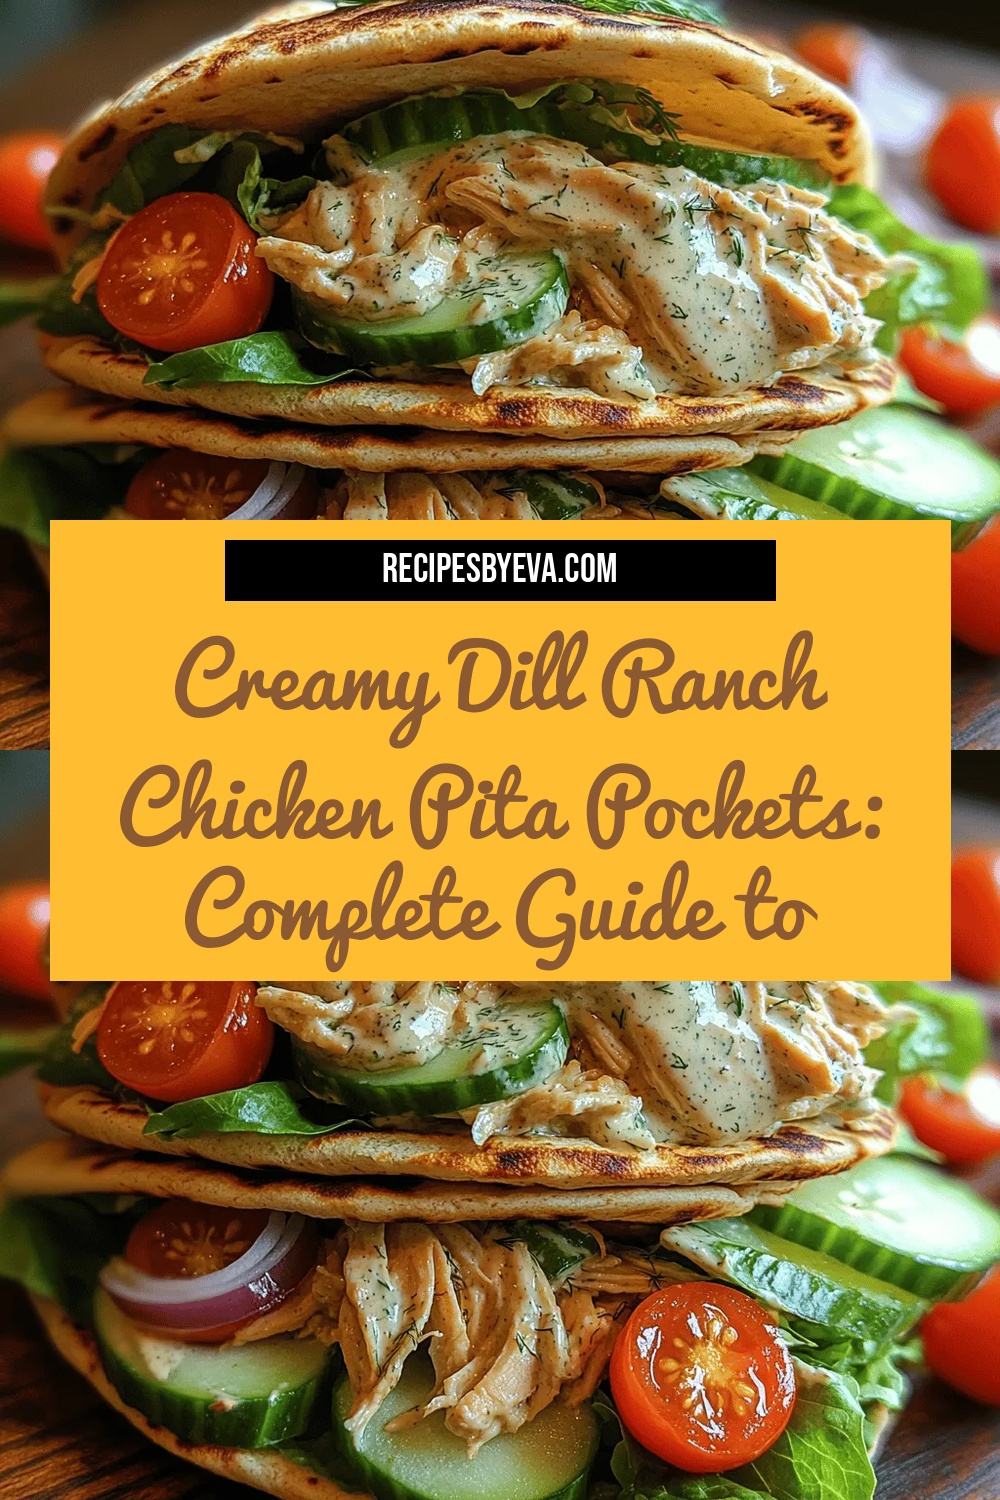
Imagine biting into a warm, fluffy pita that’s bursting with juicy chicken, crisp veggies, and a silky dill‑ranch sauce that coats every morsel. The Creamy Dill Ranch Chicken Pita Pocket delivers that comforting, handheld experience while still feeling fresh enough for a light lunch or dinner.
What makes this dish truly special is the marriage of classic ranch flavors—tangy buttermilk, fresh dill, and a hint of garlic—with a quick‑sear chicken technique that locks in moisture. The result is a pocket that’s both creamy and satisfying without being heavy.
This recipe is perfect for busy families, casual brunches, or game‑day snacks. Anyone who loves Mediterranean‑inspired street food will appreciate the bright herbs and the satisfying crunch of fresh vegetables tucked inside a soft pita.
From seasoning the chicken to whisking a quick dill‑ranch dressing, the process moves smoothly from stovetop to oven, finishing with a quick assembly that lets you serve a wholesome, flavorful pocket in under an hour.
Why You'll Love This Recipe
Bright Herb Profile: Fresh dill and chives give the sauce a garden‑fresh lift that cuts through the richness of the chicken and makes each bite feel light.
One‑Pan Simplicity: The chicken is seared, then finished in the oven, while the sauce comes together in the same pan—minimal cleanup, maximum flavor.
Hand‑Held Convenience: Pita pockets are easy to eat on the go, turning a wholesome dinner into a portable, mess‑free meal.
Balanced Nutrition: Lean protein, wholesome whole‑grain pita, and crisp veggies provide protein, fiber, and essential micronutrients in every serving.
Tips & Tricks
Perfecting the Recipe
Even Slices. Cutting the chicken horizontally creates thinner pieces that cook quickly and stay moist, preventing a dry center.
Rest Before Cutting. Let the cooked chicken rest 5 minutes; this redistributes juices and makes slicing easier.
Warm Pitas Gently. A quick toast keeps the pita soft enough to fold but gives a slight crust that holds fillings without tearing.
Control Sauce Thickness. If the sauce feels too thick, thin it with a tablespoon of milk or water; if too thin, add a bit more yogurt.
Flavor Enhancements
Add a splash of white wine vinegar to the sauce for extra tang, or stir in a teaspoon of capers for a briny pop. A pinch of smoked sea salt on the finished pocket intensifies the smoky notes from the paprika.
Common Mistakes to Avoid
Avoid over‑cooking the chicken; once it reaches 165°F, remove it promptly to keep it tender. Also, don’t overload the pita—too many fillings can cause the pocket to split and the sauce to leak.
Pro Tips
Use a Cast‑Iron Skillet. It retains heat better, giving a more uniform sear and deeper flavor.
Prep the Sauce Ahead. The dill‑ranch sauce improves after 15 minutes of chilling, allowing the herbs to meld.
Season in Layers. Lightly salt the chicken, then add a final pinch after searing for a flavor boost.
Finish with a Citrus Zest. A light grate of lemon zest over the assembled pocket brightens the entire bite.
Variations
Ingredient Swaps
Replace chicken with sliced turkey breast, pork tenderloin, or firm tofu for a vegetarian twist. Swap cherry tomatoes for roasted red peppers or cucumber ribbons for extra crunch. If you prefer a sweeter note, drizzle a teaspoon of honey into the sauce before serving.
Dietary Adjustments
For a gluten‑free version, use certified gluten‑free pita or serve the fillings over a bed of lettuce. To make it dairy‑free, substitute Greek yogurt with coconut‑based yogurt and use a vegan mayo. Keto diners can skip the pita altogether and wrap the fillings in large lettuce leaves.
Serving Suggestions
Pair the pockets with a side of herbed quinoa, a simple tzatziki dip, or a crisp fennel‑orange salad. For a heartier spread, add a bowl of spiced lentil soup or a platter of roasted Mediterranean vegetables.
Storage Info
Leftover Storage
Allow the chicken and sauce to cool completely, then transfer them to separate airtight containers. Store in the refrigerator for up to 3 days. If you anticipate a longer hold, freeze the cooked chicken strips and sauce in freezer‑safe bags for up to 2 months; label with the date for easy tracking.
Reheating Instructions
Reheat chicken in a 350°F (175°C) oven for 10‑12 minutes, covered with foil to retain moisture. Warm the sauce gently on the stovetop over low heat, stirring occasionally. For a quick fix, microwave chicken pieces for 1‑2 minutes, then stir in a spoonful of sauce to revive creaminess before stuffing fresh pita.
Frequently Asked Questions
Can I make this recipe ahead of time?
Can I use frozen chicken breasts for this dish?
What sides pair best with the creamy dill ranch chicken pita pockets?
How can I make this recipe lower‑carb?
This guide walks you through every step of creating Creamy Dill Ranch Chicken Pita Pockets, from selecting fresh ingredients to mastering the sear and sauce. With clear instructions, storage tips, and plenty of variations, you can adapt the dish to any diet or occasion. Feel free to experiment with herbs, proteins, or side dishes—cooking is your canvas. Enjoy the burst of flavor, the satisfying crunch, and the comforting creaminess in each bite!
Creamy Dill Ranch Chicken Pita Pockets: Complete Guide to Serving, Nutritional Benefits, and More
Delicious Creamy Dill Ranch Chicken Pita Pockets: Complete Guide to Serving, Nutritional Benefits, and More
Ingredients
Main Ingredients
- 4 boneless, skinless chicken breasts (about 1½ lbs)
- 4 whole‑grain pita pockets
- 1 cup cherry tomatoes, halved
- ½ cup thinly sliced red onion
Dill Ranch Sauce
- ½ cup Greek yogurt (full‑fat)
- ¼ cup mayonnaise
- 2 tablespoons fresh dill, finely chopped
- 1 tablespoon fresh chives, minced
- 1 tablespoon lemon juice
- ½ teaspoon garlic powder
Seasonings & Garnish
- 2 teaspoons smoked paprika
- 1 teaspoon ground cumin
- Salt and freshly cracked black pepper, to taste
- Extra fresh dill for garnish
Instructions
Cooking the Chicken
- Heat the Skillet. Place a large skillet over medium‑high heat and add 2 tablespoons olive oil. When the oil shimmers (about 2 minutes), it’s hot enough for a good sear.
- Sear the Cutlets. Lay the chicken in a single layer, being careful not to crowd the pan. Cook 4‑5 minutes per side, or until each side develops a deep golden crust. Avoid moving the pieces; this creates a flavorful Maillard layer.
- Finish in the Oven. Pre‑heat your oven to 375°F (190°C). Transfer the skillet to the oven (or move the chicken to a baking sheet) and bake for 12‑15 minutes, or until the internal temperature reaches 165°F (74°C). This gentle finish keeps the meat juicy.
Similar Recipes
 Dinner
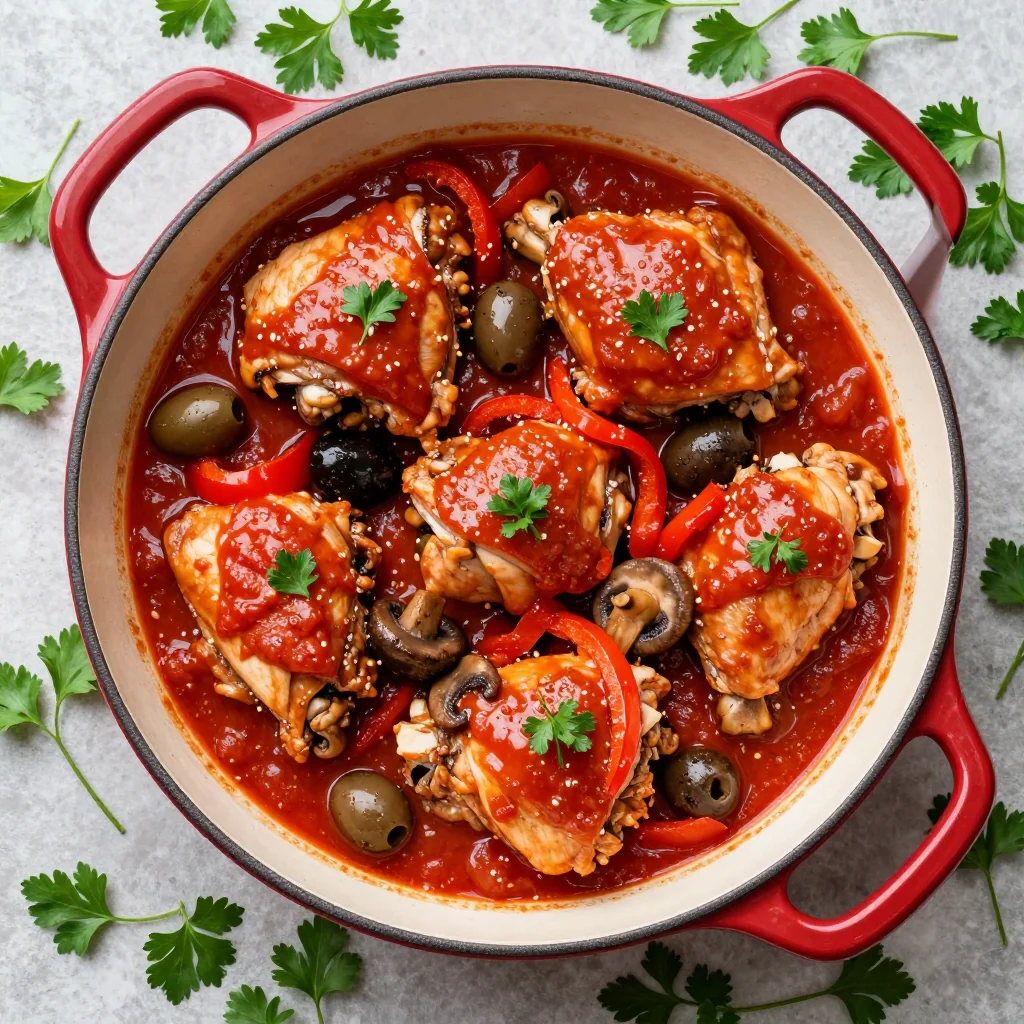
Slow Cooker Chicken Cacciatore For MLK Dinner
Learn how to make delicious Slow Cooker Chicken Cacciatore For MLK Dinner. Easy recipe with step-by-step…
 Dinner
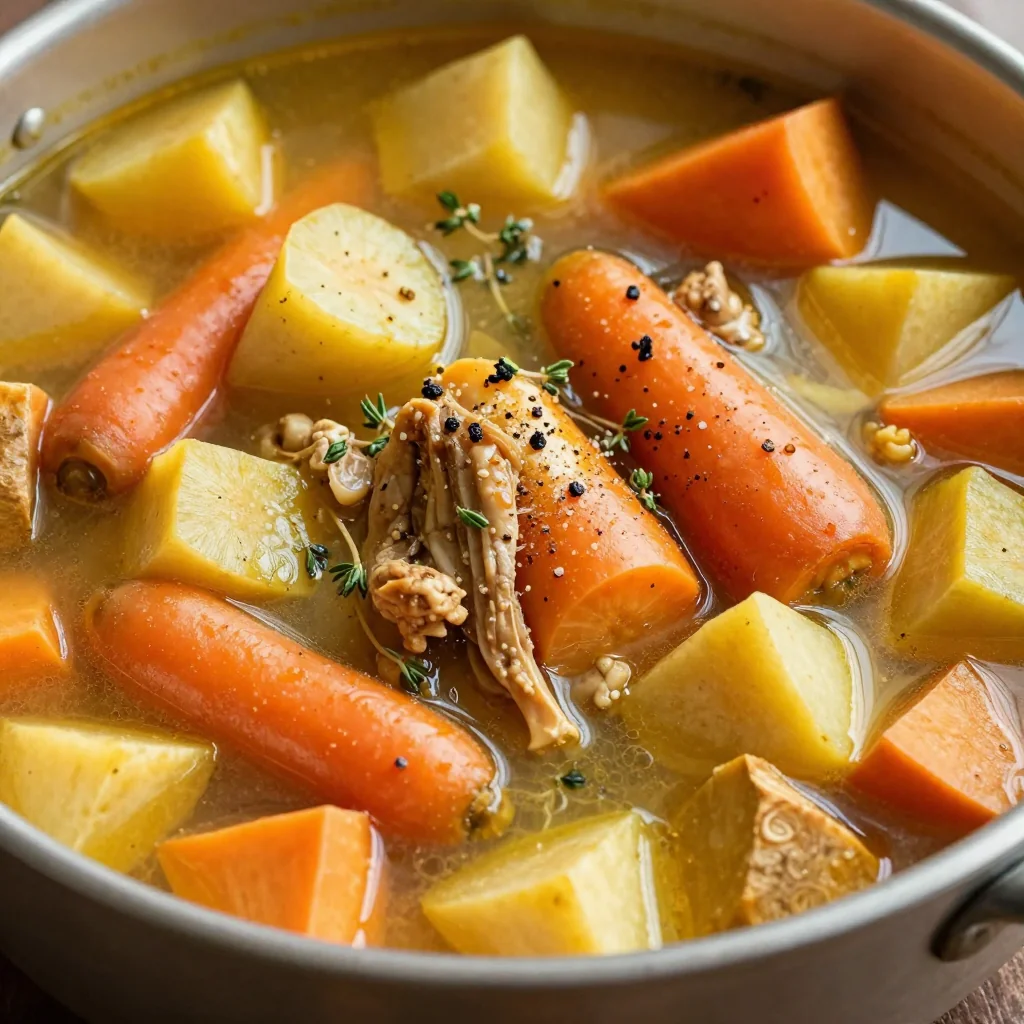
healthy slow cooker chicken and root vegetable stew for cold evenings
Warm up with this healthy slow cooker chicken and root veggie stew—dump, set, and forget! Cozy,…
 Dinner
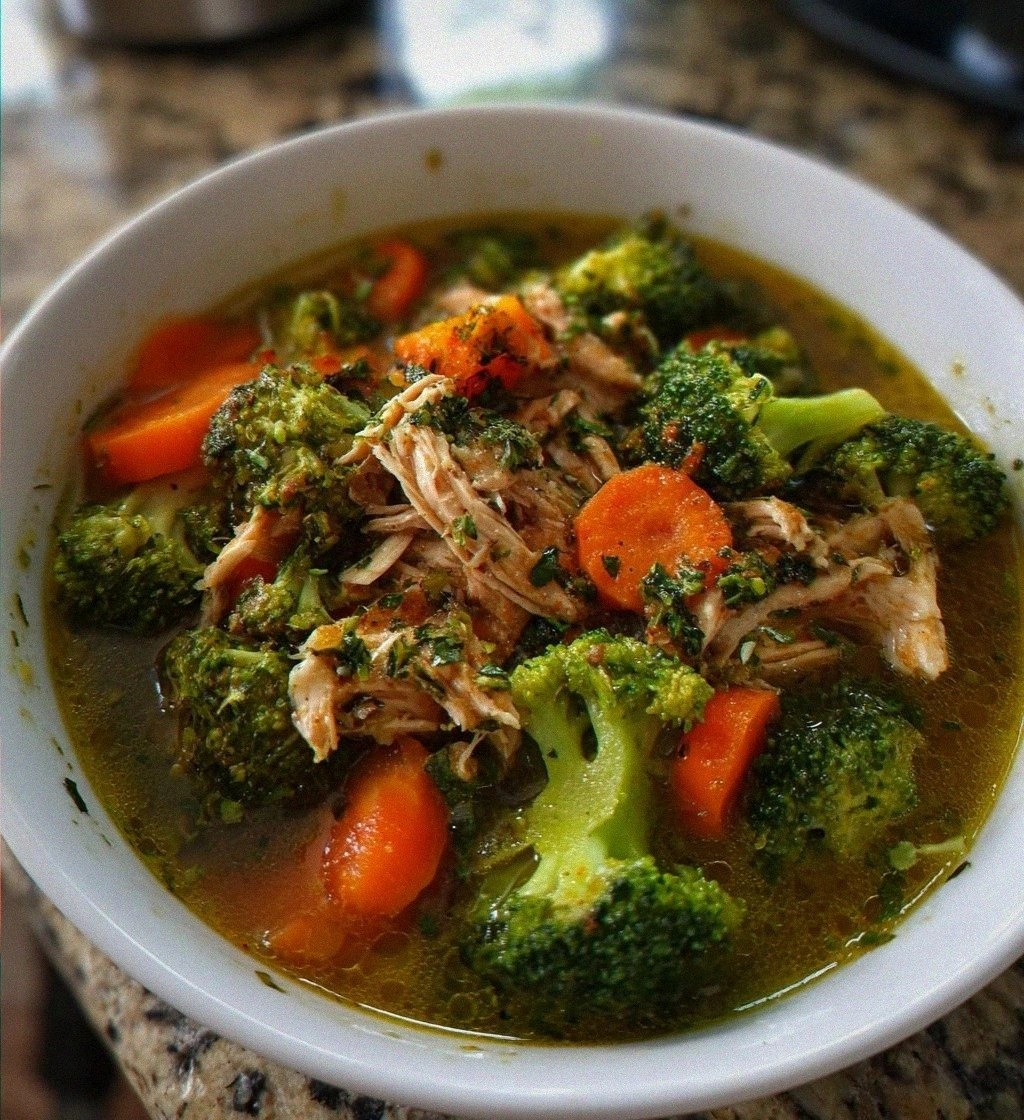
easy dinner recipes crockpot healthy in 6 simple steps
Learn how to make delicious easy dinner recipes crockpot healthy in 6 simple steps. Easy recipe…
 Dinner
Creamy Zucchini & Tomato Pasta
Delicious Creamy Zucchini & Tomato Pasta
 Dinner
Zesty Stuffed Zucchini Bell Peppers: A Flavorful Dish
Delicious Zesty Stuffed Zucchini Bell Peppers: A Flavorful Dish
 Dinner
Creamy Sun-Dried Tomato Orzo Recipe
Delicious Creamy Sun-Dried Tomato Orzo Recipe
 Dinner
Spicy Thai Coconut Curry Soup Recipe: A Flavorful Journey
Delicious Spicy Thai Coconut Curry Soup Recipe: A Flavorful Journey
 Dinner
Zesty Cilantro Lime Shrimp Tacos with Creamy Slaw
Delicious Zesty Cilantro Lime Shrimp Tacos with Creamy Slaw

Eva
I cook these recipes at home before they ever land here — simple ingredients, clear steps.