Christmas Ornament Cookies: 7 Tips for Baking Magic
 Save
Save
The first time I tried making Christmas ornament cookies, I was perched on a stool in my grandma’s bustling kitchen, the scent of pine needles and fresh-baked sugar swirling together like a holiday hug. The moment I lifted the lid off the mixing bowl, a cloud of fragrant steam rose, carrying whispers of vanilla and almond that made my eyes water with anticipation. I remember the clatter of the rolling pin against the wooden countertop, the rhythmic thump of the cookie cutter as it punched out perfect little circles that looked like tiny baubles waiting to be hung on the tree. There’s something undeniably magical about turning simple dough into edible ornaments that sparkle on a festive platter, and I’ve been chasing that sparkle ever since.
What makes these cookies truly special isn’t just their shape or the glossy icing that turns them into miniature works of art; it’s the way each bite delivers a buttery melt-in-your-mouth texture that’s balanced by a sweet, aromatic glaze. The combination of vanilla and almond extracts creates a depth of flavor that feels both nostalgic and fresh, like opening a treasured box of ornaments you haven’t seen in years. And the best part? You don’t need a professional pastry chef’s toolkit—just a few pantry staples, a little patience, and a sprinkle of holiday spirit. Have you ever wondered why the cookies you buy at the store sometimes taste flat? The secret lies in the tiny details that we’ll uncover together.
But wait—there’s a hidden trick that takes these cookies from delightful to unforgettable, and it’s something most home bakers overlook. I’ll reveal it in the middle of this guide, and trust me, it will change the way you think about holiday baking forever. Imagine the moment when you hand a perfectly iced ornament to a loved one, and their face lights up like the Christmas lights twinkling on the tree. That’s the power of a well‑executed cookie, and I’m thrilled to share every tip, technique, and tiny secret that will help you achieve that exact reaction.
Here’s exactly how to make it — and trust me, your family will be asking for seconds, thirds, and maybe even a whole new batch for the next holiday season. Ready to dive in? Let’s start with why this recipe works so beautifully.
🌟 Why This Recipe Works
- Flavor Depth: The duo of vanilla and almond extracts creates a layered taste profile that feels both familiar and exciting, giving each bite a lingering sweetness that doesn’t overpower.
- Texture Balance: Using a combination of baking soda and baking powder ensures the cookies rise just enough to stay tender while maintaining a crisp edge that holds the icing without cracking.
- Ease of Preparation: All ingredients are pantry‑friendly, and the steps are straightforward enough for beginners yet still rewarding for seasoned bakers.
- Time Efficiency: With a total time under an hour, you can fit this recipe into a busy holiday schedule without sacrificing quality.
- Versatility: The base dough can be flavored or colored in countless ways, allowing you to customize the ornaments for any theme—from classic red and green to icy winter blues.
- Ingredient Quality: Unsalted butter lets you control the salt level, while sifted confectioners’ sugar guarantees a smooth, glossy icing that adheres perfectly.
- Crowd‑Pleasing Factor: Their festive shape and vibrant icing make them a centerpiece at holiday gatherings, appealing to both kids and adults alike.
🥗 Ingredients Breakdown
The Foundation
The backbone of any great cookie is the flour, and here we use 2 ¾ cups of all‑purpose flour. This amount provides the structure needed for the dough to hold its shape while still remaining tender. Spoon the flour into your measuring cup and level it off; packing it will make the cookies dense, and that’s not the holiday magic we’re after. If you’re looking for a gluten‑free alternative, a 1‑to‑1 blend of rice flour and potato starch works surprisingly well, though the texture will be a tad more crumbly.
Leavening & Lightness
A teaspoon of baking soda and a half‑teaspoon of baking powder team up to give these cookies just the right lift. The soda reacts with the sugar and butter, creating tiny air pockets that keep the interior soft, while the powder adds an extra puff that prevents the edges from becoming too hard. Skipping either will result in a flat, dense cookie—something I learned the hard way when I first tried a “quick” version of this recipe.
Aromatics & Sweetness
One cup of softened unsalted butter is the buttery heart of the dough, and when creamed with 1 ½ cups of packed white sugar, it creates a fluffy base that captures air. The large egg acts as a binder, ensuring the dough stays together during rolling and cutting. A teaspoon each of vanilla and almond extracts adds a fragrant duo that’s the secret behind the cookie’s lingering holiday scent. If you’re allergic to nuts, a dash of peppermint extract can replace the almond for a festive twist.
Finishing Touches (Icing)
The icing is a simple glaze made from 3 ½ cups of sifted confectioners’ sugar, three tablespoons of milk, and a half‑teaspoon of vanilla extract. Sifting the sugar prevents lumps, giving the glaze a smooth, glassy finish that adheres like a second skin. Adjust the milk amount to achieve a pourable consistency—too thick and it won’t coat, too thin and it will run off the ornaments. For a deeper color, add a few drops of food‑grade gel coloring; the glaze will hold the hue beautifully without turning grainy.
With your ingredients prepped and ready, let's get cooking. Here’s where the fun really begins, and I’ll walk you through each step with a few insider secrets that will make your cookies shine brighter than any tinsel.
🍳 Step-by-Step Instructions
🔐 Expert Tips for Perfect Results
The Taste Test Trick
Before you bake the entire batch, pull out one cookie, bake it, and taste it while the icing is still wet. This mini‑test lets you gauge sweetness and adjust the glaze if it’s too thick or too sweet. I once discovered my sugar was a touch too granular, so I added a splash of milk to the glaze and saved the whole batch.
Why Resting Time Matters More Than You Think
Chilling the dough isn’t just about preventing stickiness; it also allows the flour to fully hydrate, resulting in a more tender crumb. The butter solidifies, which means the cookies keep their shape when they hit the heat. I’ve found that a full hour in the fridge gives the most consistent results, especially on humid days.
The Seasoning Secret Pros Won’t Tell You
A pinch of sea salt sprinkled on the glaze just before it sets can elevate the flavor, balancing the sweetness and enhancing the buttery notes. It’s a tiny detail that makes professional bakers’ cookies sing, and it’s easy to overlook if you’re not looking for it.
The Icing Consistency Hack
If you’re aiming for a glossy, hard‑set glaze, use cold milk and whisk the icing vigorously to incorporate air. The air bubbles help the glaze dry faster and create a subtle sparkle that catches the light—perfect for a holiday display.
Storing for Maximum Freshness
Once the icing has fully set, store the ornaments in an airtight container with a layer of parchment between each layer. This prevents them from sticking together and keeps the glaze pristine. I’ve kept my ornaments for up to two weeks and they still taste as fresh as day one.
🌈 Delicious Variations to Try
One of my favorite things about this recipe is how versatile it is. Here are some twists I've tried and loved:
Candy Cane Crunch
Add crushed peppermint candy to the glaze and sprinkle extra pieces on top before it sets. The minty bite pairs beautifully with the buttery base, creating a festive flavor that screams Christmas.
Spiced Chai Ornament
Incorporate a teaspoon of chai spice blend into the dough and swap the almond extract for a dash of cardamom essence. The resulting cookies have a warm, exotic aroma that adds depth to the holiday palette.
Cocoa‑Dusted Delight
Replace a quarter of the flour with cocoa powder and dust the finished cookies with powdered sugar mixed with a hint of cocoa. This gives a rich chocolate undertone while keeping the iconic ornament shape.
Nutty Nougat
Fold finely chopped toasted almonds or hazelnuts into the dough for a delightful crunch. The nuts complement the almond extract, amplifying the nutty notes without overwhelming the delicate texture.
Winter Berry Glaze
Mix a tablespoon of raspberry or cranberry puree into the icing and add a few drops of red food coloring. The tartness cuts through the sweetness, offering a beautiful ruby hue that looks like tiny ornaments straight from a winter wonderland.
📦 Storage & Reheating Tips
Refrigerator Storage
Place the cooled, iced ornaments in an airtight container lined with parchment paper. They’ll stay fresh for up to 7 days, and the fridge helps the glaze stay firm, preventing any smudging.
Freezing Instructions
If you want to make a big batch ahead of the holidays, freeze the baked (but unglazed) cookies on a tray, then transfer them to a freezer‑safe bag. When you’re ready to serve, let them thaw at room temperature for 30 minutes before glazing.
Reheating Methods
To revive a day‑old cookie, pop it in a preheated 300°F oven for 5 minutes. Add a splash of milk to the glaze if it looks a bit dull—this quick steam helps the icing regain its shine without drying out the cookie.
❓ Frequently Asked Questions
Can I use margarine instead of butter?
How do I make the cookies gluten‑free?
Can I add food coloring to the dough instead of the glaze?
Why are my cookies spreading too much?
Can I replace the almond extract with another flavor?
How long does the glaze take to set?
Can I freeze the glazed ornaments?
What’s the best way to transport these cookies?
Recipe Card
Transfer the cookies to the prepared baking sheets, spacing them about an inch apart. Bake for 10–12 minutes, or until the edges are just barely golden and the tops are set. The scent of butter and vanilla will fill the kitchen, and you’ll know they’re ready when the edges start to turn a light amber.
Allow the cookies to cool on the sheets for 5 minutes before moving them to a wire rack. While they’re still warm, prepare the icing by whisking together confectioners’ sugar, milk, and vanilla extract until smooth. If the glaze is too thick, add a few drops of milk; if it’s too runny, sift in a bit more powdered sugar.
Using a pastry brush or a small spoon, drizzle or dip each cookie in the glaze, letting excess drip off before placing them back on the rack. Once the icing sets (about 15 minutes), you can add sprinkles, edible glitter, or a drizzle of melted chocolate for extra flair. The result? Tiny, glossy ornaments that look ready to hang on a tree, but taste even better.
Notes
- Preheat oven to 350°F (175°C) and line two baking sheets with parchment paper.
- Cream butter and white sugar together until pale and fluffy.
- Add egg, vanilla extract, and almond extract; beat until well combined.
- Whisk flour, baking soda, and baking powder; gradually add to wet ingredients.
- Wrap dough in plastic and chill for at least 30 minutes.
- Roll dough to ¼‑inch thickness and cut into ornament shapes.
- Bake cookies 10‑12 minutes until edges turn light amber.
- Cool on wire rack; whisk confectioners’ sugar, milk, and vanilla for glaze.
- Dip or drizzle cookies in glaze, let set, then decorate as desired.
Similar Recipes
 Desserts
Silky Matcha White Chocolate Fudge: A Luxurious Treat for All Occasions
Delicious Silky Matcha White Chocolate Fudge: A Luxurious Treat for All Occasions
 Desserts
Sweet Potato Honeybun Cake: A Cozy Cinnamon Delight
Learn how to make delicious Sweet Potato Honeybun Cake: A Cozy Cinnamon Delight. Easy recipe with…
 Desserts
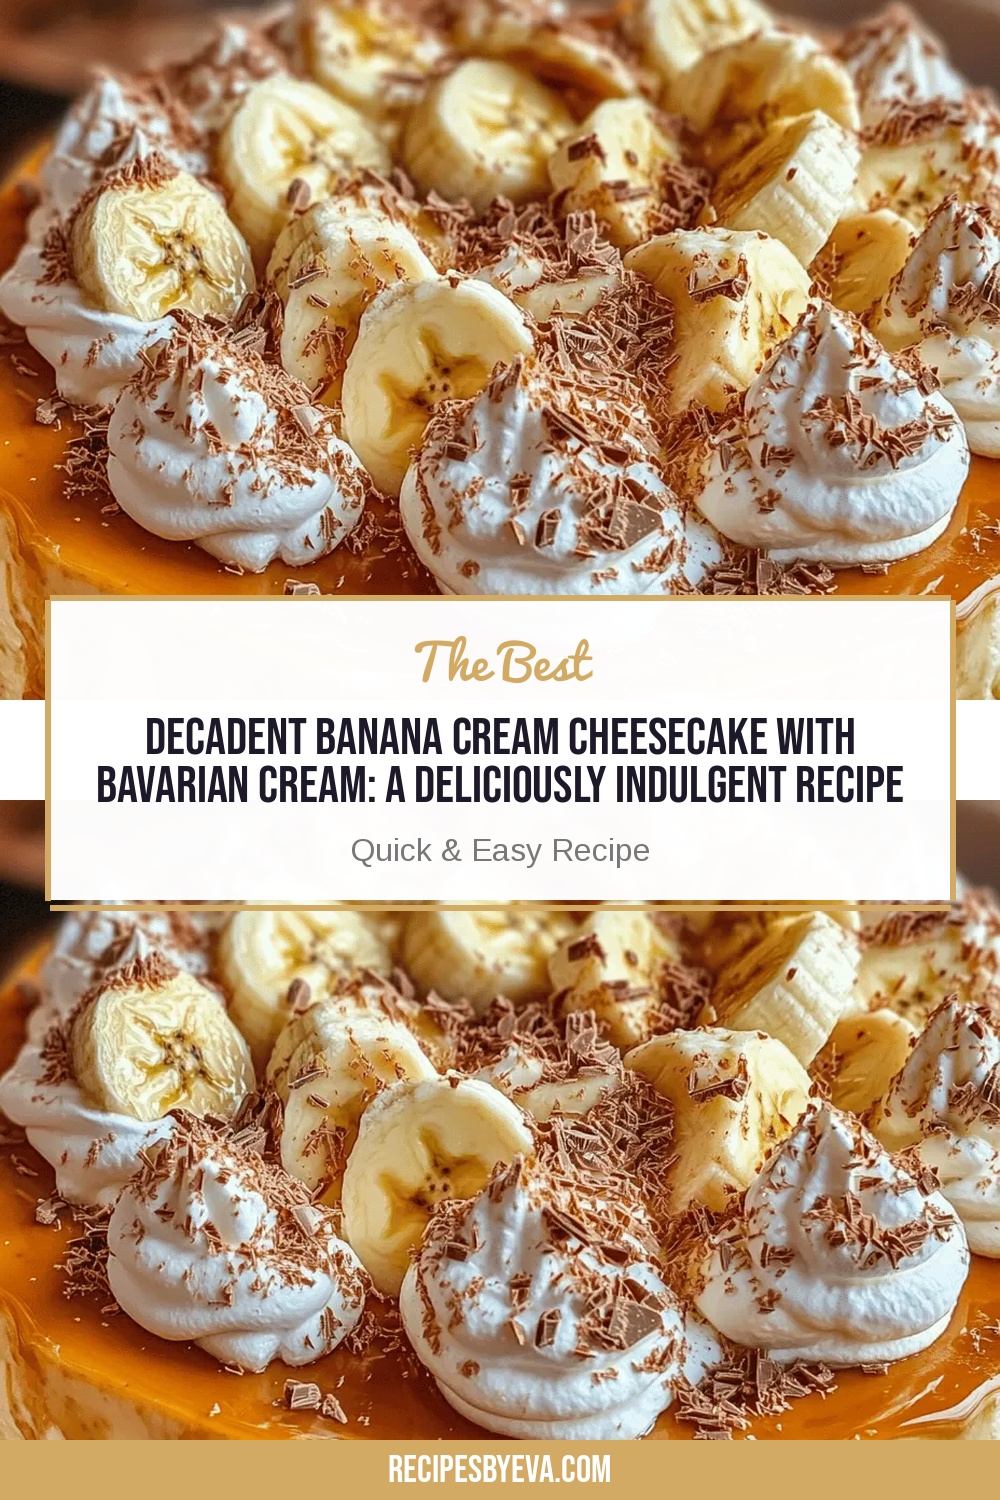
Decadent Banana Cream Cheesecake with Bavarian Cream: A Deliciously Indulgent Recipe
Delicious Decadent Banana Cream Cheesecake with Bavarian Cream: A Deliciously Indulgent Recipe
 Desserts
Decadent Chocolate Raspberry Dream Pie: An Indulgent Treat
Delicious Decadent Chocolate Raspberry Dream Pie: An Indulgent Treat
 Desserts
Reese’s Peanut Butter Cheesecake Cookies Recipe
Learn how to make delicious Reese’s Peanut Butter Cheesecake Cookies Recipe. Easy recipe with step-by-step instructions.
 Desserts
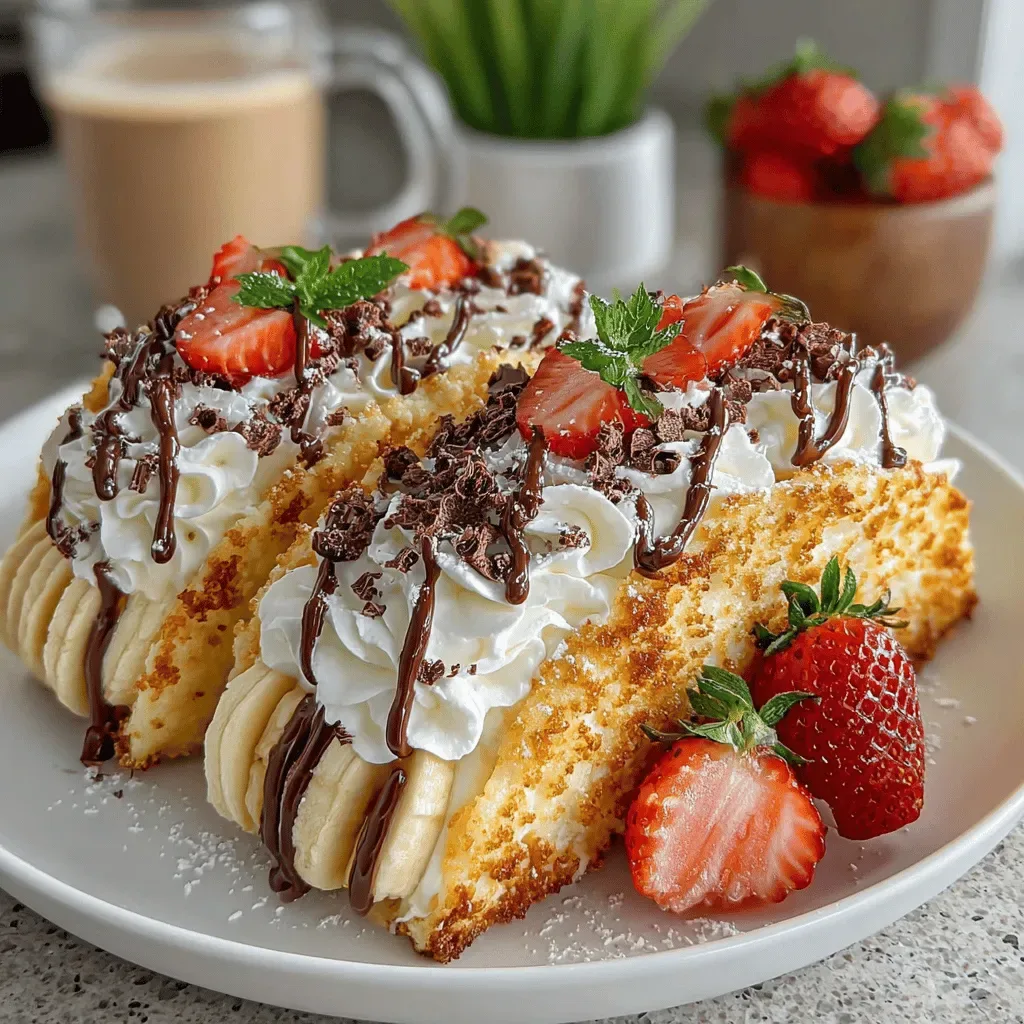
Crispy Neapolitan Cake Tacos: A Delightful Dessert Adventure
Delicious Crispy Neapolitan Cake Tacos: A Delightful Dessert Adventure
 Desserts
Delightful Baby Lemon Impossible Pies: A Zesty Treat for Every Occasion
Delicious Delightful Baby Lemon Impossible Pies: A Zesty Treat for Every Occasion
 Desserts
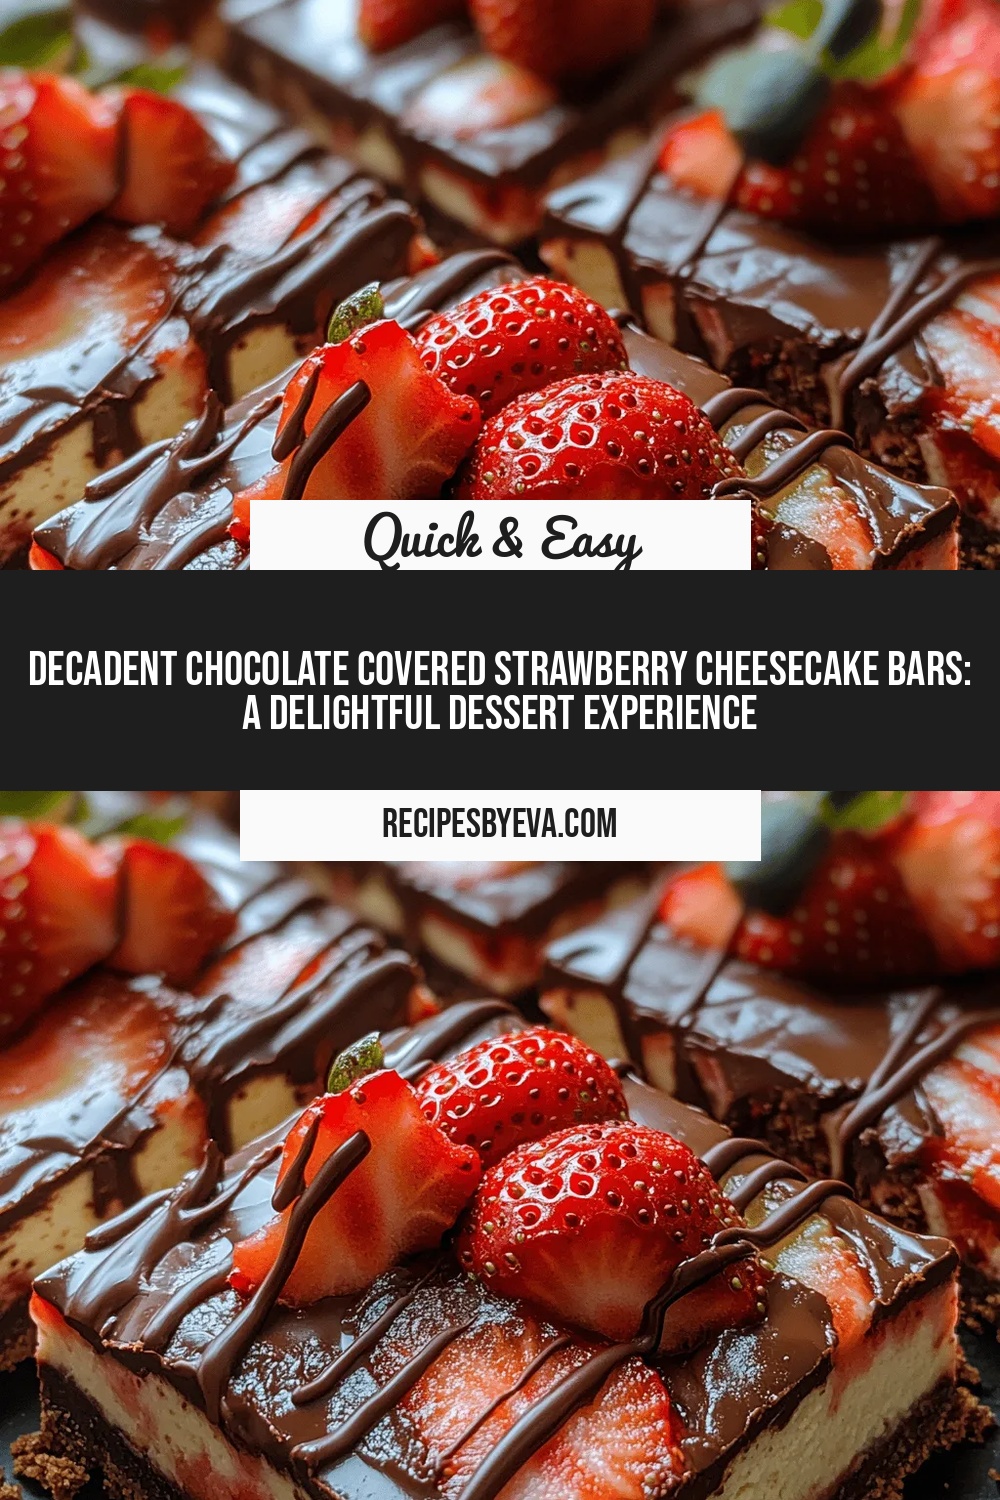
Decadent Chocolate Covered Strawberry Cheesecake Bars: A Delightful Dessert Experience
Delicious Decadent Chocolate Covered Strawberry Cheesecake Bars: A Delightful Dessert Experience

Eva
I cook these recipes at home before they ever land here — simple ingredients, clear steps.