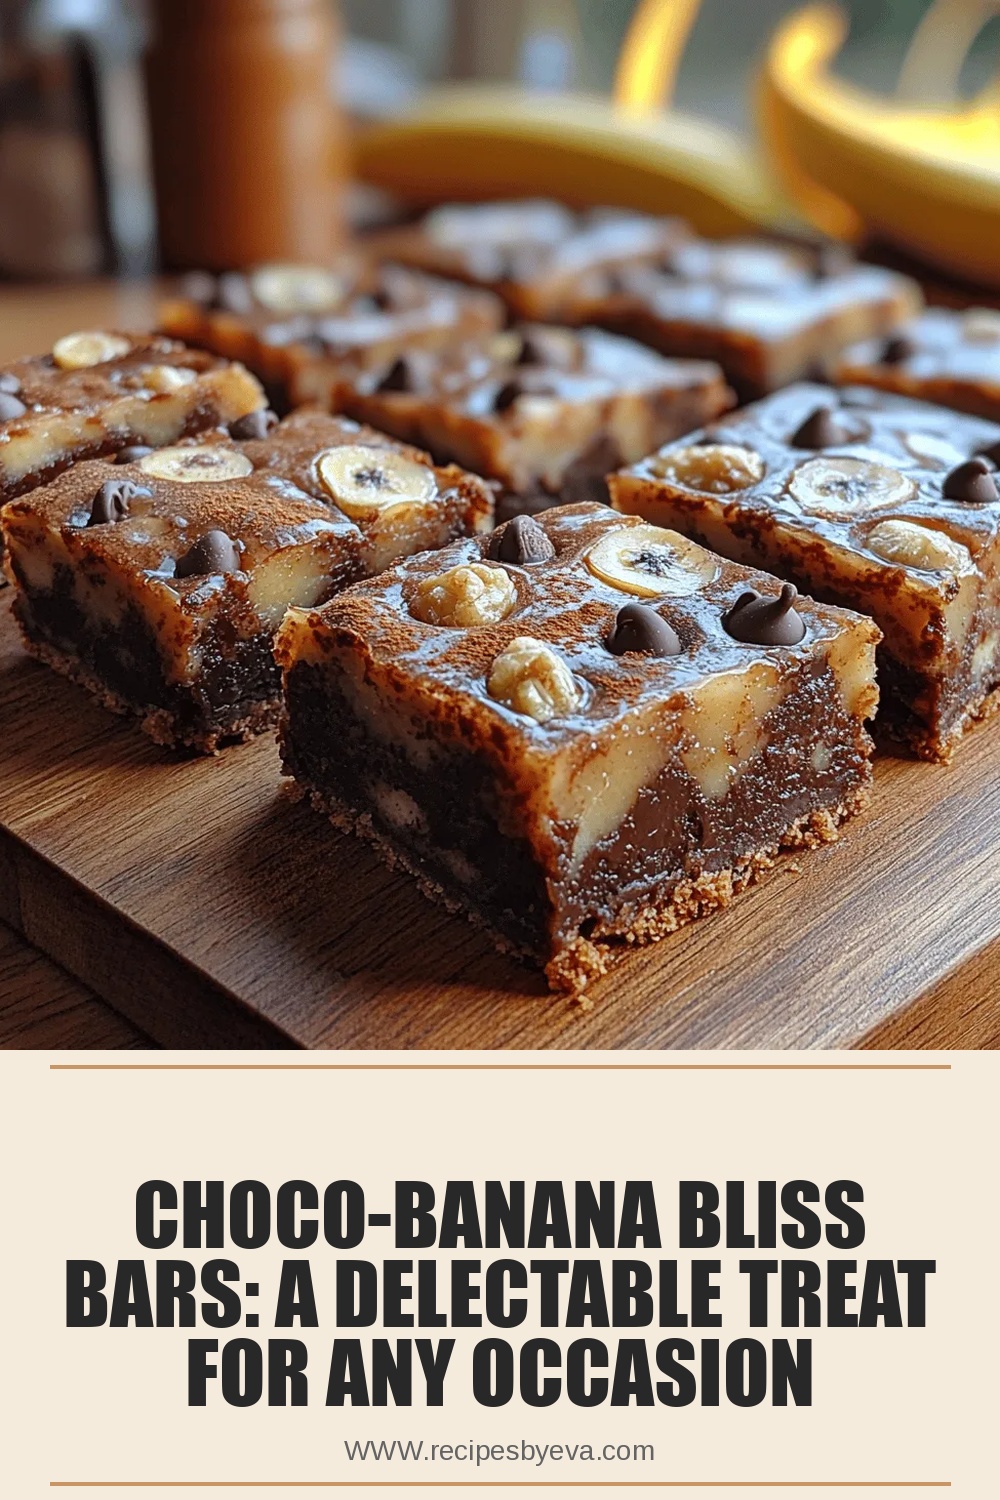
Choco-Banana Bliss Bars: A Delectable Treat for Any Occasion
 Save
Save
Imagine sinking your teeth into a soft, chocolate‑kissed bar that bursts with sweet banana goodness—no occasion required. Choco‑Banana Bliss Bars deliver that moment of pure indulgence, whether you’re celebrating a birthday, hosting a brunch, or simply craving a pick‑me‑up snack.
What makes these bars truly special is the harmony between rich dark chocolate, ripe bananas, and a buttery oat‑based crust. The combination creates a moist, chewy texture that feels luxurious yet approachable for bakers of any skill level.
This treat will win over chocolate lovers, fruit enthusiasts, and even the picky eaters in your family. Serve them warm with a drizzle of caramel for a cozy evening or chilled as a refreshing dessert on a sunny patio.
The preparation is straightforward: blend the crust, press it into a pan, swirl a silky banana‑chocolate filling, and bake until set. A quick cooling period lets the flavors meld, resulting in bars that are ready to slice and share.
Why You'll Love This Recipe
Decadent Yet Light: The oat crust provides a tender bite without the heaviness of traditional butter crusts, while the banana keeps the texture moist and airy.
One‑Pan Simplicity: All components bake together in a single pan, minimizing cleanup and making the recipe perfect for busy weeknights or weekend gatherings.
Customizable Sweetness: Adjust the cocoa intensity or swap honey for maple syrup to suit your personal sweetness preference without compromising flavor.
Kid‑Friendly Fun: The bright banana ribbons and chocolate swirl make these bars visually appealing, encouraging even the youngest diners to enjoy a wholesome dessert.
Tips & Tricks
Perfecting the Recipe
Use Very Ripe Bananas. Over‑ripe bananas provide maximum sweetness and moisture, eliminating the need for extra sugar.
Press the Crust Firmly. A tightly packed base prevents cracking when you slice the bars later.
Cool on a Wire Rack. This allows air to circulate, preventing a soggy bottom.
Flavor Enhancements
Add a teaspoon of espresso powder to the filling for a subtle coffee note that deepens chocolate flavor. A splash of orange zest brightens the overall profile, while a pinch of cayenne pepper introduces a gentle warmth without overwhelming the sweet base.
Common Mistakes to Avoid
Avoid over‑mixing the crust; excess mixing can make it crumbly. Also, don’t over‑bake the filling—once the edges set, the center will continue to firm as it cools. Over‑baking leads to a dry, rubbery texture.
Pro Tips
Warm Your Knife. Run a hot, damp cloth over the blade before each cut to achieve clean, smooth edges.
Store in a Single Layer. When refrigerating, place the bars on parchment paper in a shallow container to keep them flat and prevent sticking.
Use Dark Chocolate >70%. Higher cocoa content gives a richer, less sweet flavor that balances the banana’s natural sugars.
Variations
Ingredient Swaps
Replace almond flour with hazelnut meal for a nuttier crust, or swap coconut oil for melted butter for a richer flavor. For a dairy‑free version, keep the coconut oil and use dark chocolate that’s free of milk solids. Adding a handful of dried cherries introduces a tart contrast to the sweet chocolate.
Dietary Adjustments
To make the bars gluten‑free, ensure the oats are certified gluten‑free and keep almond flour as is. For a vegan version, replace honey with maple syrup or agave and use dairy‑free chocolate chips. Keto enthusiasts can substitute the oats with almond meal and use a sugar‑free sweetener like erythritol.
Serving Suggestions
Serve the bars warm with a dollop of coconut‑whipped cream, or chill them and dust with powdered sugar for an elegant presentation. Pair with a scoop of vanilla bean ice cream for a classic sundae, or drizzle with caramel sauce for an extra layer of indulgence.
Storage Info
Leftover Storage
Allow the bars to cool completely, then transfer them to an airtight container. Store in the refrigerator for up to 5 days. For longer preservation, wrap each bar in parchment paper, place in a freezer‑safe bag, and freeze for up to 3 months. This method keeps texture and flavor intact.
Reheating Instructions
To enjoy a warm bar, preheat the oven to 300°F (150°C), place the bar on a parchment‑lined tray, and heat for 8‑10 minutes. The gentle heat revives the chocolate’s gloss without drying the banana base. A quick microwave burst (10‑15 seconds) works for a single serving but may soften the crust slightly.
Frequently Asked Questions
Can I make these bars ahead of time?
What if I don’t have rolled oats?
How do I keep the bars from becoming soggy?
Choco‑Banana Bliss Bars bring together the comforting flavors of chocolate and banana in a portable, crowd‑pleasing format. With a simple oat crust, a silky banana‑chocolate filling, and optional crunchy toppings, they’re easy to make yet feel indulgent. Feel free to experiment with nuts, spices, or dairy‑free swaps to make the recipe truly yours. Enjoy every bite of this versatile dessert, whether served warm, chilled, or as a sweet snack on the go!
Choco-Banana Bliss Bars: A Delectable Treat for Any Occasion
Delicious Choco-Banana Bliss Bars: A Delectable Treat for Any Occasion
Ingredients
Crust
- 1 ½ cups rolled oats
- ½ cup almond flour
- ¼ cup coconut oil, melted
- 2 tablespoons maple syrup
- ¼ teaspoon sea salt
Banana‑Chocolate Filling
- 3 ripe bananas, mashed
- ½ cup dark chocolate chips
- ¼ cup unsweetened cocoa powder
- ¼ cup honey or agave nectar
- 1 teaspoon vanilla extract
Finishing Touch
- 2 tablespoons chopped toasted almonds (optional)
- Pinch of sea salt for garnish
Instructions
Preparing the Crust
- Press the Base. Evenly spread the crust mixture into the bottom of a greased 9×13‑inch baking pan. Use the back of a spoon or a flat glass to compress it firmly; this creates a stable foundation that won’t crumble.
- Pre‑bake Lightly. Bake at 350°F (175°C) for 8‑10 minutes, just until the edges turn a light golden hue. This step prevents a soggy bottom once the wet filling is added.
Making the Banana‑Chocolate Filling
- Incorporate Chocolate. Remove the pan from heat and fold in the dark chocolate chips. The residual warmth will melt the chips, creating a silky, glossy sauce that binds the bananas.
- Adjust Consistency. If the filling feels too thick, add a tablespoon of almond milk; if too runny, stir in a little extra cocoa powder. The goal is a pourable yet thick batter.
Assembling & Baking
- Bake to Set. Return the pan to the oven and bake at 350°F (175°C) for 20‑25 minutes. The bars are done when the edges are set and the center no longer jiggles when the pan is gently shaken.
- Cool Completely. Allow the pan to rest on a wire rack for at least 30 minutes. Cooling lets the filling firm up, making clean slicing possible.
Similar Recipes
 Desserts
Sweet Caramel Apple Crumble Bars
Delicious Sweet Caramel Apple Crumble Bars
 Desserts
Frosty Mocha Almond Bliss Bars
Delicious Frosty Mocha Almond Bliss Bars
 Desserts
Blueberry Bliss Muffins: A Delightful Treat for Any Time of Day
Delicious Blueberry Bliss Muffins: A Delightful Treat for Any Time of Day
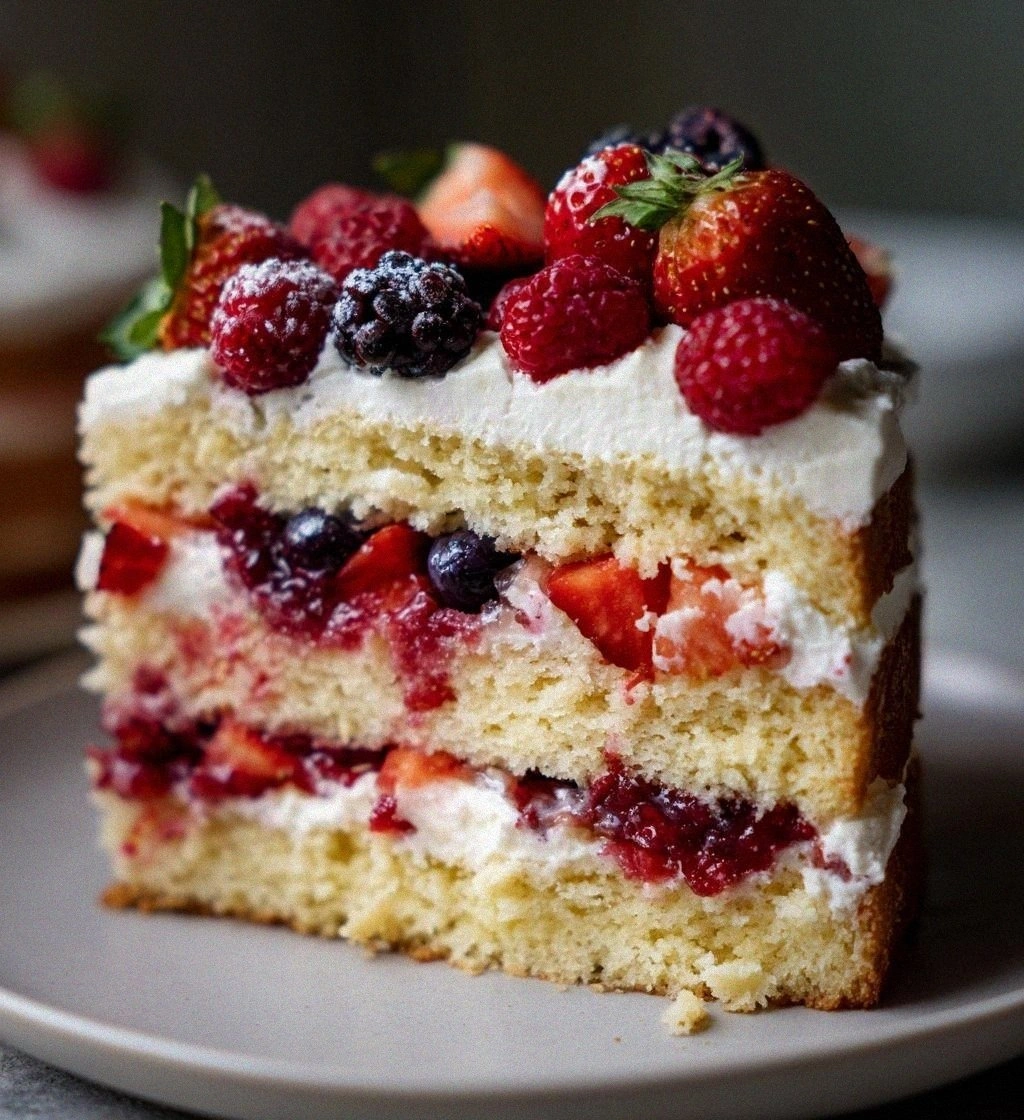 Desserts
spring baking: 5 Ways to Create Delicious Seasonal Joy
Learn how to make delicious spring baking: 5 Ways to Create Delicious Seasonal Joy. Easy recipe…
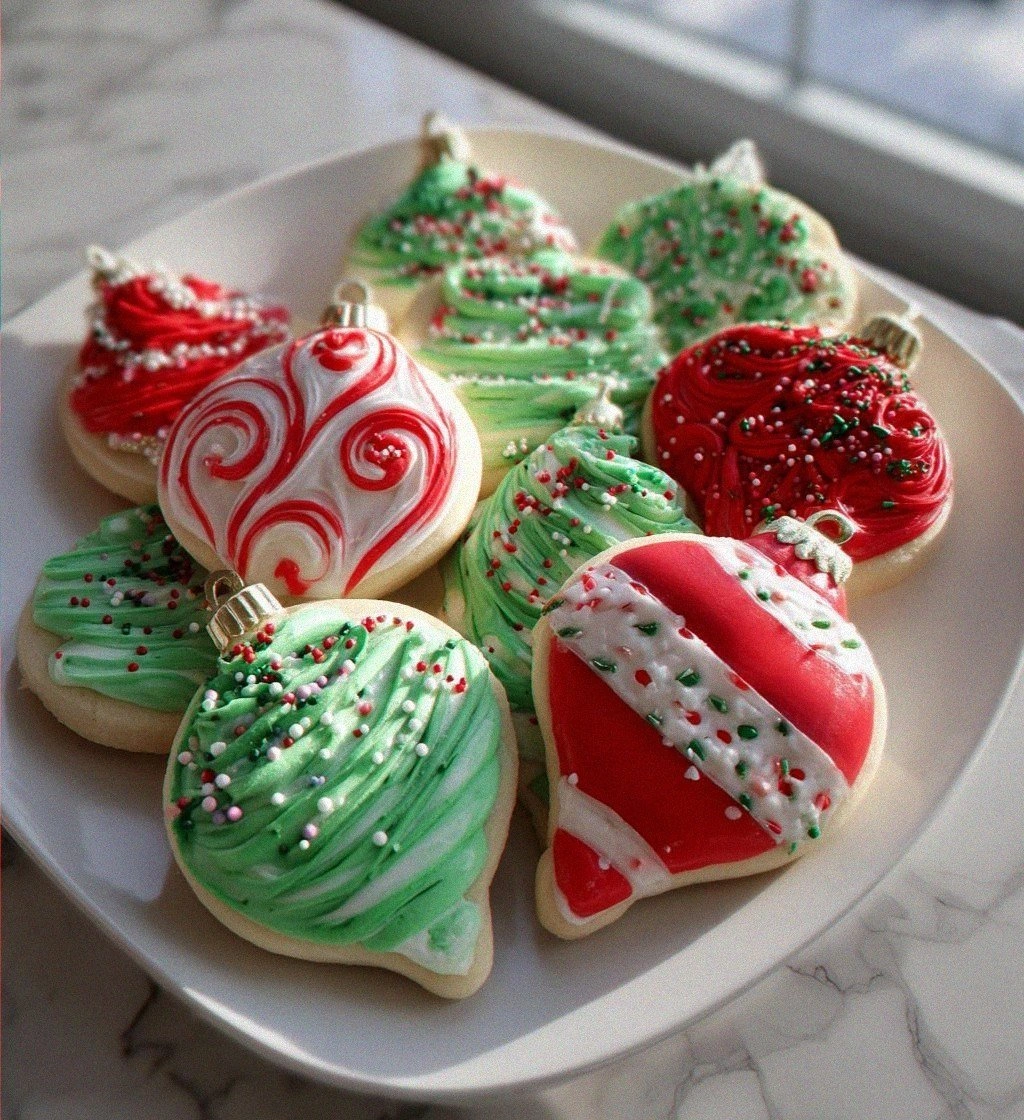 Desserts
Christmas Ornament Cookies: 7 Tips for Baking Magic
Learn how to make delicious Christmas Ornament Cookies: 7 Tips for Baking Magic. Easy recipe with…
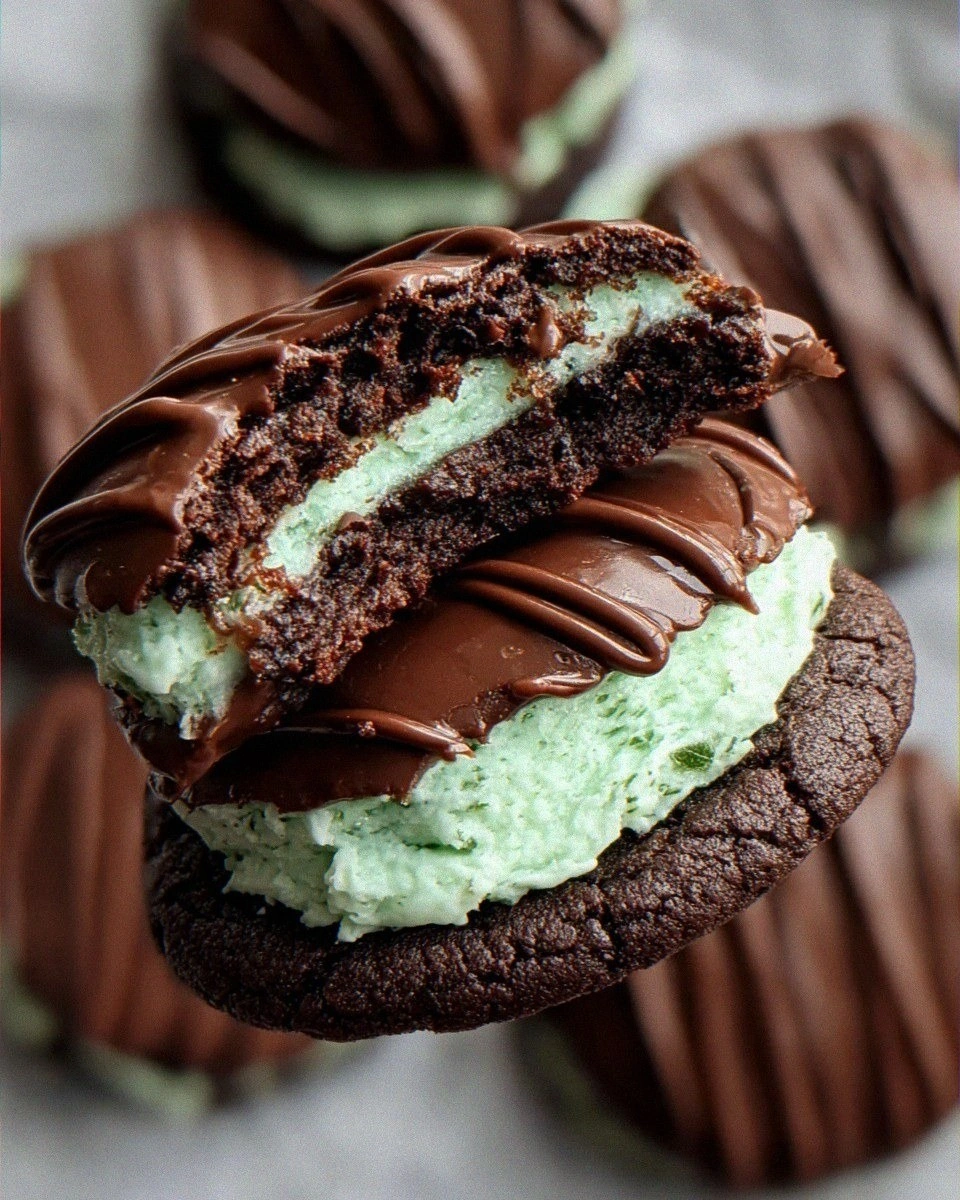 Desserts
Chocolate Mint Cookies
Learn how to make delicious Chocolate Mint Cookies. Easy recipe with step-by-step instructions.
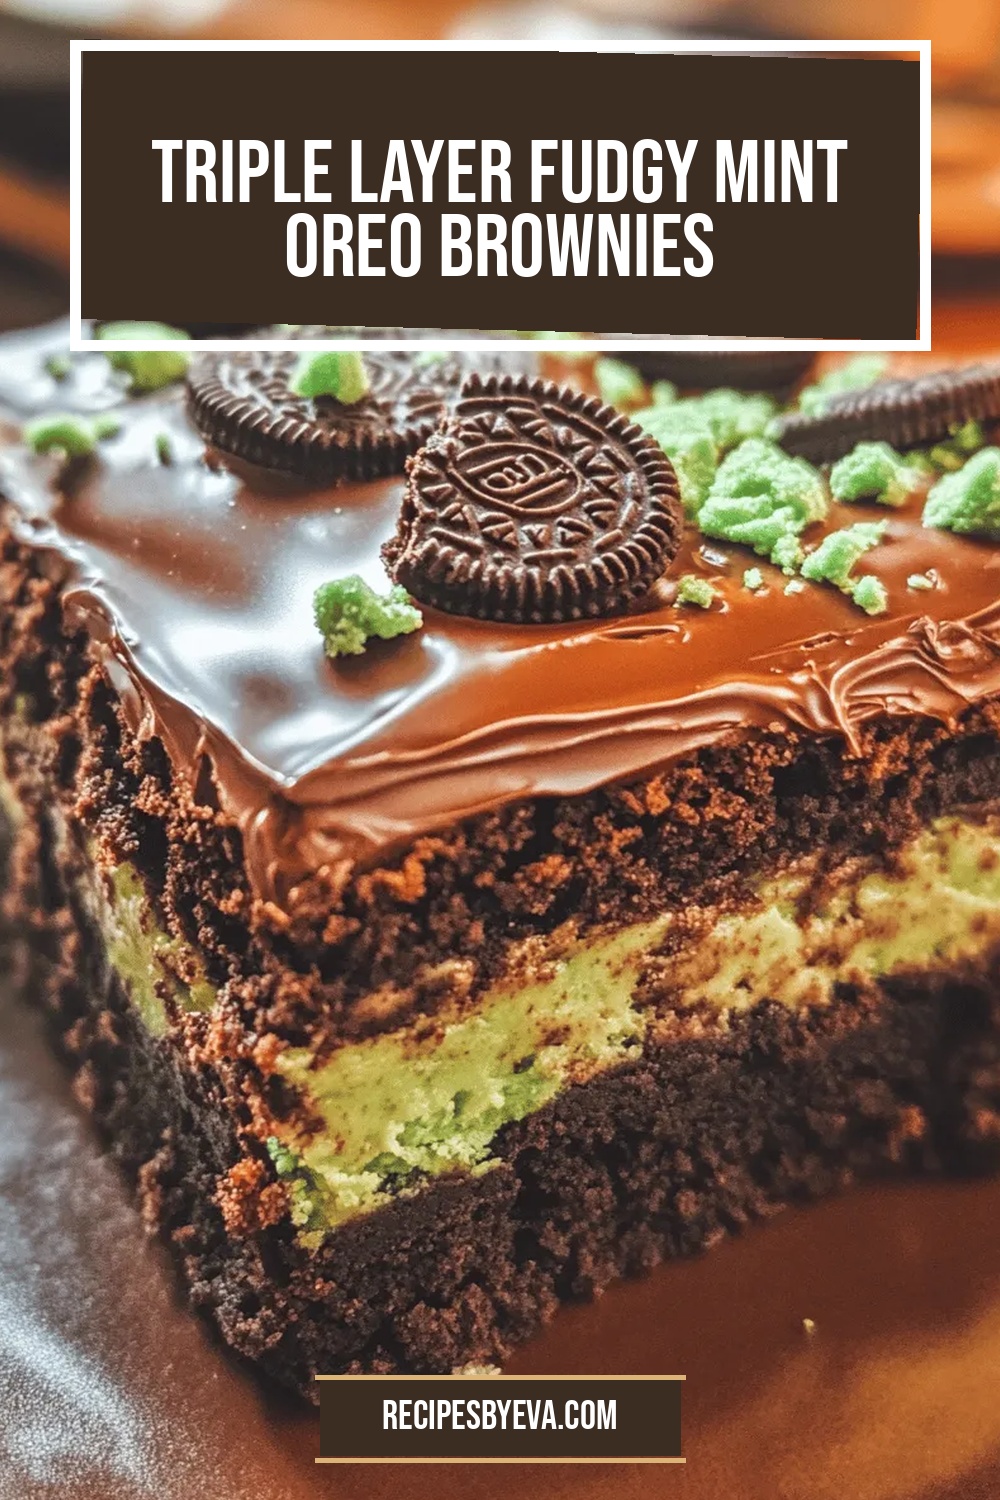 Desserts
Triple Layer Fudgy Mint Oreo Brownies
Delicious Triple Layer Fudgy Mint Oreo Brownies
 Desserts
Lemon Berry Bliss Angel Food Cake: A Light and Refreshing Dessert Recipe
Delicious Lemon Berry Bliss Angel Food Cake: A Light and Refreshing Dessert Recipe

Eva
I cook these recipes at home before they ever land here — simple ingredients, clear steps.