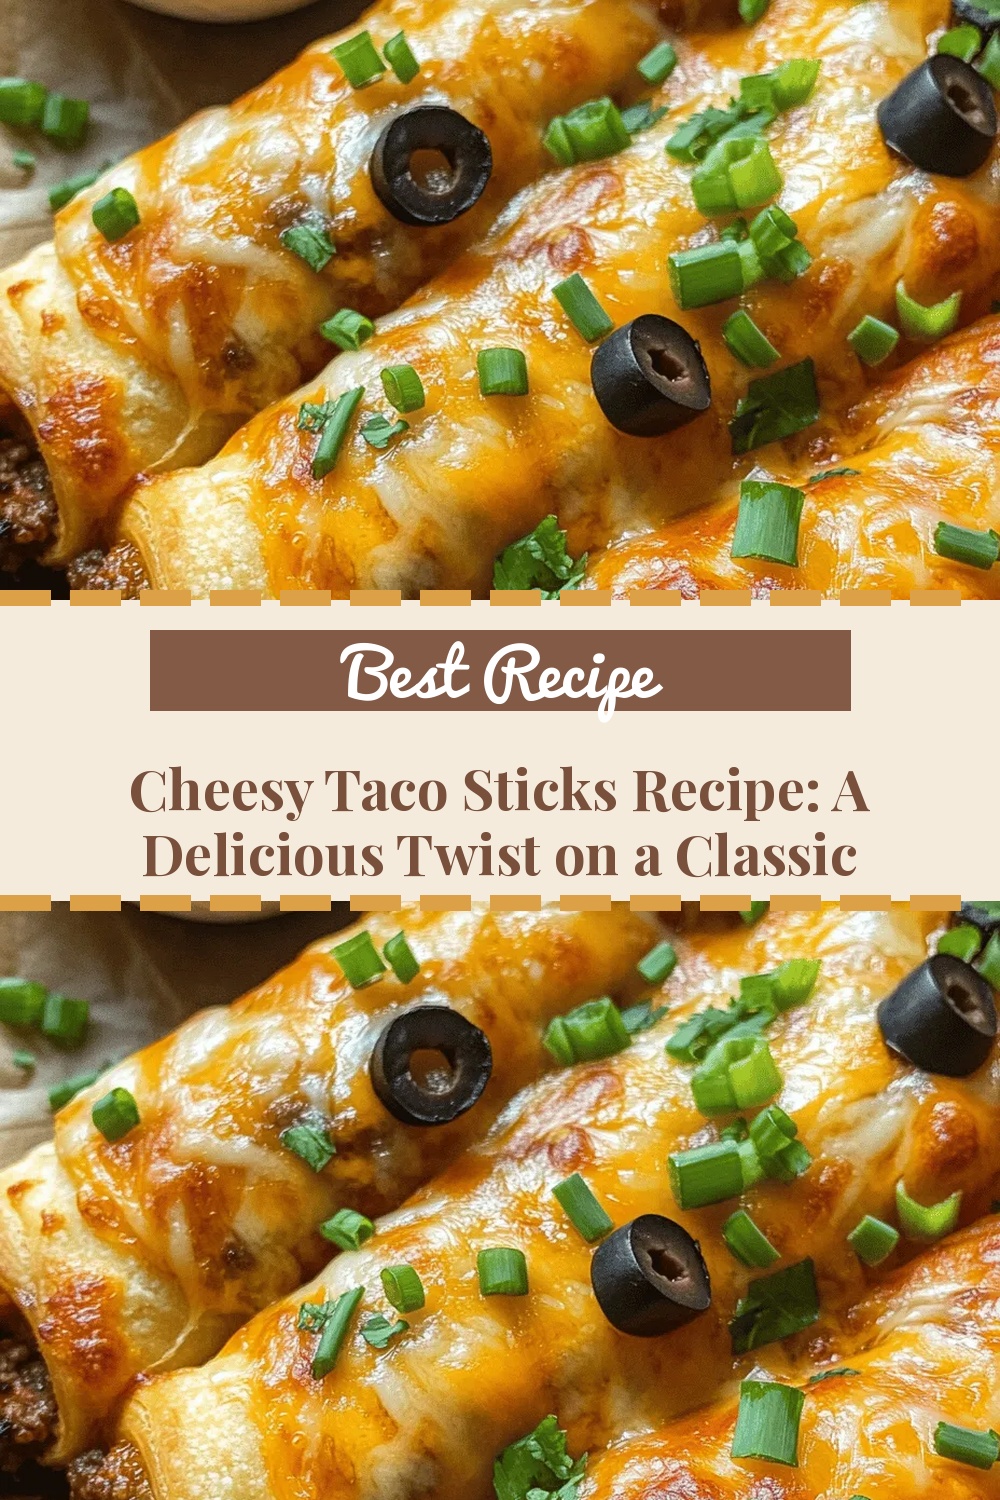
Cheesy Taco Sticks Recipe: A Delicious Twist on a Classic Favorite
 Save
Save
Imagine the comforting crunch of a classic taco combined with the ooey‑gooey pull of melted cheese—all rolled into bite‑size sticks that are perfect for sharing. This Cheesy Taco Sticks recipe transforms a beloved Mexican staple into a snack that feels both familiar and exciting.
What sets these sticks apart is the layered flavor profile: seasoned ground meat, a buttery tortilla coating, and a generous blend of three cheeses that melt into a golden, crispy exterior. A drizzle of zesty crema ties everything together, creating a mouthfeel that’s both crunchy and creamy.
Game night, backyard barbecues, or a quick after‑school treat—anyone who loves bold, cheesy bites will adore these sticks. They’re especially crowd‑pleasing for kids and adults alike, making them an ideal appetizer for parties or a fun family snack.
The process is straightforward: mix, roll, coat, and bake. In just under an hour you’ll have a tray of hot, melty sticks ready to dip, share, and devour.
Why You'll Love This Recipe
Bold Flavor Fusion: The combination of taco seasoning, melted cheese, and a tangy crema delivers a punchy taste that keeps you reaching for more.
Effortless Prep: With just a few mixing bowls and a baking sheet, you can assemble the sticks in under twenty minutes—perfect for busy evenings.
Hand‑Held Fun: Their bite‑size shape makes them ideal for dipping, sharing, and eating without utensils, adding a playful element to any gathering.
Customizable Core: Swap proteins, cheeses, or spices to match your pantry and dietary preferences while keeping the core concept intact.
Tips & Tricks
Perfecting the Recipe
Chill the Core. After forming the cheese‑meat balls, refrigerate them for 10‑15 minutes. Cold cores hold together better during rolling and baking, preventing leaks.
Even Rolling. Use a rolling pin to gently flatten the tortilla before placing the core. This creates a uniform thickness, ensuring consistent cooking.
Oil Spray. A light mist of cooking spray before baking yields an extra‑crisp crust without excess greasiness.
Don’t Skip the Flip. Turning the sticks halfway through baking promotes even browning on all sides.
Flavor Enhancements
For an extra pop, sprinkle a pinch of smoked paprika onto the breadcrumb coating before baking. A drizzle of chipotle hot sauce on the crema adds smoky heat, while a handful of toasted corn kernels mixed into the filling provides a pleasant crunch.
Common Mistakes to Avoid
Avoid over‑filling the tortilla; too much filling can cause the roll to split. Also, don’t skip the panko—regular breadcrumbs won’t achieve the same airy crunch. Finally, resist the urge to bake at a temperature higher than 400°F; the exterior will burn before the cheese melts.
Pro Tips
Use a Light Hand with Seasoning. The taco seasoning already contains salt; taste the meat before adding extra salt.
Prep Ahead. Assemble the sticks up to a day in advance, store them uncovered on a tray in the fridge, then bake when ready.
Thermometer Check. The internal temperature of the meat should reach 160°F (71°C) for safety.
Serve Warm. The cheese pulls best when the sticks are served within 5 minutes of exiting the oven.
Variations
Ingredient Swaps
Replace ground beef with ground turkey or chorizo for a different flavor profile. For a vegetarian twist, use crumbled tempeh or a plant‑based ground “meat” and keep the cheese blend. Swap the flour tortillas for low‑carb tortillas or even large collard‑green leaves for a gluten‑free wrap. Experiment with cheeses—pepper jack or smoked gouda add a new dimension.
Dietary Adjustments
To make the dish gluten‑free, use certified gluten‑free tortillas and substitute panko with crushed gluten‑free cornflakes. For a dairy‑free version, replace the cheese blend with a vegan shredded cheese and use coconut‑based sour cream for the crema. Keto diners can omit the tortilla altogether, wrapping the core in thinly sliced eggplant or zucchini, then baking as directed.
Serving Suggestions
Pair the sticks with a fresh pico de gallo, guacamole, or a smoky black‑bean dip. A side of Mexican street corn (elote) or a crisp cucumber‑lime salad balances the richness. For a festive spread, arrange the sticks on a platter with assorted hot sauces and lime wedges for guests to customize each bite.
Storage Info
Leftover Storage
Allow the sticks to cool to room temperature, then place them in an airtight container. Refrigerate for up to 3 days. For longer keeping, separate the sticks onto a parchment sheet, freeze individually, and later transfer to a zip‑top freezer bag; they’ll maintain quality for up to 2 months.
Reheating Instructions
Reheat frozen or refrigerated sticks in a pre‑heated 350°F (175°C) oven for 10‑12 minutes, or until the coating regains its crunch and the interior is hot. For a quicker option, microwave on medium power for 60‑90 seconds, then finish under the broiler for 2 minutes to restore crispness. Add a splash of extra crema before serving if needed.
Frequently Asked Questions
Can I make this recipe ahead of time?
Can I freeze the sticks before baking?
What’s the best dipping sauce for these sticks?
Can I use a different cheese blend?
This Cheesy Taco Sticks recipe delivers the perfect marriage of crunchy taco goodness and melty cheese indulgence, all wrapped in a handheld snack that’s ready in under an hour. By following the detailed steps, tips, and storage guidance, you’ll achieve consistent, crowd‑pleasing results every time. Feel free to experiment with proteins, cheeses, or sauces—cooking is an adventure, and these sticks are a delicious canvas. Gather your friends, dip into the crema, and enjoy every cheesy bite!
Cheesy Taco Sticks Recipe: A Delicious Twist on a Classic Favorite
Delicious Cheesy Taco Sticks Recipe: A Delicious Twist on a Classic Favorite
Ingredients
Main Ingredients
- 1 lb ground beef (80/20)
- 1 cup shredded cheddar cheese
- ½ cup shredded Monterey Jack cheese
- ½ cup shredded mozzarella cheese
Taco Filling & Seasoning
- 2 tablespoons taco seasoning (store‑bought or homemade)
- ¼ cup finely diced onion
- 1 clove garlic, minced
Coating & Binding
- 6 large flour tortillas (8‑inch)
- 2 eggs, lightly beaten
- ½ cup panko breadcrumbs
- ¼ cup grated Parmesan cheese
Creamy Dipping Sauce
- 1 cup sour cream
- 2 tablespoons lime juice (fresh)
- 2 tablespoons chopped fresh cilantro
- ¼ teaspoon cayenne pepper (optional)
Instructions
Wrap and Coat
- Lay a tortilla flat. Place a cheese‑meat ball in the center, then fold the sides over and roll tightly, sealing the seam with a dab of water. This creates a self‑contained stick that won’t fall apart during baking.
- Egg wash. Dip each rolled stick into the beaten eggs, ensuring an even coating. The egg acts as a glue for the breadcrumb mixture.
- Breadcrumb coating. Roll the egg‑wet sticks in a blend of panko breadcrumbs, Parmesan, and a pinch of salt. Press lightly so the coating adheres fully; this step is crucial for a crunchy exterior.
Similar Recipes
 Appetizers
Delicious Pizza Sliders Recipe: A Perfect Twist on a Classic Favorite
Delicious Delicious Pizza Sliders Recipe: A Perfect Twist on a Classic Favorite
 Appetizers
Easy Pumpkin Curry with Coconut Milk and Veggies
Learn how to make delicious Easy Pumpkin Curry with Coconut Milk and Veggies. Easy recipe with…
 Appetizers
Fresh Tomato Burrata Bliss: A Perfect Summer Salad Recipe
Delicious Fresh Tomato Burrata Bliss: A Perfect Summer Salad Recipe
 Appetizers
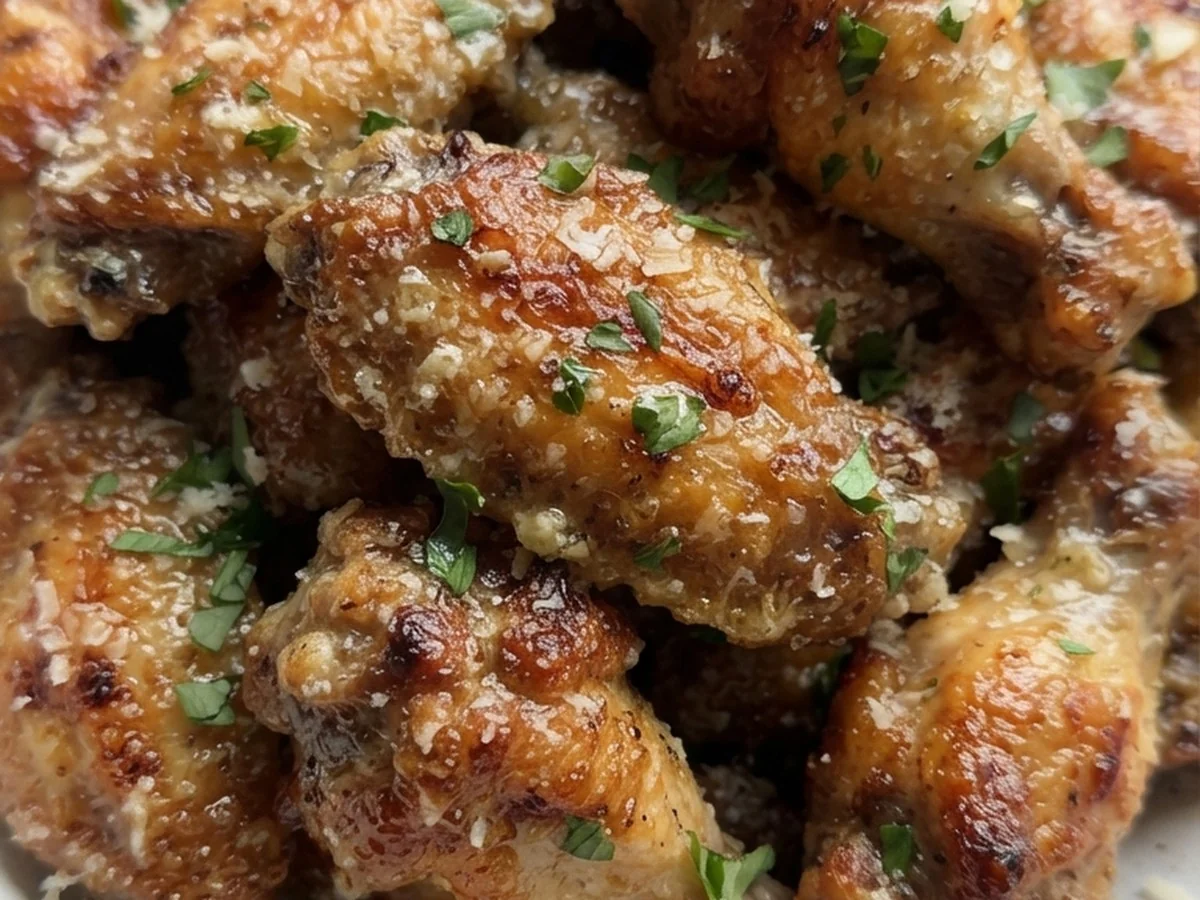
Crispy Garlic Parmesan Wings
Golden wings coated in garlic, parmesan, and a hint of butter deliver ultimate crunch and flavor.
 Appetizers
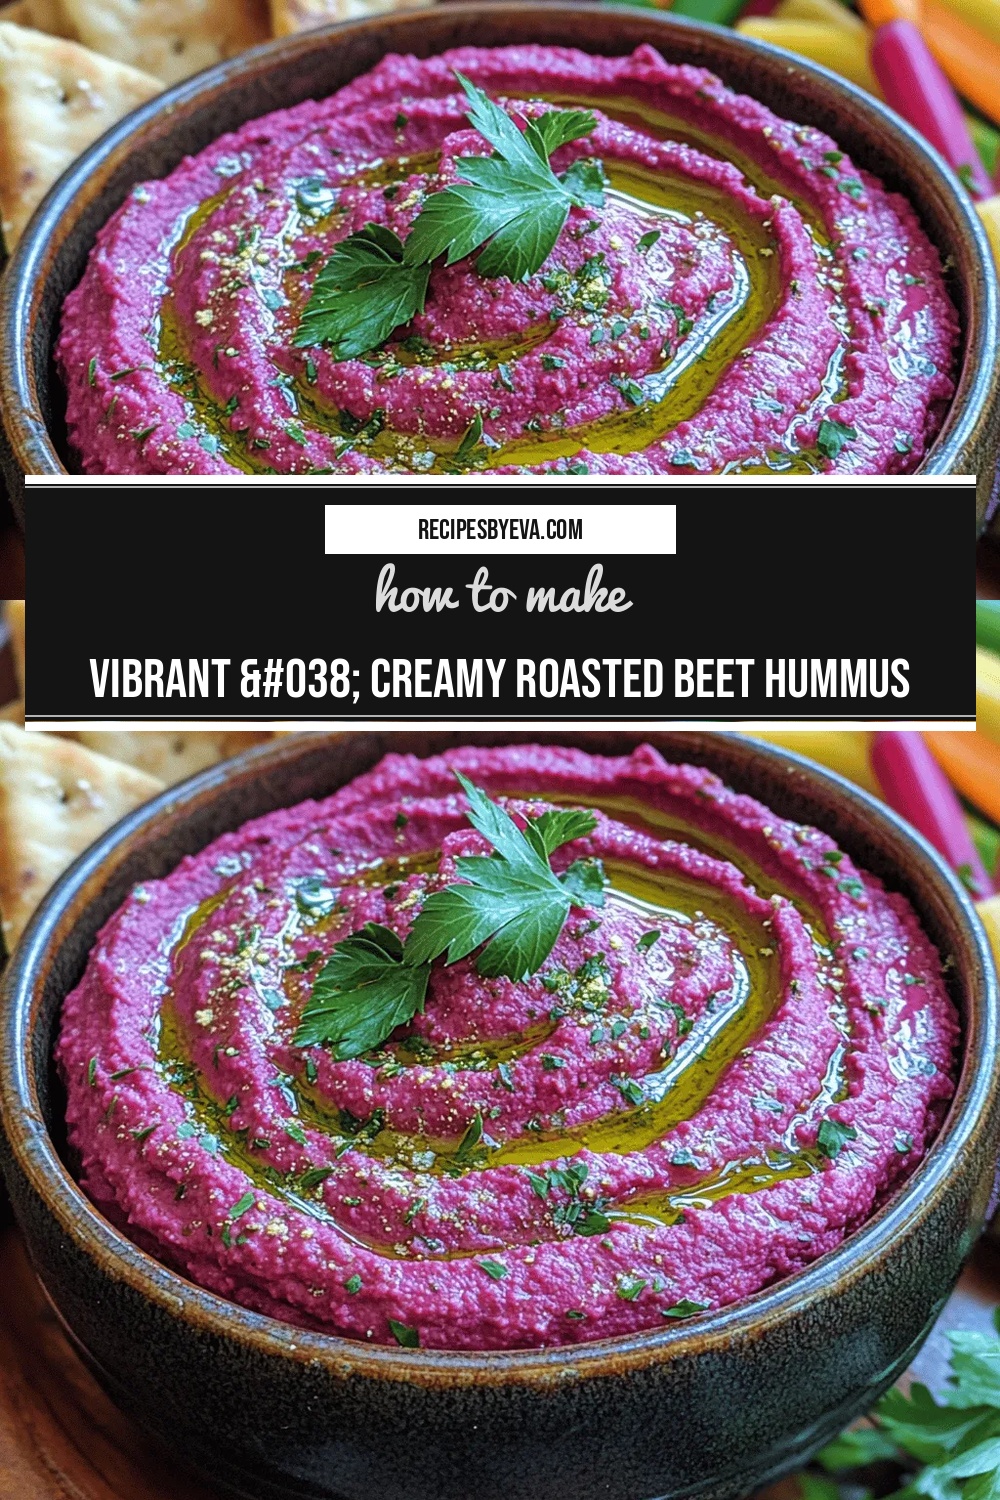
Vibrant & Creamy Roasted Beet Hummus
Delicious Vibrant & Creamy Roasted Beet Hummus
 Appetizers
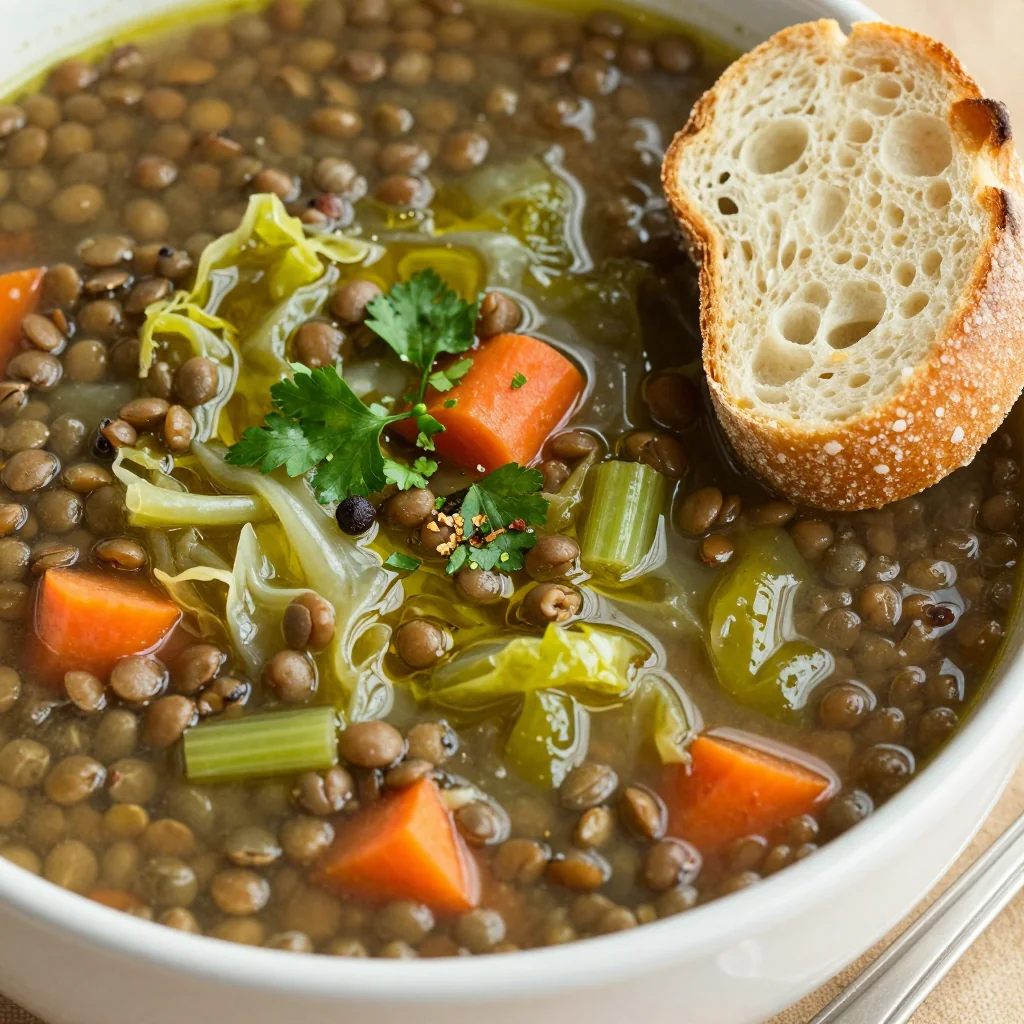
hearty onepot lentil and cabbage soup for healthy family nights
Learn how to make delicious hearty onepot lentil and cabbage soup for healthy family nights. Easy…
 Appetizers
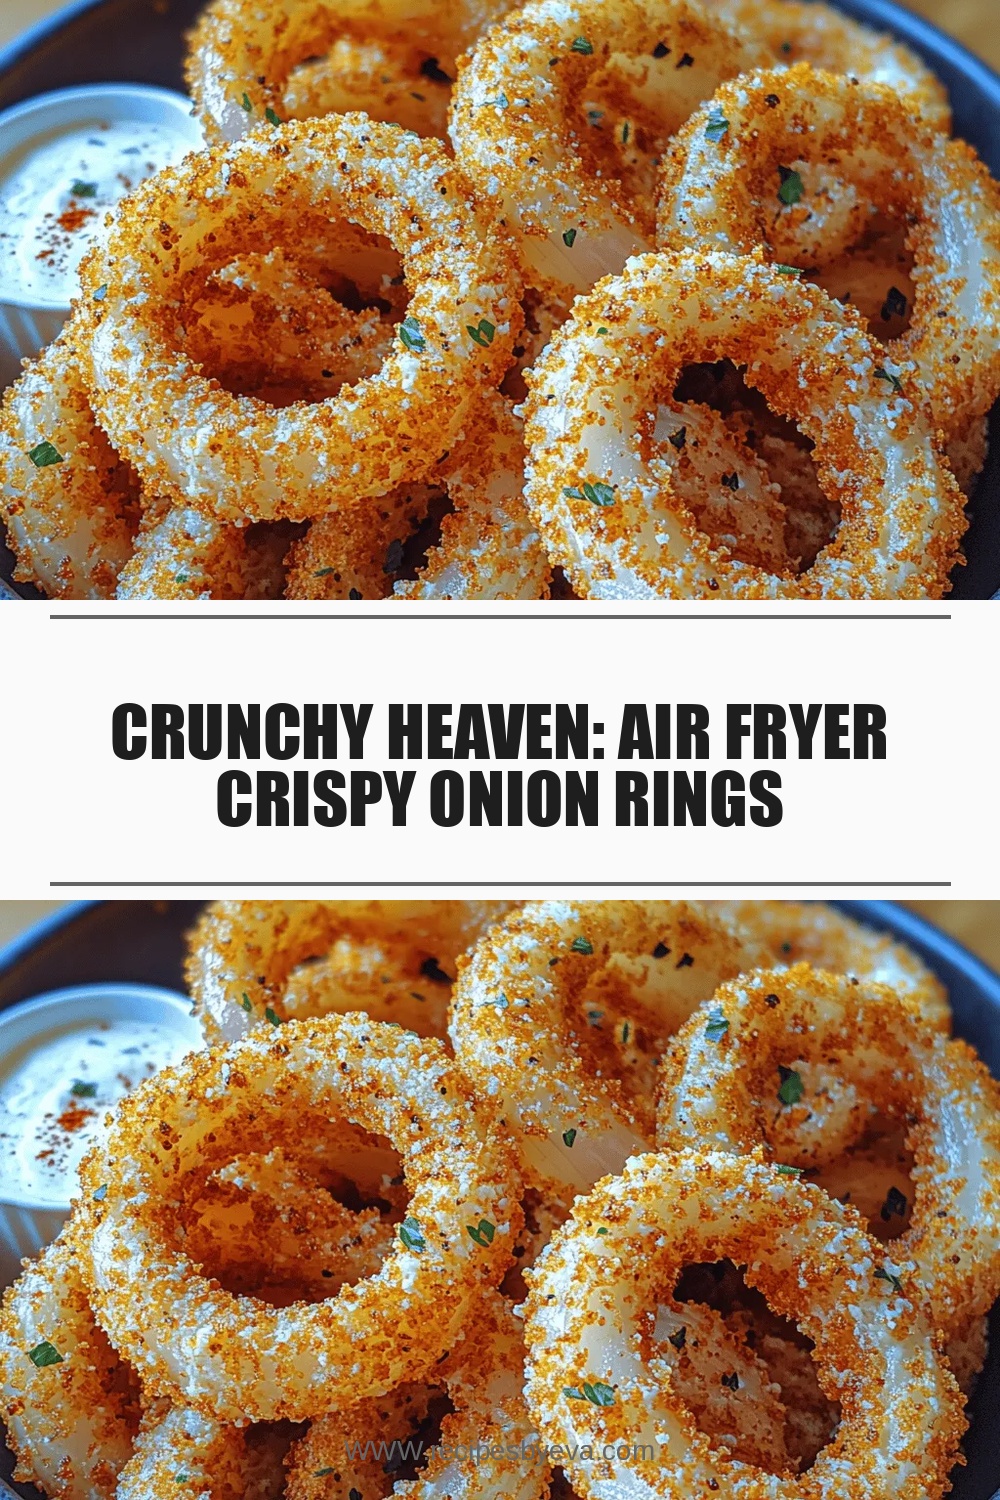
Crunchy Heaven: Air Fryer Crispy Onion Rings
Delicious Crunchy Heaven: Air Fryer Crispy Onion Rings
 Appetizers
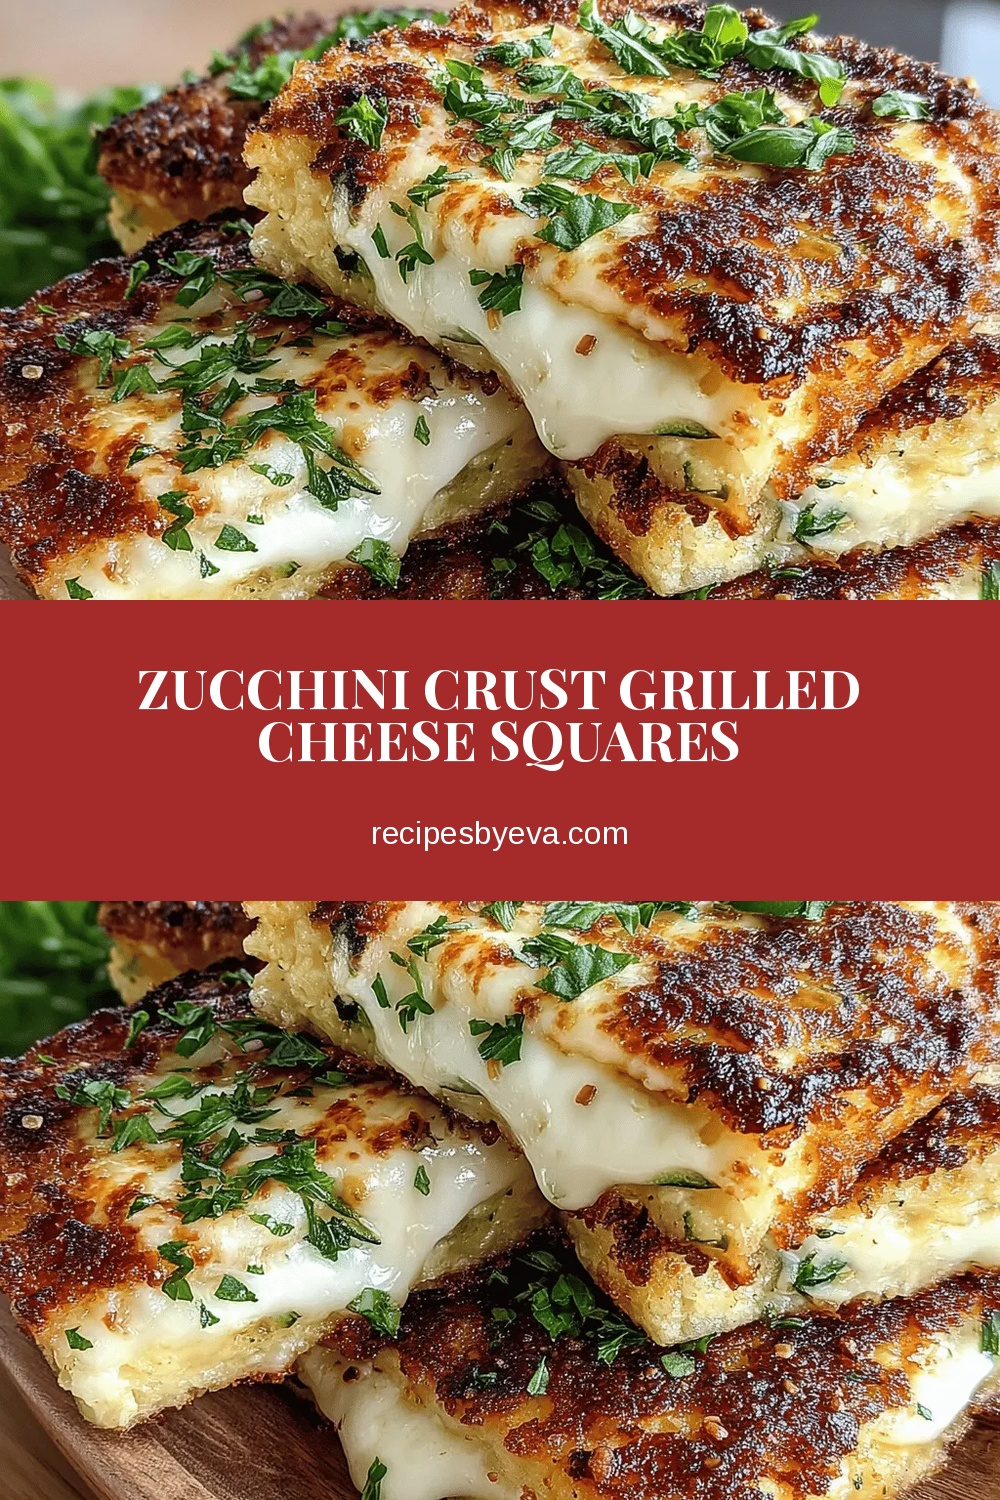
Zucchini Crust Grilled Cheese Squares
Delicious Zucchini Crust Grilled Cheese Squares

Eva
I cook these recipes at home before they ever land here — simple ingredients, clear steps.