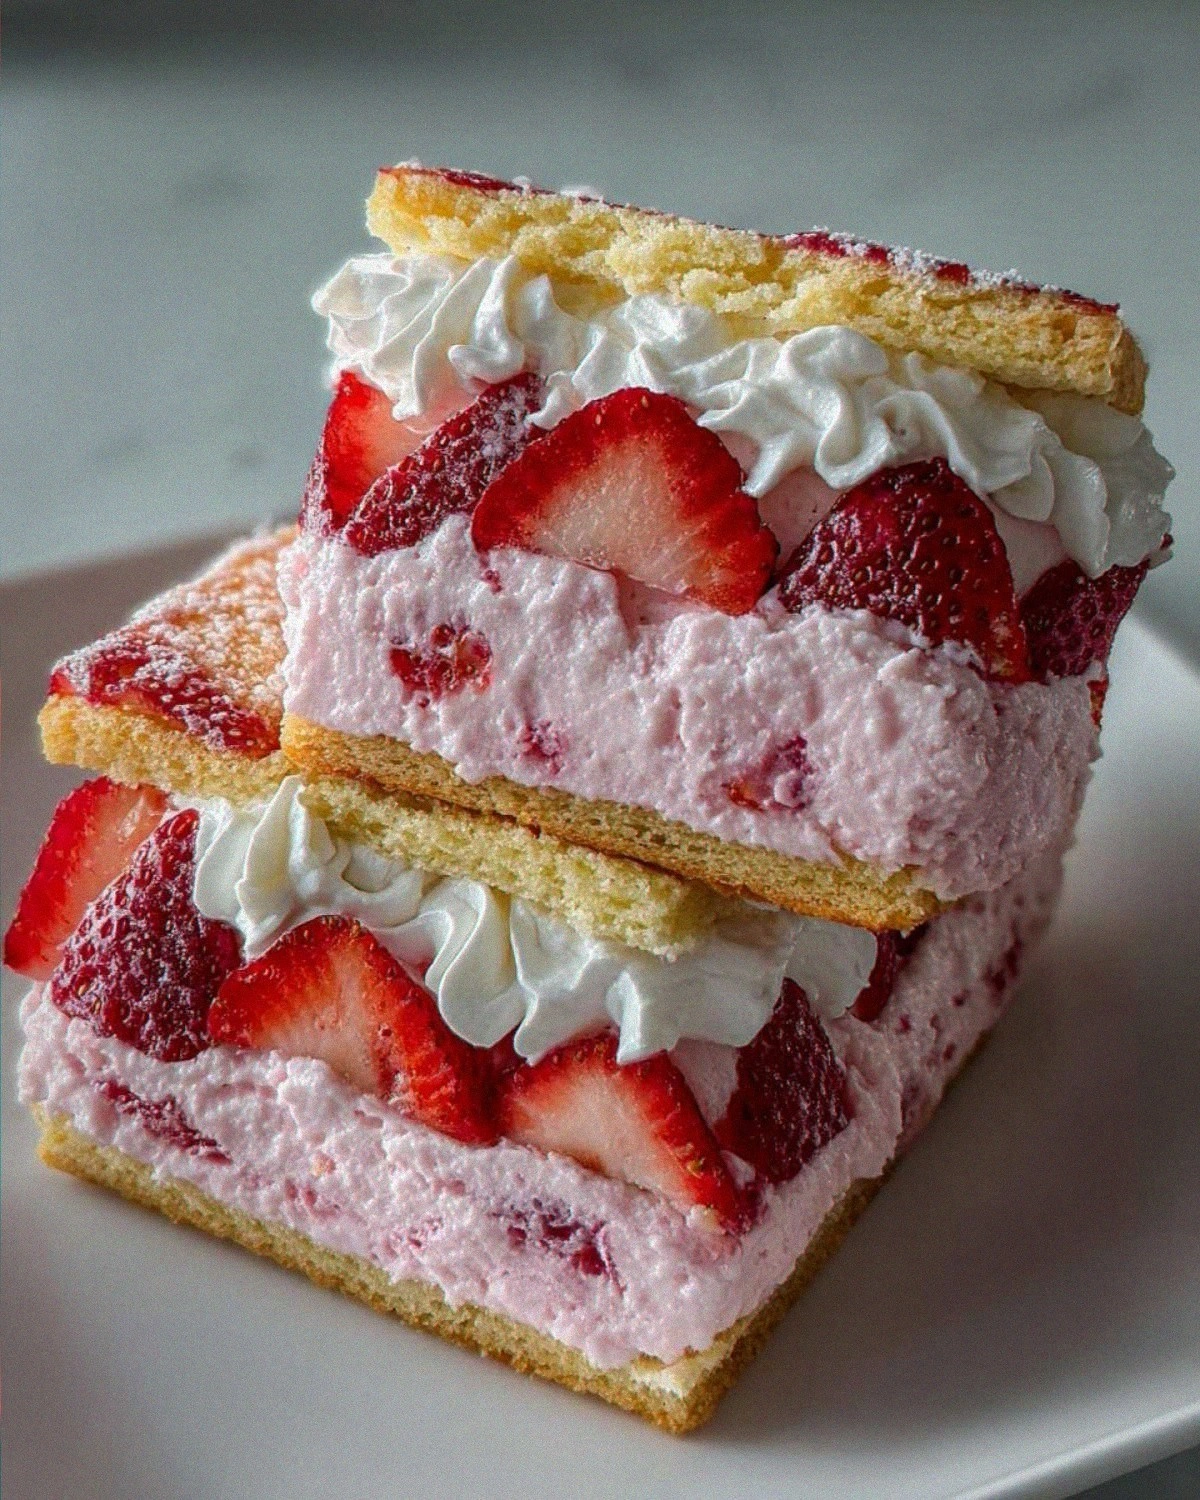
Amazing Strawberry Shortcake Ice Cream Sandwiches: Only 2 Hours to Joy
 Save
Save
I still remember the first time I tried to make a strawberry shortcake ice cream sandwich for my niece’s birthday. The kitchen was drenched in the sweet perfume of fresh strawberries, and the buttery scent of baked shortcakes floated like a warm hug. As the sun streamed through the window, I could hear the faint crackle of the oven door opening, releasing a cloud of golden‑brown goodness that made my heart race with anticipation. The moment I lifted the lid, a cloud of fragrant steam hit me, carrying hints of vanilla, butter, and a whisper of citrus that seemed to promise something extraordinary. That instant, I knew I had stumbled upon a dessert that could turn any ordinary afternoon into a celebration, and I’ve been perfecting it ever since.
What makes these ice cream sandwiches truly amazing is the marriage of two classic desserts: the light, airy shortcake and the silky, dreamy strawberry ice cream. Imagine biting into a crisp, buttery biscuit that instantly melts into a creamy, strawberry‑laden center, each bite delivering a burst of bright, summery flavor that dances on your tongue. The contrast of textures—crunchy on the outside, velvety on the inside—creates a sensory symphony that feels both nostalgic and refreshingly new. And the best part? You can pull this masterpiece together in just two hours, meaning you’ll have more time to enjoy the smiles around the table than you’ll have spent whisking, folding, and freezing.
But here’s the thing: many home cooks think that a dessert this elegant must involve a complicated process or exotic ingredients. That’s a myth I love to bust, because the secret lies in a few simple techniques and the quality of the components you choose. In the steps that follow, I’ll reveal the exact method I use to get that perfect shortcake crumb, the trick to a strawberry ice cream that’s both rich and airy, and a handful of pro tips that will keep you from common pitfalls. Trust me, once you master this, you’ll wonder how you ever settled for store‑bought desserts.
Now, I’m about to walk you through every detail, from selecting the ripest berries to achieving that flawless sandwich assembly. The journey is as delightful as the destination, and I promise you’ll be asking for seconds (or thirds) before the plate is even cleared. Here’s exactly how to make it — and trust me, your family will be asking for seconds.
🌟 Why This Recipe Works
- Flavor Depth: The combination of fresh strawberries with a lightly sweetened cream base creates layers of flavor that evolve with each bite, from the bright fruitiness to the subtle buttery undertones of the shortcake.
- Texture Harmony: The shortcake’s crumbly, melt‑in‑your‑mouth texture pairs perfectly with the smooth, velvety ice cream, delivering a satisfying contrast that keeps your palate engaged.
- Ease of Execution: With just a handful of pantry staples and a straightforward method, even novice bakers can achieve professional‑grade results without a steep learning curve.
- Time Efficiency: The entire process, from mixing the dough to freezing the ice cream, fits neatly into a two‑hour window, making it ideal for weekend gatherings or impromptu celebrations.
- Versatility: While the recipe shines with strawberries, the base can be adapted to other seasonal fruits, allowing you to customize the flavor profile to match any occasion.
- Nutrition Balance: Using whole‑milk dairy and fresh fruit adds protein and essential vitamins, while the modest amount of sugar keeps the dessert indulgent yet not overly heavy.
- Ingredient Quality: Each component is chosen for its role—flour for structure, butter for richness, and fresh strawberries for natural sweetness—ensuring a harmonious final product.
- Crowd‑Pleasing Factor: The visual appeal of a pink‑streaked ice cream sandwiched between golden biscuits is irresistible, making it a show‑stopper at any gathering.
🥗 Ingredients Breakdown
The Foundation: Shortcake Biscuit Essentials
All‑purpose flour is the backbone of any good shortcake, providing structure while still allowing the biscuit to stay tender. The combination of baking powder and a whisper of baking soda gives the biscuits a subtle lift, ensuring they’re light enough to bite through without crumbling apart. Unsalted butter, chilled and cubed, is cut into the dry ingredients to create those coveted flaky layers—think of it as the secret handshake between dough and flavor. A dash of salt amplifies the sweetness and balances the richness, while the milk adds moisture, binding everything together into a cohesive dough. Finally, a splash of vanilla extract infuses the biscuit with a warm, aromatic note that complements the strawberry’s natural brightness.
Aromatics & Sweeteners: Building the Flavor Bridge
Granulated sugar not only sweetens the shortcake but also contributes to its golden crust when baked. For the ice cream, heavy cream delivers the luxurious mouthfeel we all crave, while powdered sugar ensures a smooth, melt‑in‑your‑mouth texture without graininess. Fresh strawberries are the star of the show; their natural sugars and vibrant color mean you won’t need artificial additives to achieve that perfect pink hue. A teaspoon of vanilla extract in the ice cream deepens the flavor, creating a harmonious backdrop for the fruit. And a squeeze of lemon juice adds a bright acidity that lifts the overall taste, preventing the dessert from feeling cloyingly sweet.
The Secret Weapons: Textural Enhancers
Eggs act as the binding agent for the shortcake, providing structure and a slight richness that elevates the biscuit beyond ordinary. When beaten with a pinch of salt, they also help incorporate air, contributing to a lighter crumb. A small amount of pink food coloring is optional but can amplify the visual appeal, especially if you’re aiming for that classic strawberry‑pink aesthetic. Lastly, a pinch of baking soda reacts with the acidic strawberries in the ice cream, creating a subtle lift that makes the frozen mixture feel less dense.
Finishing Touches: Assembly Essentials
A fine-mesh sieve is indispensable for dusting the shortcake tops with powdered sugar, giving each sandwich a delicate, snow‑kissed finish. A sturdy spatula helps you spread the ice cream evenly without tearing the biscuits, while parchment paper lines your baking sheet for effortless cleanup. Finally, airtight containers keep the assembled sandwiches fresh in the freezer, preserving their texture and flavor until you’re ready to serve.
With your ingredients prepped and ready, let's get cooking. Here’s where the fun really begins...
🍳 Step-by-Step Instructions
🔐 Expert Tips for Perfect Results
The Taste Test Trick
Before you freeze the ice cream, always give it a quick taste test. This is your chance to adjust the sweetness or acidity—add a pinch more sugar if it’s too tart, or a splash more lemon juice if the strawberry flavor needs a lift. Trust me on this one: a small adjustment at this stage can make the difference between “good” and “wow” when the dessert is served.
Why Resting Time Matters More Than You Think
Letting the shortcake dough rest in the refrigerator for at least 15 minutes before baking isn’t just about convenience; it allows the gluten to relax and the butter to firm up, which results in a tender, flaky crumb. I once skipped this step in a hurry, and the biscuits turned out dense and hard—definitely a lesson learned.
The Seasoning Secret Pros Won’t Tell You
A pinch of sea salt sprinkled on the top of the shortcakes right after they come out of the oven can amplify the sweet flavors and add a subtle crunch. This tiny addition is a secret weapon used by pastry chefs to balance sweetness without compromising the dessert’s delicate profile.
Freezing the Assembled Sandwiches
After you’ve built each sandwich, give them a quick 10‑minute freeze before the final serving. This step firms up the ice cream, ensuring it doesn’t ooze out when you bite in. I’ve found that this extra chill also helps the shortcake retain its structure, especially on warm days.
Serving on a Chill Plate
A chilled plate isn’t just for aesthetics; it helps keep the ice cream from melting too quickly, preserving that perfect texture throughout the meal. Place the plates in the freezer for a few minutes before serving, and you’ll notice a noticeable difference in how long the sandwich stays delightfully firm.
🌈 Delicious Variations to Try
One of my favorite things about this recipe is how versatile it is. Here are some twists I’ve tried and loved:
Berry‑Blend Bliss
Swap half of the strawberries for raspberries or blueberries, creating a mixed‑berry ice cream that adds a tangy complexity. The different colors also make for a visually stunning sandwich that’s perfect for a summer brunch.
Chocolate‑Covered Delight
Dip the shortcake edges in melted dark chocolate before assembling the sandwich. The bittersweet chocolate pairs beautifully with the sweet strawberry ice cream, offering a sophisticated flavor contrast.
Lemon‑Zest Surprise
Add a teaspoon of freshly grated lemon zest to the ice cream mixture for a bright, citrusy note that cuts through the richness. This variation is especially refreshing on a hot day.
Nutty Crunch
Fold finely chopped toasted almonds or pistachios into the shortcake dough for a subtle crunch that adds texture and a nutty aroma. The nuts also bring a lovely earthy balance to the sweet strawberry flavor.
Matcha Green Tea Twist
Incorporate a teaspoon of matcha powder into the shortcake batter for a vibrant green hue and a gentle, earthy flavor that pairs surprisingly well with the strawberry ice cream.
Alcohol‑Infused Elegance
Stir a tablespoon of strawberry liqueur or a splash of balsamic reduction into the strawberry puree before freezing. This adult‑only version adds depth and a sophisticated finish for dinner parties.
📦 Storage & Reheating Tips
Refrigerator Storage
If you plan to enjoy the sandwiches within 24 hours, store them in an airtight container in the refrigerator. Place a piece of parchment paper between each sandwich to prevent them from sticking together, and they’ll stay fresh and firm for up to two days.
Freezing Instructions
For longer storage, wrap each sandwich individually in plastic wrap, then place them in a freezer‑safe zip‑top bag. They’ll keep well for up to three months without losing texture. When you’re ready to serve, let them thaw at room temperature for about 10 minutes—just enough to soften the ice cream without melting it completely.
Reheating Methods
If you prefer a warm shortcake with cold ice cream, gently warm the shortcake halves in a 300°F (150°C) oven for 3‑4 minutes until they’re just lightly toasted. The contrast of a warm biscuit with a cool, creamy center creates an indulgent experience that’s hard to beat. The trick to reheating without drying it out? A splash of melted butter brushed on the biscuit before the quick oven blast.
❓ Frequently Asked Questions
Can I use store‑bought shortcake biscuits instead of making my own?
How can I make the ice cream dairy‑free?
What’s the best way to keep the shortcakes from getting soggy?
Can I add a glaze or frosting to the shortcakes?
How long can the assembled sandwiches stay frozen?
Do I need an ice cream maker?
Can I use frozen strawberries?
What if I don’t have a pastry cutter?
Now for the assembly: Using a warm knife (dip it in hot water, wipe dry), slice the chilled ice cream into discs that match the diameter of your shortcakes. Place a generous scoop of strawberry ice cream onto the flat side of a shortcake, then gently press another biscuit on top, creating a sandwich. The warmth of the knife helps the ice cream spread evenly without cracking the biscuit. Repeat this process for all biscuits, then arrange the assembled sandwiches on a platter and sprinkle with a light dusting of powdered sugar for that finishing touch.
Garnish each sandwich with a whole strawberry or a delicate mint leaf for a pop of color and an extra burst of freshness. Serve the sandwiches on chilled plates to keep the ice cream firm a little longer, and watch as your guests’ eyes widen with delight at the sight of the pink‑streaked treats. If you’re feeling extra indulgent, drizzle a thin ribbon of melted white chocolate over the tops for a glossy finish. Finally, sit back, take a bite, and let the flavors transport you back to that sun‑lit kitchen where this recipe was first born.
Similar Recipes
 Desserts
Chocolate Marshmallow Swirl Cookies Recipe for Cozy Nights
Learn how to make delicious Chocolate Marshmallow Swirl Cookies Recipe for Cozy Nights. Easy recipe with…
 Desserts
Pecan Pie Balls Delight: A Delectable No-Bake Treat
Delicious Pecan Pie Balls Delight: A Delectable No-Bake Treat
 Desserts
Gingerbread Layer Cake with Spiced Cream: Holiday Delight
Learn how to make delicious Gingerbread Layer Cake with Spiced Cream: Holiday Delight. Easy recipe with…
 Desserts
Decadent Salted Caramel Gooey Butter Bars
Delicious Decadent Salted Caramel Gooey Butter Bars
 Desserts
Apple Cranberry Delight: 5 Reasons to Savor It Now
Learn how to make delicious Apple Cranberry Delight: 5 Reasons to Savor It Now. Easy recipe…
 Desserts
Mini Banana Pudding Cheesecakes: A Delightful Dessert Experience
Delicious Mini Banana Pudding Cheesecakes: A Delightful Dessert Experience
 Desserts
Crispy Baked Cinnamon Apple Chips
Delicious Crispy Baked Cinnamon Apple Chips
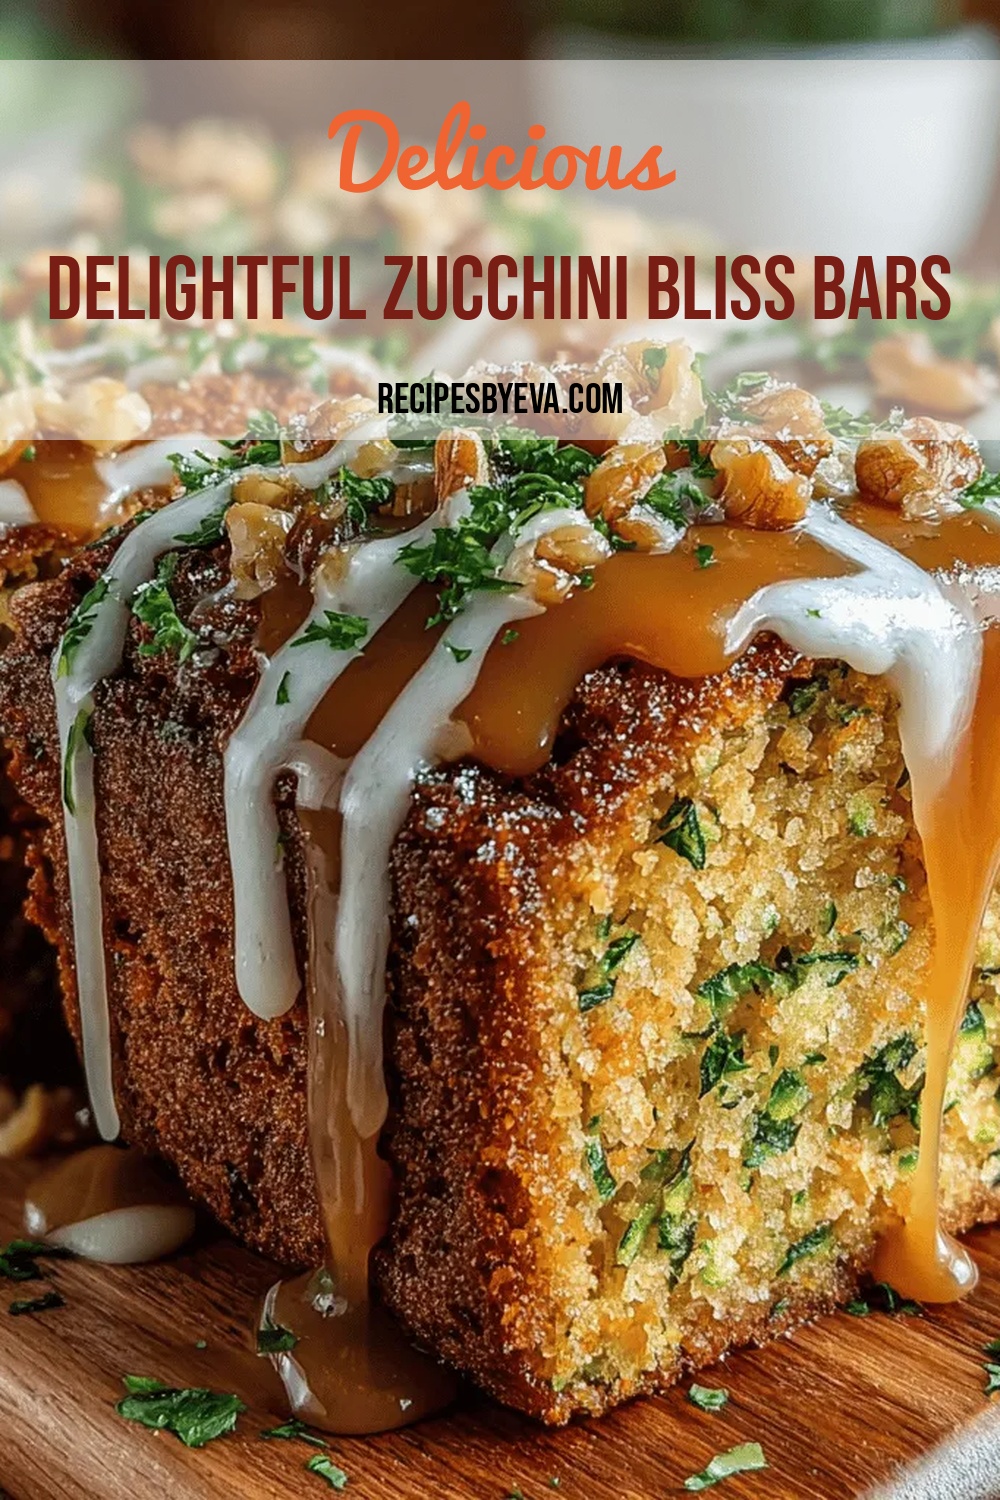 Desserts
Delightful Zucchini Bliss Bars with Cinnamon Drizzle
Delicious Delightful Zucchini Bliss Bars with Cinnamon Drizzle

Eva
I cook these recipes at home before they ever land here — simple ingredients, clear steps.