Fluffy Marshmallow Whip Cheesecake: A Delightful Dessert Recipe
 Save
Save
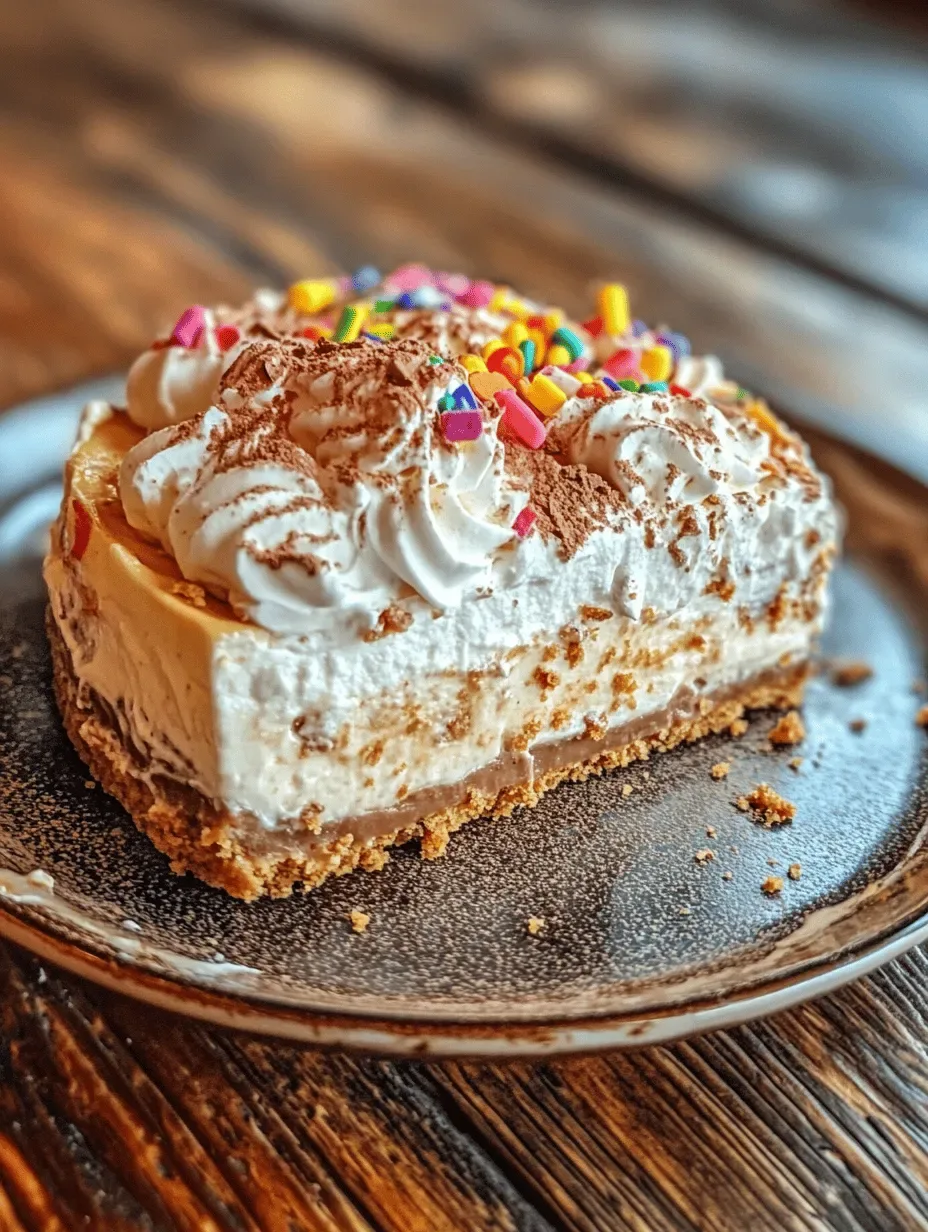
Imagine a dessert that feels like a cloud, tastes like a dream, and looks stunning enough to be the centerpiece of any dinner table. That’s exactly what the Fluffy Marshmallow Whip Cheesecake delivers—a velvety cheesecake crowned with a light, airy marshmallow mousse that practically melts on your tongue.
What makes this recipe truly special is the marriage of classic New York‑style cheesecake richness with the whimsical, melt‑in‑your‑mouth texture of homemade marshmallow whip. The subtle vanilla‑infused crust adds a buttery crunch that frames the creamy layers perfectly.
This dessert is perfect for anyone who loves indulgent sweets without the heaviness—families, friends, and even picky eaters will be enchanted. Serve it after a hearty dinner, at a holiday gathering, or as a show‑stopping finale for a birthday celebration.
The process is straightforward: prepare a buttery graham‑crust base, bake a smooth cheesecake filling, whip a sweet marshmallow topping, and assemble everything just before serving. The result is a dessert that looks as impressive as it tastes.
Why You'll Love This Recipe
Light Yet Decadent: The marshmallow whip adds a cloud‑like lift, making each bite feel airy while the cheesecake provides a rich, satisfying backbone.
Simple Ingredients: All components come from pantry staples—cream cheese, marshmallows, and a few fresh aromatics—so you won’t need a specialty store run.
Make‑Ahead Friendly: The cheesecake can be baked a day ahead, and the marshmallow topping can be whipped just before serving, saving you time on the big night.
Show‑Stopping Presentation: A glossy, fluffy crown on a golden crust looks elegant on any platter, earning compliments without extra effort.
Tips & Tricks
Perfecting the Recipe
Room‑Temperature Dairy. Soften cream cheese and bring eggs to room temperature before mixing. This prevents lumps and ensures a smooth, crack‑free filling.
Water‑Bath Baking. A steady steam environment from the water bath keeps the cheesecake’s surface moist, reducing the likelihood of cracks.
Don’t Over‑Mix. Once the eggs are added, mix just until incorporated. Over‑mixing can incorporate excess air, leading to a spongy texture.
Chill the Whip Bowl. Freeze the mixing bowl and whisk attachments for 10 minutes before whipping the marshmallow mousse. This helps achieve maximum volume.
Flavor Enhancements
For an extra flavor punch, swirl a tablespoon of raspberry or strawberry puree into the marshmallow whip just before piping. A pinch of sea salt on the crust amplifies the sweetness, and a drizzle of caramel sauce over the finished cheesecake adds a luxurious caramel note.
Common Mistakes to Avoid
Skipping the gradual cooling step often results in cracks. Also, avoid using cold butter for the crust; it won’t bind properly, leading to a crumbly base. Finally, don’t over‑whip the marshmallow mixture—once stiff peaks form, stop to keep the mousse light rather than dry.
Pro Tips
Use a Springform Pan. This allows you to release the cheesecake cleanly without damaging the delicate crust.
Measure Ingredients Accurately. A kitchen scale ensures the crust ratio stays perfect, especially for the butter‑to‑crumb balance.
Refrigerate Before Serving. Chilling solidifies the layers, making slicing cleaner and preserving the marshmallow’s airy texture.
Garnish Creatively. Fresh berries, edible flowers, or a drizzle of citrus glaze add visual flair and complementary flavors.
Variations
Ingredient Swaps
Substitute the graham‑cracker crust with a chocolate cookie base for a richer flavor profile. For a dairy‑free version, use a vegan cream cheese alternative and coconut cream in the marshmallow whip. Adding a teaspoon of espresso powder to the filling deepens the chocolate undertones without adding bitterness.
Dietary Adjustments
To make the dessert gluten‑free, ensure the graham crackers are certified gluten‑free or replace them with almond flour and coconut flakes. For a lower‑sugar version, use a sugar substitute such as erythritol in the crust and filling, and opt for sugar‑free marshmallows for the whip. Keto enthusiasts can swap regular sugar for a keto‑friendly blend and use almond flour for the crust.
Serving Suggestions
Serve each slice with a dollop of fresh whipped cream and a handful of mixed berries for acidity. Pair the cheesecake with a glass of chilled dessert wine, such as Moscato, or a bold espresso for an after‑dinner treat. For a festive touch, sprinkle edible gold leaf on the marshmallow crown.
Storage Info
Leftover Storage
Allow any remaining cheesecake to cool completely, then cover the springform pan tightly with plastic wrap. Store in an airtight container in the refrigerator for up to 4 days. For longer preservation, slice the cake, wrap each piece individually in cling film, and freeze for up to 2 months. Thaw overnight in the fridge before serving.
Reheating Instructions
To enjoy leftovers warm, preheat the oven to 300°F (150°C). Place a slice on a baking sheet, cover loosely with foil, and heat for 10‑12 minutes until the marshmallow topping softens. Avoid microwaving, as it can cause the marshmallow to become rubbery. Add a drizzle of fresh fruit coulis after reheating for extra brightness.
Frequently Asked Questions
Can I make this cheesecake ahead of time?
What if I don’t have mini marshmallows?
How do I prevent cracks in the cheesecake?
Can I use a different crust flavor?
This Fluffy Marshmallow Whip Cheesecake brings together the classic comfort of cheesecake with a whimsical, airy topping that feels like a dessert dream. By following the step‑by‑step guide, using the tips and variations provided, and storing leftovers properly, you’ll create a show‑stopping dish that impresses every palate. Feel free to experiment with flavors, crusts, and garnishes—making it your own is part of the fun. Enjoy every cloud‑like bite and share the delight with those you love!
Fluffy Marshmallow Whip Cheesecake: A Delightful Dessert Recipe
Delicious Fluffy Marshmallow Whip Cheesecake: A Delightful Dessert Recipe
Ingredients
Crust
- 1½ cups graham cracker crumbs
- ¼ cup granulated sugar
- ⅓ cup unsalted butter, melted
Cheesecake Filling
- 24 oz (3 cups) cream cheese, softened
- ¾ cup granulated sugar
- 3 large eggs, room temperature
- 1 tsp pure vanilla extract
- 1 tbsp fresh lemon zest
Marshmallow Whip Topping
- 1 ½ cups mini marshmallows
- ½ cup heavy whipping cream, chilled
- 2 tbsp powdered sugar
- ¼ tsp vanilla extract
Instructions
Making the Cheesecake Filling
- Blend the Cream Cheese. In a large mixing bowl, beat cream cheese on medium speed until smooth and free of lumps, about 2 minutes. This creates a stable base that prevents cracks during baking.
- Incorporate Sugar & Flavors. Add granulated sugar, vanilla extract, and lemon zest. Beat until the mixture is light and airy, roughly 1 minute. The sugar dissolves, and the lemon zest adds a subtle brightness.
- Emulsify the Eggs. Crack the eggs into a separate bowl, whisk briefly, then slowly pour them into the cream cheese mixture while the mixer runs on low. This gradual incorporation prevents curdling and yields a silky texture.
- Fill the Pan. Pour the batter over the pre‑baked crust, spreading gently with a spatula to achieve an even surface. Tap the pan lightly on the counter to release any trapped air bubbles.
- Bake in a Water Bath. Place the springform pan inside a larger roasting pan. Fill the outer pan with hot water until it reaches halfway up the sides of the springform. Bake for 45‑50 minutes, or until the center is set but still slightly wobbling. The water bath ensures gentle, even heat, preventing cracks.
- Cool Gradually. Turn off the oven, crack the door, and let the cheesecake sit for 1 hour. This slow cooling minimizes temperature shock, further reducing the chance of cracks.
Similar Recipes
 Desserts
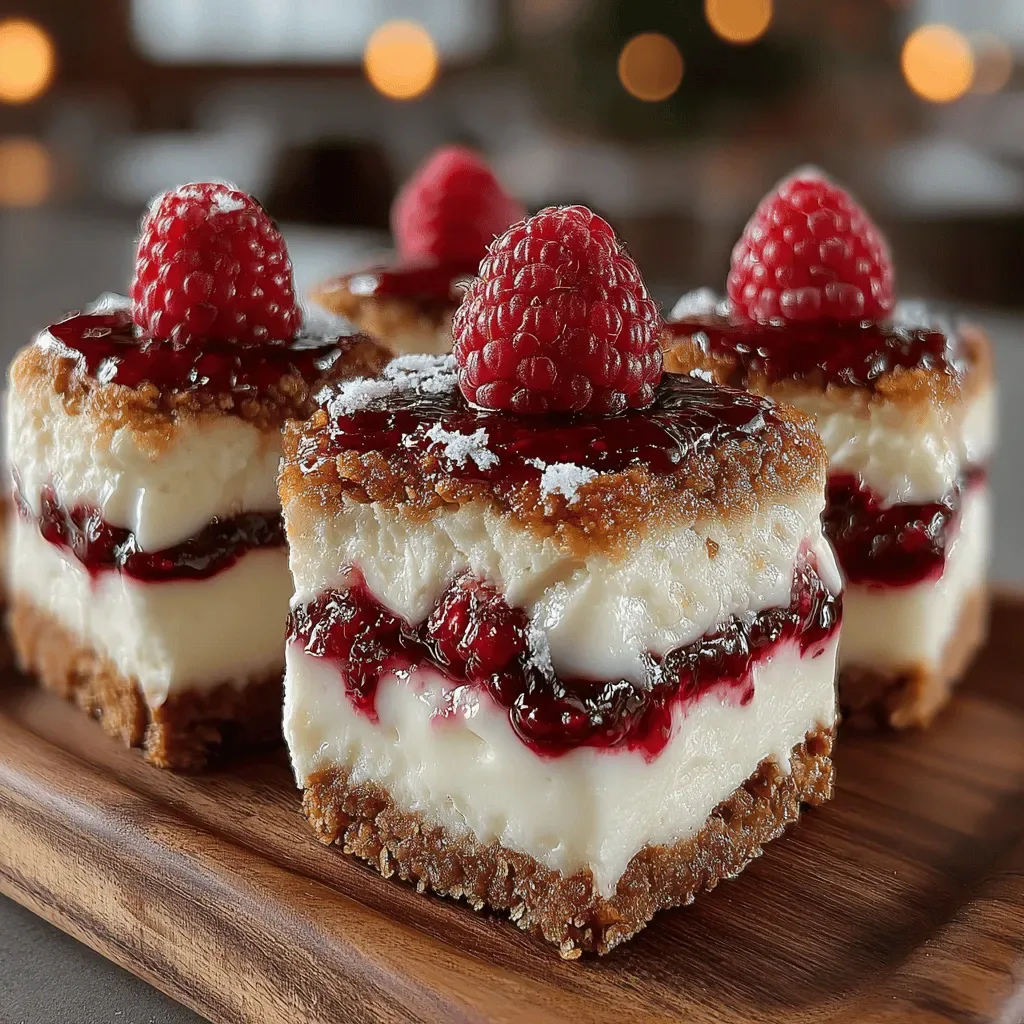
Raspberry Dream Delight Sandwiches: A Deliciously Healthy Treat
Delicious Raspberry Dream Delight Sandwiches: A Deliciously Healthy Treat
 Desserts
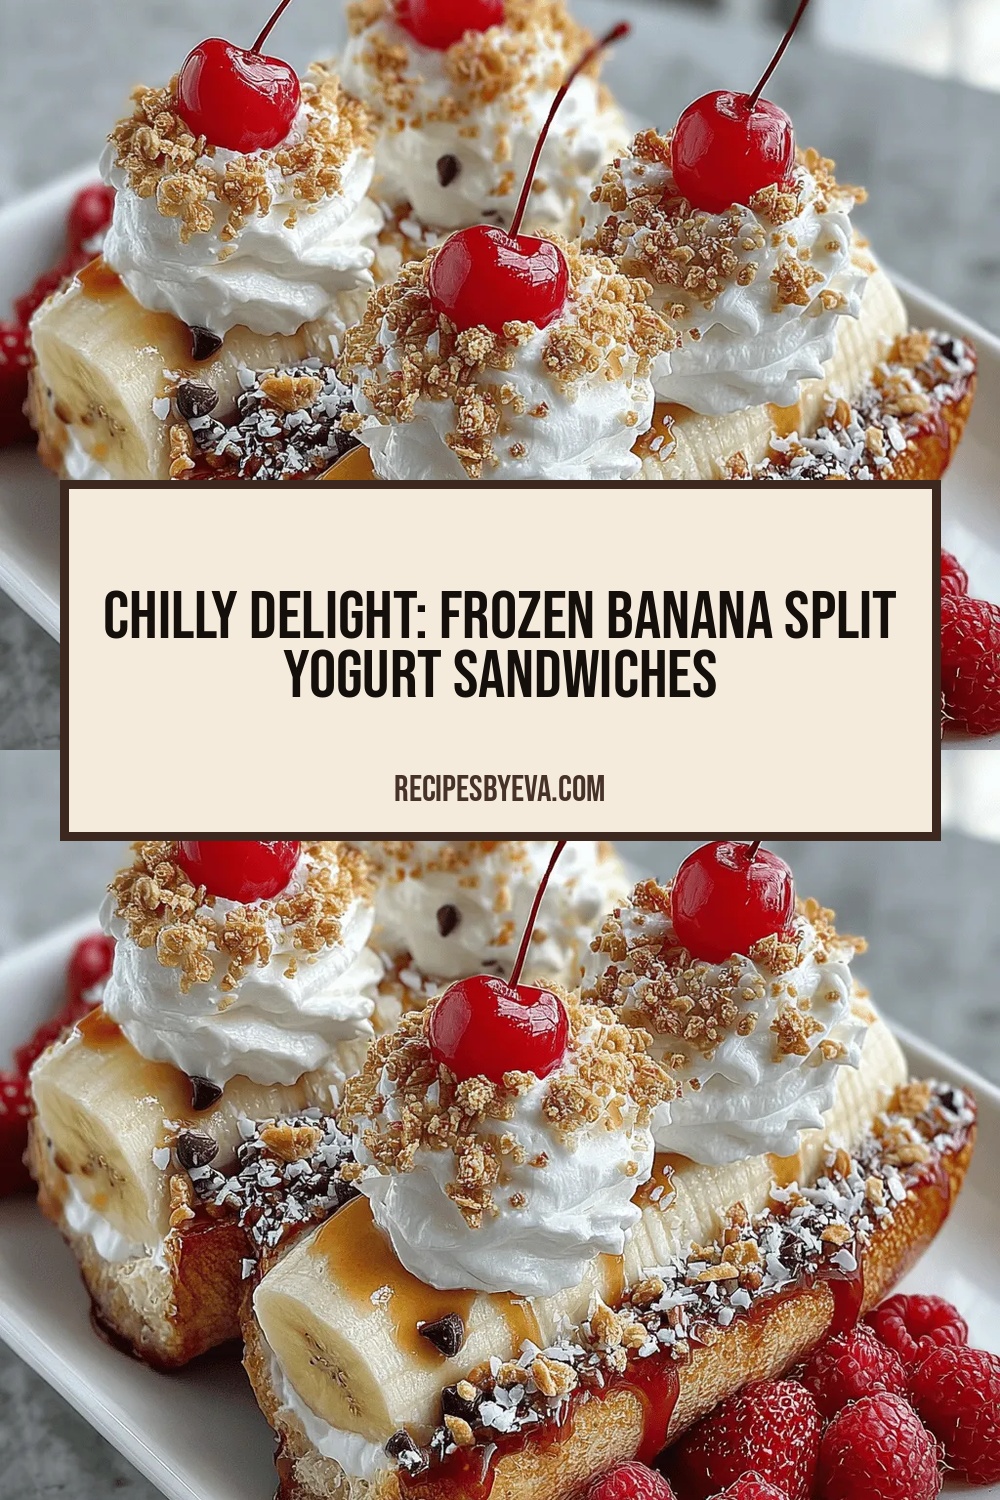
Chilly Delight: Frozen Banana Split Yogurt Sandwiches
Delicious Chilly Delight: Frozen Banana Split Yogurt Sandwiches
 Desserts
decadent chocolate hazelnut truffles for new years gift
Learn how to make delicious decadent chocolate hazelnut truffles for new years gift. Easy recipe with…
 Desserts
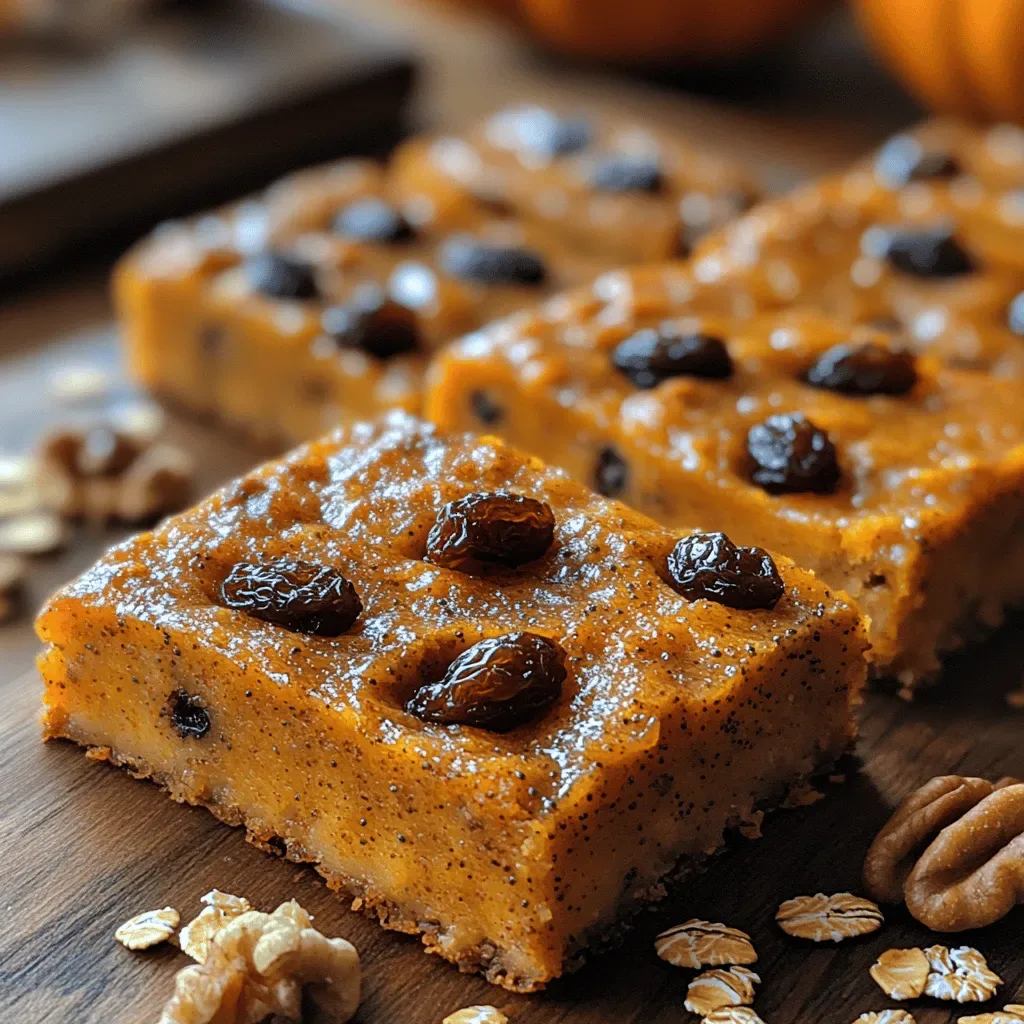
Wholesome Pumpkin Spice Oatmeal Bars: A Delightful Treat
Delicious Wholesome Pumpkin Spice Oatmeal Bars: A Delightful Treat
 Desserts
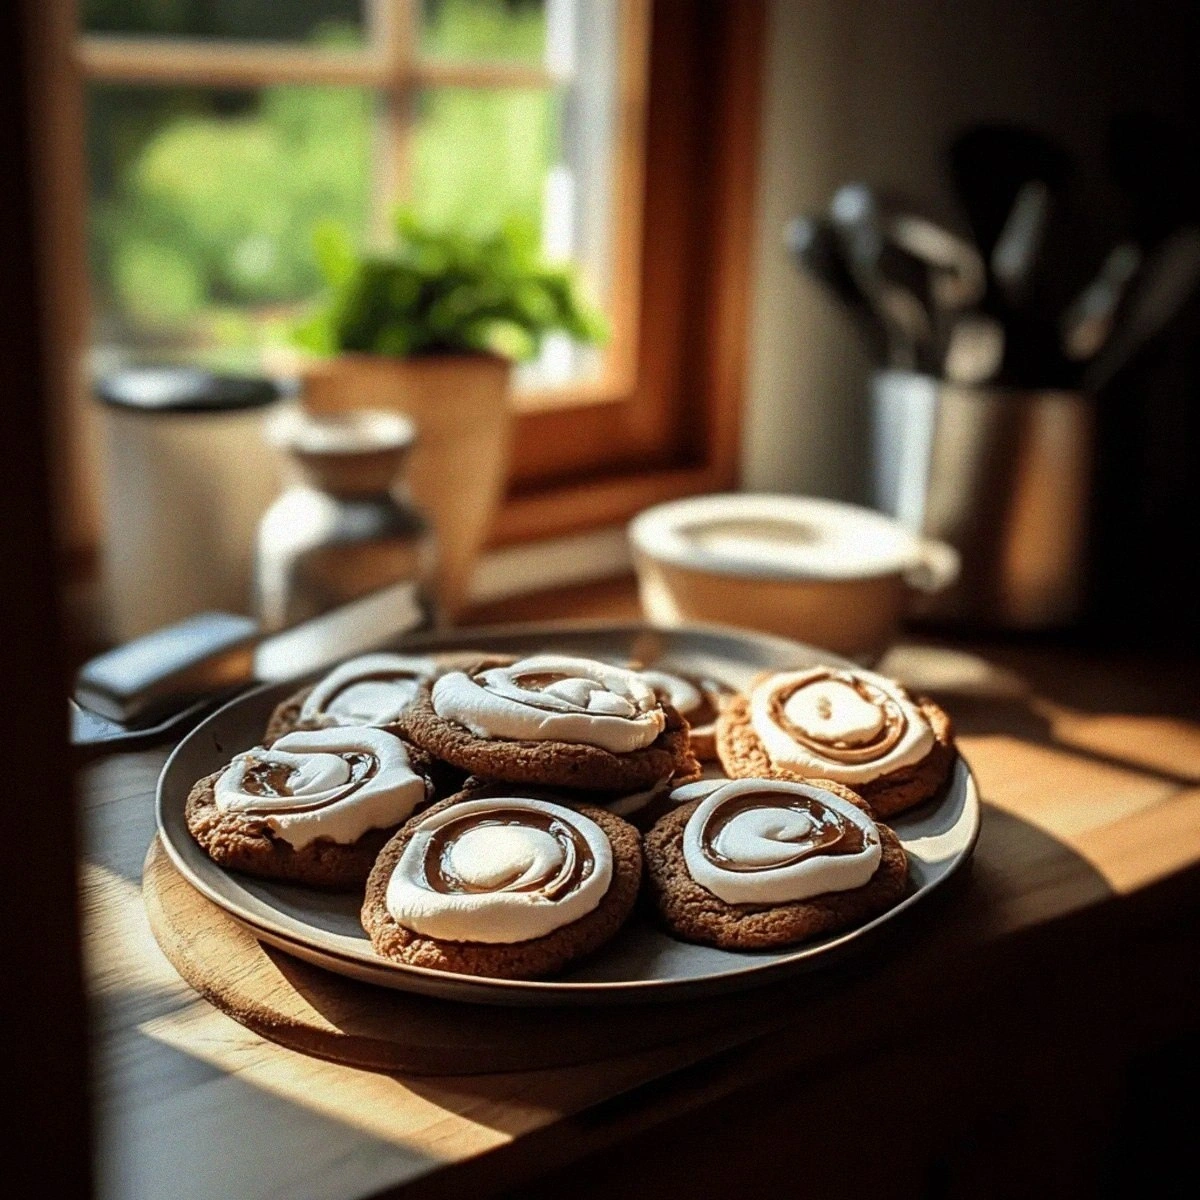
Chocolate Marshmallow Swirl Cookies Recipe for Cozy Nights
Learn how to make delicious Chocolate Marshmallow Swirl Cookies Recipe for Cozy Nights. Easy recipe with…
 Desserts
Cherry Delight Chocolate Bliss Bars
Delicious Cherry Delight Chocolate Bliss Bars
 Desserts
Cinnamon Roll Cake Delight Recipe
Delicious Cinnamon Roll Cake Delight Recipe
 Desserts
Cinnamon Roll Apple Pie: A Delicious Fusion of Flavors
Delicious Cinnamon Roll Apple Pie: A Delicious Fusion of Flavors

Eva
I cook these recipes at home before they ever land here — simple ingredients, clear steps.