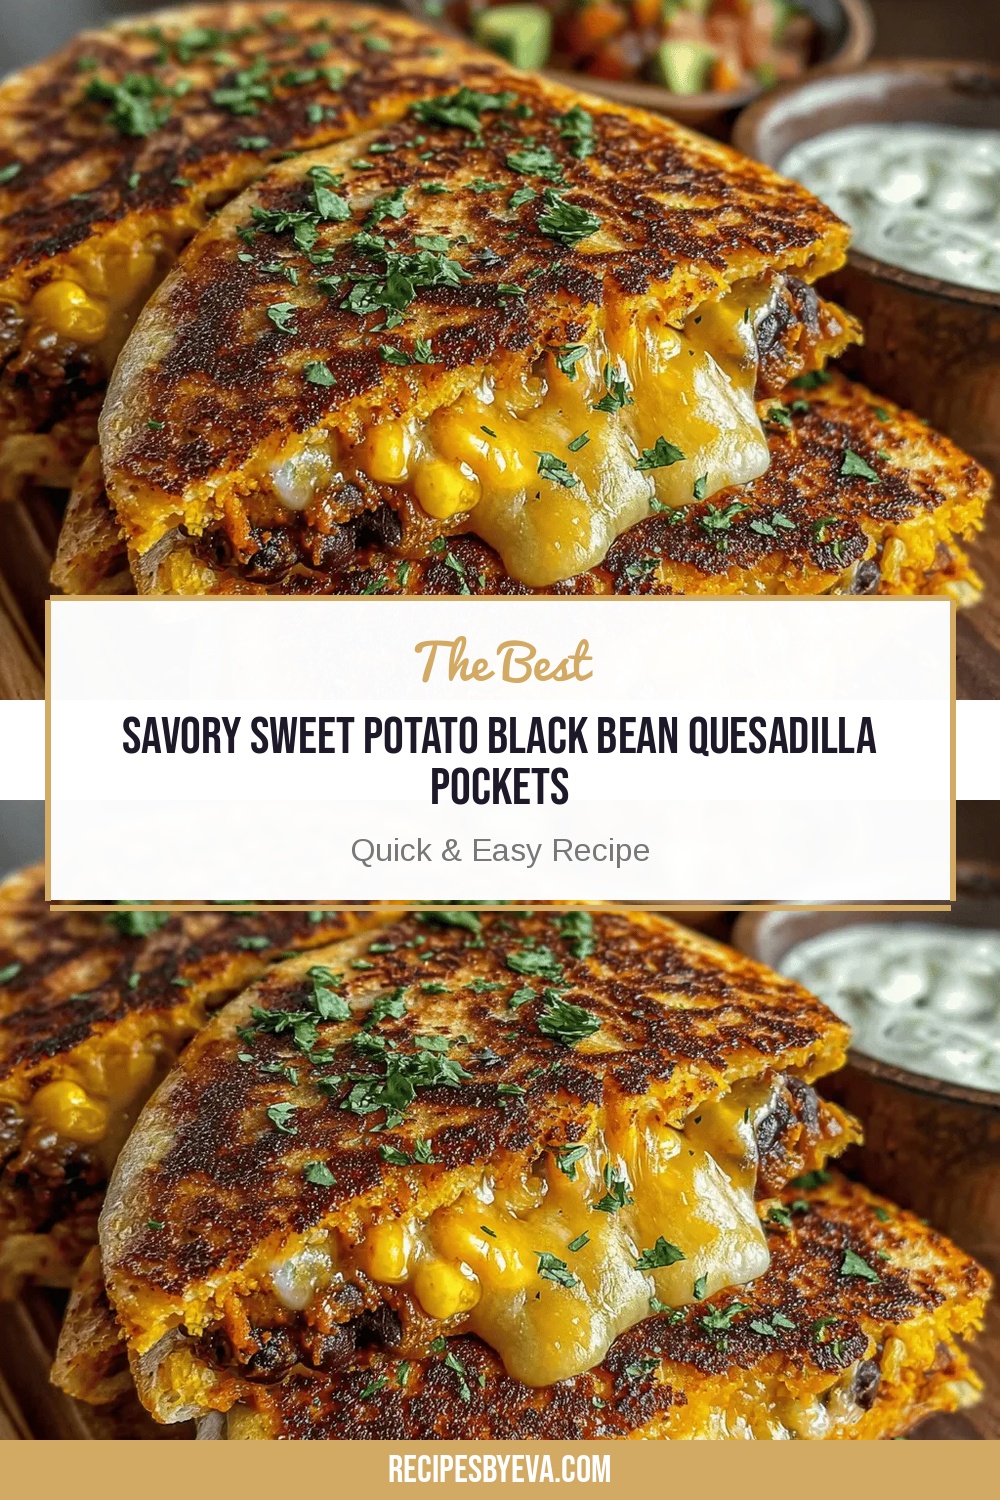
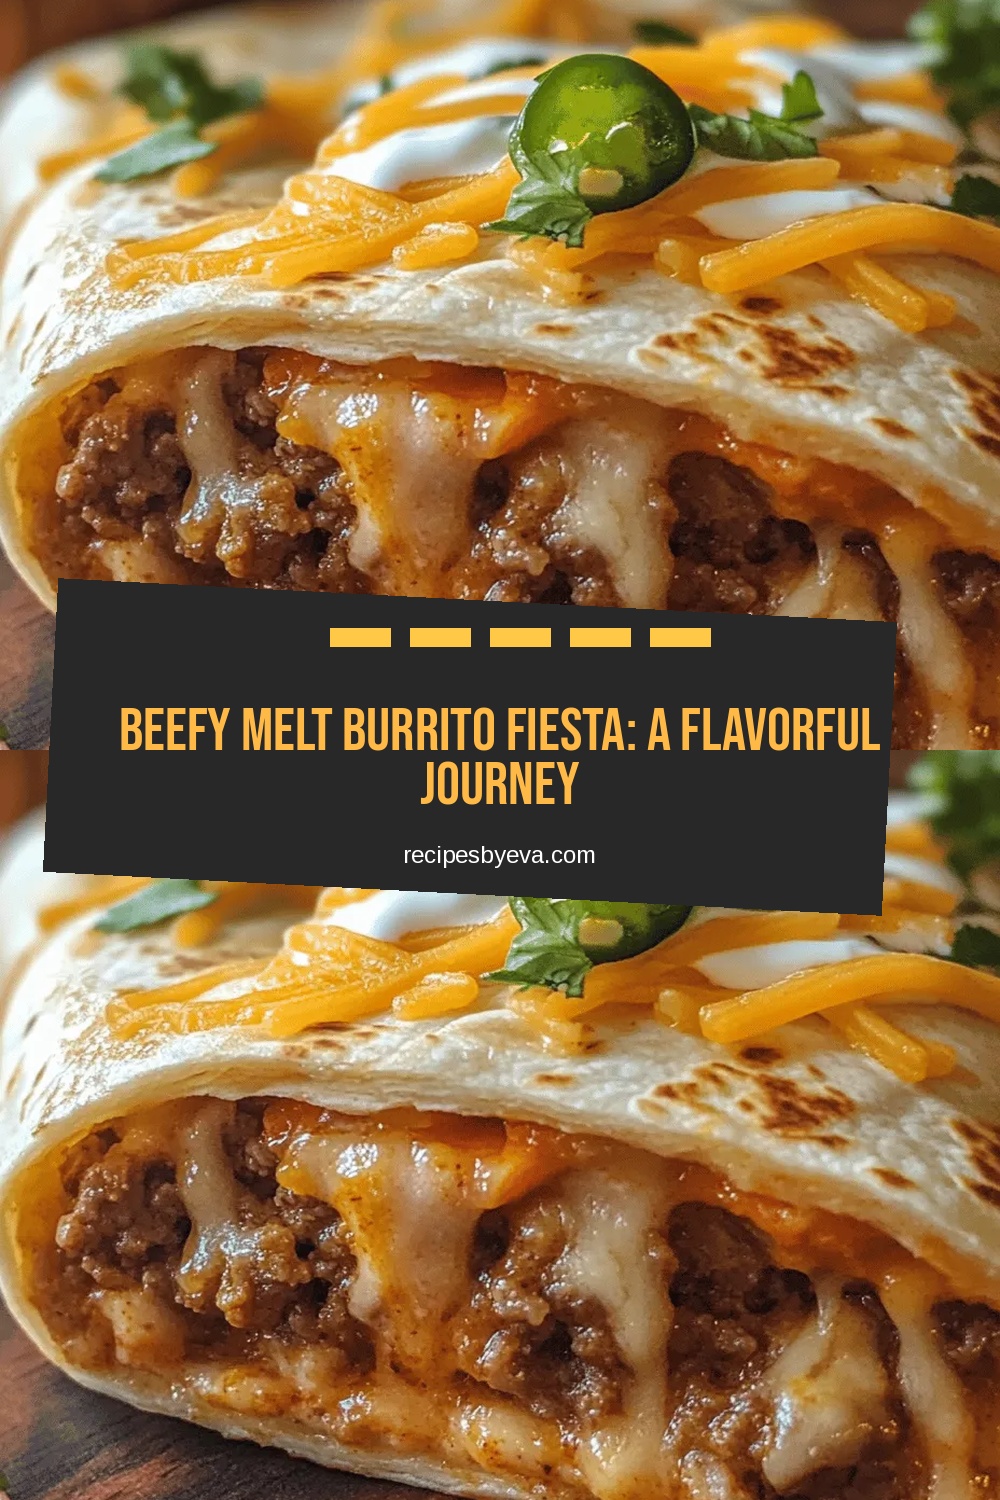
Beefy Melt Burrito Fiesta: A Flavorful Journey
 Save
Save
Imagine the comfort of a classic burrito meeting the indulgent melt of a cheese‑laden quesadilla—that’s the magic behind Beefy Melt Burrito Fiesta. One bite delivers a symphony of savory beef, creamy cheese, and a hint of smoky spice, all wrapped in a warm tortilla that’s slightly crisp on the edges.
What sets this dish apart is the double‑layered cheese sauce that both coats the beef filling and blankets the tortilla, creating a glossy, melt‑in‑your‑mouth finish you won’t find in ordinary burritos.
Busy families, game‑night crews, and anyone craving a hearty Mexican‑inspired dinner will love this recipe. It works perfectly for weeknight meals, casual gatherings, or a relaxed weekend treat.
The process is straightforward: brown the beef, stir in a quick roux‑based cheese sauce, assemble the burritos with rice and beans, then give them a quick bake so the cheese fully melts and the tortillas turn golden.
Why You'll Love This Recipe
Rich, Double‑Melted Cheese: A velvety cheese sauce embraces the beef and then blankets the tortilla, delivering an unforgettable gooey texture that makes every bite luxurious.
One‑Pan Simplicity: Most of the work happens in a single skillet, minimizing cleanup while still achieving restaurant‑quality flavor and presentation.
Customizable Core: The recipe welcomes swaps—different proteins, beans, or veggies—so you can tailor it to pantry supplies or dietary preferences without losing its essence.
Family‑Friendly Fun: The handheld format invites kids to eat with their hands, making dinner both delicious and interactive for the whole table.
Tips & Tricks
Perfecting the Recipe
Dry the Beef. Patting the ground beef dry before seasoning prevents excess steam, ensuring a better sear and richer flavor.
Don’t Over‑Mix the Meat. Gently break the beef apart; over‑mixing can make it dense and tough after baking.
Use a Heavy‑Bottom Skillet. Even heat distribution helps achieve a uniform browning without hot spots.
Flavor Enhancements
Add a splash of lime juice to the sauce just before serving for bright acidity. Stir in a pinch of smoked chipotle powder for subtle heat, or fold in fresh diced jalapeños for a bolder kick.
Common Mistakes to Avoid
Avoid baking the burritos uncovered for too long—this can dry out the tortillas. Also, don’t skip the resting period after baking; a 5‑minute rest lets the cheese set, preventing messy spills.
Pro Tips
Toast the Tortillas Lightly. Warm them in a dry skillet for 30 seconds per side before filling; this prevents tearing and adds a subtle crisp.
Use Freshly Grated Cheese. Freshly shredded cheddar and Monterey Jack melt more smoothly than pre‑shredded varieties that contain anti‑caking agents.
Finish with Cilantro and Lime. The herb adds freshness while lime cuts through richness, balancing the overall flavor profile.
Variations
Ingredient Swaps
Swap ground beef for ground turkey or chorizo for a spicier profile. Replace black beans with pinto beans or corn kernels for added sweetness. Use a blend of pepper jack and mozzarella if you prefer a milder melt.
Dietary Adjustments
For gluten‑free meals, choose corn tortillas and ensure the flour in the roux is a certified gluten‑free blend. To make it vegetarian, substitute the beef with crumbled tempeh or a plant‑based mince and keep the cheese sauce as is.
Serving Suggestions
Serve the burritos alongside a cool avocado‑lime crema, a simple corn‑salad, or a side of cilantro‑lime rice. A dollop of pico de gallo adds freshness, while a handful of tortilla chips offers a crunchy contrast.
Storage Info
Leftover Storage
Allow the burritos to cool to room temperature, then wrap each tightly in plastic wrap and place them in an airtight container. Refrigerate for up to 3 days. For longer keep, freeze individually wrapped burritos for up to 2 months; this preserves flavor and texture.
Reheating Instructions
Reheat refrigerated burritos in a 350°F oven, covered with foil, for 12‑15 minutes until the cheese sauce bubbles. For frozen portions, add an extra 5‑7 minutes. A quick microwave on medium power (30‑45 seconds) works in a pinch, but the oven retains the best melt.
Frequently Asked Questions
Can I make the cheese sauce ahead of time?
What if I don’t have a heavy skillet?
Can I add extra veggies without making the burritos soggy?
What side dish pairs best with this burrito?
Beefy Melt Burrito Fiesta brings together bold Mexican flavors, a luscious cheese sauce, and the satisfying handheld nature of a burrito—all in a single, crowd‑pleasing dish. By following the detailed steps, using the tips provided, and experimenting with the suggested variations, you’ll create a memorable dinner that feels both comforting and adventurous. Feel free to tweak the spices, swap proteins, or add your favorite toppings—cooking is your playground. Dive in, enjoy the melt, and share the fiesta with those you love!
Beefy Melt Burrito Fiesta: A Flavorful Journey
Delicious Beefy Melt Burrito Fiesta: A Flavorful Journey
Ingredients
Main Ingredients
- 1 lb ground beef (80 % lean)
- 4 large flour tortillas (10‑inch)
- 1 cup cooked white rice
- 1 cup canned black beans, rinsed and drained
Burrito Fillings
- 1 red bell pepper, diced
- ½ small onion, finely chopped
- 2 cloves garlic, minced
Melt Sauce
- 2 Tbsp butter
- 2 Tbsp all‑purpose flour
- 1 cup beef broth (low‑sodium)
- ½ cup heavy cream
- 1 cup shredded cheddar cheese
- 1 cup shredded Monterey Jack cheese
Seasonings & Garnish
- 1 tsp ground cumin
- 1 tsp smoked paprika
- ½ tsp chili powder
- Salt and freshly ground black pepper, to taste
- ¼ cup fresh cilantro, chopped
- 1 lime, cut into wedges
Instructions
Cooking Process
- Brown the Beef. Heat a large skillet over medium‑high heat. Add the seasoned beef and break it up with a spatula. Cook for 6‑8 minutes, stirring occasionally, until the meat loses its pink hue and begins to caramelize. This step builds a rich, umami foundation.
- Incorporate Aromatics. Push the beef to the side of the pan, add a splash of oil if needed, then toss in the diced onion, bell pepper, and minced garlic. Sauté for 3‑4 minutes until softened and fragrant, allowing the vegetables to absorb the beef juices.
- Make the Cheese Roux. In a separate saucepan, melt butter over medium heat. Sprinkle flour over the melted butter, whisking constantly for 1‑2 minutes to form a blond roux. Gradually whisk in beef broth, then bring to a gentle simmer, stirring until the mixture thickens—about 3 minutes.
- Finish the Melt Sauce. Reduce heat to low, stir in heavy cream, then fold in shredded cheddar and Monterey Jack. Continue stirring until the cheeses melt into a glossy sauce that coats the back of a spoon. Taste and adjust seasoning with salt and pepper.
Similar Recipes
 Dinner
budgetfriendly cabbage and carrot stirfry for new year clean eating
Learn how to make delicious budgetfriendly cabbage and carrot stirfry for new year clean eating. Easy…
 Dinner
Creamy Chicken and Wild Rice with Mushrooms Carrots and Fresh Thyme
Learn how to make delicious Creamy Chicken and Wild Rice with Mushrooms Carrots and Fresh Thyme.…
 Dinner
classic herbroasted turkey breast with garlic for christmas family feasts
Juicy herb-roasted turkey breast with garlic—perfect for Christmas family feasts. Easy recipe, big flavor. Try it…
 Dinner
Elevate Taco Night with Homemade Taco Meat Seasoning
Learn how to make delicious Elevate Taco Night with Homemade Taco Meat Seasoning. Easy recipe with…
 Dinner
Crispy Air Fryer Cod Delight: A Flavorful and Healthy Seafood Recipe
Delicious Crispy Air Fryer Cod Delight: A Flavorful and Healthy Seafood Recipe
 Dinner
Savory Garlic Butter Hasselback Potatoes: A Delightful Twist on a Classic Side Dish
Delicious Savory Garlic Butter Hasselback Potatoes: A Delightful Twist on a Classic Side Dish
 Dinner
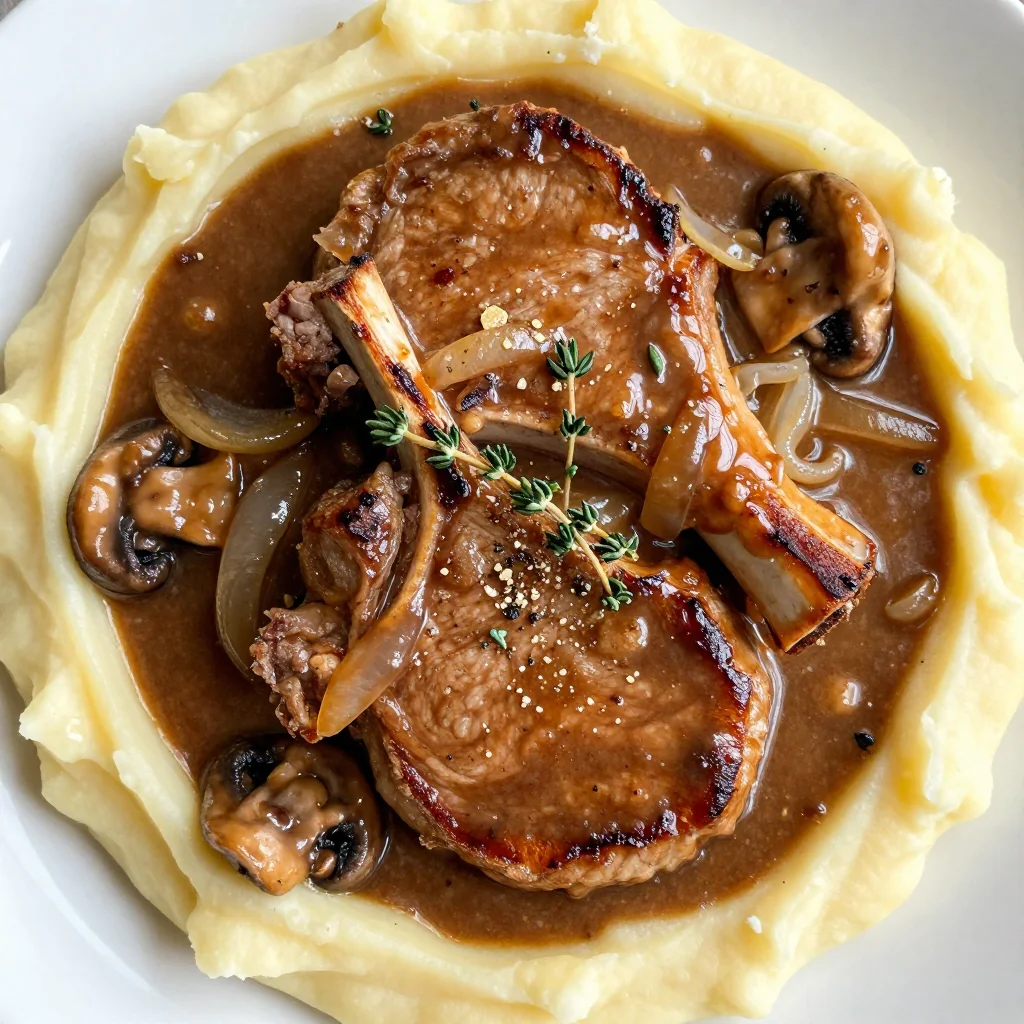
Slow-Cooker Smothered Pork Chops with Gravy
Learn how to make delicious Slow-Cooker Smothered Pork Chops with Gravy. Easy recipe with step-by-step instructions,…
 Dinner
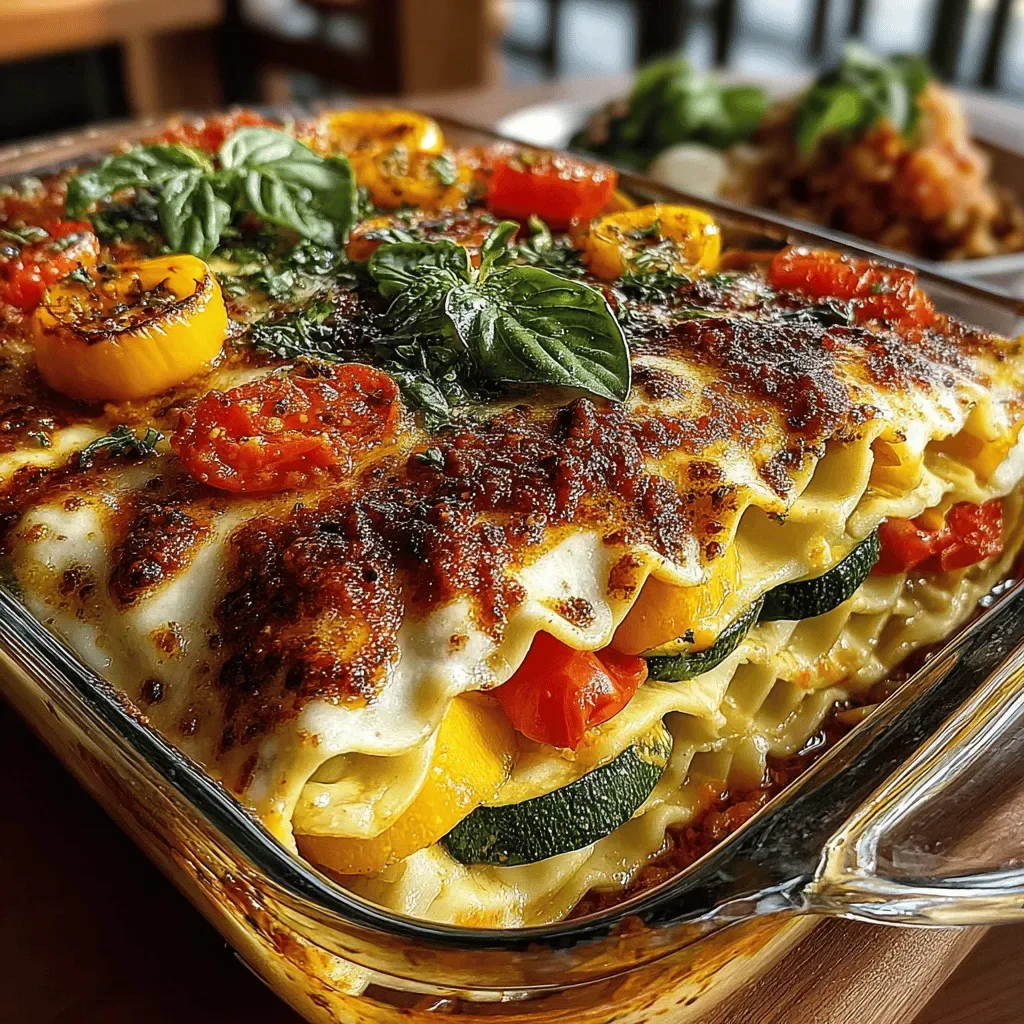
Harvest Delight Crockpot Veggie Lasagna
Delicious Harvest Delight Crockpot Veggie Lasagna

Eva
I cook these recipes at home before they ever land here — simple ingredients, clear steps.