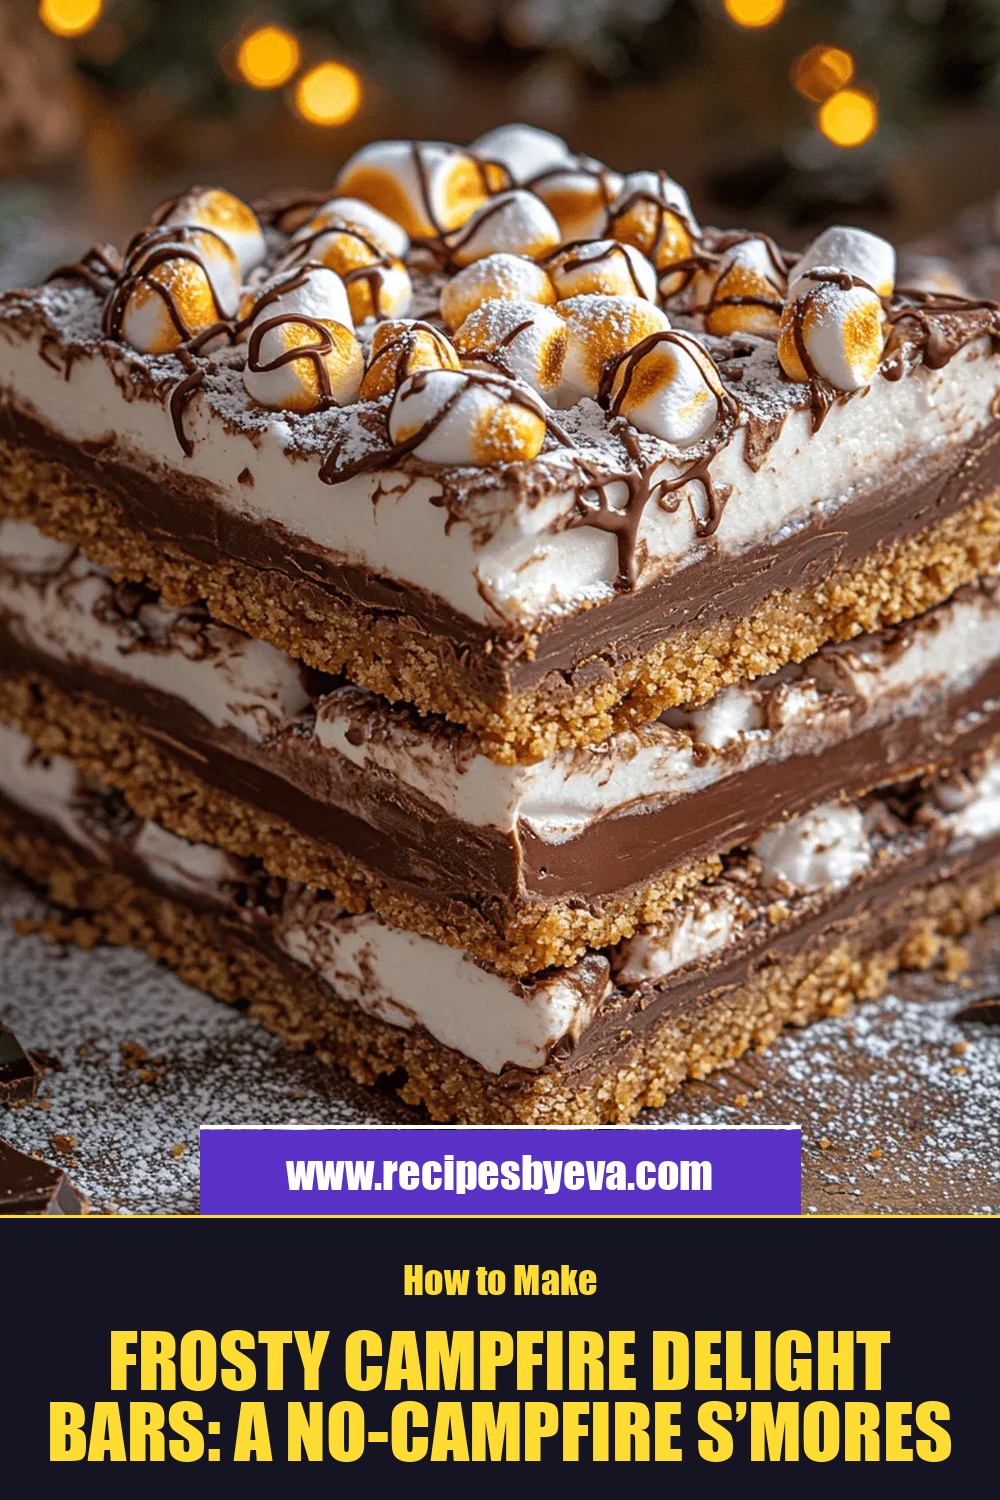
Frosty Campfire Delight Bars: A No-Campfire S’mores Experience
 Save
Save
Imagine the nostalgic aroma of toasted marshmallows and melted chocolate, but without ever lighting a fire. Frosty Campfire Delight Bars capture that classic s’mores magic in a cool, handheld treat that’s perfect for any season. This no‑campfire version delivers the same gooey, sweet‑salty experience while staying tidy and mess‑free.
What makes these bars special is the layered texture: a crisp graham‑crust base, a silky chocolate‑marshmallow filling, and a light, frosty glaze that mimics the chill of a night under the stars. The combination of crunchy, creamy, and cool creates a mouthfeel that feels both familiar and novel.
Kids, teens, and adults who love s’mores will adore these bars, whether served at a backyard barbecue, a movie night, or a cozy winter gathering. They’re also a hit for picnics because they travel well and require no utensils.
The process is straightforward: build a graham base, whip a quick marshmallow‑chocolate mixture, spread it, chill, then drizzle a sweet glaze. In under an hour you’ll have a batch of bars that look as good as they taste.
Why You'll Love This Recipe
All‑Season Comfort: The classic s’mores flavor is captured without fire, so you can enjoy it in summer, fall, or winter without worrying about weather or safety.
Hands‑Free Eating: Each bar is individually portioned, eliminating the need for sticks, plates, or messy clean‑up after each bite.
Quick Assembly: With only a few pantry staples and a short chill time, the recipe fits perfectly into a busy weeknight or last‑minute gathering.
Customizable Layers: Swap chocolate types, add a pinch of sea salt, or drizzle caramel for endless flavor twists that keep the recipe fresh.
Tips & Tricks
Perfecting the Recipe
Use Fresh Marshmallows. Fresh mini marshmallows melt evenly and create a smoother filling than older, hardened pieces.
Press Crust Firmly. Compact the graham base with the back of a measuring cup; a solid base prevents sogginess after chilling.
Cool the Filling Slightly. Let the marshmallow‑chocolate blend sit a few minutes before spreading; this avoids tearing the crust.
Flavor Enhancements
Add a dash of espresso powder to the chocolate mixture for depth, or stir in a tablespoon of toasted coconut flakes for texture. A light sprinkle of smoked sea salt on the glaze adds a subtle, savory contrast that mimics a campfire’s smoky notes.
Common Mistakes to Avoid
Do not overheat the cream; boiling can cause the chocolate to seize, resulting in a grainy filling. Also, avoid cutting the bars before the glaze fully sets, as this can cause the glaze to smear and the bars to crumble.
Pro Tips
Line the Pan. Use parchment paper with overhang; it makes lifting the chilled slab out of the pan effortless.
Temperature Check. Keep the cream just below boiling (around 190°F/88°C) to guarantee a smooth melt without scorching.
Store in Layers. If making a large batch, separate layers with wax paper before stacking; this prevents the bars from sticking together.
Variations
Ingredient Swaps
Replace the semi‑sweet chocolate chips with dark chocolate for a richer, slightly bitter contrast. Swap mini marshmallows for toasted marshmallow fluff to achieve a smoother, caramel‑like texture. For a nutty twist, fold in chopped toasted pecans or almonds into the filling before it sets.
Dietary Adjustments
Use gluten‑free graham crackers or crushed gluten‑free cookies for a safe crust. Substitute dairy‑free butter and coconut cream for the butter and heavy cream to keep the recipe vegan. For low‑sugar needs, replace powdered sugar in the glaze with a sugar‑free powdered sweetener and use sugar‑free chocolate chips.
Serving Suggestions
Pair the bars with a scoop of vanilla bean ice cream for a hot‑cold contrast, or drizzle caramel sauce over the top for extra indulgence. They also work beautifully as a dessert centerpiece at birthday parties, where guests can pick individual bars from a decorative platter.
Storage Info
Leftover Storage
Allow any remaining bars to cool completely, then transfer them to an airtight container. Store in the refrigerator for up to 4 days. For longer keeping, wrap each bar in plastic wrap and place in a freezer‑safe bag; they freeze well for up to 2 months.
Reheating Instructions
To enjoy a warm bar, preheat the oven to 300°F (150°C), place the bar on a parchment‑lined tray, and heat for 5‑7 minutes until the chocolate softens. Avoid microwaving for more than 20 seconds, as it can make the glaze gummy. A quick warm‑up restores the gooey interior while keeping the crust crisp.
Frequently Asked Questions
Can I make these bars ahead of time?
What if I don’t have mini marshmallows?
Can I add a salty element without ruining the sweet balance?
Frosty Campfire Delight Bars give you the beloved s’mores flavor in a tidy, no‑fire format that works year‑round. By following the detailed steps, using fresh ingredients, and applying a few pro tips, you’ll create bars that are crisp, creamy, and perfectly frosted. Feel free to experiment with swaps and toppings to make the recipe truly yours. Enjoy the sweet, nostalgic bite of a campfire night—any night!
Frosty Campfire Delight Bars: A No-Campfire S’mores Experience
Delicious Frosty Campfire Delight Bars: A No-Campfire S’mores Experience
Ingredients
Graham Cracker Base
- 1 ½ cups graham cracker crumbs
- ¼ cup melted unsalted butter
- 2 tablespoons brown sugar
Marshmallow‑Chocolate Filling
- 1 cup mini marshmallows
- ½ cup semi‑sweet chocolate chips
- 2 tablespoons heavy cream
Frosty Glaze
- ¼ cup powdered sugar
- 1 tablespoon milk (or non‑dairy alternative)
- ½ teaspoon vanilla extract
Seasonings & Extras
- Pinch of sea salt (optional)
- Extra chocolate chips for topping
Instructions
Making the Marshmallow‑Chocolate Filling
- Heat the Cream. In a small saucepan, warm heavy cream over medium heat until it just begins to simmer. Do not boil; this prevents scorching and ensures a smooth sauce.
- Combine Marshmallows and Chocolate. Remove the pan from heat and immediately add mini marshmallows and semi‑sweet chocolate chips. Stir continuously; the heat from the cream will melt both ingredients, forming a glossy, stretchy mixture.
- Cool Slightly. Allow the filling to sit for 2‑3 minutes so it thickens just enough to spread without running.
- Spread Over Crust. Using a spatula, evenly distribute the marshmallow‑chocolate layer over the chilled crust, smoothing the top. The mixture should be thick but pliable.
Finishing with Frosty Glaze
- Mix the Glaze. In a small bowl whisk together powdered sugar, milk, and vanilla extract until smooth. The glaze should be pourable but not watery.
- Drizzle. Remove the chilled bars from the fridge, then gently drizzle the glaze over the top, allowing it to pool in the corners for a frosty effect. Sprinkle a pinch of sea salt and extra chocolate chips if desired.
- Final Chill. Return the pan to the refrigerator for another 10 minutes so the glaze sets. Once firm, lift the bars out using the parchment overhang, place on a cutting board, and cut into 12 even squares.
Similar Recipes
 Desserts
Harry Potter Butterbeer Cheesecake Recipe
Delicious Harry Potter Butterbeer Cheesecake Recipe
 Desserts
Golden Bliss: Honey Butter Sweet Potato Cornbread
Delicious Golden Bliss: Honey Butter Sweet Potato Cornbread
 Desserts
Irresistible Easy Pumpkin Bread Recipe for Autumn Bliss
Learn how to make delicious Irresistible Easy Pumpkin Bread Recipe for Autumn Bliss. Easy recipe with…
 Desserts
Lemon Gooey Butter Cookies: A Delightful Treat
Delicious Lemon Gooey Butter Cookies: A Delightful Treat
 Desserts
The Best Apple Pie: A Timeless Classic Recipe
Delicious The Best Apple Pie: A Timeless Classic Recipe
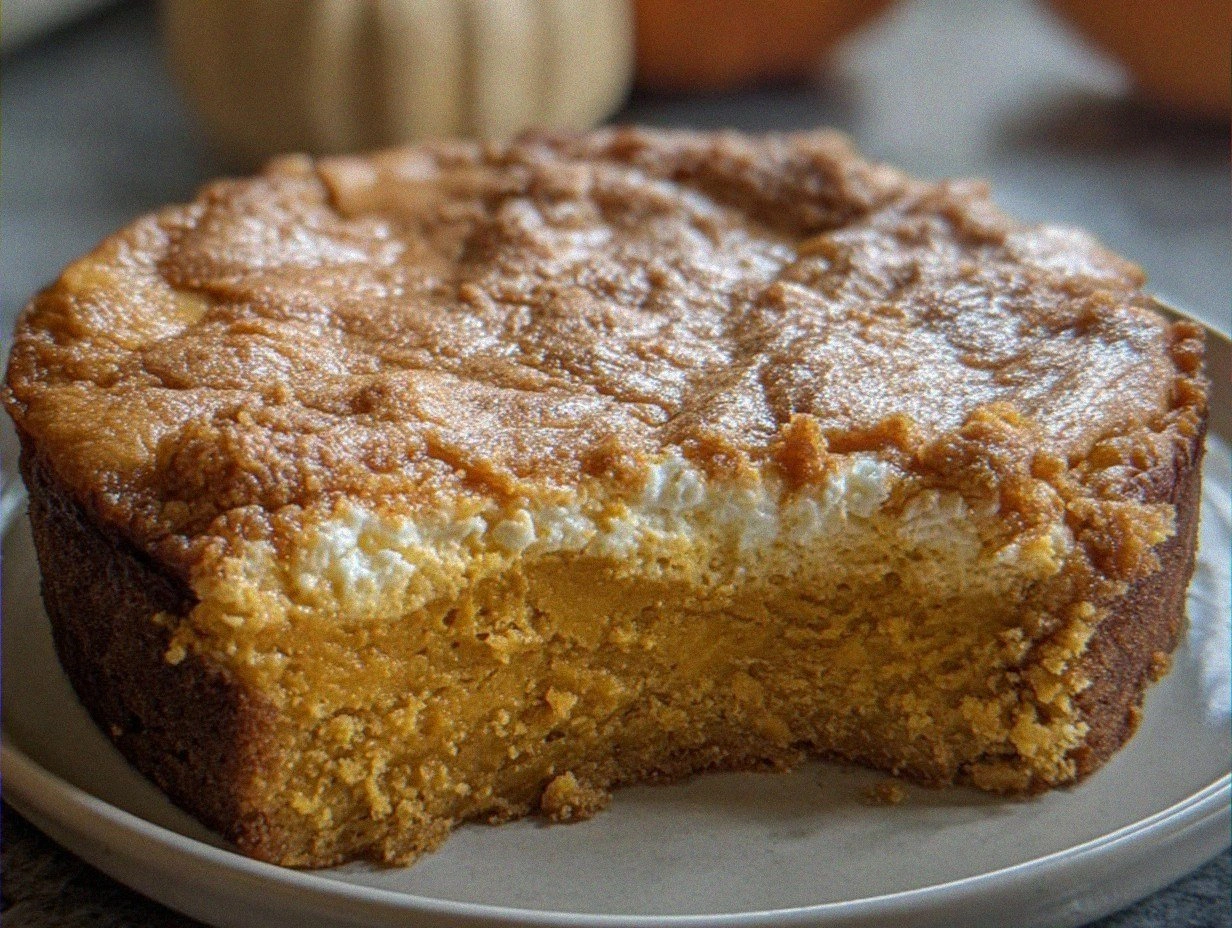 Desserts
Pumpkin Gooey Butter Cake
Learn how to make delicious Pumpkin Gooey Butter Cake. Easy recipe with step-by-step instructions.
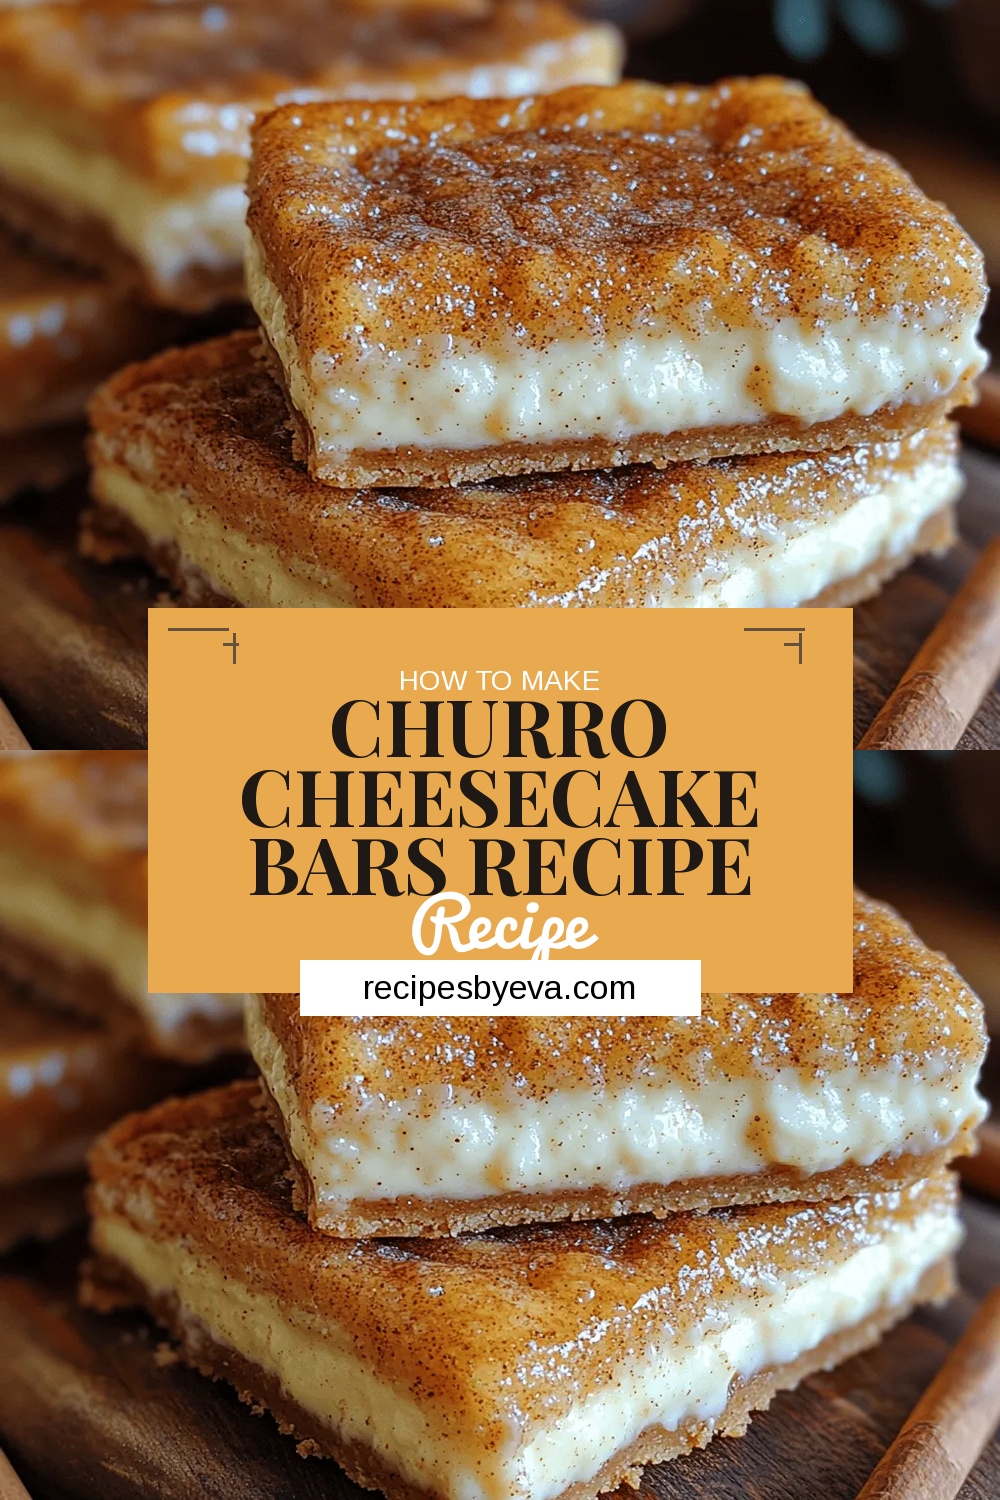 Desserts
Churro Cheesecake Bars Recipe
Delicious Churro Cheesecake Bars Recipe
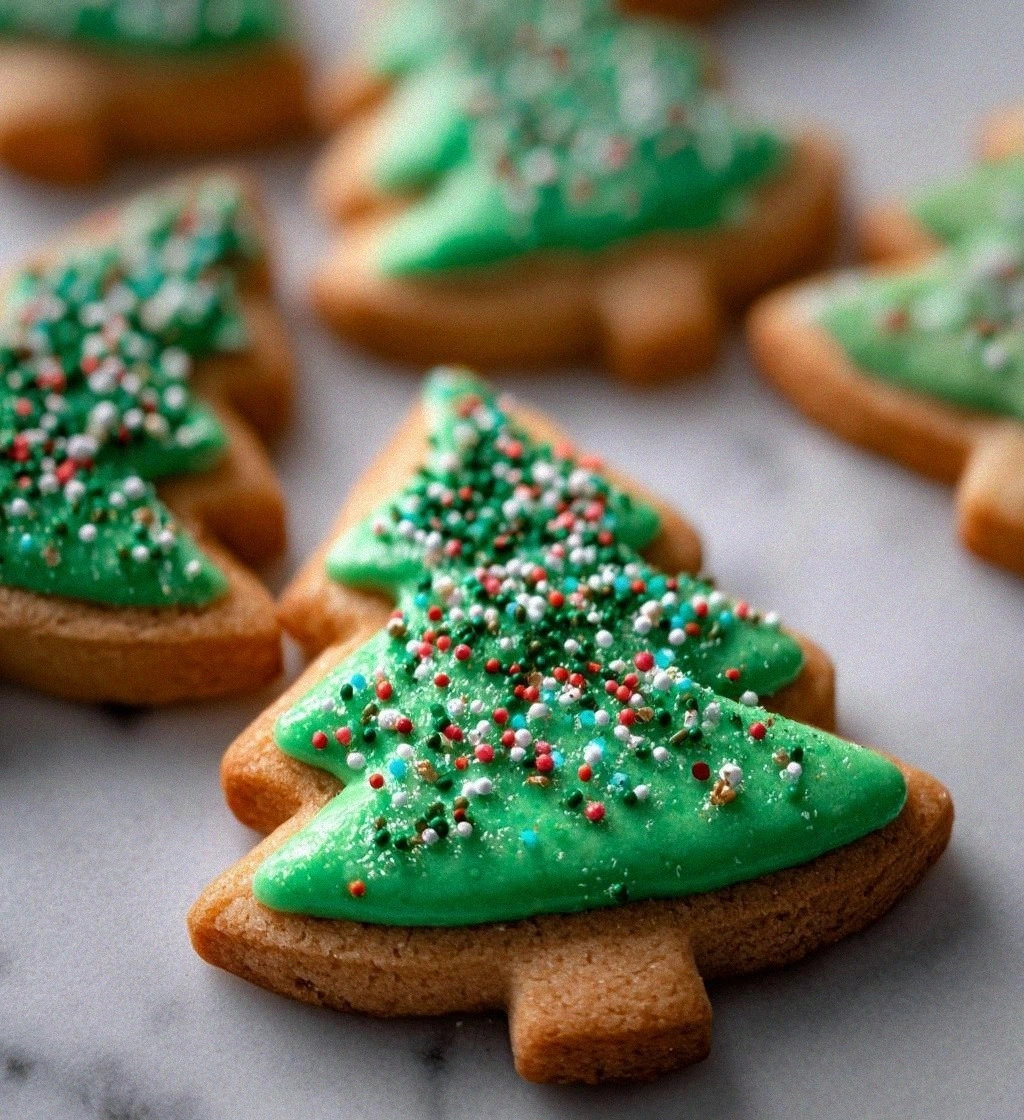 Desserts
Christmas Tree Cookies: 7 Tips to Bake Magical Treats
Learn how to make delicious Christmas Tree Cookies: 7 Tips to Bake Magical Treats. Easy recipe…

Eva
I cook these recipes at home before they ever land here — simple ingredients, clear steps.