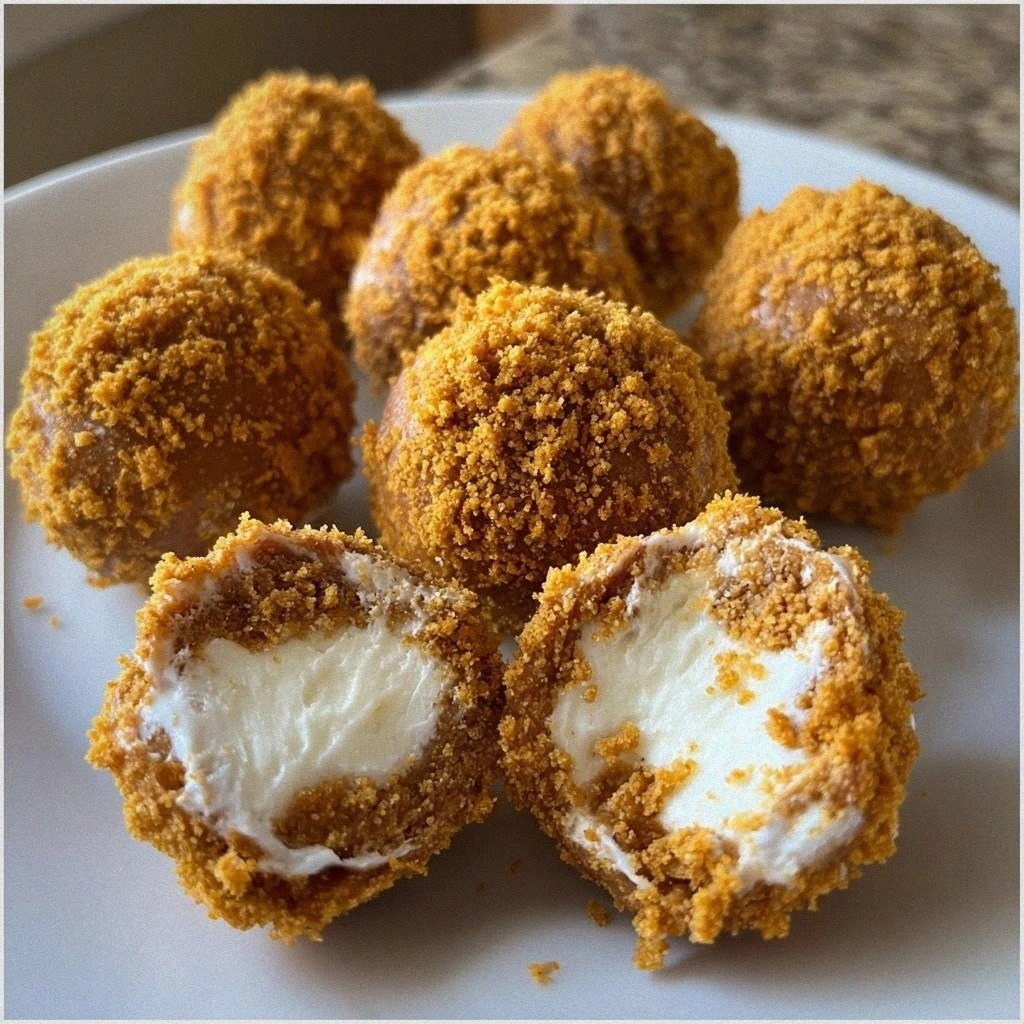
Baked Cinnamon Cream Cheese Roll-Ups: A Sweet Indulgence
 Save
Save
Imagine the warm aroma of cinnamon swirling around a soft, buttery roll that hides a silky cream‑cheese center. Baked Cinnamon Cream Cheese Roll‑Ups turn an ordinary dessert into a comforting, café‑style treat that feels both indulgent and home‑made.
What makes this recipe truly special is the balance between a lightly sweetened dough and a luxuriously smooth filling, all finished with a glossy vanilla glaze that catches the eye and the palate.
These roll‑ups are perfect for brunch gatherings, after‑school snacks, or a sweet ending to a dinner party. Kids love the playful shape, while adults appreciate the sophisticated flavor profile.
The process is straightforward: prepare a tender dough, whip up a cinnamon‑spiced cream cheese filling, roll, slice, bake, and finish with a quick glaze. In just under an hour you’ll have golden, fragrant rolls ready to share.
Why You'll Love This Recipe
Irresistible Flavor Pairing: The sweet, buttery dough pairs perfectly with the tangy, cinnamon‑infused cream cheese, creating a harmonious bite that satisfies both sweet and slightly savory cravings.
Easy to Scale: Whether you need a modest batch for a family brunch or a larger tray for a party, the recipe scales effortlessly without compromising texture or taste.
Visually Stunning: The golden crust, swirls of cinnamon, and glossy glaze make these roll‑ups look as impressive as they taste, ideal for photo‑worthy moments.
Comfort Food Upgrade: Classic cinnamon rolls get an elegant upgrade with a cream cheese core, turning a familiar comfort into a refined dessert that feels special.
Tips & Tricks
Perfecting the Recipe
Cold Butter Matters. Keep the butter chilled until it meets the flour. Cold pieces melt during baking, creating steam pockets that give the dough its light, flaky texture.
Don’t Over‑mix. Stir the dough just until ingredients are combined. Over‑mixing develops gluten, resulting in a dense roll rather than a tender one.
Even Rolling. Use a rolling pin with adjustable rings or a ruler to keep the dough thickness consistent, ensuring uniform baking across all roll‑ups.
Flavor Enhancements
Add a teaspoon of orange zest to the filling for a citrus lift, or drizzle a thin stream of caramel sauce over the glaze just before serving. A pinch of nutmeg in the dough deepens the warm spice profile without overpowering the cinnamon.
Common Mistakes to Avoid
Avoid letting the dough sit too long after rolling; it can dry out, causing cracks. Also, don’t skip the brief chilling of the filling—warm cheese spreads too thinly and may leak during baking.
Pro Tips
Use a Kitchen Scale. Measuring flour by weight (250 g) yields more consistent results than using volume.
Brush with Melted Butter. Lightly brush the tops with melted butter before glazing for an extra glossy finish.
Serve Warm. The roll‑ups taste best within 30 minutes of baking; reheating can be done gently to preserve the delicate crumb.
Variations
Ingredient Swaps
Swap the all‑purpose flour for a 1‑to‑1 gluten‑free blend if needed. For a richer filling, fold in ¼ cup chopped toasted pecans or raisins. Replace brown sugar with maple syrup for a subtle caramel nuance.
Dietary Adjustments
Use low‑fat cream cheese and a sugar substitute like erythritol for a lighter version. Dairy‑free butter and almond milk keep the recipe vegan‑friendly, while a dash of xanthan gum helps maintain structure.
Serving Suggestions
Pair the roll‑ups with a dollop of lightly sweetened whipped cream or a scoop of vanilla ice cream. A side of fresh berries adds acidity that balances the richness, making for an elegant brunch plate.
Storage Info
Leftover Storage
Allow the roll‑ups to cool completely, then place them in an airtight container. Store in the refrigerator for up to 4 days. For longer keeping, freeze individually wrapped in plastic and then in a zip‑top bag for up to 2 months.
Reheating Instructions
Reheat refrigerated rolls in a 350°F (175°C) oven, covered with foil, for 10‑12 minutes. For frozen rolls, bake at the same temperature for 18‑20 minutes, uncovered, until warmed through and the glaze is glossy again.
Frequently Asked Questions
Can I make these roll‑ups ahead of time?
Can I substitute low‑fat cream cheese?
What sides pair best with these roll‑ups?
How do I freeze leftover roll‑ups?
This Baked Cinnamon Cream Cheese Roll‑Ups recipe delivers a perfect blend of soft, buttery dough, warm cinnamon spice, and a luscious cream‑cheese center—all finished with a glossy vanilla glaze. By following the step‑by‑step guide, using the tips, and experimenting with the suggested variations, you’ll create a dessert that feels both comforting and elegant. Feel free to tweak flavors or add your own twists—cooking is an adventure, after all. Enjoy every warm, cinnamon‑kissed bite!
Baked Cinnamon Cream Cheese Roll-Ups: A Sweet Indulgence
Delicious Baked Cinnamon Cream Cheese Roll-Ups: A Sweet Indulgence
Ingredients
Dough
- 2 cups all‑purpose flour
- 1/4 cup granulated sugar
- 2 teaspoons baking powder
- 1/2 teaspoon salt
- 1/2 cup unsalted butter, cold and cubed
- 3/4 cup milk
- 1 large egg
- 1 teaspoon vanilla extract
Cream Cheese Filling
- 8 oz cream cheese, softened
- 1/3 cup brown sugar, packed
- 2 teaspoons ground cinnamon
Vanilla Glaze
- 1/2 cup powdered sugar
- 2 tablespoons milk
- 1/2 teaspoon vanilla extract
Instructions
Preparing the Dough
- Combine Wet Ingredients. In a separate cup whisk the milk, egg, and vanilla extract until smooth. Adding the liquids gradually prevents the dough from becoming too sticky.
- Mix Together. Make a well in the center of the dry mixture, pour in the wet ingredients, and stir with a wooden spoon until just combined. Over‑mixing develops gluten, which would make the rolls tough.
- Rest the Dough. Transfer the dough onto a lightly floured surface, form a ball, and wrap in plastic. Let it rest for 10 minutes; this relaxes the gluten and makes rolling easier.
Making the Cream Cheese Filling
- Beat Until Light. Use an electric mixer on low speed for 1‑2 minutes. This incorporates air, giving the filling a lighter mouthfeel.
- Chill Briefly. Refrigerate the mixture for 5 minutes. A cooler filling is easier to spread evenly on the rolled dough.
Assembling the Roll‑Ups
- Spread the Filling. Evenly distribute the cream cheese mixture over the dough, leaving a ½‑inch border around the edges to prevent leakage.
- Roll Tightly. Starting from the long side, roll the dough into a tight log, pinching the seam to seal. A tight roll creates distinct, uniform spirals.
- Slice. Using a sharp, lightly floured knife, cut the log into 1‑inch thick rounds. Place each round seam‑side down on a parchment‑lined baking sheet.
Baking and Glazing
- Prepare the Glaze. While the rolls bake, whisk together powdered sugar, milk, and vanilla until smooth. The glaze should be pourable but not watery.
- Glaze Warm Rolls. Remove the pan from the oven, drizzle the glaze over each roll, and sprinkle a pinch of extra cinnamon for aroma.
- Cool Slightly. Allow the roll‑ups to rest for 5 minutes before serving; this sets the glaze and lets the interior finish cooking gently.
Similar Recipes
 Breakfast
6 zarte Egg Muffins – dein perfektes Frühstückswunder
Learn how to make delicious 6 zarte Egg Muffins – dein perfektes Frühstückswunder. Easy recipe with…
 Breakfast
Homemade Sourdough Croissants Recipe
Learn how to make delicious Homemade Sourdough Croissants Recipe. Easy recipe with step-by-step instructions.
 Breakfast
Indulge in Autumn with Spiced Pumpkin Maple Scones: A Delicious Recipe
Delicious Indulge in Autumn with Spiced Pumpkin Maple Scones: A Delicious Recipe
 Breakfast
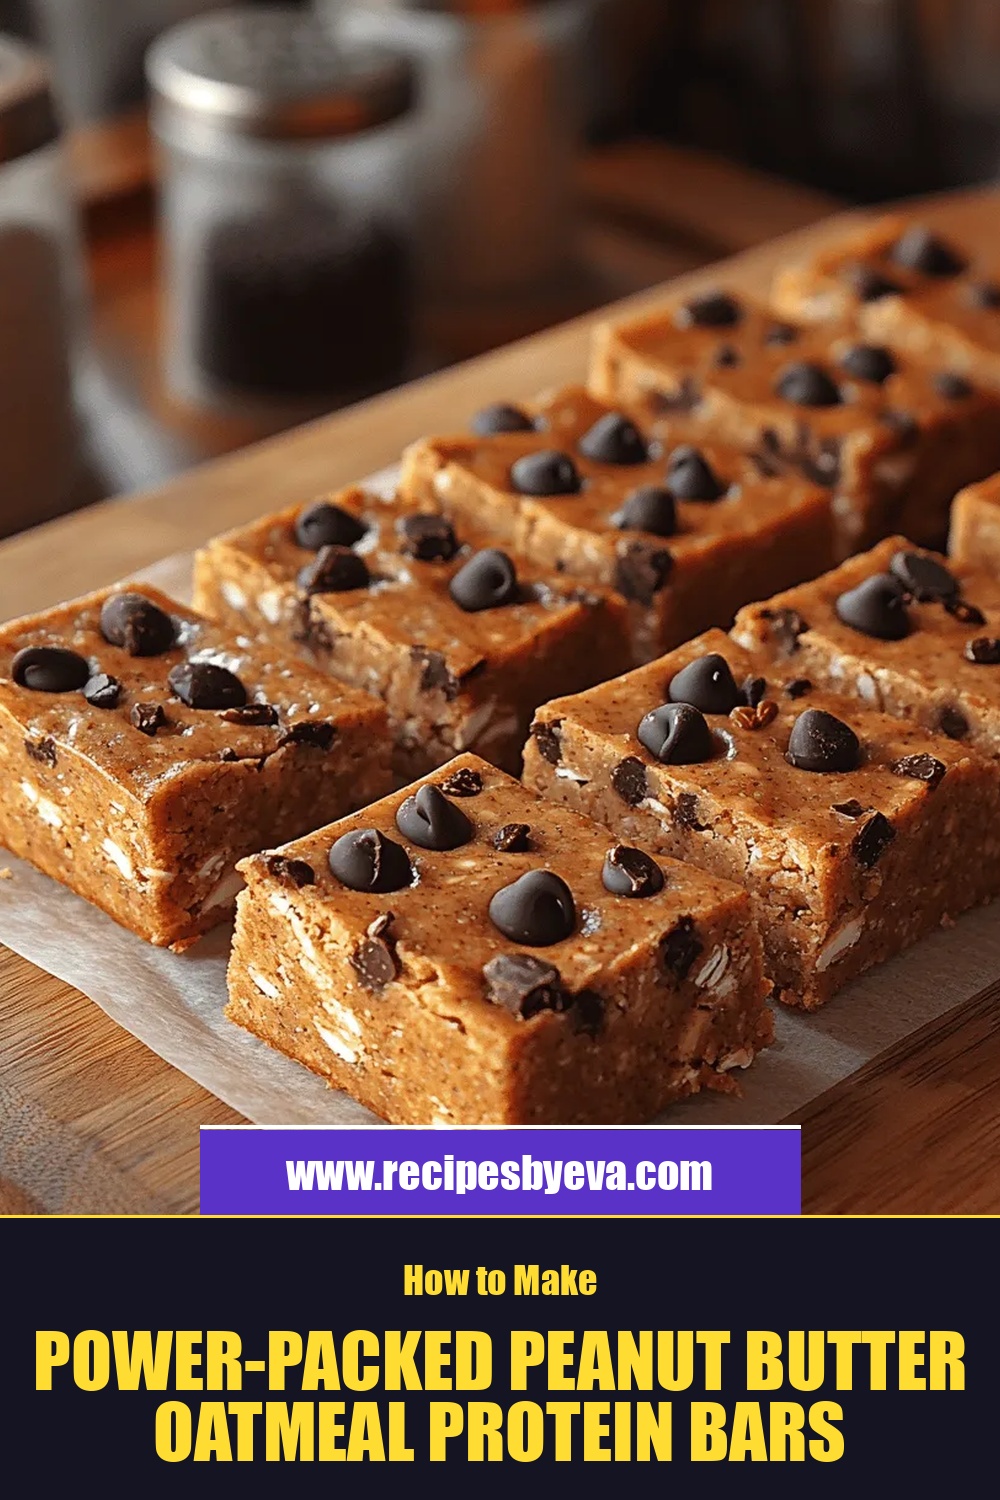
Power-Packed Peanut Butter Oatmeal Protein Bars
Delicious Power-Packed Peanut Butter Oatmeal Protein Bars
 Breakfast
Savory Breakfast Croissant Casserole: A Delectable Delight
Delicious Savory Breakfast Croissant Casserole: A Delectable Delight
 Breakfast
Mini Cheesy Hash Brown Sliders Recipe
Delicious Mini Cheesy Hash Brown Sliders Recipe
 Breakfast
Ham & Cheese Breakfast Calzone: A Delicious Start to Your Day
Delicious Ham & Cheese Breakfast Calzone: A Delicious Start to Your Day
 Breakfast
Freezer-Friendly Breakfast Burritos for Quick Thaw
Learn how to make delicious Freezer-Friendly Breakfast Burritos for Quick Thaw. Easy recipe with step-by-step instructions,…

Eva
I cook these recipes at home before they ever land here — simple ingredients, clear steps.