No-Knead Buttermilk Dinner Rolls
 Save
Save
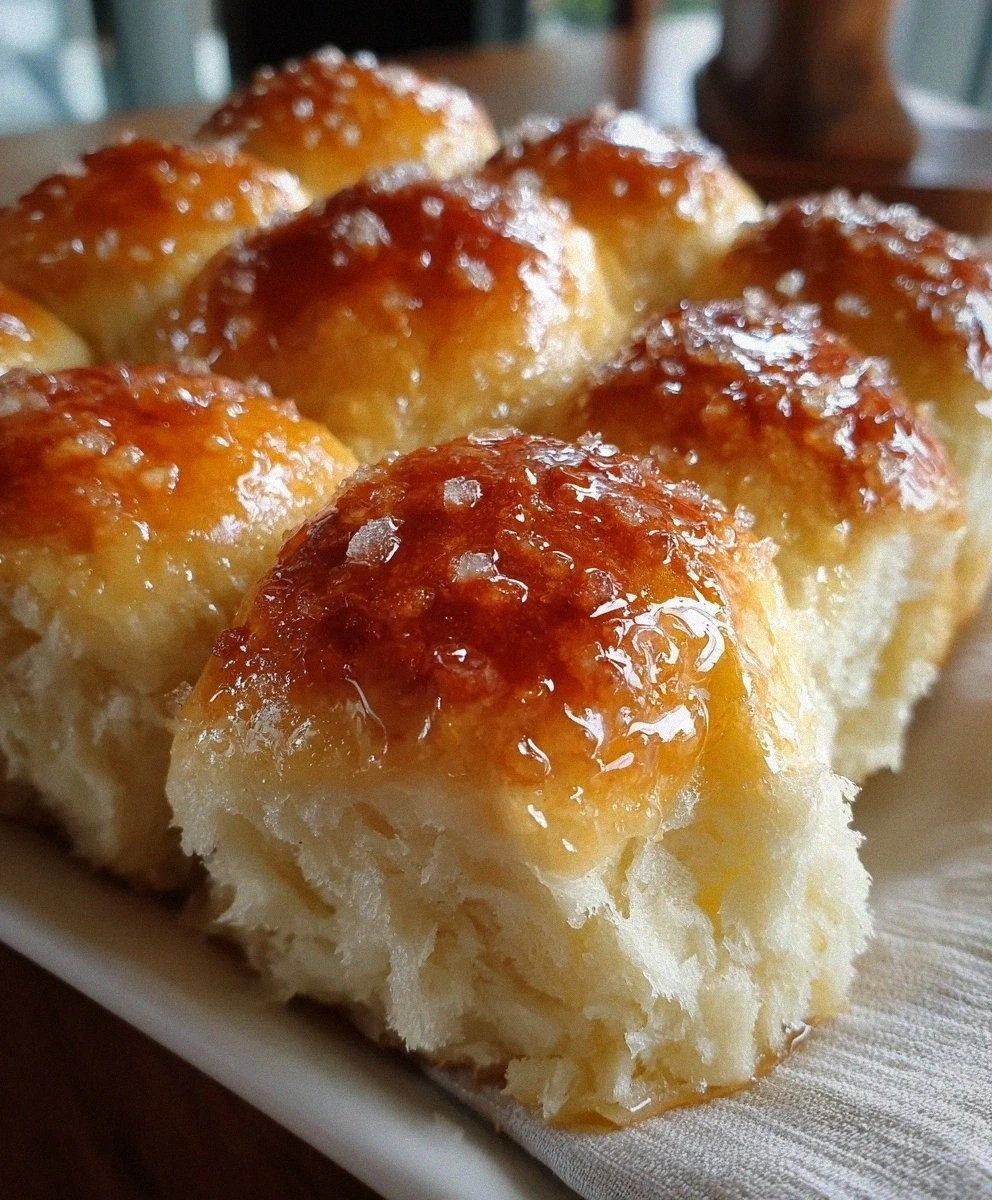
The first time I tried to make dinner rolls from scratch, I was standing in my tiny kitchen on a crisp autumn evening, the kind where the scent of fallen leaves sneaks in through an open window. I remember the moment I lifted the lid off the pot of simmering soup, and a cloud of fragrant steam rose, curling around the copper pots and the wooden spoon I was holding. As that steam brushed my face, I could already taste the buttery, slightly tangy aroma of the rolls I was about to bake. That night, the kitchen felt like a warm hug, and the rolls that emerged from the oven were golden, fluffy, and so tender that they practically melted in my mouth. The secret? A simple no‑knead method that lets the dough develop its structure while you set the table.
Fast forward a few years, and those same rolls have become a staple at every family gathering, from Sunday brunches to holiday feasts. The magic lies in the buttermilk, which adds a subtle tang that balances the sweetness of the sugar and the richness of the melted butter. The dough barely needs any handling, which means you spend less time wrestling with sticky flour and more time chatting with guests, pouring wine, and watching the rolls rise like little clouds. Have you ever wondered why restaurant rolls always seem so airy and buttery without any visible effort? The answer is in the chemistry of the ingredients and the patience you give the dough to work its wonders.
What makes this recipe truly stand out is its simplicity paired with a depth of flavor that rivals any bakery. You won’t need a stand mixer, a bench scraper, or a fancy proofing box—just a bowl, a warm spot, and a little bit of love. And because it’s a no‑knead dough, you can set it and forget it while you prep the rest of your meal. Imagine pulling a tray of perfectly risen, golden‑brown rolls out of the oven, the crust crackling as you brush them with melted butter, and the flaky salt sparkling like tiny gems on top. The moment you bite into that first roll, the soft interior gives way to a buttery, slightly tangy finish that makes you want to keep reaching for more.
But wait—there’s a secret technique in step four that will take your rolls from good to unforgettable, and I’ll reveal it just a little later. Trust me, you’ll want to bookmark this page because the tip is a game‑changer for any home baker. Ready to dive in? Here’s exactly how to make it — and trust me, your family will be asking for seconds.
🌟 Why This Recipe Works
- Flavor Depth: The buttermilk introduces a gentle acidity that brightens the dough, while the melted butter adds richness, creating a balanced flavor profile that feels both comforting and sophisticated.
- Texture Perfection: The high hydration from the buttermilk and the gentle rise from the yeast produce a soft, pillowy crumb with a slightly crisp, buttery crust that cracks delightfully when you pull it apart.
- Effortless Technique: No kneading means you can avoid the tiring arm workout of traditional roll doughs, allowing even beginners to achieve bakery‑level results with minimal effort.
- Time Efficiency: While the dough rests for about an hour, you can multitask—prepare sides, set the table, or even take a short walk, making it perfect for busy households.
- Versatility: These rolls serve as a neutral canvas for endless flavor twists, from garlic‑herb to sweet cinnamon sugar, making them suitable for any meal occasion.
- Nutrition Boost: Using buttermilk adds calcium and protein, and the modest amount of sugar keeps the rolls lightly sweet without overwhelming the palate.
- Ingredient Quality: Each component—flour, yeast, butter—plays a crucial role, and the recipe highlights how choosing the best versions can elevate the final product.
- Crowd‑Pleasing Factor: The golden exterior and tender interior are universally loved, ensuring that even picky eaters will reach for another roll.
🥗 Ingredients Breakdown
The Foundation
The backbone of any good roll is the flour. In this recipe we use all‑purpose flour, which provides the perfect balance of protein to create a soft yet sturdy crumb. If you want an even chewier texture, you can swap half of it for bread flour, but be careful not to over‑hydrate. Choose a flour that feels slightly powdery to the touch; if it feels gritty, it may be old and will affect the dough’s elasticity. The flour also acts as a sponge, soaking up the buttermilk and allowing the gluten to develop gently during the resting period.
Buttermilk is the star of the show. Its natural acidity not only adds a subtle tang but also strengthens the gluten network, giving the rolls a tender crumb. If you’re dairy‑free, a cultured soy or almond “buttermilk” works just as well, but be sure it’s unsweetened so the flavor stays balanced. The creaminess of the buttermilk also contributes to a richer mouthfeel, making each bite feel luxurious.
Aromatics & Sweeteners
Granulated sugar does double duty: it feeds the yeast, encouraging a robust rise, and it adds a whisper of sweetness that rounds out the tang of the buttermilk. Use fine white sugar for quick dissolution; coarse sugar can leave tiny gritty spots in the crumb. Kosher salt is essential for flavor balance and also helps regulate the yeast activity, preventing an over‑fermented dough that could taste overly sour.
Active dry yeast is the leavening powerhouse. Freshness is key—old yeast can lead to a sluggish rise, leaving you with dense rolls. Always proof the yeast in warm (not hot) buttermilk; a temperature of about 105°F (40°C) is ideal. If you’re in a hurry, you can use instant yeast, but the flavor development will be slightly less complex.
The Secret Weapons
Melted butter is folded in after the initial rise, creating a glossy, buttery crust that crackles when you bite into it. It also adds richness to the crumb, making each roll feel indulgent without being heavy. For a dairy‑free version, try melted coconut oil or a high‑quality plant‑based butter; the flavor will shift slightly but still be delicious.
Flaky salt is the finishing touch that adds a delightful crunch and bursts of salty flavor. Sprinkling it just before baking ensures it stays crisp, providing a textural contrast to the soft interior. If you love a little extra flavor, try finishing with a pinch of smoked sea salt for a subtle, smoky hint.
With your ingredients prepped and ready, let's get cooking. Here's where the fun really begins...
🍳 Step-by-Step Instructions
🔐 Expert Tips for Perfect Results
The Taste Test Trick
Before you bake the whole batch, pull out one small piece of dough after the initial rise and bake it for 10 minutes. This mini‑test reveals whether the dough needs a bit more time or a touch more salt. I once discovered my oven runs a few degrees hot, and this tiny test saved an entire batch from being over‑browned. Trust me, a quick taste check is a lifesaver.
Why Resting Time Matters More Than You Think
The hour‑long rest is where the magic happens. During this period, the yeast ferments the sugars, producing carbon dioxide that creates those airy pockets. If you’re in a rush, you can extend the rest time to two hours in a cooler spot, which actually deepens the flavor. I’ve found that a slower rise in a cooler kitchen yields rolls with a more nuanced, slightly sour note that’s reminiscent of sourdough.
The Seasoning Secret Pros Won’t Tell You
A pinch of freshly cracked black pepper mixed with the flaky salt adds a subtle heat that balances the buttery richness. I learned this trick from a baker friend who swears by a “secret spice blend” that includes a dash of nutmeg. Adding just a pinch of nutmeg to the dry ingredients gives the rolls an almost holiday‑like warmth without being overpowering.
Butter Brush Brilliance
Use a pastry brush and brush the rolls with melted butter not once, but twice—once before baking and once right after they come out of the oven. This double‑brush technique creates a glossy, buttery sheen that stays soft even after the rolls have cooled. I once tried skipping the second brush and noticed the crust dried out faster; the extra butter lock in moisture and flavor.
The Cool‑Down Hack
After baking, let the rolls sit on a wire rack instead of a solid surface. This prevents steam from condensing on the bottom, which can make the crust soggy. I used to place them on a cutting board and was always disappointed by the slightly damp bottoms. The rack allows air to circulate, preserving that perfect crust-to-crumb ratio.
🌈 Delicious Variations to Try
One of my favorite things about this recipe is how versatile it is. Here are some twists I've tried and loved:
Garlic‑Herb Bliss
Add 2 teaspoons of minced fresh garlic and 1 tablespoon of mixed dried herbs (like thyme, oregano, and rosemary) to the dry ingredients. The aromatic herbs infuse the dough, and the garlic butter brush gives each roll a savory punch that pairs wonderfully with pasta dishes.
Sweet Cinnamon Swirl
Mix 1 tablespoon of ground cinnamon and 1 teaspoon of brown sugar into the flour before adding the wet ingredients. After shaping the rolls, brush them with melted butter and sprinkle a light dusting of cinnamon sugar before baking. The result is a sweet‑spicy roll perfect for brunch or a cozy breakfast.
Cheddar‑Jalapeño Kick
Fold in ½ cup of shredded sharp cheddar and 1 finely chopped jalapeño (seeds removed for less heat) after the initial rise. The cheese melts into pockets of gooey goodness, while the jalapeño adds a subtle heat that’s balanced by the buttery crust.
Whole‑Wheat Rustic
Replace half of the all‑purpose flour with whole‑wheat flour for a nuttier flavor and a denser crumb. You may need to add an extra tablespoon of buttermilk to maintain hydration. The rolls take on a wholesome, earthy character that pairs beautifully with hearty stews.
Honey‑Glazed Delight
After baking, drizzle a thin stream of warm honey over the rolls while they’re still warm. The honey seeps into the crust, creating a glossy, sweet finish that’s perfect for holiday tables or a special treat.
📦 Storage & Reheating Tips
Refrigerator Storage
Allow the rolls to cool completely, then place them in an airtight container or a zip‑top bag. They will stay fresh for up to 3 days in the fridge. For extra softness, wrap each roll in a paper towel before sealing the container; the towel absorbs excess moisture while keeping the rolls from drying out.
Freezing Instructions
If you want to keep rolls longer, freeze them individually on a parchment sheet, then transfer them to a freezer‑safe bag. They’ll keep for up to 2 months. When you’re ready to enjoy them, let them thaw at room temperature for 30 minutes, then reheat using the method below for best results.
Reheating Methods
The trick to reheating without drying them out? A splash of water in a covered skillet or a quick 10‑second burst in the microwave with a damp paper towel. For a crispier crust, preheat a skillet over medium heat, add a tiny drizzle of butter, and warm each roll for about 30 seconds per side. This restores that fresh‑out‑of‑the‑oven buttery crunch.
❓ Frequently Asked Questions
Can I use milk instead of buttermilk?
Do I have to proof the yeast?
Why are the rolls so sticky?
Can I add herbs directly to the dough?
How do I know when the rolls are done?
Can I make these rolls ahead of time?
What if I don’t have flaky salt?
Can I use a stand mixer?
Recipe Card
Similar Recipes
 Appetizers
Leftover Mashed Potato Cheese Puffs – Easy & Crispy Recipe
Learn how to make delicious Leftover Mashed Potato Cheese Puffs – Easy & Crispy Recipe. Easy…
 Appetizers
Crispy Parmesan Potato Rounds: The Ultimate Snack
Delicious Crispy Parmesan Potato Rounds: The Ultimate Snack
 Appetizers
Sizzling Longhorn Brussels Sprouts with a Twist: An Irresistible Recipe Guide
Delicious Sizzling Longhorn Brussels Sprouts with a Twist: An Irresistible Recipe Guide
 Appetizers
Cheesy Green Chili Pinwheel Bites: The Ultimate Appetizer
Delicious Cheesy Green Chili Pinwheel Bites: The Ultimate Appetizer
 Appetizers
Irresistibly Spicy Tuna Salad Bites : A Low-Carb Tuna Recipe You’ll Crave
Learn how to make delicious Irresistibly Spicy Tuna Salad Bites : A Low-Carb Tuna Recipe You’ll…
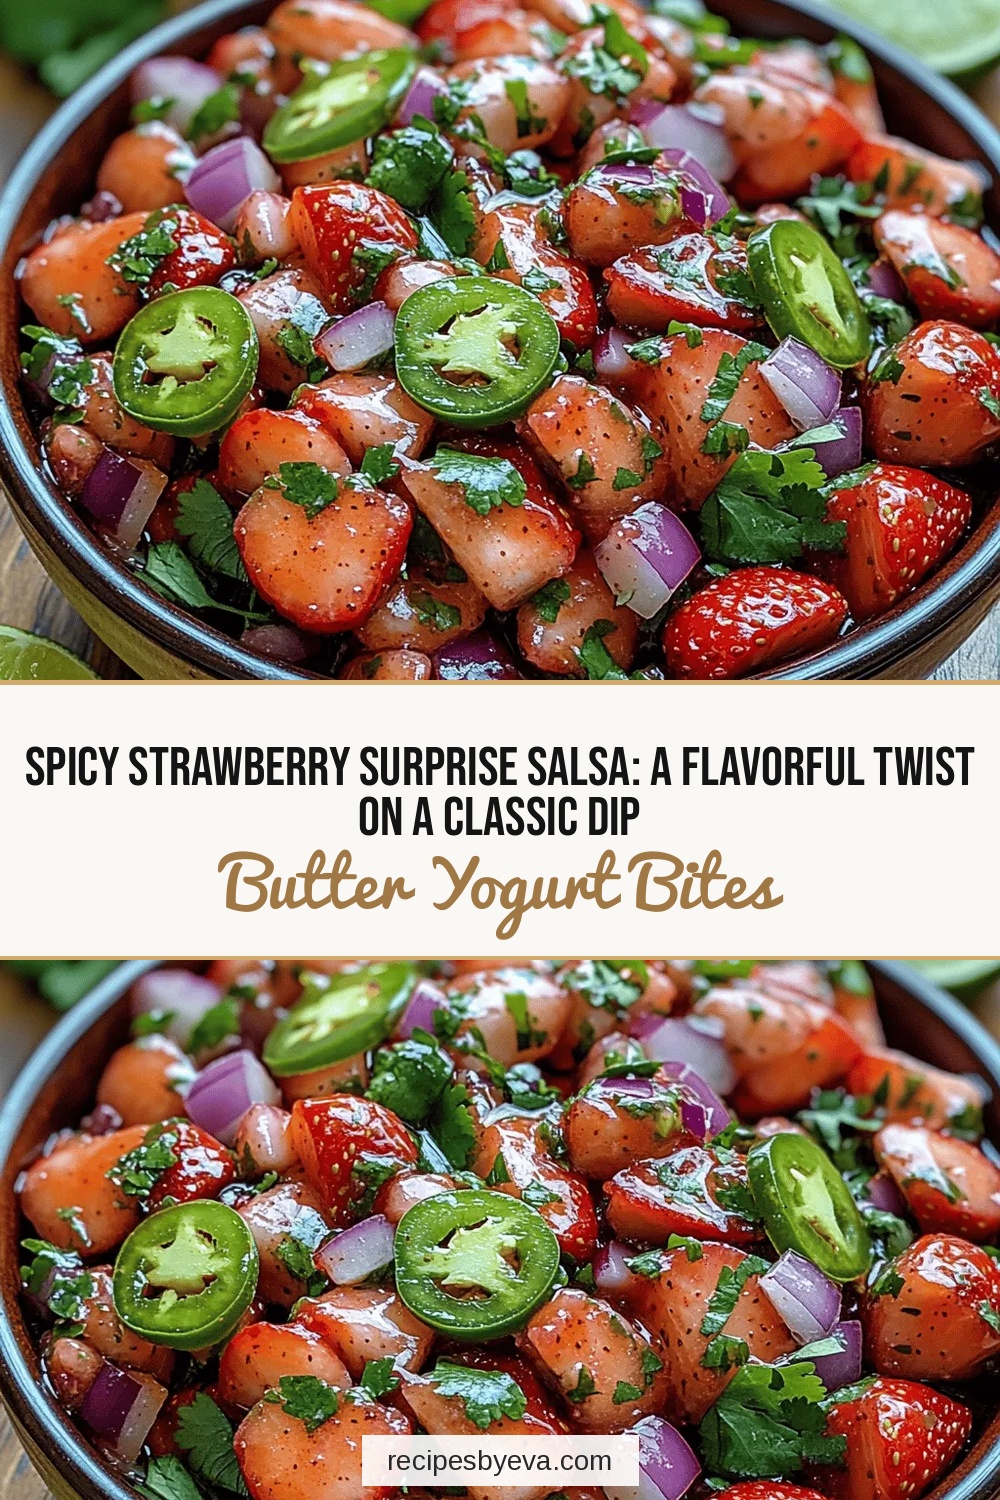 Appetizers
Spicy Strawberry Surprise Salsa: A Flavorful Twist on a Classic Dip
Delicious Spicy Strawberry Surprise Salsa: A Flavorful Twist on a Classic Dip
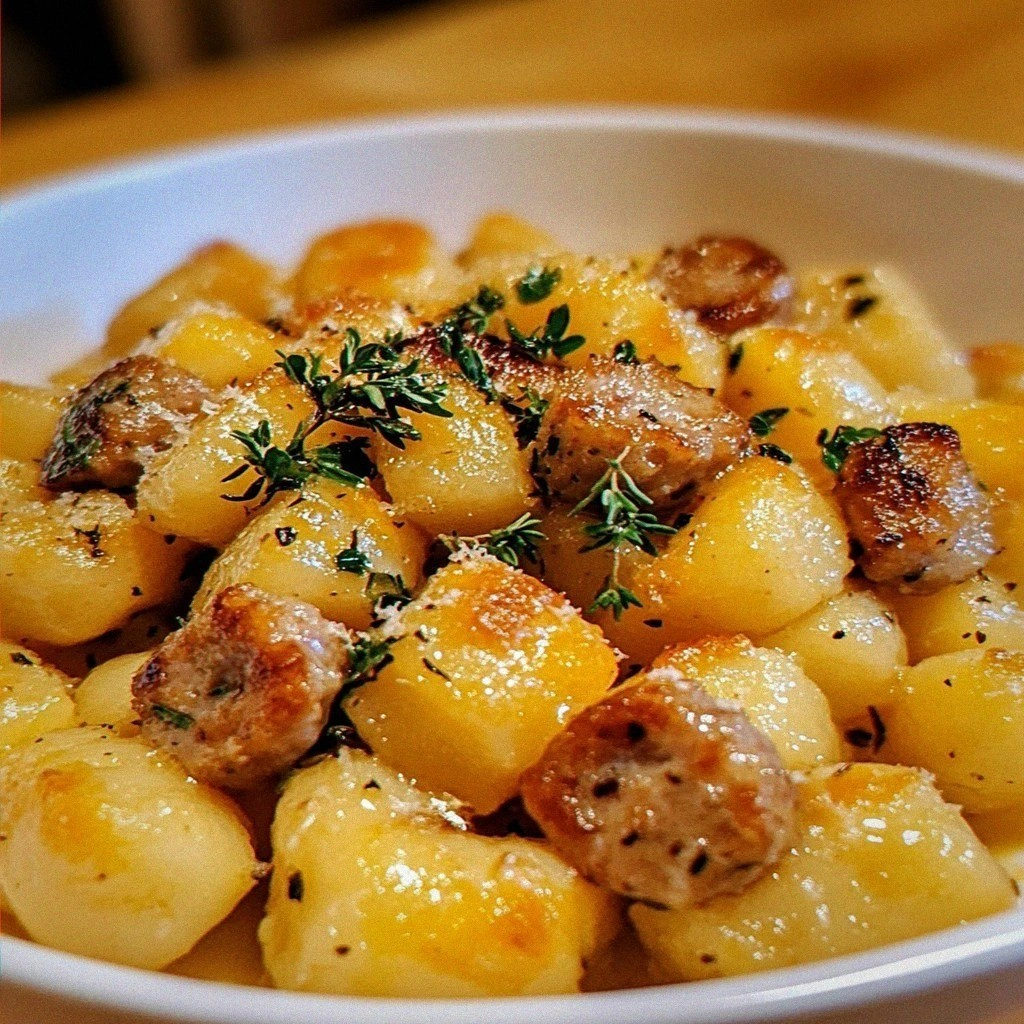 Appetizers
Creamy Butternut Squash Gnocchi with Sausage Delight
Learn how to make delicious Creamy Butternut Squash Gnocchi with Sausage Delight. Easy recipe with step-by-step…
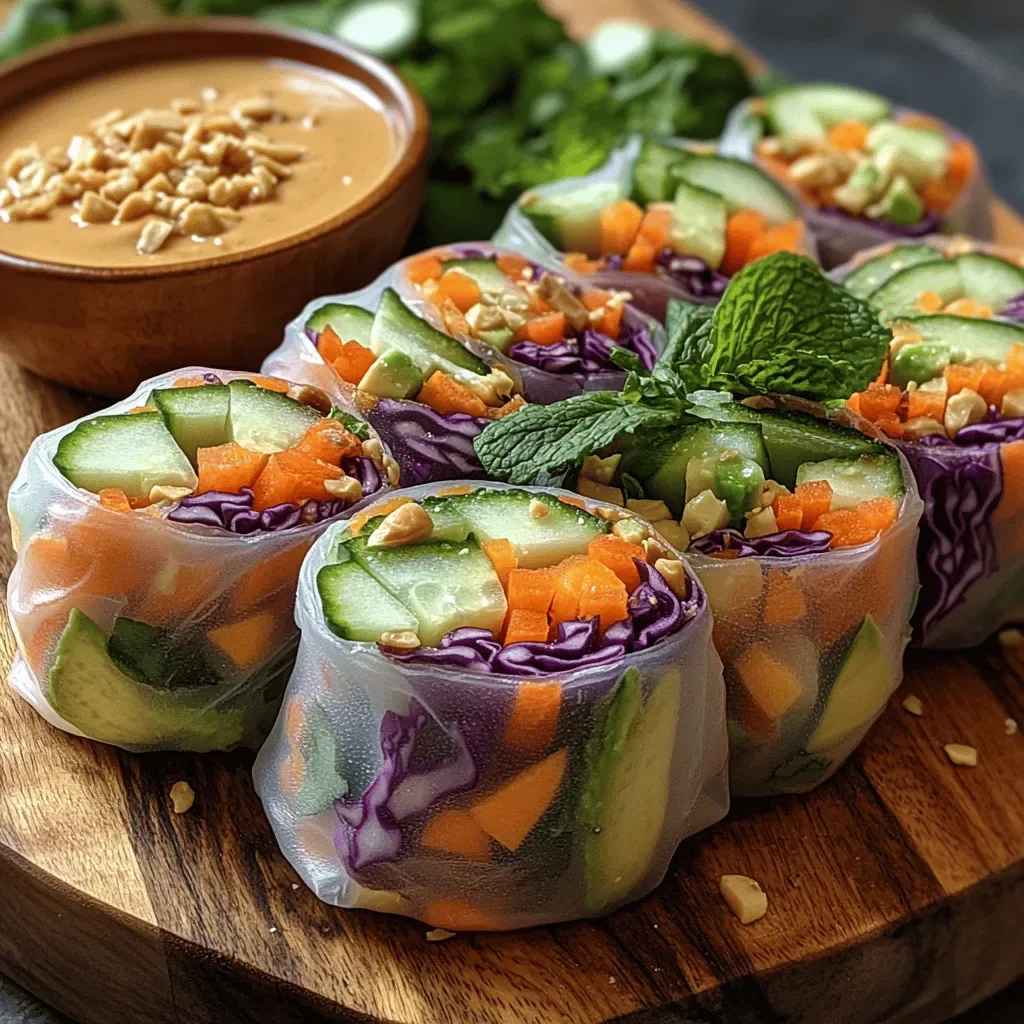 Appetizers
Rainbow Veggie Spring Rolls: A Colorful and Nutritious Delight
Delicious Rainbow Veggie Spring Rolls: A Colorful and Nutritious Delight

Eva
I cook these recipes at home before they ever land here — simple ingredients, clear steps.
Other Reader Favorites
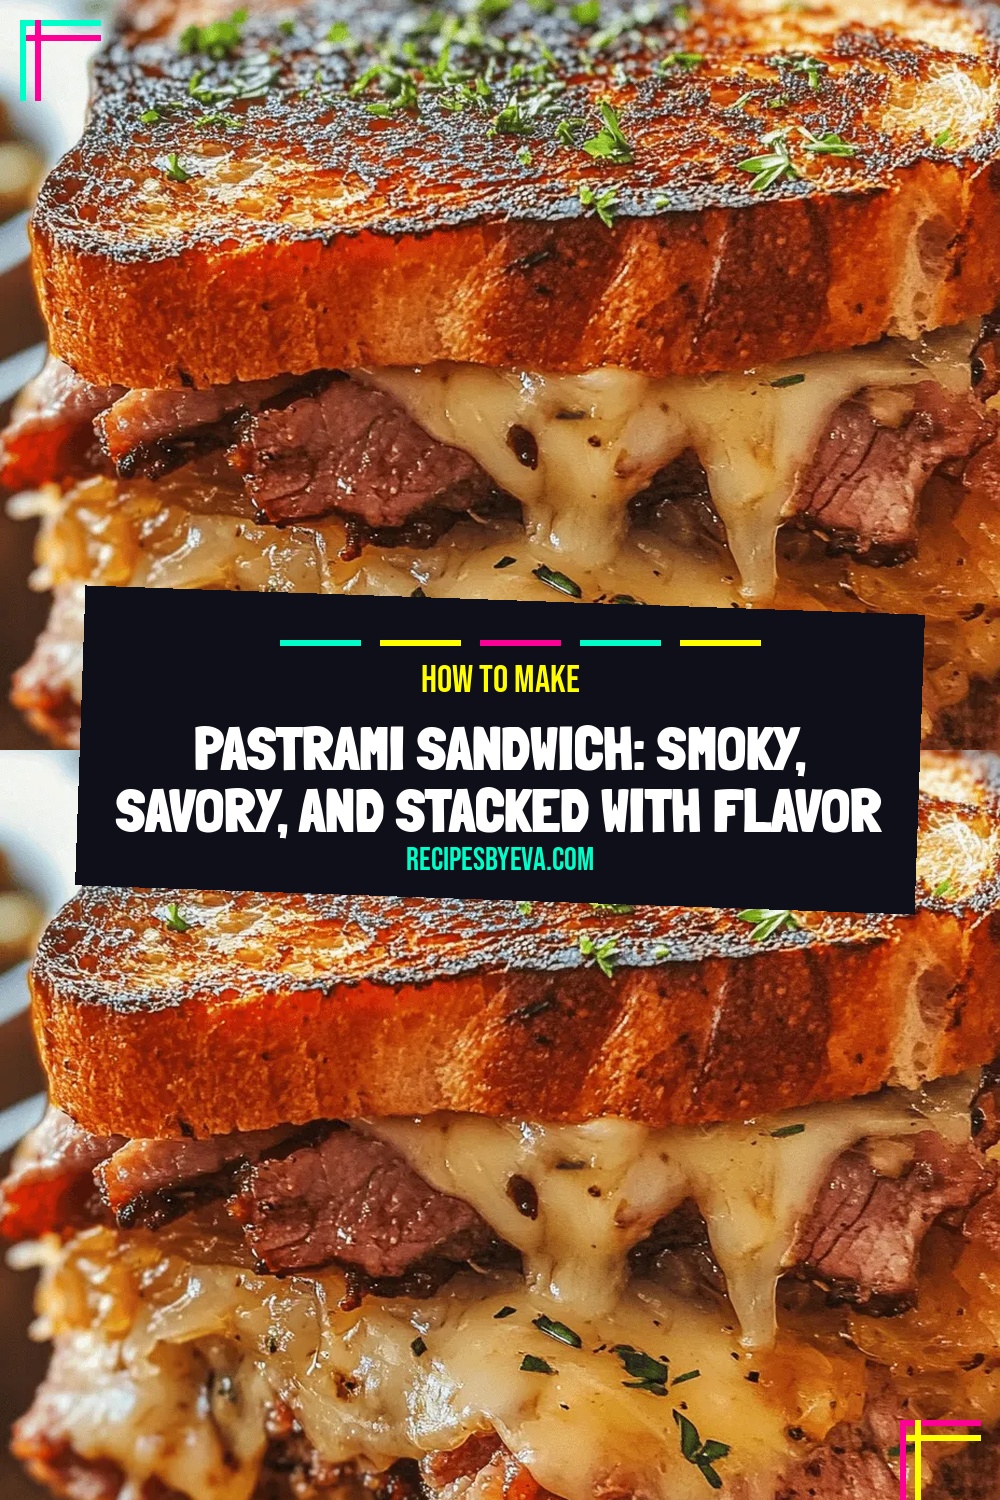 Dinner
Pastrami Sandwich: Smoky, Savory, and Stacked with Flavor
Delicious Pastrami Sandwich: Smoky, Savory, and Stacked with Flavor
 Dinner
Hearty Meatball Stew for Cozy Nights
Delicious Hearty Meatball Stew for Cozy Nights
 Dinner
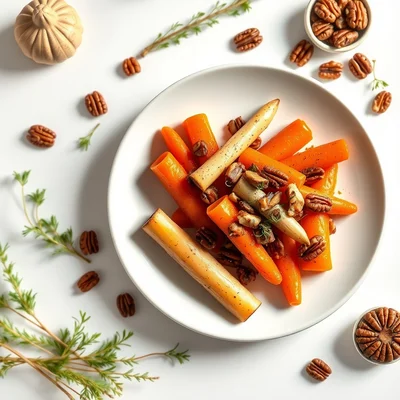
Maple Dijon Glazed Carrots and Parsnips with Toasted Pecans for Holidays
Celebrate the holidays with sweet‑savory maple Dijon glazed carrots and parsnips, topped with crunchy toasted pecans.…
 Dinner
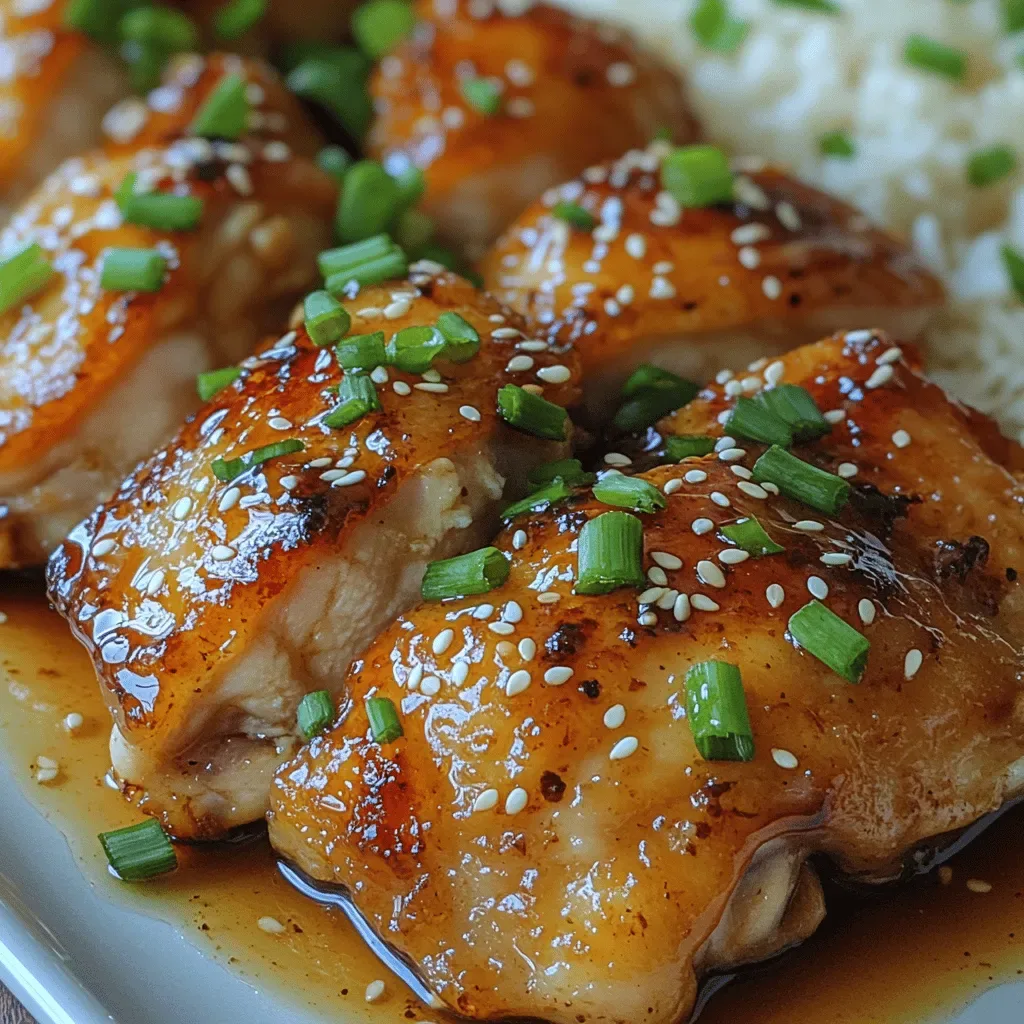
Sticky Sweet Honey Garlic Chicken Thighs
Delicious Sticky Sweet Honey Garlic Chicken Thighs