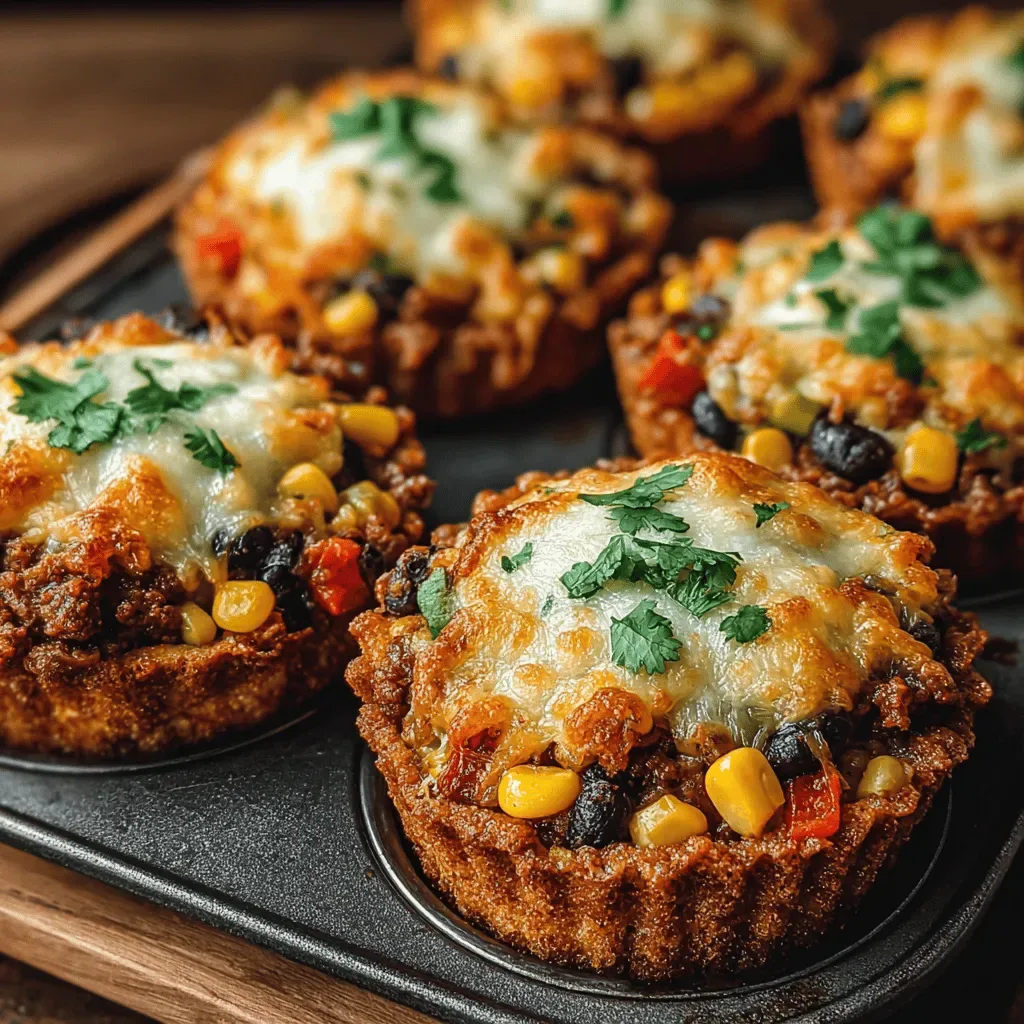
Cheesy Fall Chili Mac Cups: The Perfect Autumn Comfort Food
 Save
Save
When the first chill of autumn settles in, there’s nothing more comforting than a warm, cheesy bite that feels like a hug from the inside. Cheesy Fall Chili Mac Cups deliver that cozy sensation in a single‑serve, handheld format that’s perfect for busy evenings.
What makes this dish stand out is the marriage of classic chili‑mac flavors with a melty cheese blend, all baked inside a crisp muffin‑tin cup. The result is a crunchy rim that gives way to a creamy, spicy interior—an irresistible contrast that screams fall.
This recipe is ideal for families, college students, or anyone craving a hearty dinner that feels indulgent without the fuss. Serve it as a main course on a chilly weeknight, or as a satisfying side at a casual gathering.
The process is straightforward: cook the pasta and beans, stir in a robust chili sauce, fold in the cheese, then bake the mixture in muffin tins until golden. In under an hour you’ll have six perfect portions ready to devour.
Why You'll Love This Recipe
One‑Bite Comfort: Each cup packs a full serving of pasta, beans, chili, and cheese, giving you the comfort of a casserole with the convenience of a single bite.
Seasonal Flair: Warm spices like smoked paprika and a hint of cinnamon echo autumn flavors, making the dish feel perfectly timed for the season.
Handy Presentation: Baked in muffin tins, the cups are easy to serve, transport, and even reheat, which is great for leftovers or potlucks.
Customizable Heat: Adjust the chili heat level with fresh jalapeños or a dash of cayenne, letting every palate enjoy the perfect amount of spice.
Tips & Tricks
Perfecting the Recipe
Al Dente Pasta. Cook the macaroni just shy of fully tender; it will finish cooking in the oven, preventing a mushy texture.
Even Distribution. Use a large spoon to evenly distribute the mixture into each cup, ensuring every bite gets the same balance of sauce, cheese, and pasta.
Pre‑Grease the Tin. Lightly oil the muffin tin to achieve a crispy edge and make removal effortless.
Flavor Enhancements
Add a splash of fresh lime juice just before serving for a bright pop that lifts the richness. Stir in a tablespoon of chipotle in adobo for smoky heat, or sprinkle crumbled queso fresco for extra tang.
Common Mistakes to Avoid
Do not over‑bake; a darkened top indicates the cheese has dried out. Also, avoid using overly watery canned tomatoes—drain excess liquid to keep the sauce from becoming soupy.
Pro Tips
Use Fresh Spices. Toast cumin and smoked paprika in a dry pan for 30 seconds before adding to the sauce; this awakens deeper flavor notes.
Layer Cheese. Mix half the cheese into the base and reserve the rest for topping. This creates a gooey interior and a beautifully browned crust.
Cool Slightly Before Garnish. Let the cups sit a minute before adding cilantro and tortilla chips; this prevents the herbs from wilting and keeps the chips crunchy.
Variations
Ingredient Swaps
Swap the elbow macaroni for gluten‑free rotini or whole‑wheat shells for added fiber. Replace black beans with pinto beans or lentils for a different texture. For a richer sauce, stir in a splash of heavy cream or a dollop of sour cream just before baking.
Dietary Adjustments
For a vegan version, use plant‑based cheese (such as cheddar‑style shreds) and substitute the butter with olive oil. Choose a meat‑free protein like crumbled tempeh or soy‑based “ground” for added protein. Gluten‑free diners can rely on certified gluten‑free pasta and ensure the tomato paste contains no hidden wheat.
Serving Suggestions
Pair the cups with a simple arugula salad dressed in apple cider vinaigrette for a peppery contrast. A side of roasted sweet potatoes adds natural sweetness that balances the spice. For a festive spread, serve alongside a warm cornbread muffin or a slice of buttery garlic toast.
Storage Info
Leftover Storage
Allow any leftovers to cool completely, then transfer each cup to an airtight container. Store in the refrigerator for up to 4 days. For longer keeping, place the cups in a freezer‑safe bag, squeeze out excess air, and freeze for up to 3 months. Label with the date for easy reference.
Reheating Instructions
Reheat refrigerated cups in a 350°F (175°C) oven, covered with foil, for 12‑15 minutes until steaming hot. For frozen portions, bake at 375°F (190°C) for 20‑25 minutes, removing the foil halfway through. A quick microwave burst (30‑45 seconds) works for a single cup, but add a splash of broth to keep it from drying out.
Frequently Asked Questions
Can I make these cups ahead of time?
What if I don’t have a muffin tin?
How spicy is the dish, and can I tone it down?
Cheesy Fall Chili Mac Cups bring together the heartiness of a classic chili‑mac casserole with the convenience of a handheld portion. By following the step‑by‑step guide, you’ll achieve a perfectly crisp edge, a creamy, spicy interior, and a dish that feels both nostalgic and fresh. Feel free to swap proteins, adjust the heat, or add your favorite toppings—making this recipe truly yours. Serve warm, savor the autumn flavors, and enjoy every comforting bite!
Cheesy Fall Chili Mac Cups: The Perfect Autumn Comfort Food
Delicious Cheesy Fall Chili Mac Cups: The Perfect Autumn Comfort Food
Ingredients
Main Ingredients
- 8 ounces elbow macaroni
- 1 cup canned black beans, drained and rinsed
- 1 cup frozen corn kernels
Cheese Blend
- 1 cup shredded sharp cheddar cheese
- ½ cup shredded smoked gouda
- ¼ cup grated Parmesan
Chili Sauce
- 1 tablespoon olive oil
- 1 medium onion, finely diced
- 2 garlic cloves, minced
- 1 ½ cups canned diced tomatoes (with juice)
- 2 tablespoons tomato paste
- 1 tablespoon maple syrup
- 1 teaspoon smoked paprika
- ½ teaspoon ground cumin
- ¼ teaspoon cinnamon
- ¼ teaspoon cayenne pepper (optional)
Seasonings & Garnish
- Salt and freshly ground black pepper, to taste
- 2 tablespoons chopped fresh cilantro
- ¼ cup crushed tortilla chips
Instructions
Cooking the Chili‑Mac Base
- Boil the Pasta. Bring a large pot of salted water to a boil, add the elbow macaroni, and cook al dente according to package directions (usually 8‑9 minutes). Drain and set aside; the residual heat will keep the pasta from overcooking later.
- Sauté Aromatics. While the pasta cooks, heat olive oil in a wide skillet over medium heat. Add the diced onion and sauté for 4‑5 minutes until translucent. Stir in the minced garlic and cook an additional 30 seconds—watch closely to avoid burning.
- Build the Sauce. Pour in the diced tomatoes, tomato paste, and maple syrup. Sprinkle smoked paprika, cumin, cinnamon, and cayenne (if using). Stir well, bring to a gentle simmer, and let the mixture reduce for 5‑6 minutes, thickening slightly and concentrating the flavors.
- Combine Pasta and Beans. Add the drained macaroni, black beans, and corn to the skillet. Toss everything together so the sauce coats each piece evenly. Season with salt and pepper, then remove from heat.
- Fold in Cheese. Sprinkle the cheddar, gouda, and Parmesan over the hot mixture. Fold gently until the cheeses melt into a creamy, glossy coating. The cheese not only adds flavor but also helps the batter hold together when baked.
Similar Recipes
 Dinner
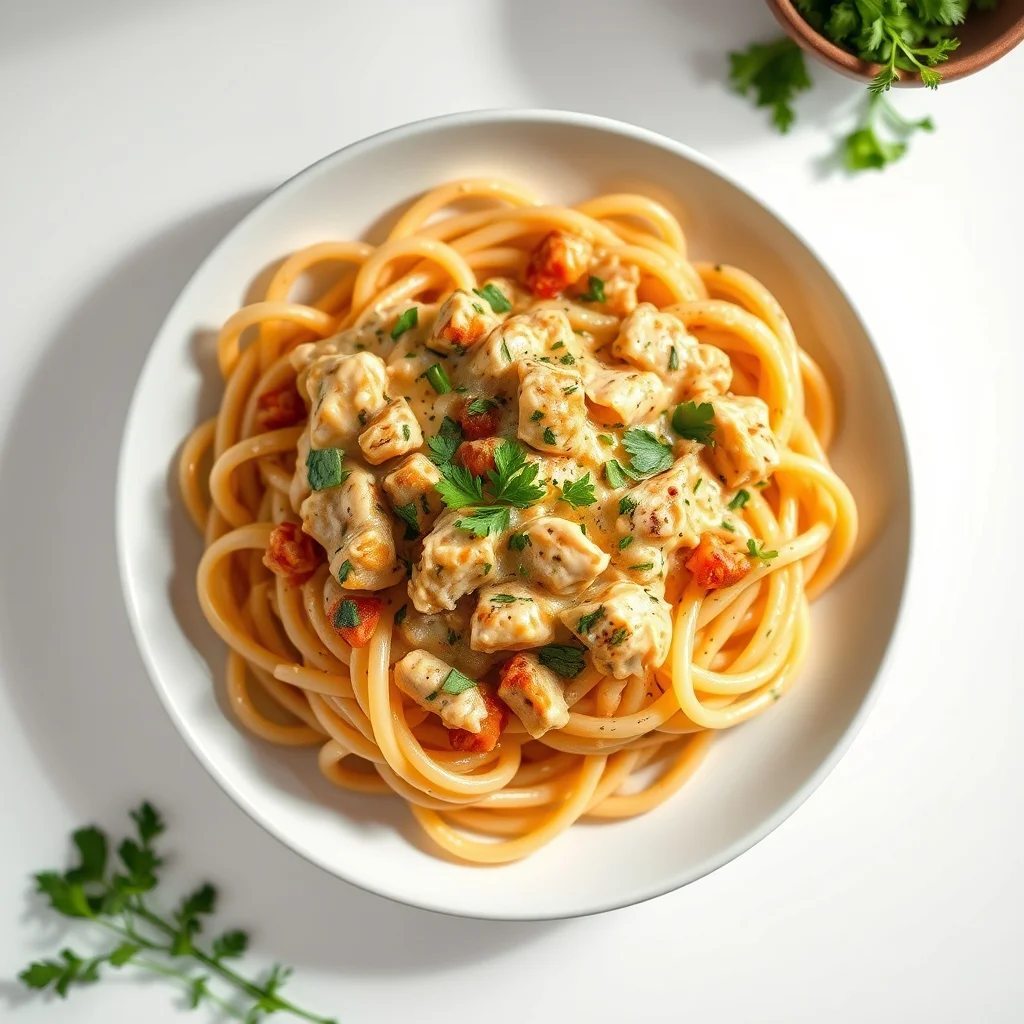
Quick and Creamy Southwest Chicken Pasta
Delicious Quick and Creamy Southwest Chicken Pasta
 Dinner
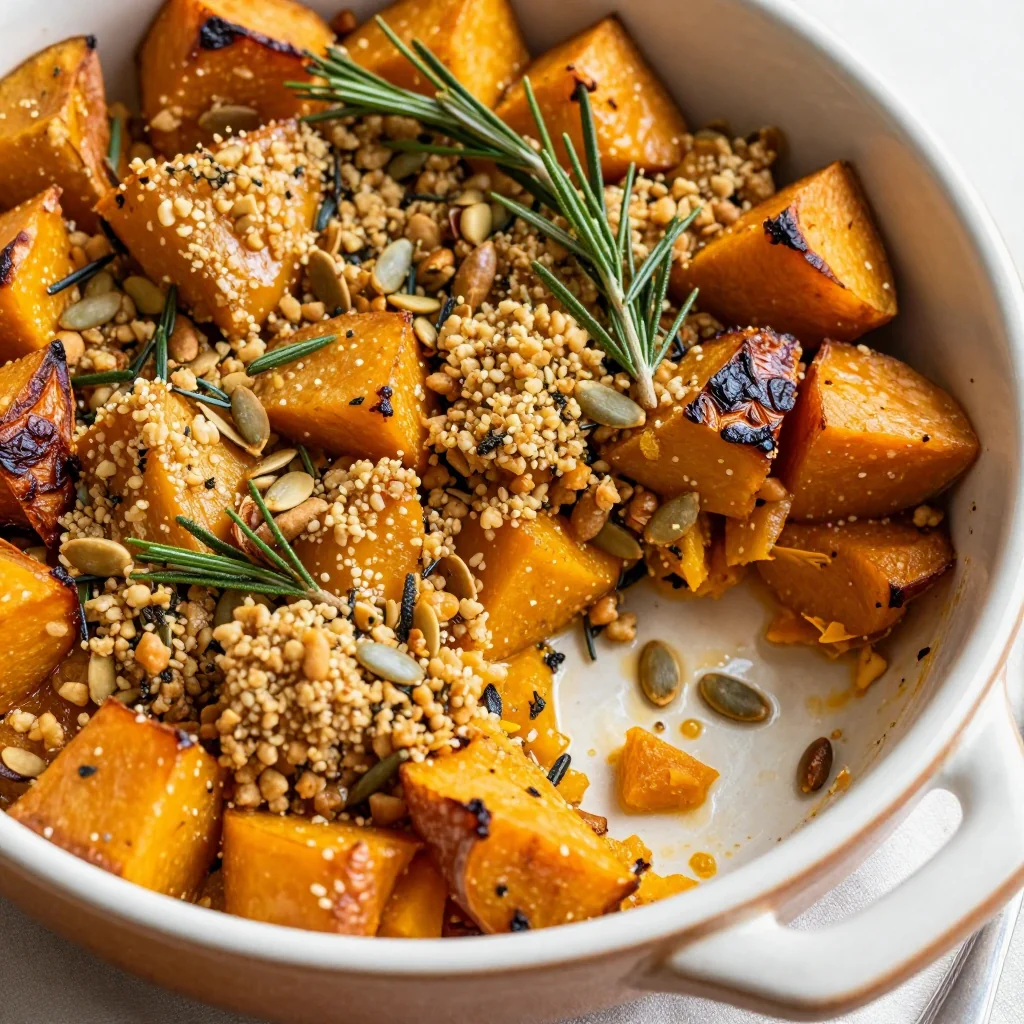
healthy baked winter squash and sweet potato casserole for family dinners
Learn how to make delicious healthy baked winter squash and sweet potato casserole for family dinners.…
 Dinner
Cheesy Chicken & Broccoli Delight Recipe
Delicious Cheesy Chicken & Broccoli Delight Recipe
 Dinner
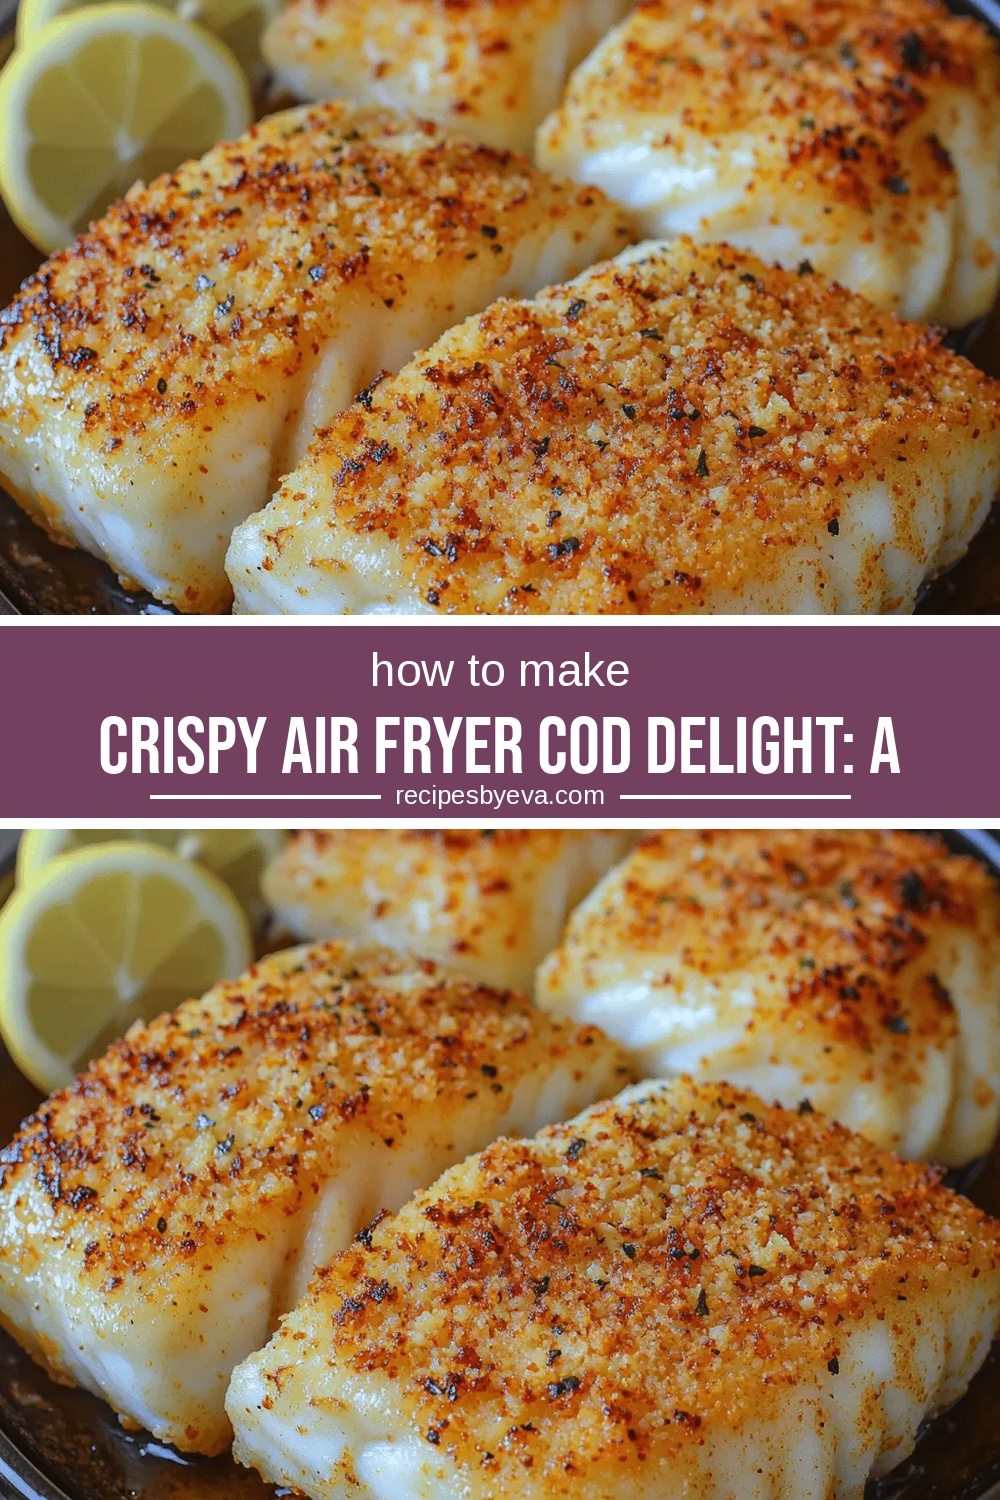
Crispy Air Fryer Cod Delight: A Flavorful and Healthy Seafood Recipe
Delicious Crispy Air Fryer Cod Delight: A Flavorful and Healthy Seafood Recipe
 Dinner
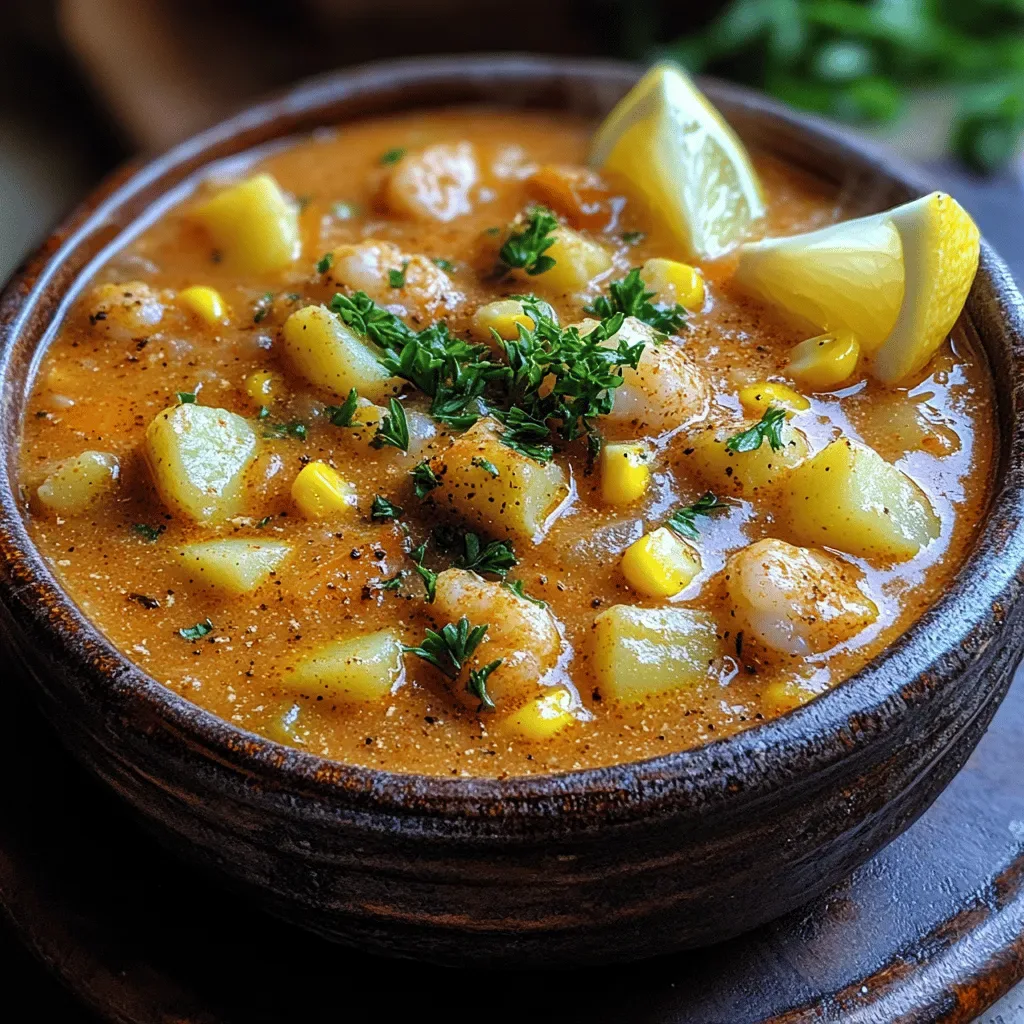
Indulge in Flavor: A Creamy Shrimp Delight Chowder Recipe
Delicious Indulge in Flavor: A Creamy Shrimp Delight Chowder Recipe
 Dinner
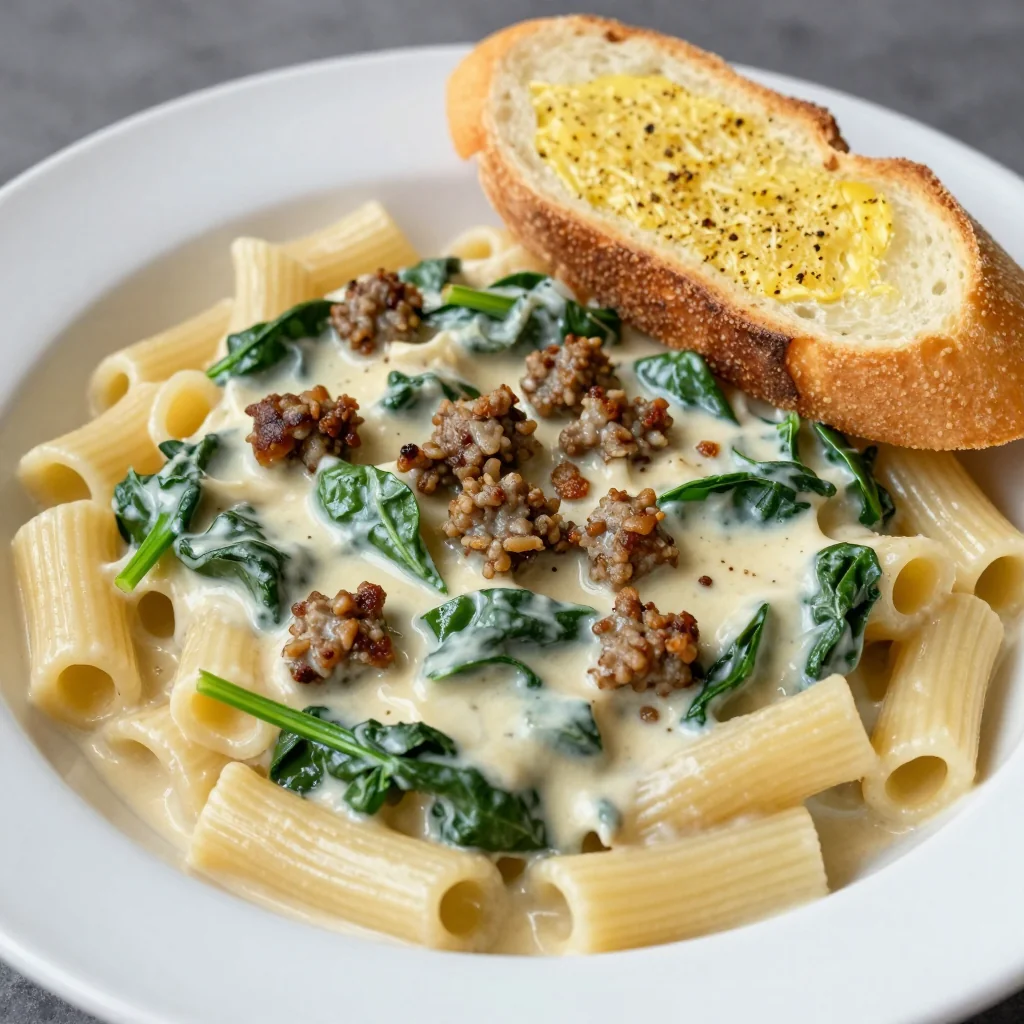
One Pot Creamy Sausage and Spinach Pasta with Garlic Bread
Learn how to make delicious One Pot Creamy Sausage and Spinach Pasta with Garlic Bread. Easy…
 Dinner
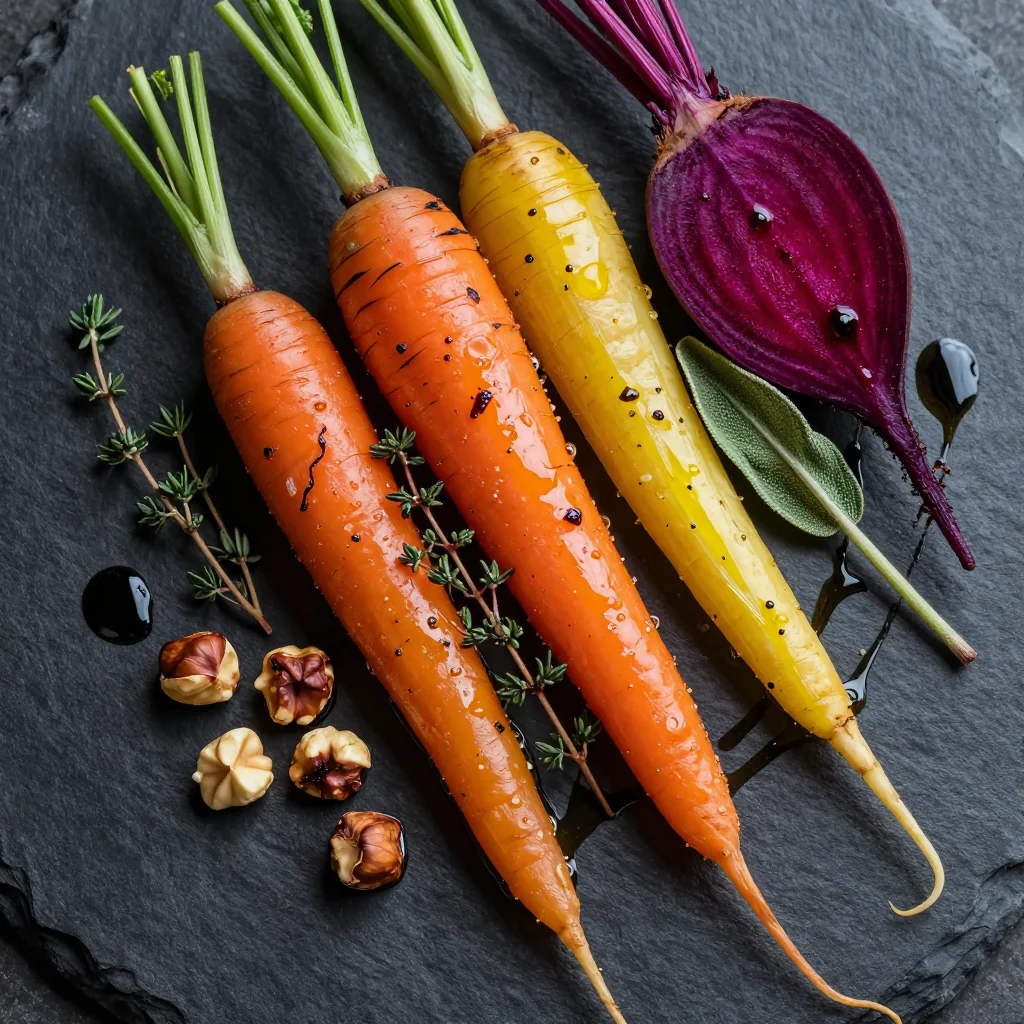
Herb Roasted Root Vegetables for Special Occasion
Learn how to make delicious Herb Roasted Root Vegetables for Special Occasion. Easy recipe with step-by-step…
 Dinner
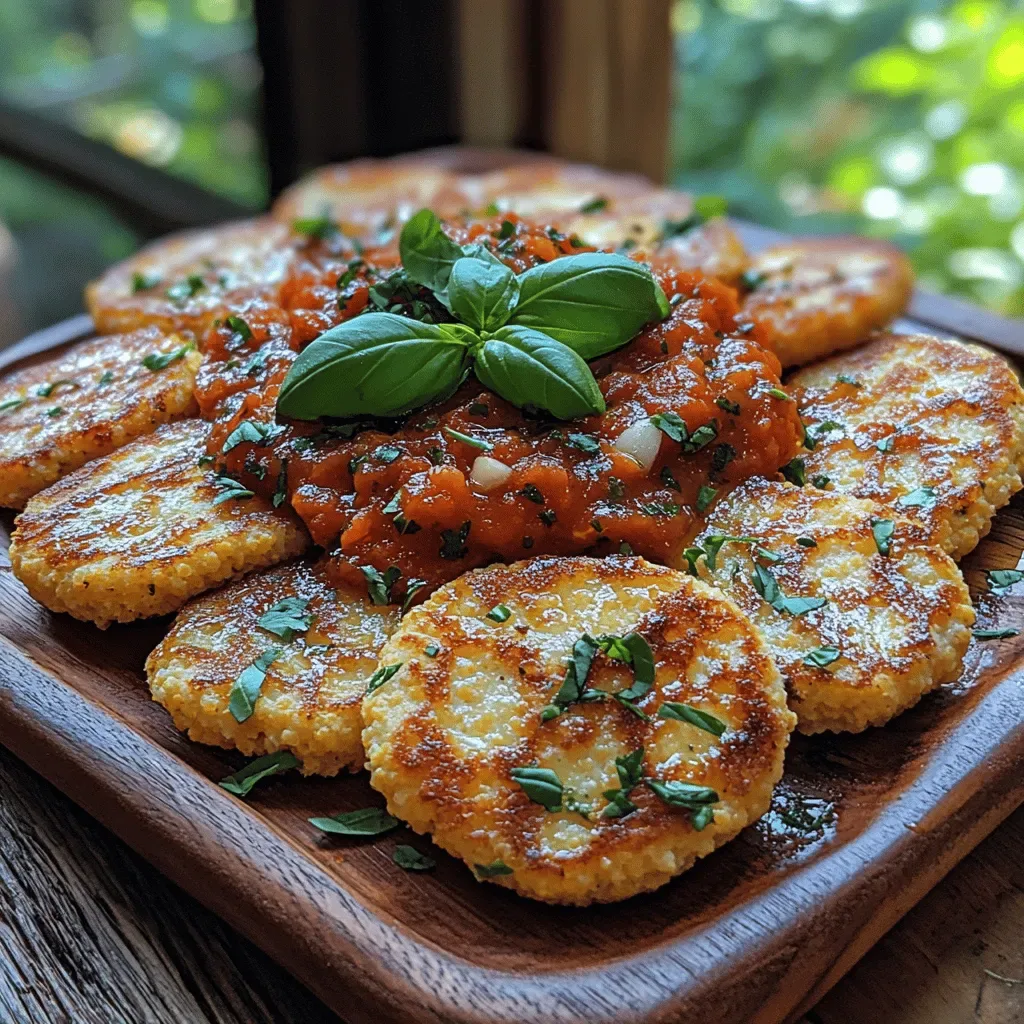
Crispy Polenta Cakes with Tomato Sauce: A Culinary Delight
Delicious Crispy Polenta Cakes with Tomato Sauce: A Culinary Delight

Eva
I cook these recipes at home before they ever land here — simple ingredients, clear steps.