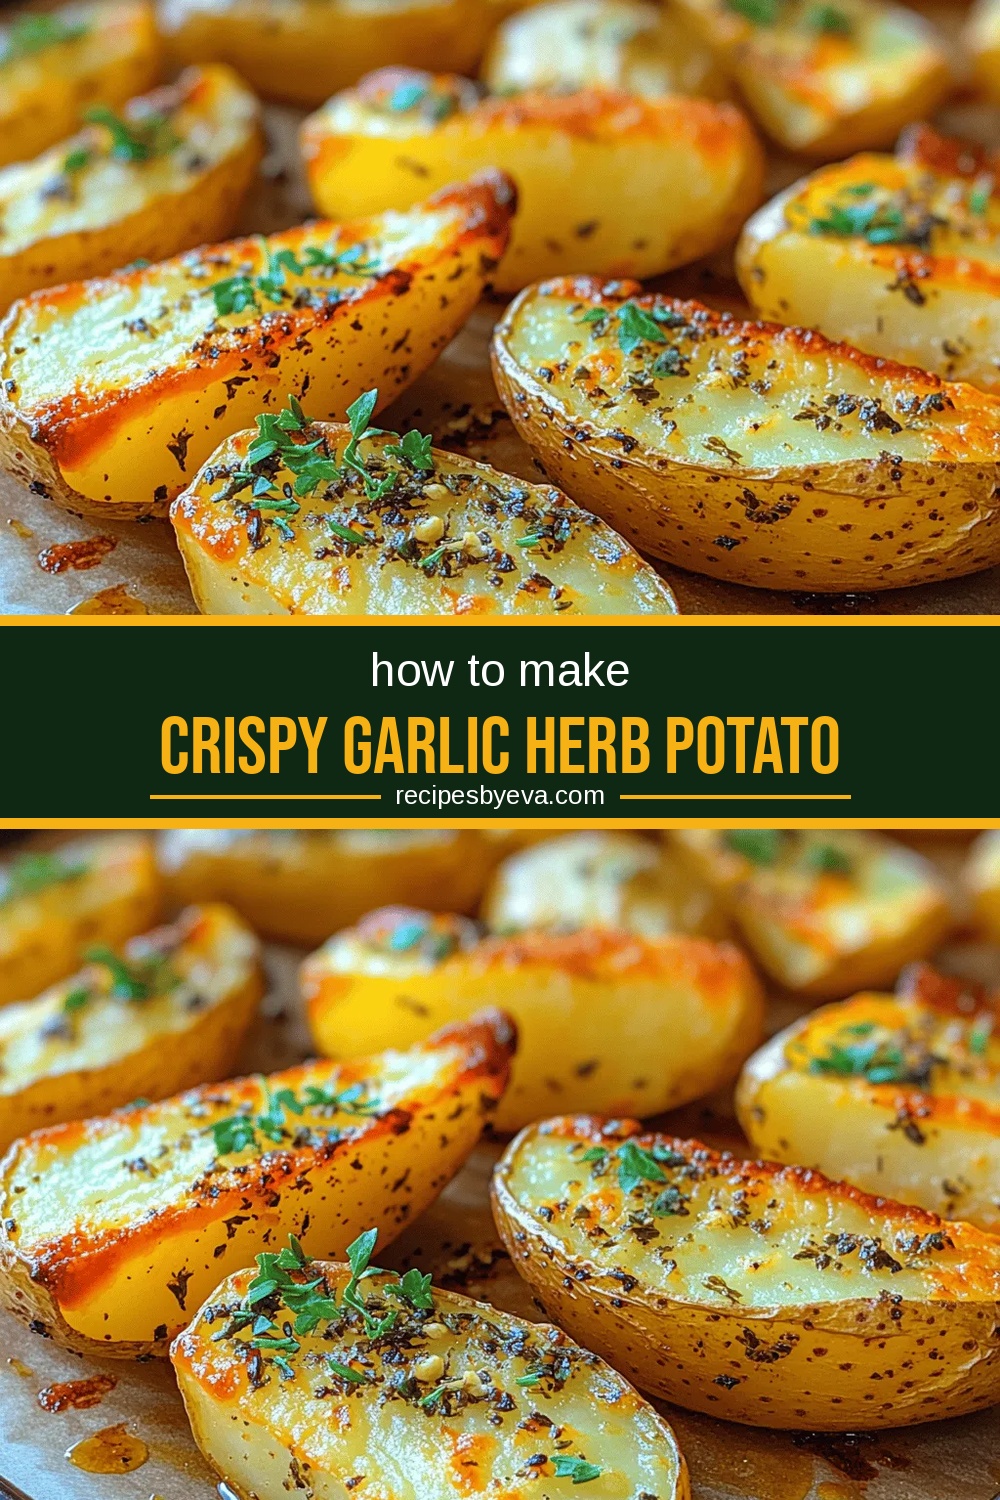
Crispy Garlic Herb Potato Wedges: Preparation Steps, Serving Suggestions, and More
 Save
Save
Imagine biting into a wedge that’s golden‑crisp on the outside, tender on the inside, and bursting with garlic‑herb perfume. That’s the magic of our Crispy Garlic Herb Potato Wedges—a snack that feels indulgent yet stays comfortably home‑cooked.
What sets this recipe apart is the double‑coating technique: a light dusting of seasoned flour followed by a drizzle of olive oil that turns the wedges into crunchy, aromatic delights without deep‑frying.
Anyone who loves a satisfying bite—whether it’s a game‑day crowd, a quick after‑school snack, or a side for a weekend dinner—will adore these wedges. They pair beautifully with dips, salads, or even a hearty burger.
The process is straightforward: cut, coat, bake, and finish with fresh herbs. With a few simple steps you’ll achieve restaurant‑quality crispness straight from your oven.
Why You'll Love This Recipe
Ultimate Crunch: The two‑step coating creates a satisfyingly crunchy exterior while keeping the potato interior fluffy and moist, delivering texture contrast in every bite.
Garlic‑Herb Symphony: Fresh garlic, rosemary, thyme, and parsley infuse the wedges with aromatic depth that feels both rustic and refined.
Health‑Smart Frying: Baked instead of deep‑fried, the wedges use just a tablespoon of olive oil, cutting calories while preserving flavor and crispiness.
Versatile Crowd‑Pleaser: Perfect as a snack, side, or party finger food, they pair well with a variety of dips and can be customized to suit any palate.
Tips & Tricks
Perfecting the Recipe
Uniform Wedge Size: Cut potatoes to the same thickness (about ½‑inch). Even pieces bake uniformly, preventing some wedges from being soggy while others burn.
Dry Thoroughly: After washing, pat the potatoes completely dry. Excess water creates steam, which sabotages crispness.
Don’t Overcrowd the Pan: Space the wedges at least a half‑inch apart. Crowding traps moisture and leads to a soft, steamed texture.
Flavor Enhancements
For an extra pop, finish the hot wedges with a squeeze of fresh lemon juice and a pinch of grated Parmesan. A dash of smoked chipotle powder adds subtle heat without overwhelming the herb profile.
Common Mistakes to Avoid
Skipping the rest period after baking lets steam escape, preserving crunch; cutting the wedges too thick results in a raw interior; and using too much oil makes the coating soggy instead of crisp. Keep oil to a light drizzle.
Pro Tips
Use a Wire Rack: Placing wedges on a wire rack set over the baking sheet allows air to circulate, yielding an even crisp on all sides.
Season While Hot: Sprinkle the finishing sea salt immediately after removing from the oven; the heat helps the salt adhere and enhances flavor penetration.
Batch Bake: If making a large quantity, bake in two batches rather than overloading one sheet. This keeps the oven temperature stable and the wedges crisp.
Variations
Ingredient Swaps
Swap russet potatoes for sweet potatoes for a sweeter profile; use baby Yukon Golds for a buttery texture. Replace rosemary with dill or basil for a different herb angle, and experiment with smoked sea salt instead of regular kosher salt for added depth.
Dietary Adjustments
For gluten‑free diners, substitute the all‑purpose flour with a 1‑to‑1 gluten‑free blend. Vegans can omit butter (if used as a garnish) and stick with olive oil; the recipe is naturally dairy‑free. To lower carbs, serve the wedges over a cauliflower “rice” base.
Serving Suggestions
Pair the wedges with a cool yogurt‑cucumber dip, classic ketchup, or a smoky chipotle mayo. They also shine alongside grilled chicken skewers, a crisp Caesar salad, or as a hearty side to a burger night. For a party platter, add assorted pickles and olives for contrast.
Storage Info
Leftover Storage
Allow the wedges to cool to room temperature, then transfer them to an airtight container. Store in the refrigerator for up to 4 days. For longer keeping, portion into freezer‑safe bags, squeeze out excess air, and freeze for up to 3 months. Proper sealing prevents freezer burn and preserves crispness.
Reheating Instructions
Reheat leftovers in a preheated 375°F (190°C) oven on a wire rack for 10‑12 minutes, or until the edges regain their crunch. For a quicker fix, spread wedges on a microwave‑safe plate, cover loosely, and heat on medium for 2‑3 minutes, then finish under the broiler for 2 minutes to restore crispness.
Frequently Asked Questions
Can I make this recipe ahead of time?
Can I use frozen potatoes instead of fresh?
What dipping sauce works best with these wedges?
This Crispy Garlic Herb Potato Wedges recipe delivers restaurant‑level crunch and flavor with just a few pantry staples. We’ve covered everything—from ingredient selection and precise baking steps to storage, variations, and serving ideas—so you can recreate the perfect wedge anytime. Feel free to tweak herbs, swap potatoes, or add your favorite dip; the core technique stays the same. Enjoy the satisfying snap, the fragrant herb burst, and the joy of sharing a snack that’s both comforting and impressive.
Crispy Garlic Herb Potato Wedges: Preparation Steps, Serving Suggestions, and More
Delicious Crispy Garlic Herb Potato Wedges: Preparation Steps, Serving Suggestions, and More
Ingredients
Main Ingredients
- 4 large russet potatoes
- 2 tablespoons olive oil
- 3 cloves garlic, minced
Herb Mix
- 1 tablespoon fresh rosemary, finely chopped
- 1 tablespoon fresh thyme leaves
- 2 tablespoons fresh parsley, chopped
Seasonings & Coating
- 1/4 cup all‑purpose flour
- 1 teaspoon smoked paprika
- 1½ teaspoons kosher salt
- ½ teaspoon freshly ground black pepper
Instructions
Full Cooking Sequence
- Preheat the Oven. Set the oven to 425°F (220°C) and allow it to fully heat for at least 10 minutes. A hot oven creates the initial burst of steam that later evaporates, forming a crisp crust.
- Dry the Potatoes. After washing, use a clean kitchen towel to pat each wedge dry. Moisture on the surface hinders browning and can lead to soggy wedges.
- Oil & Flour Coat. Drizzle olive oil over the wedges, toss to coat, then roll them in the seasoned flour mixture. The flour creates a thin barrier that turns golden and crunchy during baking.
- Add Garlic & Herbs. Sprinkle minced garlic and the fresh herb blend over the coated wedges, ensuring even distribution. The residual heat releases the aromatics without burning the garlic.
- Bake – First Side. Lay wedges skin‑side down on the prepared sheet, bake for 20 minutes. Look for a light golden hue and slight crisp on the edges before flipping.
- Bake – Second Side. Flip each wedge, bake another 12‑15 minutes. When the tops are deep golden‑brown and a fork slides easily into the center, they’re done.
- Season & Serve. Sprinkle flaky sea salt, let rest briefly, garnish with parsley, and serve immediately while the crust is still crackling.
Similar Recipes
 Dinner
Skillet Cherub Chicken with Cherry Tomato Bliss: A Delightful Recipe for Any Occasion
Delicious Skillet Cherub Chicken with Cherry Tomato Bliss: A Delightful Recipe for Any Occasion
 Dinner
Zesty Stuffed Zucchini Bell Peppers: A Flavorful Dish
Delicious Zesty Stuffed Zucchini Bell Peppers: A Flavorful Dish
 Dinner
Buddha’s Delight (Jai) – Feast on Comforting Vegan Goodness
Learn how to make delicious Buddha’s Delight (Jai) – Feast on Comforting Vegan Goodness. Easy recipe…
 Dinner
Sweet Heat: Hot Honey Butter Roasted Carrots
Delicious Sweet Heat: Hot Honey Butter Roasted Carrots
 Dinner
roasted winter root vegetables with garlic and rosemary for comfort food
Cozy up with roasted winter root vegetables, garlic & rosemary—easy comfort food main. Get the recipe…
 Dinner
Creamy Garlic Chicken & Spinach Bake: Your Ultimate Guide to Baking Perfection
Delicious Creamy Garlic Chicken & Spinach Bake: Your Ultimate Guide to Baking Perfection
 Dinner
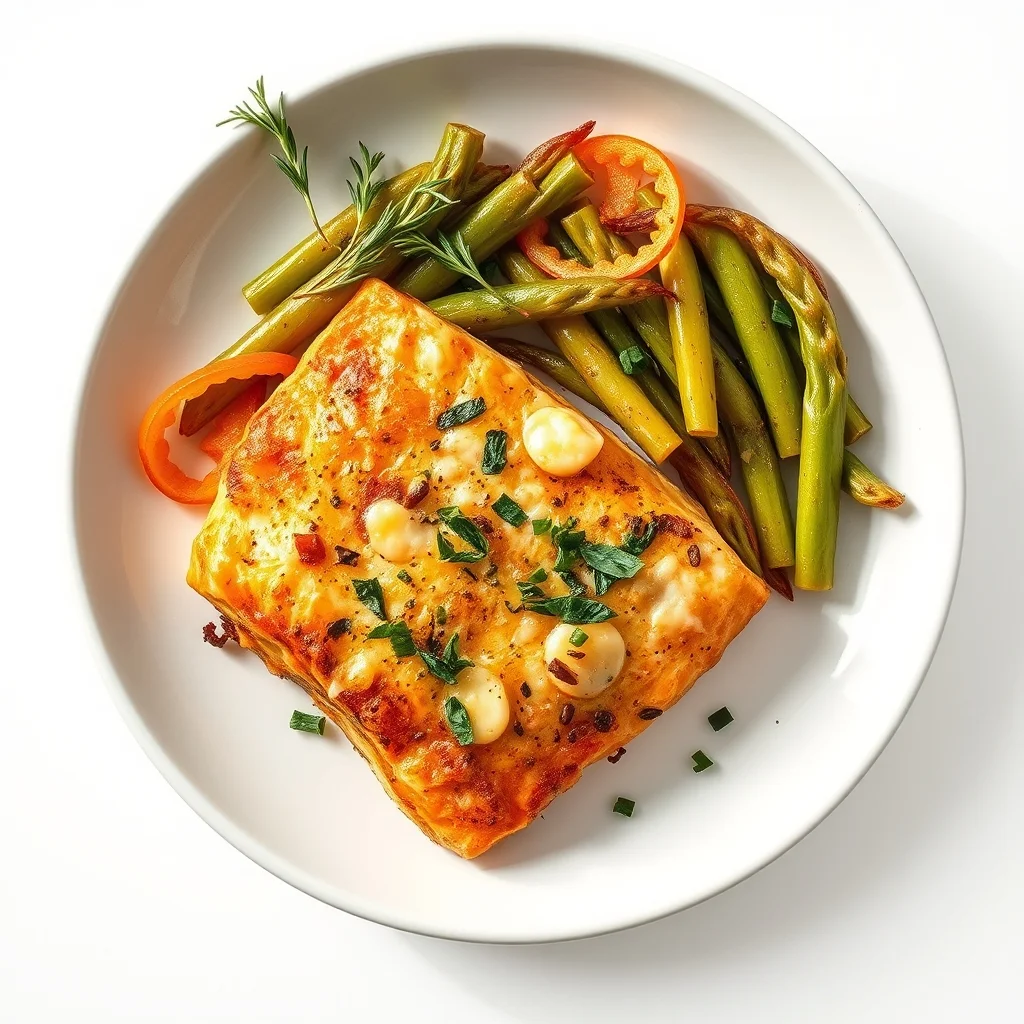
Air Fryer Tuscan Parmesan Salmon: A Delicious and Healthy Dinner Option
Delicious Air Fryer Tuscan Parmesan Salmon: A Delicious and Healthy Dinner Option
 Dinner
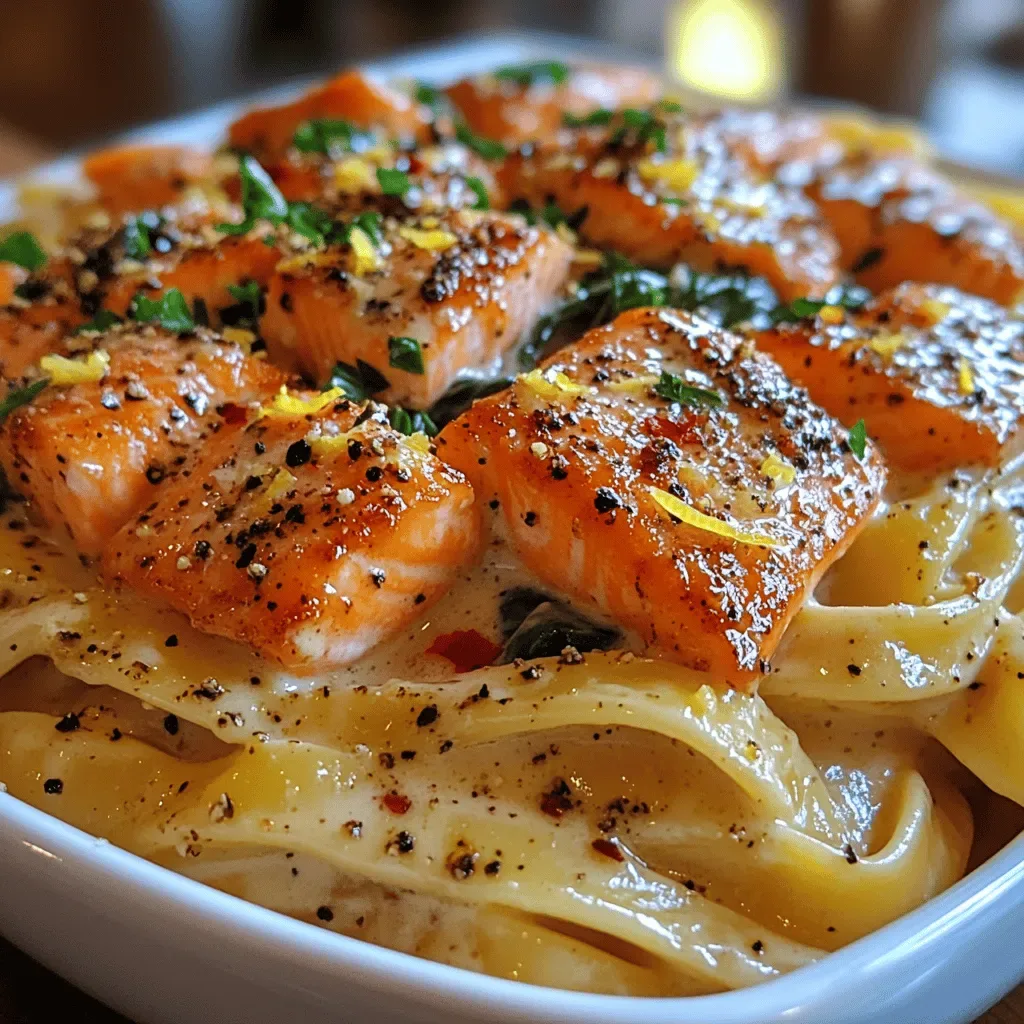
Salmon Pasta in Lemon Garlic Cream Sauce
Delicious Salmon Pasta in Lemon Garlic Cream Sauce

Eva
I cook these recipes at home before they ever land here — simple ingredients, clear steps.