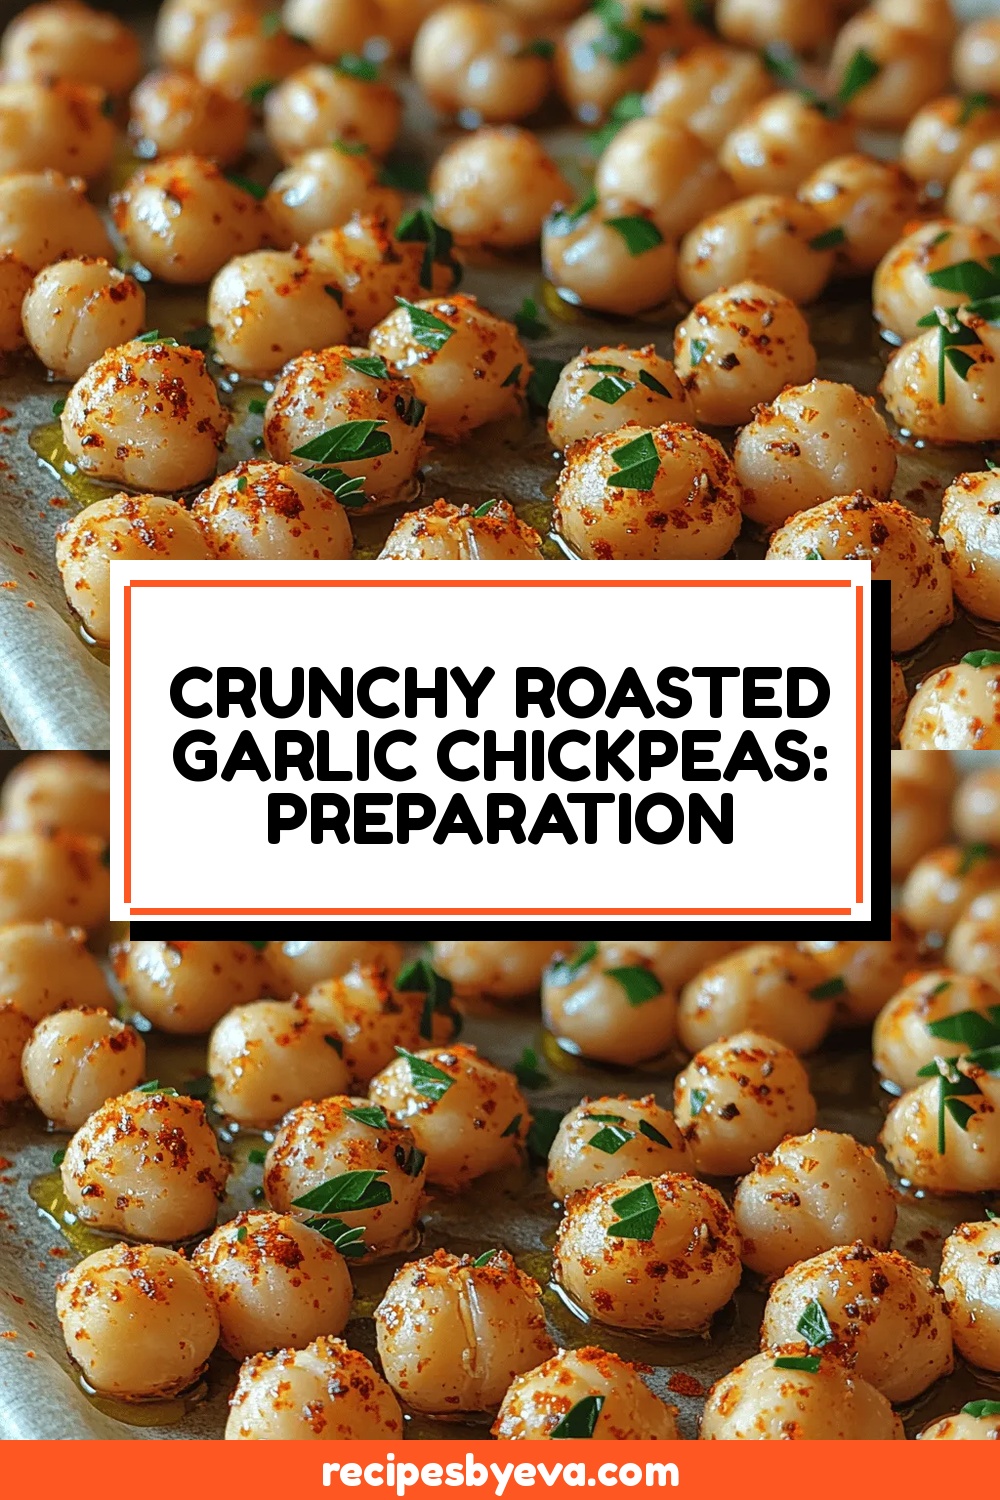
Crunchy Roasted Garlic Chickpeas: Preparation Steps, Serving Suggestions, and Conclusion
 Save
Save
Imagine a snack that crunches like a fresh chip, smells like a kitchen full of roasted garlic, and packs a protein‑rich punch. Crunchy Roasted Garlic Chickpeas deliver that experience in every bite, turning a humble pantry staple into a party‑worthy appetizer.
What makes this recipe special is the perfect balance of smoky paprika, earthy cumin, and caramelized garlic that clings to each chickpea. A quick toss in olive oil and a short roast in a hot oven create an irresistible crunch that stays satisfying long after the last piece.
This dish is ideal for anyone who loves bold flavors without the fuss—busy professionals, college students, or families looking for a healthy finger food. Serve it at game nights, brunch spreads, or as a protein‑rich topping for salads and grain bowls.
The process is straightforward: rinse and dry the chickpeas, coat them in a seasoned oil mixture, roast until golden, then finish with fresh lemon juice and parsley. In under an hour you’ll have a snack that’s both nutritious and delightfully addictive.
Why You'll Love This Recipe
Bold, Layered Flavor: The combination of smoked paprika, cumin, and roasted garlic creates a depth that feels gourmet yet is achieved with pantry basics.
Irresistible Crunch: Proper drying and a high‑heat roast give each chickpea a satisfying snap that rivals commercial chips without the additives.
Protein‑Packed Snack: One cup of chickpeas provides around 15 g of plant‑based protein, making it a filling option for vegans and omnivores alike.
Customizable & Budget‑Friendly: Switch spices, add heat, or swap herbs without breaking the bank—this recipe adapts to any pantry and palate.
Tips & Tricks
Perfecting the Recipe
Dry Thoroughly. After rinsing, spread chickpeas on a towel and press another towel on top. The drier they are, the crispier the final result.
Single‑Layer Spread. Overcrowding the baking sheet traps steam. Use two sheets if necessary to keep each pea exposed to hot air.
Shake Mid‑Roast. Giving the pan a quick shake at the 6‑minute mark redistributes the chickpeas for uniform browning.
Flavor Enhancements
Add a pinch of nutritional yeast after roasting for a cheesy umami boost, or finish with a drizzle of tahini for richness. A splash of smoked sea salt instead of regular salt can intensify the smoky profile without extra effort.
Common Mistakes to Avoid
Skipping the drying step leads to soggy chickpeas that never crisp. Also, adding garlic too early can cause it to burn, resulting in bitterness. Follow the timing in the instructions for optimal flavor.
Pro Tips
Use a Wire Rack. Placing the chickpeas on a wire rack set over a baking sheet allows hot air to circulate all sides, producing an even crunch.
Season While Hot. Toss the lemon juice and parsley into the chickpeas immediately after they exit the oven; the residual heat releases aromatic oils.
Batch Roast. If feeding a crowd, roast in multiple batches rather than overloading a single sheet; this preserves the crisp texture.
Variations
Ingredient Swaps
Replace chickpeas with roasted soy nuts for a higher‑protein bite, or use cauliflower florets for a low‑carb alternative. Swap smoked paprika for chipotle powder for a smoky‑spicy twist, and experiment with fresh herbs like cilantro or dill instead of parsley.
Dietary Adjustments
All ingredients are naturally vegan and gluten‑free. For a low‑sodium version, reduce the added salt and finish with a splash of reduced‑sodium soy sauce or tamari. To keep it keto, omit the lemon juice and replace it with a dash of apple cider vinegar.
Serving Suggestions
Serve these crunchy chickpeas alongside a creamy hummus dip, or sprinkle them over avocado toast for added texture. They also work beautifully as a topping for soups, grain bowls, or even as a crunchy garnish for tacos.
Storage Info
Leftover Storage
Allow the chickpeas to cool completely, then transfer them to an airtight container. Store in the refrigerator for up to **4 days**. For longer keeping, portion into freezer‑safe bags, squeeze out excess air, and freeze for **up to 3 months**. Thaw in the fridge before reheating.
Reheating Instructions
Re‑crisp in a pre‑heated 350°F (175°C) oven for **8‑10 minutes**, uncovered, to restore crunch. Alternatively, toss in a hot skillet with a drizzle of oil for **3‑4 minutes** over medium heat. Microwaving is possible but will soften the texture; if you must, use a short burst and finish under the broiler for a minute.
Frequently Asked Questions
Can I make this recipe ahead of time?
Can I use dried chickpeas instead of canned?
How do I keep the chickpeas from getting soggy after cooling?
What’s the best way to serve these for a party platter?
This crunchy roasted garlic chickpea recipe delivers bold, smoky flavor, a satisfying snap, and a healthy protein boost—all in less than an hour. We’ve covered every detail from ingredient selection to storage, plus plenty of tips, variations, and answers to common questions. Feel free to experiment with spices, herbs, or serving ideas—cooking is an adventure, and this versatile snack is your perfect canvas. Enjoy the crunch, share it with friends, and make it a regular staple in your snack repertoire!
Crunchy Roasted Garlic Chickpeas: Preparation Steps, Serving Suggestions, and Conclusion
Delicious Crunchy Roasted Garlic Chickpeas: Preparation Steps, Serving Suggestions, and Conclusion
Ingredients
Main Ingredients
- 2 (15‑ounce) cans chickpeas, drained and rinsed
- 2 tablespoons extra‑virgin olive oil
Seasoning Mix
- 1 teaspoon smoked paprika
- ½ teaspoon ground cumin
- ½ teaspoon kosher salt
- ¼ teaspoon freshly ground black pepper
- ¼ teaspoon red‑pepper flakes (optional)
Finishing Touches
- 3 cloves garlic, minced
- 1 tablespoon fresh lemon juice
- 2 tablespoons chopped fresh parsley
Instructions
Seasoning & Roasting
- Coat with Oil. Drizzle the 2 tablespoons extra‑virgin olive oil over the chickpeas. Toss gently until each pea is lightly glossy. The oil creates a conduit for heat, ensuring an even golden crust.
- Add Dry Spices. Sprinkle the smoked paprika, cumin, salt, pepper, and red‑pepper flakes over the oiled chickpeas. Mix thoroughly so the seasoning clings uniformly. This step builds the flavor foundation that will be locked in during roasting.
- Preheat Oven. Set the oven to 425°F (220°C) and let it fully heat for at least 10 minutes. A hot oven creates the rapid Maillard reaction needed for crunch without drying the interior.
- First Roast. Spread the seasoned chickpeas in a single layer on a parchment‑lined baking sheet. Roast for **12 minutes**, shaking the pan halfway to promote even browning. You’ll see the edges start to turn deep amber.
- Introduce Garlic. Remove the pan, sprinkle the minced garlic over the chickpeas, and stir quickly to coat. Return the sheet to the oven for an additional **8‑10 minutes**. The garlic softens and caramelizes, infusing the chickpeas with a sweet, roasted aroma without burning.
- Finish with Brightness. Once the chickpeas are crisp and golden, transfer them to a bowl. Drizzle the lemon juice over the hot beans, then toss in the chopped parsley. The acid brightens the smoky notes and the parsley adds a fresh finish.
Similar Recipes
 Appetizers
Protein-Packed Cottage Cheese Tuna Salad
A creamy, high‑protein salad that blends tuna, cottage cheese, and fresh veggies for a quick, satisfying…
 Appetizers
Parmesan Crusted Chicken Bites & Smoked Cajun Alfredo Gemelli
Learn how to make delicious Parmesan Crusted Chicken Bites & Smoked Cajun Alfredo Gemelli. Easy recipe…
 Appetizers
Smurfberry Swirl Cocktail Recipe
Learn how to make delicious Smurfberry Swirl Cocktail Recipe. Easy recipe with step-by-step instructions.
 Appetizers
creamy pumpkin sage soup paired with warm crusty bread for winter
Learn how to make delicious creamy pumpkin sage soup paired with warm crusty bread for winter.…
 Appetizers
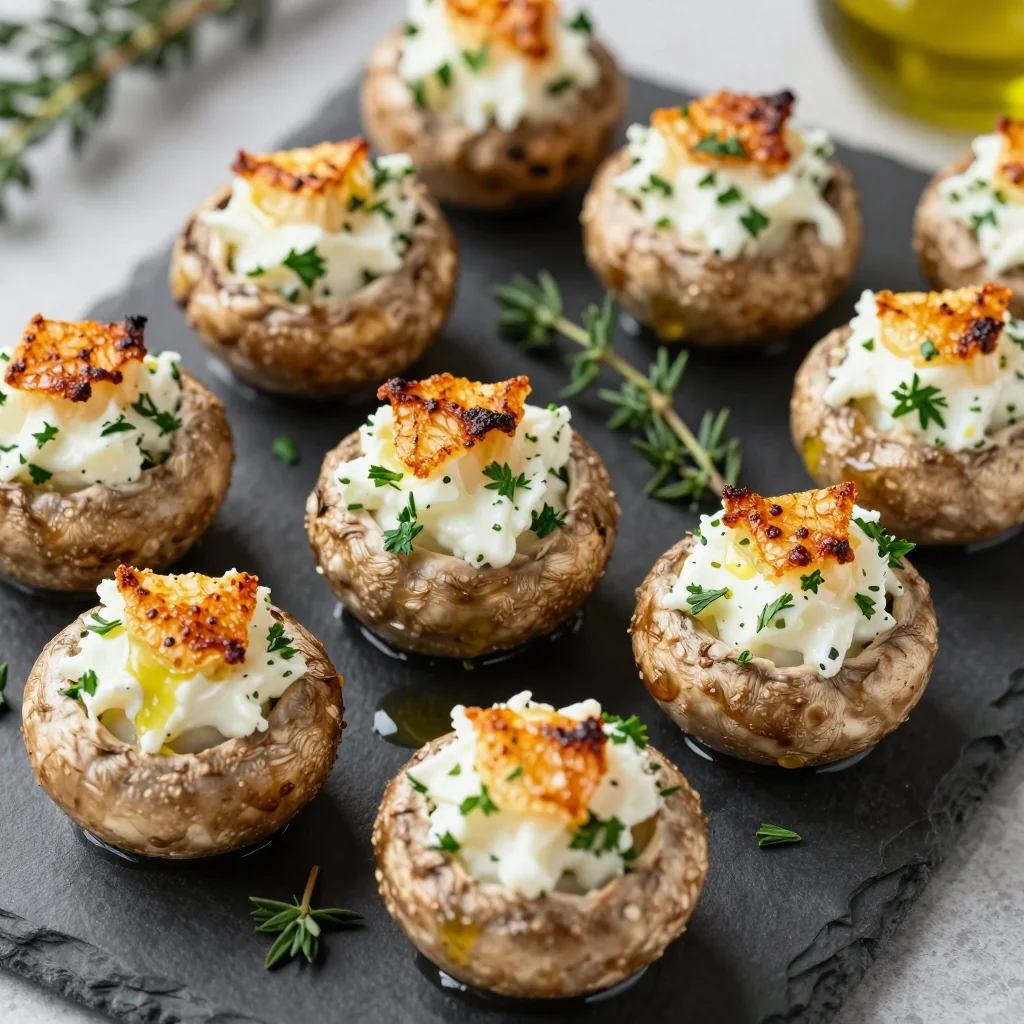
new year’s eve stuffed mushrooms with garlic and herbs for entertaining
Ring in the New Year with these easy stuffed mushrooms—garlicky, herby bites perfect for entertaining. Make-ahead…
 Appetizers
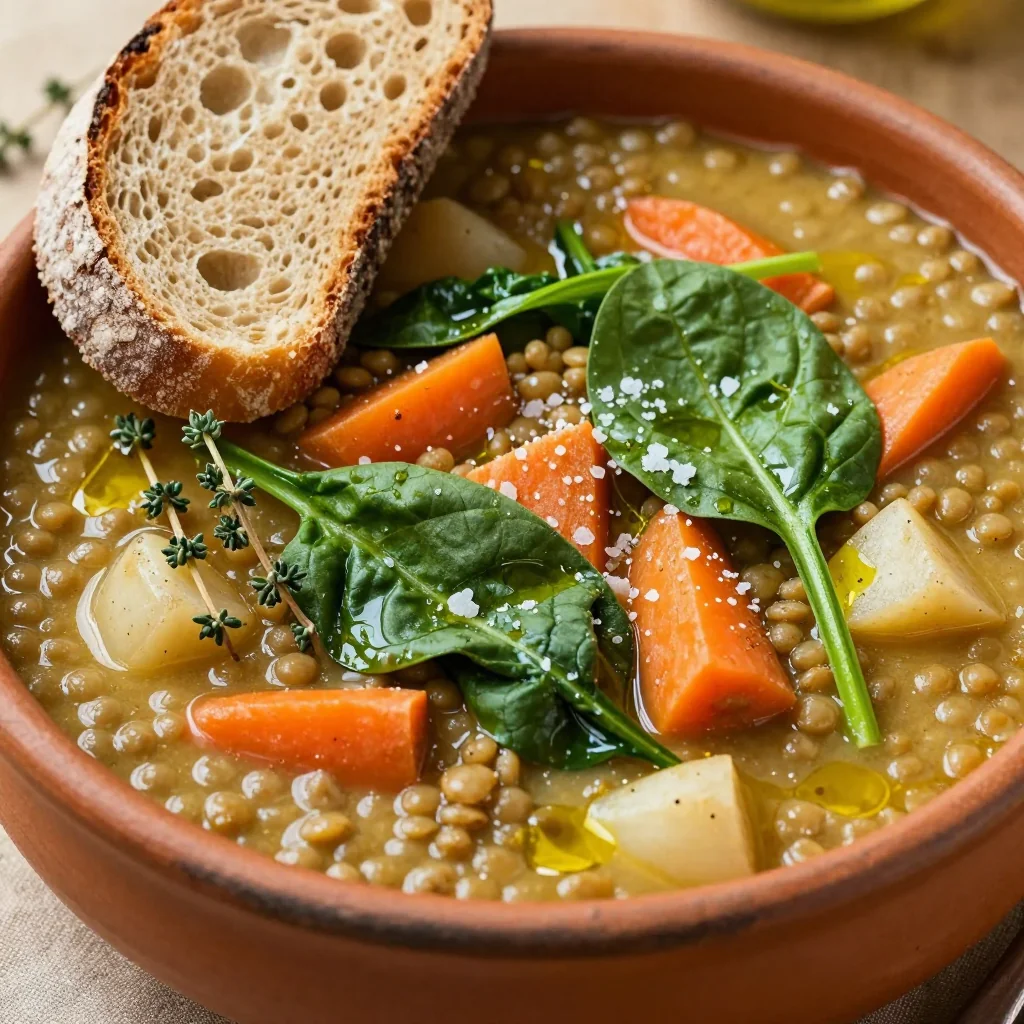
onepot lentil and spinach stew with root vegetables for clean eating
Warm up with this one-pot lentil spinach stew packed with root veggies for clean eating. Easy,…
 Appetizers
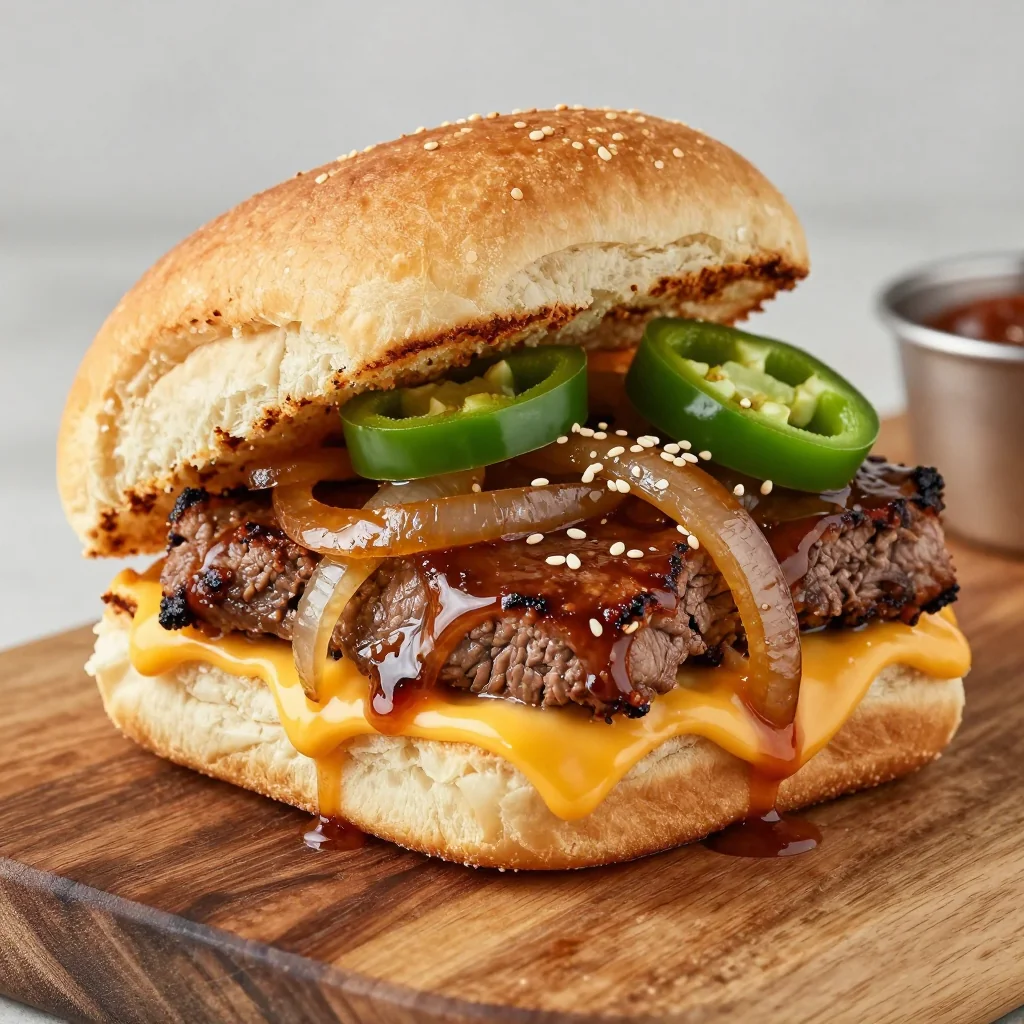
Nfl Playoffs Philly Cheesesteak Sliders for Game Day Thrills
Learn how to make delicious Nfl Playoffs Philly Cheesesteak Sliders for Game Day Thrills. Easy recipe…
 Appetizers
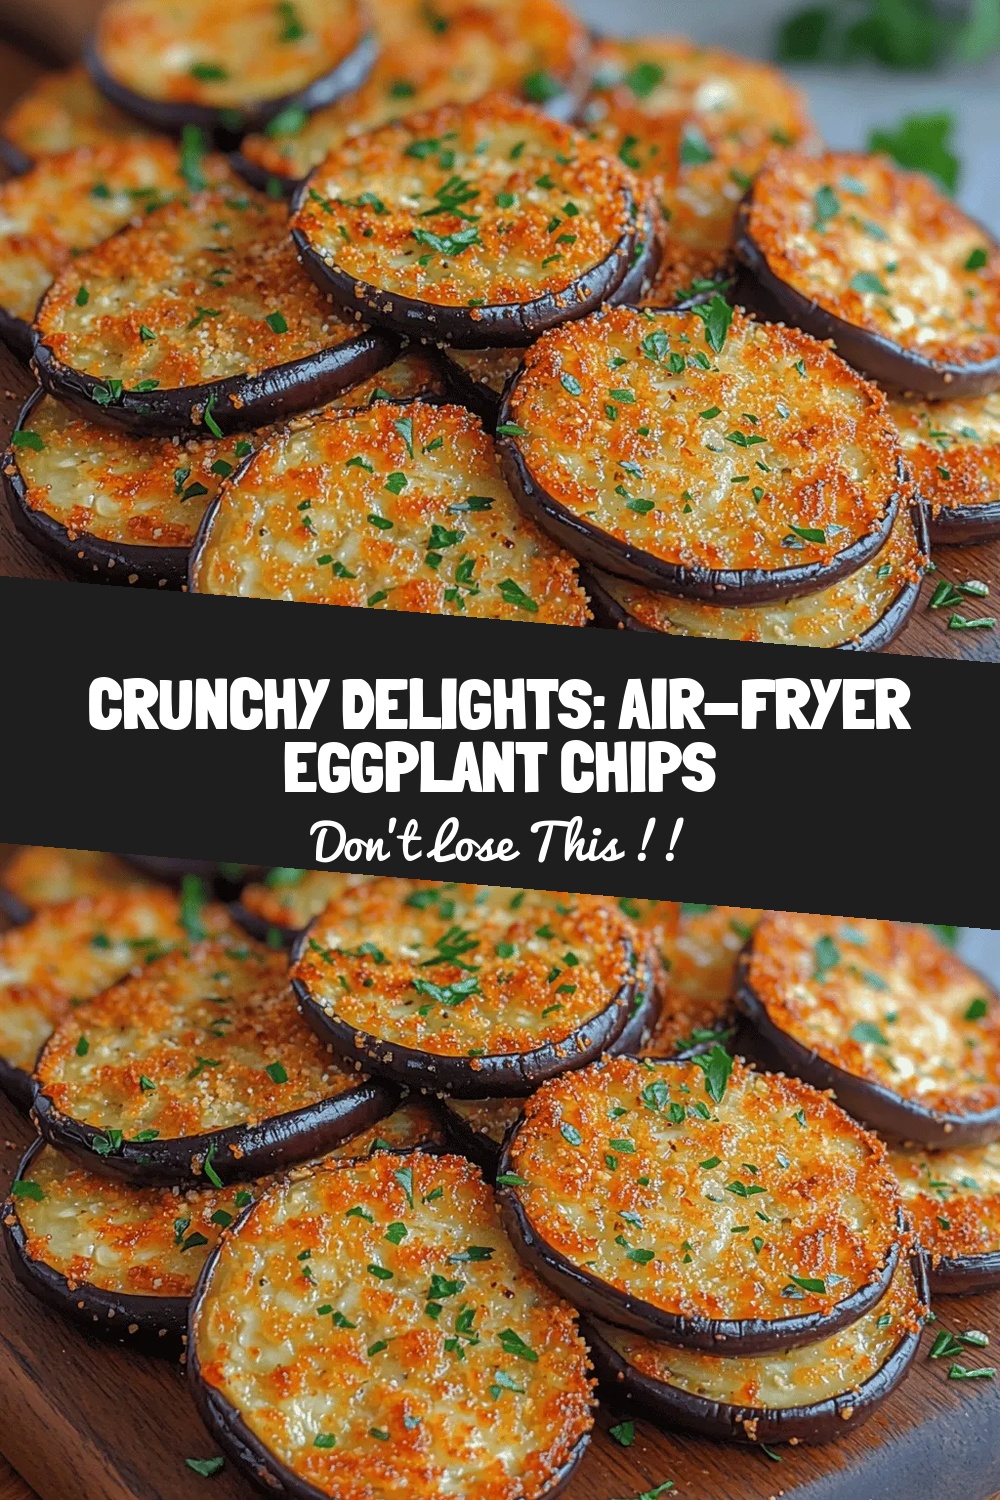
Crunchy Delights: Air-Fryer Eggplant Chips
Delicious Crunchy Delights: Air-Fryer Eggplant Chips

Eva
I cook these recipes at home before they ever land here — simple ingredients, clear steps.