Sticky Honey Garlic Drumstick Traybake
 Save
Save
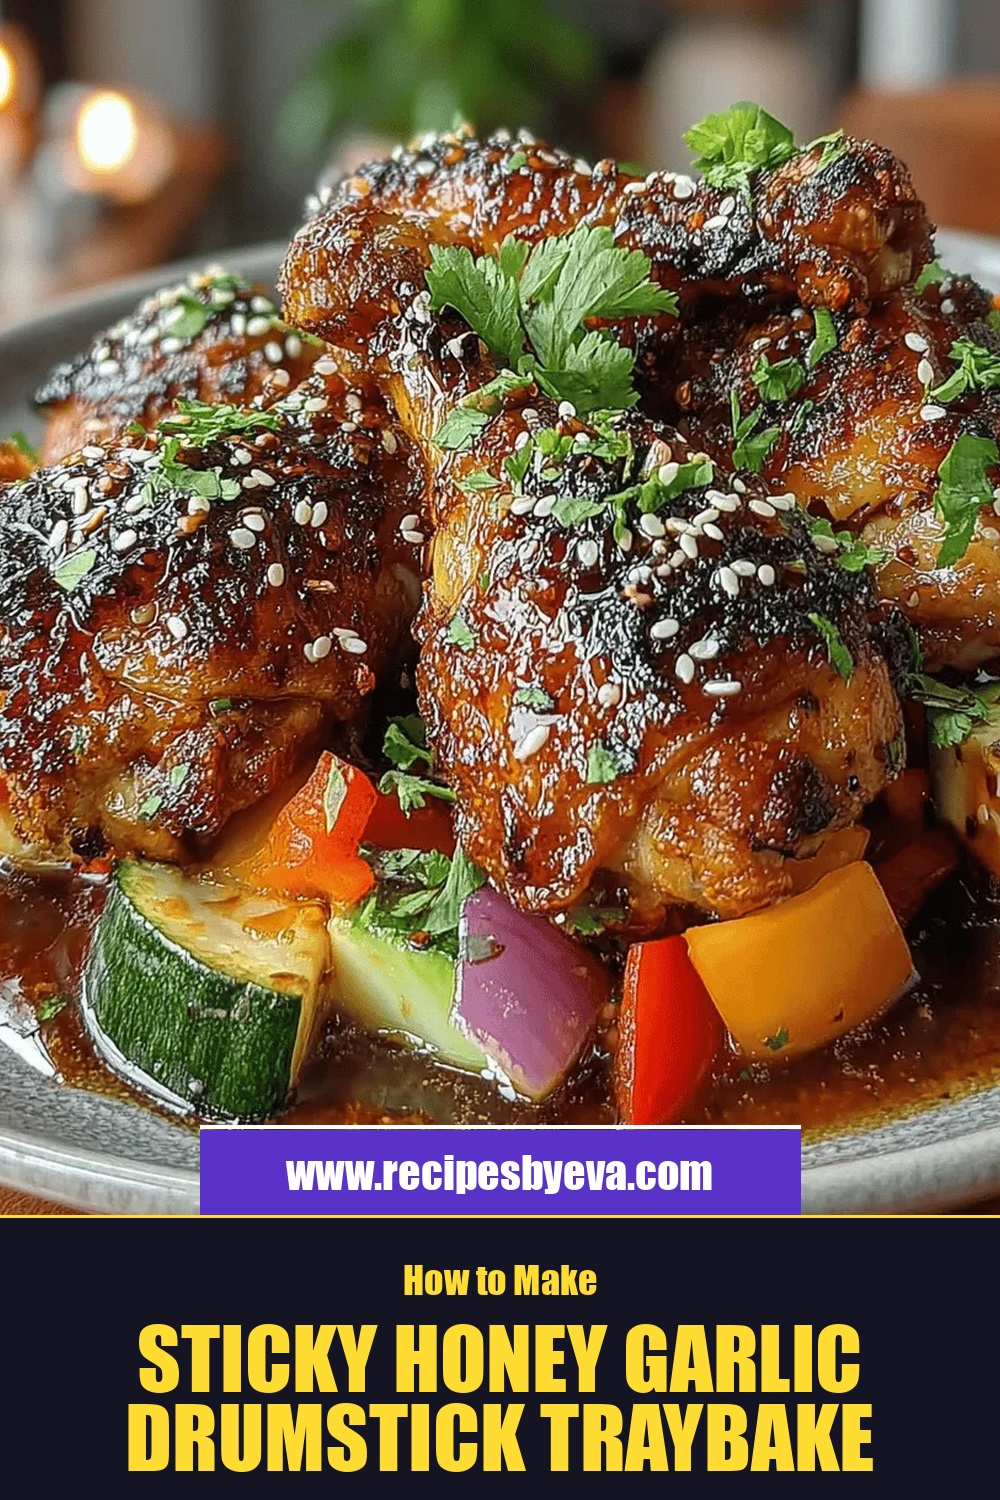
Imagine a tray of golden‑brown chicken drumsticks glazed with a sticky, sweet‑and‑savory honey‑garlic sauce that caramelizes in the oven, creating a glossy finish that beckons you to dig in. This is the magic of the Sticky Honey Garlic Drumstick Traybake.
What sets this dish apart is the perfect balance between honey’s natural sweetness and garlic’s robust bite, amplified by a splash of soy sauce and a hint of citrus. The result is a deep, caramelized crust that stays tender and juicy inside.
Busy families, casual entertaining hosts, and anyone craving comfort food with a gourmet twist will love this recipe. It shines at weeknight dinners, weekend potlucks, or even as a make‑ahead lunch option.
The process is straightforward: season the drumsticks, sear them briefly, toss them in a honey‑garlic glaze, and finish everything together on a sheet pan in a hot oven. Minimal cleanup, maximum flavor.
Why You'll Love This Recipe
One‑Pan Wonder: All the flavor develops on a single sheet pan, which means fewer dishes, less mess, and a beautifully cohesive taste throughout the meal.
Bold Sweet‑Savory Balance: The honey delivers natural sweetness while garlic, soy sauce, and a dash of lemon provide depth and a bright, tangy finish.
Kid‑Friendly Appeal: The sticky glaze turns ordinary drumsticks into a finger‑licking treat that even picky eaters will devour without complaint.
Versatile Pairings: Serve it over rice, quinoa, or a fresh salad—the glaze adapts beautifully to a variety of sides and textures.
Tips & Tricks
Perfecting the Recipe
Dry the Skin Thoroughly: Moisture is the enemy of crispness. Pat the drumsticks completely dry before oiling to ensure a golden, crackly skin.
Use a Wire Rack: Placing the drumsticks on a wire rack set over the baking sheet allows heat to circulate underneath, preventing soggy bottoms.
Flavor Enhancements
Add a teaspoon of toasted sesame oil to the glaze for a nutty depth, or stir in a tablespoon of toasted sesame seeds after baking for crunch. A splash of rice‑vinegar just before serving brightens the overall profile.
Common Mistakes to Avoid
Never skip the broiling step; without it the glaze stays soft and the skin never reaches that coveted caramelized texture. Also, avoid overcrowding the pan—crowded drumsticks steam instead of roast, resulting in a soggy finish.
Pro Tips
Make a Double Batch of Glaze: Reserve extra glaze for a drizzle at the table; it keeps the dish glossy and adds a burst of flavor with each bite.
Invest in a Meat Thermometer: Aim for an internal temperature of 165°F (74°C). This ensures safety without overcooking, preserving juiciness.
Finish with a Squeeze of Lemon: A fresh lemon wedge brightens the sticky glaze and balances the sweetness right before serving.
Variations
Ingredient Swaps
Swap chicken drumsticks for bone‑in thighs for a richer flavor, or try pork shoulder cubes for a different protein. Substitute maple syrup for honey to introduce a caramel‑like nuance, and add sliced bell peppers or snap peas for extra color and crunch.
Dietary Adjustments
For gluten‑free diners, ensure the soy sauce is a certified gluten‑free tamari. To keep it low‑carb, replace honey with a keto‑friendly sweetener such as erythritol or monk fruit blend, and serve over cauliflower rice instead of grain‑based sides.
Serving Suggestions
Pair the traybake with jasmine rice or a quinoa pilaf to soak up the glaze. A crisp cucumber‑radish salad dressed with rice‑vinegar adds refreshing contrast, while roasted sweet potatoes make the meal heartier for cooler evenings.
Storage Info
Leftover Storage
Allow the drumsticks to cool to room temperature, then transfer them and any remaining glaze to an airtight container. Refrigerate for up to 4 days. For longer keeping, portion the leftovers into freezer‑safe bags, lay flat, and freeze for up to 3 months. Thaw overnight in the fridge before reheating.
Reheating Instructions
Reheat in a pre‑heated 350°F (175°C) oven for 12–15 minutes, covered with foil to retain moisture, then uncover for the final 3 minutes to re‑crisp the skin. In a microwave, heat on medium power for 2 minutes, adding a splash of water or extra glaze to prevent drying.
Frequently Asked Questions
Can I make this recipe ahead of time?
What if I only have boneless chicken?
How do I keep the glaze from burning?
This Sticky Honey Garlic Drumstick Traybake delivers a mouth‑watering combination of sweet, savory, and tangy flavors with minimal effort. By following the detailed steps, using fresh ingredients, and applying the pro tips, you’ll achieve perfectly caramelized drumsticks every time. Feel free to swap ingredients or adjust seasonings to match your palate—cooking is an adventure. Serve, enjoy, and let the sticky goodness become a new family favorite!
Sticky Honey Garlic Drumstick Traybake
Delicious Sticky Honey Garlic Drumstick Traybake
Ingredients
Main Ingredients
- 8 chicken drumsticks (about 2 lb)
- 2 tablespoons olive oil
Sauce/Marinade
- ¼ cup honey
- ¼ cup low‑sodium soy sauce
- 3 cloves garlic, minced
- 1 teaspoon freshly grated ginger
- 1 tablespoon lemon juice
- ½ teaspoon red‑pepper flakes (optional)
Seasonings & Garnish
- Salt and freshly ground black pepper, to taste
- 2 tablespoons chopped fresh parsley
Instructions
Assembling & Baking
- Preheat the Oven. Set your oven to 400°F (200°C) and allow it to fully preheat. A hot oven jump‑starts the caramelization process, giving the glaze its signature sheen.
- Arrange the Drumsticks. Place the seasoned drumsticks on a large rimmed baking sheet, spacing them evenly. This ensures air circulates around each piece, promoting uniform browning.
- Coat with Glaze. Brush each drumstick generously with the honey‑garlic mixture, making sure to cover the skin and crevices. Reserve a small amount of glaze for a final brush before serving.
- Bake and Baste. Slide the tray into the oven and bake for 20 minutes. After the first 10 minutes, remove the pan, turn the drumsticks, and baste with more glaze. This step builds layers of flavor and prevents drying.
- Finish Under the Broiler. For an extra‑crispy finish, switch the oven to broil for 2–3 minutes. Watch closely; the sugars can burn quickly. The drumsticks should emerge with a deep amber glaze and a slightly caramelized crust.
Similar Recipes
 Dinner
Perfectly Cozy Scallion Oil Noodles in Just 25 Minutes
Learn how to make delicious Perfectly Cozy Scallion Oil Noodles in Just 25 Minutes. Easy recipe…
 Dinner
Sweet & Savory BBQ Pulled Pork Sandwiches
Delicious Sweet & Savory BBQ Pulled Pork Sandwiches
 Dinner
Cheesy Beef Stuffed Peppers
Juicy bell peppers packed with seasoned beef, rice, and melty cheddar deliver comfort in every bite.
 Dinner
Spicy Thai Coconut Curry Soup Recipe: A Flavorful Journey
Delicious Spicy Thai Coconut Curry Soup Recipe: A Flavorful Journey
 Dinner
Sizzling Korean Spinach Delight: A Flavorful and Nutritious Side Dish
Delicious Sizzling Korean Spinach Delight: A Flavorful and Nutritious Side Dish
 Dinner
Million Dollar Chicken Casserole: A Family Favorite
Delicious Million Dollar Chicken Casserole: A Family Favorite
 Dinner
Delicious Chicken Club Pasta Salad for Effortless Meal Prep
Learn how to make delicious Delicious Chicken Club Pasta Salad for Effortless Meal Prep. Easy recipe…
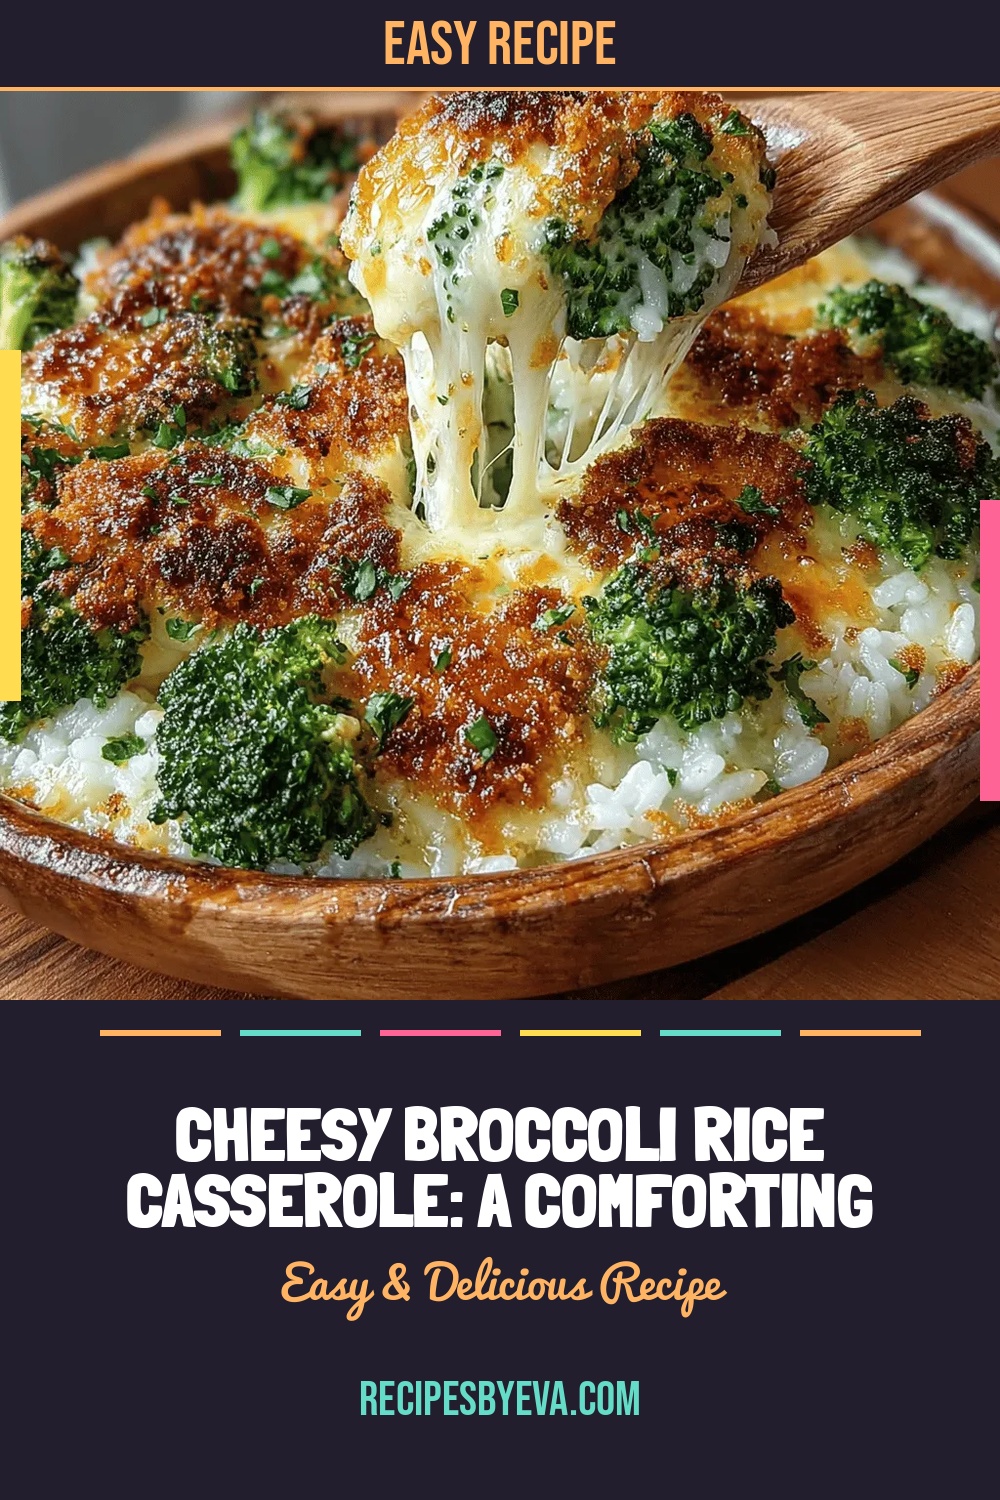 Dinner
Cheesy Broccoli Rice Casserole: A Comforting Delight
Delicious Cheesy Broccoli Rice Casserole: A Comforting Delight

Eva
I cook these recipes at home before they ever land here — simple ingredients, clear steps.