Baked Honey Butter Cornbread Tenders: A Delicious Recipe
 Save
Save
Imagine the comforting aroma of freshly baked cornbread mingling with the sweet, buttery glaze of honey as it drips over golden‑brown tenders. This is the magic of Baked Honey Butter Cornbread Tenders—a dish that turns a humble side into the star of the table.
What makes it truly special is the marriage of a light, crumbly cornbread coating with a glossy honey‑butter finish that caramelizes in the oven, delivering a perfect balance of sweet and savory in every bite.
Anyone who loves comforting, crowd‑pleasing food will adore this recipe—kids, busy parents, and even seasoned home cooks looking for a quick yet impressive dinner option.
The process is straightforward: whisk a simple batter, coat tender strips of cornbread dough, bake until puffed, then brush with a warm honey‑butter glaze. The result is a tender, flavorful bite that’s ready to serve straight from the pan.
Why You'll Love This Recipe
Irresistible Sweet‑Savory Balance: The honey‑butter glaze adds a caramelized sweetness that perfectly offsets the mildly salty, corn‑flavored coating, creating a harmonious flavor profile.
One‑Pan Simplicity: All steps—mixing, baking, glazing—happen in a single sheet pan, minimizing cleanup while maximizing flavor development.
Kid‑Friendly Fun: The bite‑size tenders are easy for little hands to pick up, and the subtle sweetness often wins over picky eaters without added sugar.
Versatile Serving: Serve them as a main dish, a side for BBQ, or a party appetizer—each scenario shines thanks to their golden crust and glossy finish.
Tips & Tricks
Perfecting the Recipe
Cold Buttermilk. Keep the buttermilk chilled until just before mixing; the temperature contrast helps the batter rise quickly in the hot oven.
Even Portions. Use a cookie scoop (2‑inch) to ensure each tender is the same size, guaranteeing uniform baking and consistent texture.
Don’t Over‑mix. Stop stirring as soon as the wet and dry ingredients combine; excess mixing makes the coating tough.
Glaze Timing. Brush the glaze on while the tenders are still hot; the residual heat helps the honey‑butter adhere and caramelize.
Flavor Enhancements
Add a splash of fresh orange juice to the glaze for citrus brightness, or stir in a pinch of cayenne for subtle heat. A drizzle of maple syrup after baking can deepen the sweet profile without overwhelming the honey flavor.
Common Mistakes to Avoid
Skipping the resting period makes the glaze slide off, and using room‑temperature butter in the glaze can cause it to separate. Also, avoid opening the oven door too often; temperature drops prevent proper caramelization.
Pro Tips
Use a Light-Colored Baking Sheet. It allows you to monitor the golden color of the tenders without the dark background masking the hue.
Finish with a Sprinkle of Flaky Sea Salt. The tiny crystals contrast the sweet glaze and add a satisfying crunch.
Make Ahead Glaze. Prepare the honey‑butter mixture up to a day ahead; reheat gently before brushing for a smoother application.
Serve Immediately. The tenders are at their crispiest within the first 10 minutes after baking; reheating can soften the crust.
Variations
Ingredient Swaps
Replace cornmeal with fine polenta for a smoother texture, or swap all‑purpose flour for whole‑wheat for added nuttiness. For a richer glaze, use brown butter instead of regular melted butter, and consider maple syrup in place of honey for a deeper flavor.
Dietary Adjustments
To make the dish gluten‑free, use a 1:1 gluten‑free flour blend and ensure the cornmeal is labeled gluten‑free. Dairy‑free versions swap butter for coconut oil and use almond milk with a splash of lemon juice as a buttermilk substitute. For a low‑carb twist, replace cornmeal with almond flour and use a sugar‑free sweetener in the glaze.
Serving Suggestions
Pair the tenders with a simple coleslaw, creamy mac & cheese, or a tangy tomato relish. They also shine as a breakfast side alongside scrambled eggs, or as a snack with a dollop of ranch or honey‑mustard dipping sauce.
Storage Info
Leftover Storage
Allow the tenders to cool completely, then transfer them to an airtight container. Store in the refrigerator for up to 4 days. For longer keeping, place them in a freezer‑safe bag, squeeze out excess air, and freeze for up to 3 months. Proper sealing prevents freezer burn and keeps the glaze from absorbing odors.
Reheating Instructions
Reheat in a pre‑heated 350°F (175°C) oven on a foil‑lined sheet for 10‑12 minutes, covered with foil for the first half to retain moisture, then uncovered to re‑crisp the glaze. For a faster option, microwave on medium power for 45‑60 seconds, then finish under a broiler for 2 minutes to restore crispness.
Frequently Asked Questions
Can I make the honey‑butter glaze ahead of time?
What if I don’t have buttermilk?
Can I freeze the baked tenders before glazing?
How do I know when the tenders are done?
This Baked Honey Butter Cornbread Tenders recipe delivers a perfect blend of sweet, buttery glaze and a light, fluffy cornbread coating, all without deep‑frying. By following the detailed steps, tips, and storage guidance, you’ll achieve consistent, restaurant‑quality results at home. Feel free to experiment with the suggested swaps or add your own twist—cooking is an adventure. Serve them hot, share them wide, and enjoy every golden, honey‑kissed bite!
Baked Honey Butter Cornbread Tenders: A Delicious Recipe
Delicious Baked Honey Butter Cornbread Tenders: A Delicious Recipe
Ingredients
Main Ingredients
- 1 cup yellow cornmeal
- ½ cup all‑purpose flour
- 1 teaspoon baking powder
- ¼ teaspoon baking soda
- 1 cup buttermilk, chilled
- 1 large egg, lightly beaten
Honey Butter Glaze
- ¼ cup unsalted butter, melted
- 3 tablespoons pure honey
- ½ teaspoon ground cinnamon
- Pinch of sea salt
Seasonings & Garnish
- 1 teaspoon smoked paprika
- ½ teaspoon garlic powder
- Fresh chives, finely sliced (optional)
Instructions
Forming & Baking the Tenders
- Preheat the Oven. Set the oven to 400°F (200°C) and line a rimmed baking sheet with parchment. This temperature creates a rapid rise, giving the tenders a golden crust while keeping the interior moist.
- Shape the Tenders. Using a spoon or ice‑cream scoop, drop 2‑inch portions of batter onto the prepared sheet, spacing them about 1 inch apart. The uniform size ensures even cooking and a consistent bite.
- Initial Bake. Place the sheet in the oven and bake for 12‑15 minutes, or until the tops are lightly golden and a toothpick inserted near the center comes out clean. The batter will puff slightly, forming a tender “tender.”
- Prepare the Glaze. While the tenders bake, whisk together melted butter, honey, cinnamon, and a pinch of sea salt in a small saucepan over low heat. Warm just until the mixture is glossy and the butter is fully incorporated; do not boil.
- Glaze & Finish Baking. Remove the tenders from the oven, brush each generously with the honey‑butter glaze, then return to the oven for an additional 5‑7 minutes. This second bake caramelizes the glaze, creating a sticky, amber‑colored coating.
Similar Recipes
 Appetizers
creamy lemon roasted cabbage and carrots for light family supper
Discover a light family supper with creamy lemon roasted cabbage and carrots, a delicious & healthy…
 Appetizers
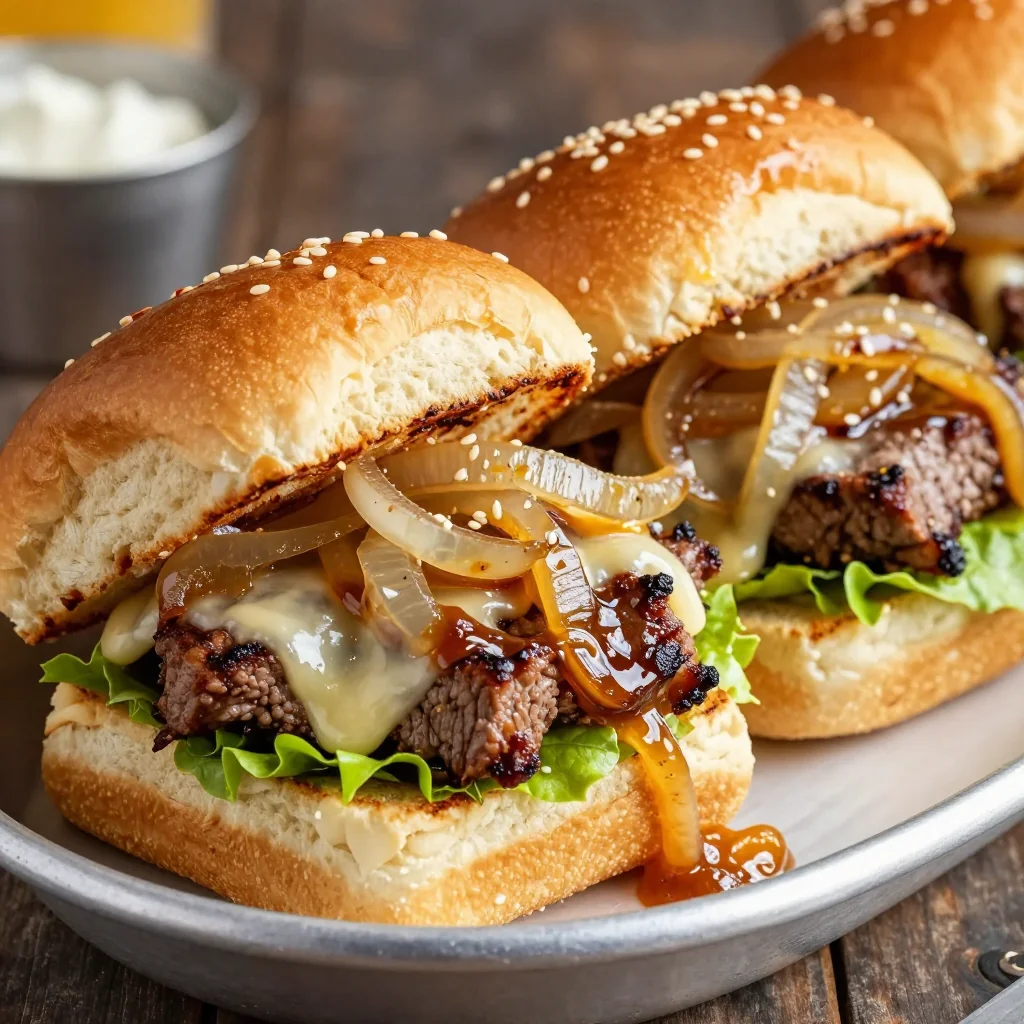
Philly Cheesesteak Sliders for Game Day Crowd
Learn how to make delicious Philly Cheesesteak Sliders for Game Day Crowd. Easy recipe with step-by-step…
 Appetizers
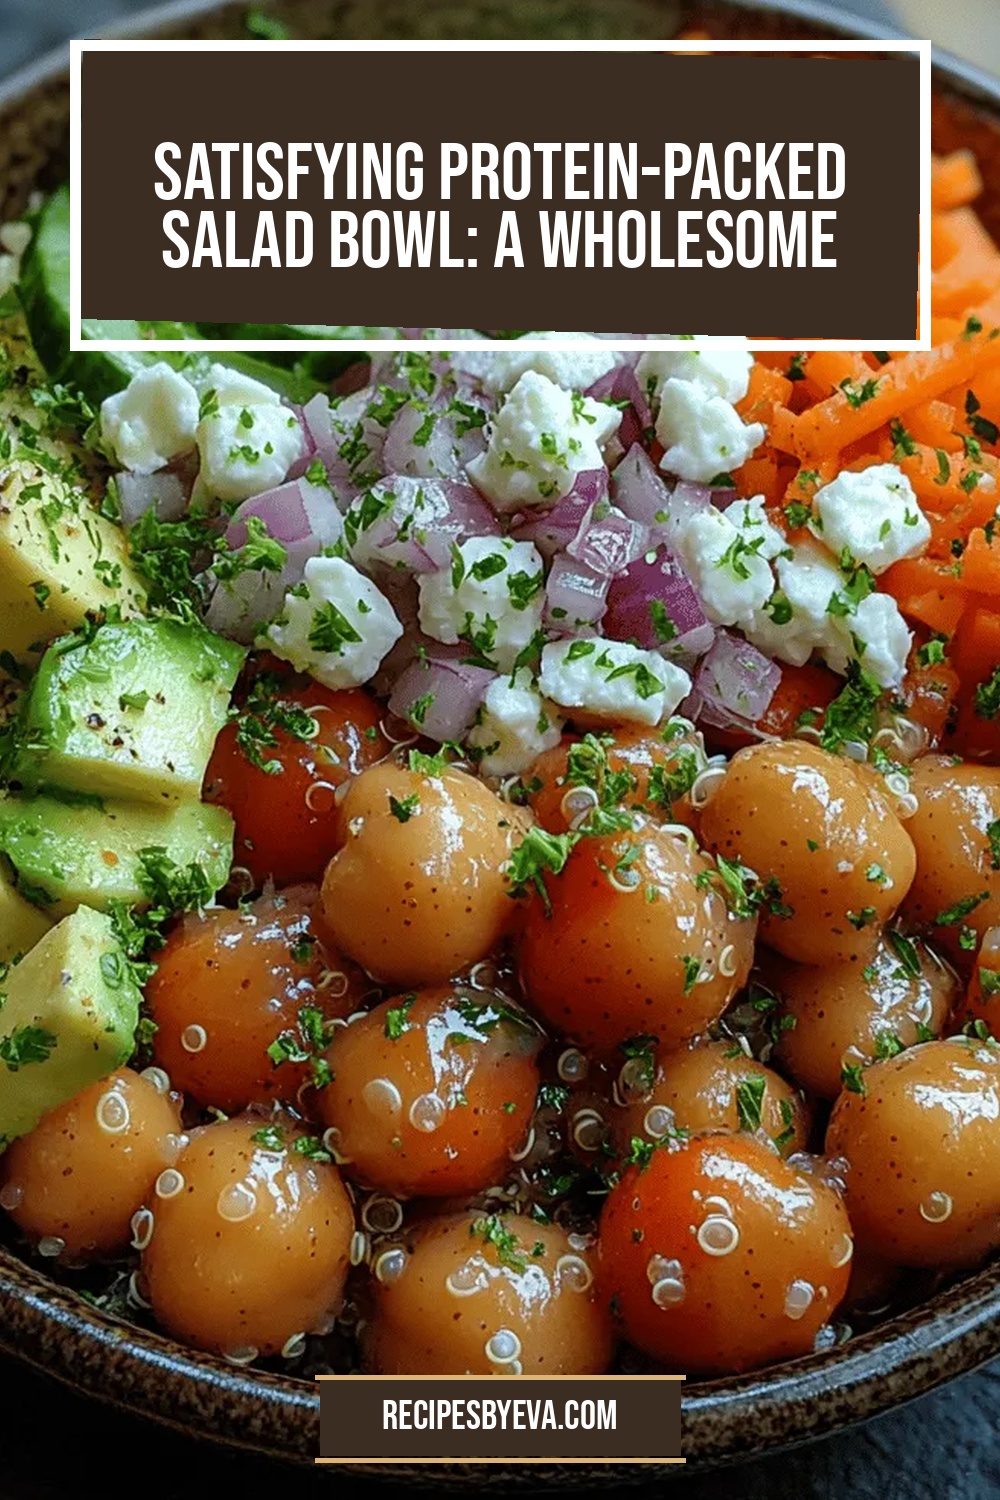
Satisfying Protein-Packed Salad Bowl: A Wholesome Recipe for Health Enthusiasts
Delicious Satisfying Protein-Packed Salad Bowl: A Wholesome Recipe for Health Enthusiasts
 Appetizers
Irresistibly Fluffy Apple Fritter Waffle Donuts You’ll Love
Learn how to make delicious Irresistibly Fluffy Apple Fritter Waffle Donuts You’ll Love. Easy recipe with…
 Appetizers
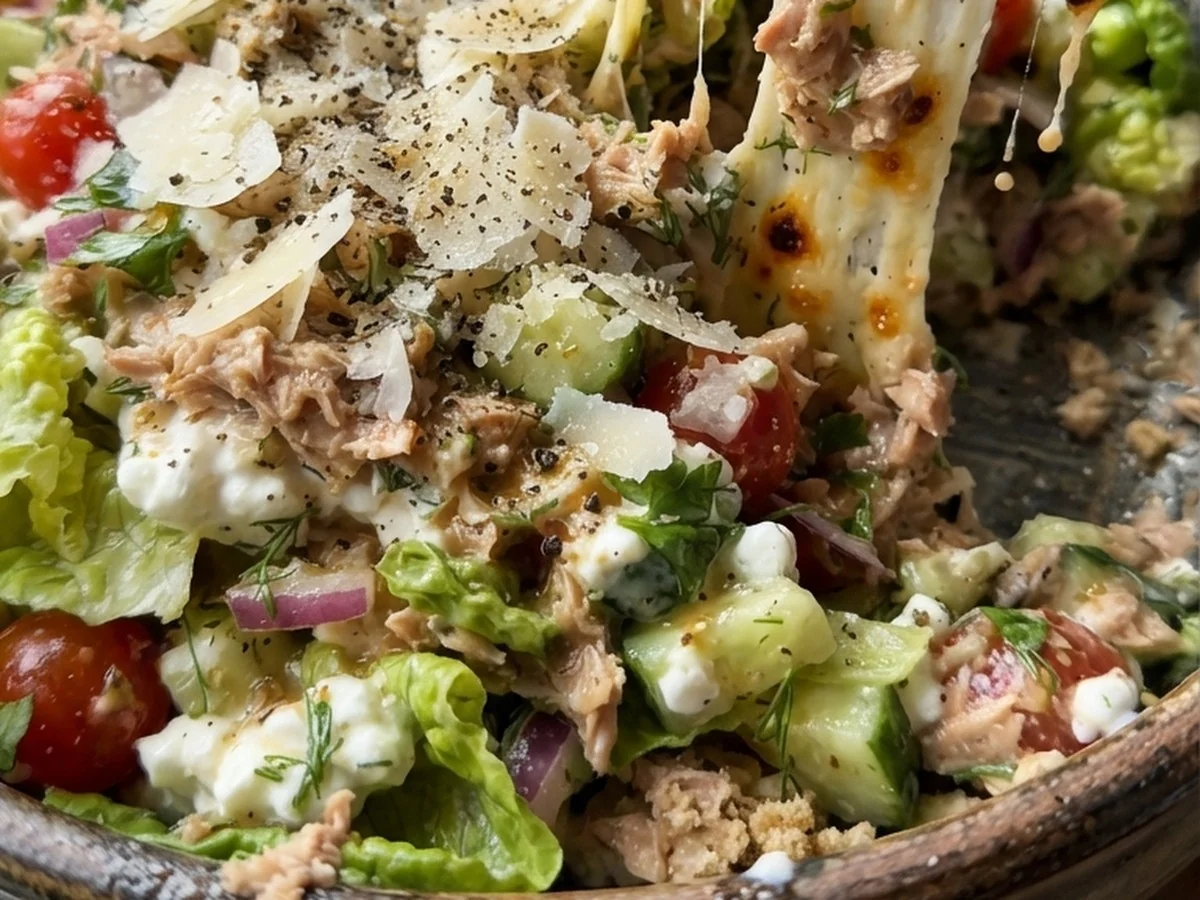
Protein-Packed Cottage Cheese Tuna Salad
A creamy, high‑protein salad that blends tuna, cottage cheese, and fresh veggies for a quick, satisfying…
 Appetizers
Cheesy Garlic Butter Bombs Recipe
Delicious Cheesy Garlic Butter Bombs Recipe
 Appetizers
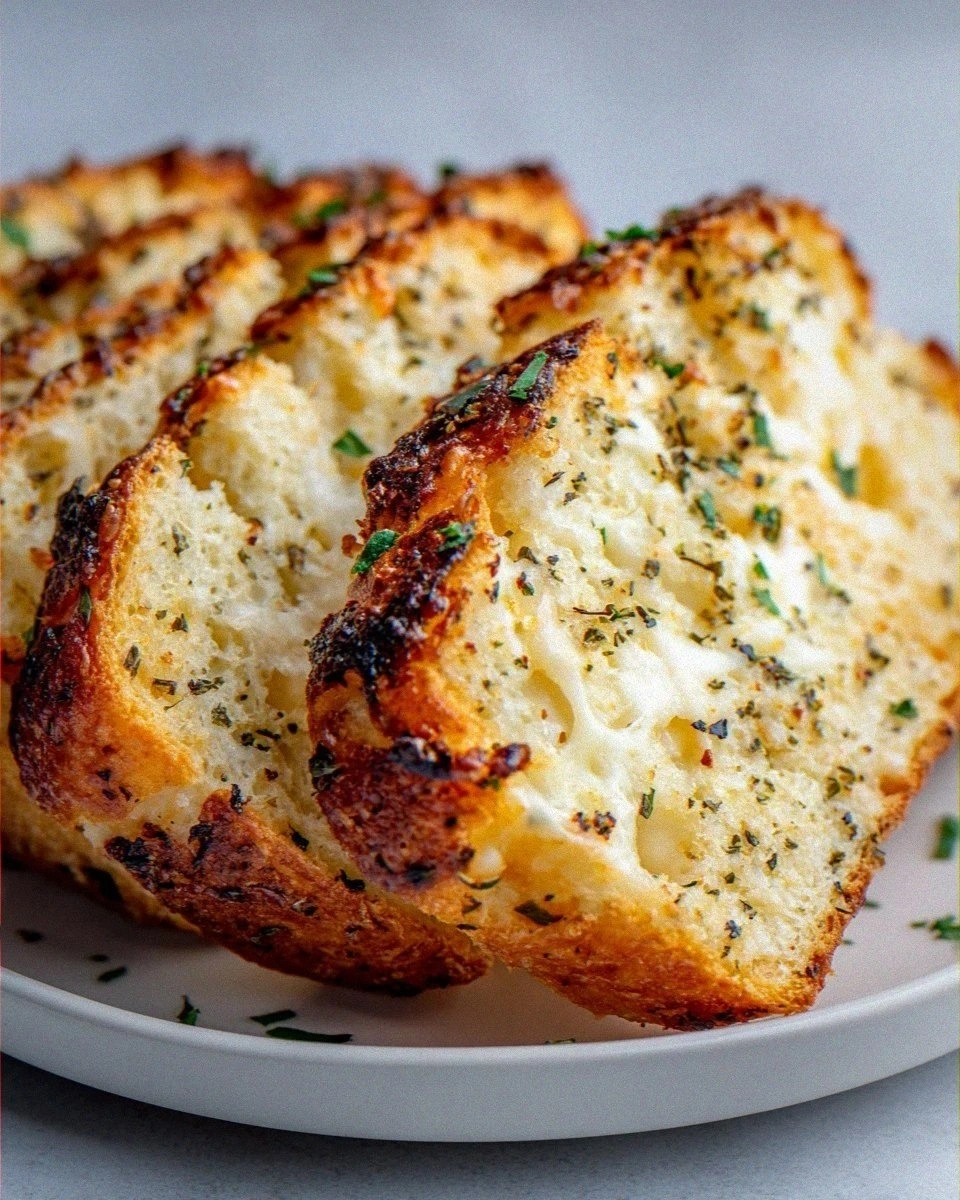
Italian Herb and Cheese Bread: A Flavorful Cheesy Loaf
Learn how to make delicious Italian Herb and Cheese Bread: A Flavorful Cheesy Loaf. Easy recipe…
 Appetizers
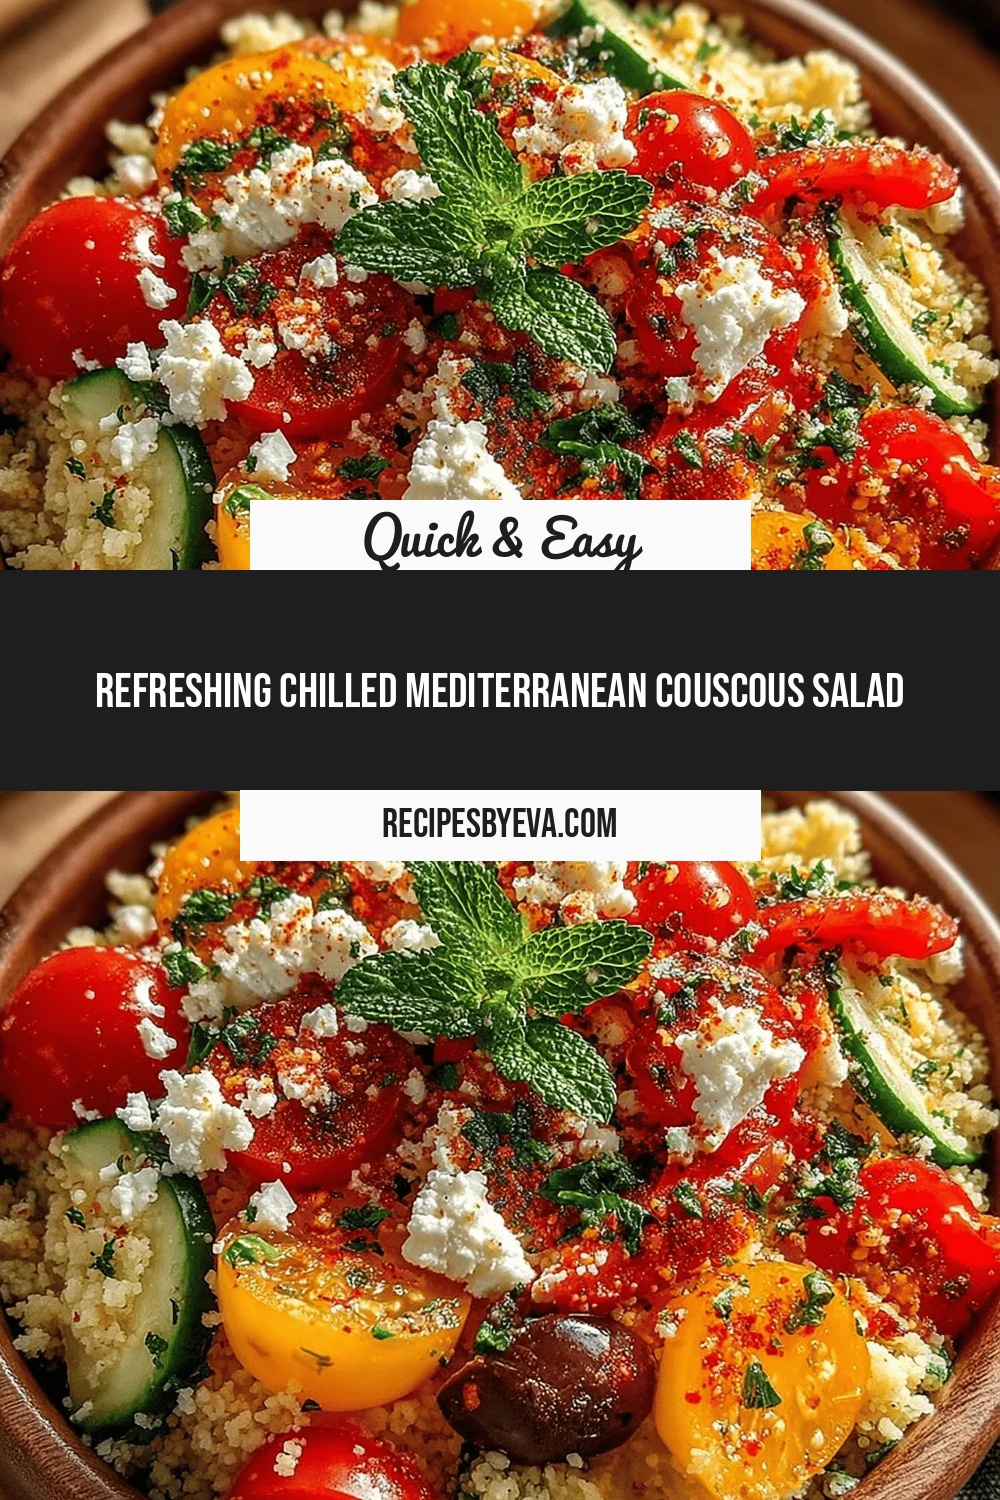
Refreshing Chilled Mediterranean Couscous Salad
Delicious Refreshing Chilled Mediterranean Couscous Salad

Eva
I cook these recipes at home before they ever land here — simple ingredients, clear steps.