Simple & Fun Homemade Pizza Dough
 Save
Save
There’s something magical about pulling a golden, blistered crust straight from the oven, especially when you know you made the dough from scratch. This Simple & Fun Homemade Pizza Dough delivers that restaurant‑quality bite without any fancy equipment.
What sets this dough apart is its balance of chew and crisp: a quick rise, a dash of olive oil, and a pinch of sugar coax the yeast into creating tiny air pockets that give the crust its signature texture.
Pizza lovers of all ages will adore it—whether you’re feeding a family on a busy weeknight or impressing friends at a casual dinner party. It’s also a perfect canvas for endless topping ideas.
The process is straightforward: activate the yeast, mix the wet and dry components, knead briefly, let the dough rise twice, then bake on a hot stone or baking sheet. In under an hour you’ll have a versatile base ready for any flavor adventure.
Why You'll Love This Recipe
Quick & Easy: From start to oven in just 45 minutes, this dough fits perfectly into a busy schedule while still delivering a satisfying homemade feel.
Versatile Canvas: Use it for classic Margherita, meat‑laden pies, or even dessert pizzas—its neutral flavor adapts to any topping you crave.
Minimal Equipment: No stand mixer or dough hook required; a sturdy bowl and your hands are all you need to achieve a professional‑grade crust.
Kid‑Friendly Fun: Let little chefs help with stretching and topping the dough, turning dinner prep into a playful family activity.
Tips & Tricks
Perfecting the Recipe
Use a kitchen scale. Measuring flour by weight (400 g) yields consistent results and prevents a dough that’s too dense or too slack.
Allow a slow, cool rise. If you have time, let the dough rise in the refrigerator for 12‑24 hours; this develops deeper flavor and a chewier texture.
Flavor Enhancements
Add a tablespoon of grated Parmesan to the dough for a subtle umami boost, or fold in fresh rosemary leaves during the kneading stage. A drizzle of garlic‑infused olive oil on the crust before baking adds aromatic richness without extra toppings.
Common Mistakes to Avoid
Never use boiling water; it kills the yeast and prevents any rise. Also, avoid over‑flouring the work surface—too much flour makes the crust tough. Finally, don’t skip the preheated stone; a cold surface yields a soggy base.
Pro Tips
Steam the oven. Place a shallow pan of water on the lower rack during the first 5 minutes of bake to create steam, which gives the crust a glossy finish.
Cold ferment the dough. After the first rise, cover and refrigerate overnight. This not only intensifies flavor but also makes the dough easier to stretch.
Use parchment for easy transfer. Assemble the pizza on parchment paper, then slide the whole sheet onto the hot stone. It prevents sticking and simplifies cleanup.
Finish with fresh herbs. Sprinkle basil, oregano, or arugula after baking to keep their bright flavors intact.
Variations
Ingredient Swaps
Swap bread flour for 00‑style Italian flour for an even lighter crumb, or use whole‑wheat flour (up to 25 % of the total) for added nuttiness. Replace olive oil with melted butter for a richer, slightly sweeter crust, and experiment with honey instead of sugar for a subtle caramel note.
Dietary Adjustments
For gluten‑free diners, use a blend of certified gluten‑free flour, tapioca starch, and xanthan gum in the same total weight. Vegan versions simply omit the olive oil or replace it with a neutral oil like avocado. To keep carbs low, try a cauliflower‑rice crust mixed with a small amount of cheese as a binder.
Serving Suggestions
Pair the pizza with a crisp arugula salad tossed in lemon vinaigrette for brightness, or serve alongside roasted garlic potatoes for a hearty meal. A chilled glass of Chianti or a crisp lager complements the crust’s caramelized edges beautifully.
Storage Info
Leftover Storage
Allow any leftover dough or baked crust to cool completely, then wrap tightly in plastic wrap and place in an airtight container. Refrigerate for up to 3 days; the dough will continue to ferment slowly, adding flavor. For longer keeping, freeze the dough in a zip‑top bag for up to 3 months—thaw overnight in the fridge before using.
Reheating Instructions
Reheat sliced pizza in a pre‑heated 375°F (190°C) oven on a baking sheet for 8‑10 minutes, or until the cheese melts and the crust crisps. For a softer crust, cover the slice with foil for the first 5 minutes, then uncover to finish browning. Microwaving is acceptable for a quick fix, but a skillet over medium heat yields the best texture.
Frequently Asked Questions
Can I make the dough ahead of time?
What if my yeast doesn’t foam?
How thin can I roll this dough?
This Simple & Fun Homemade Pizza Dough gives you a reliable, delicious foundation for any pizza night, with clear steps, handy tips, and plenty of ways to personalize it. Whether you’re a seasoned home‑cook or a beginner, the recipe is forgiving yet rewarding. Feel free to experiment with herbs, whole‑grain flours, or creative toppings—your imagination is the only limit. Enjoy the aroma of fresh‑baked pizza and the satisfaction of a dough made from scratch!
Simple & Fun Homemade Pizza Dough
Delicious Simple & Fun Homemade Pizza Dough
Ingredients
Main Ingredients
- 3 ¼ cups (≈ 400 g) bread flour
- 1 ¼ cups (300 ml) warm water (110°F/43°C)
- 2 ¼ teaspoons (1 packet) active dry yeast
- 1 ½ teaspoons sugar
- 1 ½ teaspoons fine sea salt
- 2 tablespoons extra‑virgin olive oil
Optional Add‑Ins
- ½ teaspoon dried oregano or Italian seasoning
- 1 clove garlic, minced (optional)
Instructions
Kneading & First Rise
- Knead the dough. Transfer to a lightly floured surface and knead for 8‑10 minutes, until the dough is smooth, elastic, and passes the “windowpane” test. Proper kneading develops gluten, giving the crust its chew.
- First rise. Shape the dough into a ball, lightly coat with a drizzle of olive oil, and place in a clean bowl. Cover with plastic wrap or a damp towel and let rise in a warm spot for 60‑75 minutes, or until doubled in size.
Similar Recipes
 Dinner
Cozy Chicken Pot Pie Soup Recipe
Delicious Cozy Chicken Pot Pie Soup Recipe
 Dinner
lemon garlic roasted cabbage wedges with root vegetables
Learn how to make delicious lemon garlic roasted cabbage wedges with root vegetables. Easy recipe with…
 Dinner
Roasted Red Pepper Dream Pasta: The Perfect Comfort Dish
Delicious Roasted Red Pepper Dream Pasta: The Perfect Comfort Dish
 Dinner
Comforting Egg Roll Soup with Green Onions for Cozy Nights
Learn how to make delicious Comforting Egg Roll Soup with Green Onions for Cozy Nights. Easy…
 Dinner
Spring Awakening Vegetable Stir-Fry Recipe
Delicious Spring Awakening Vegetable Stir-Fry Recipe
 Dinner
Creamy Chicken Stroganoff Delight: A Comforting Classic
Delicious Creamy Chicken Stroganoff Delight: A Comforting Classic
 Dinner
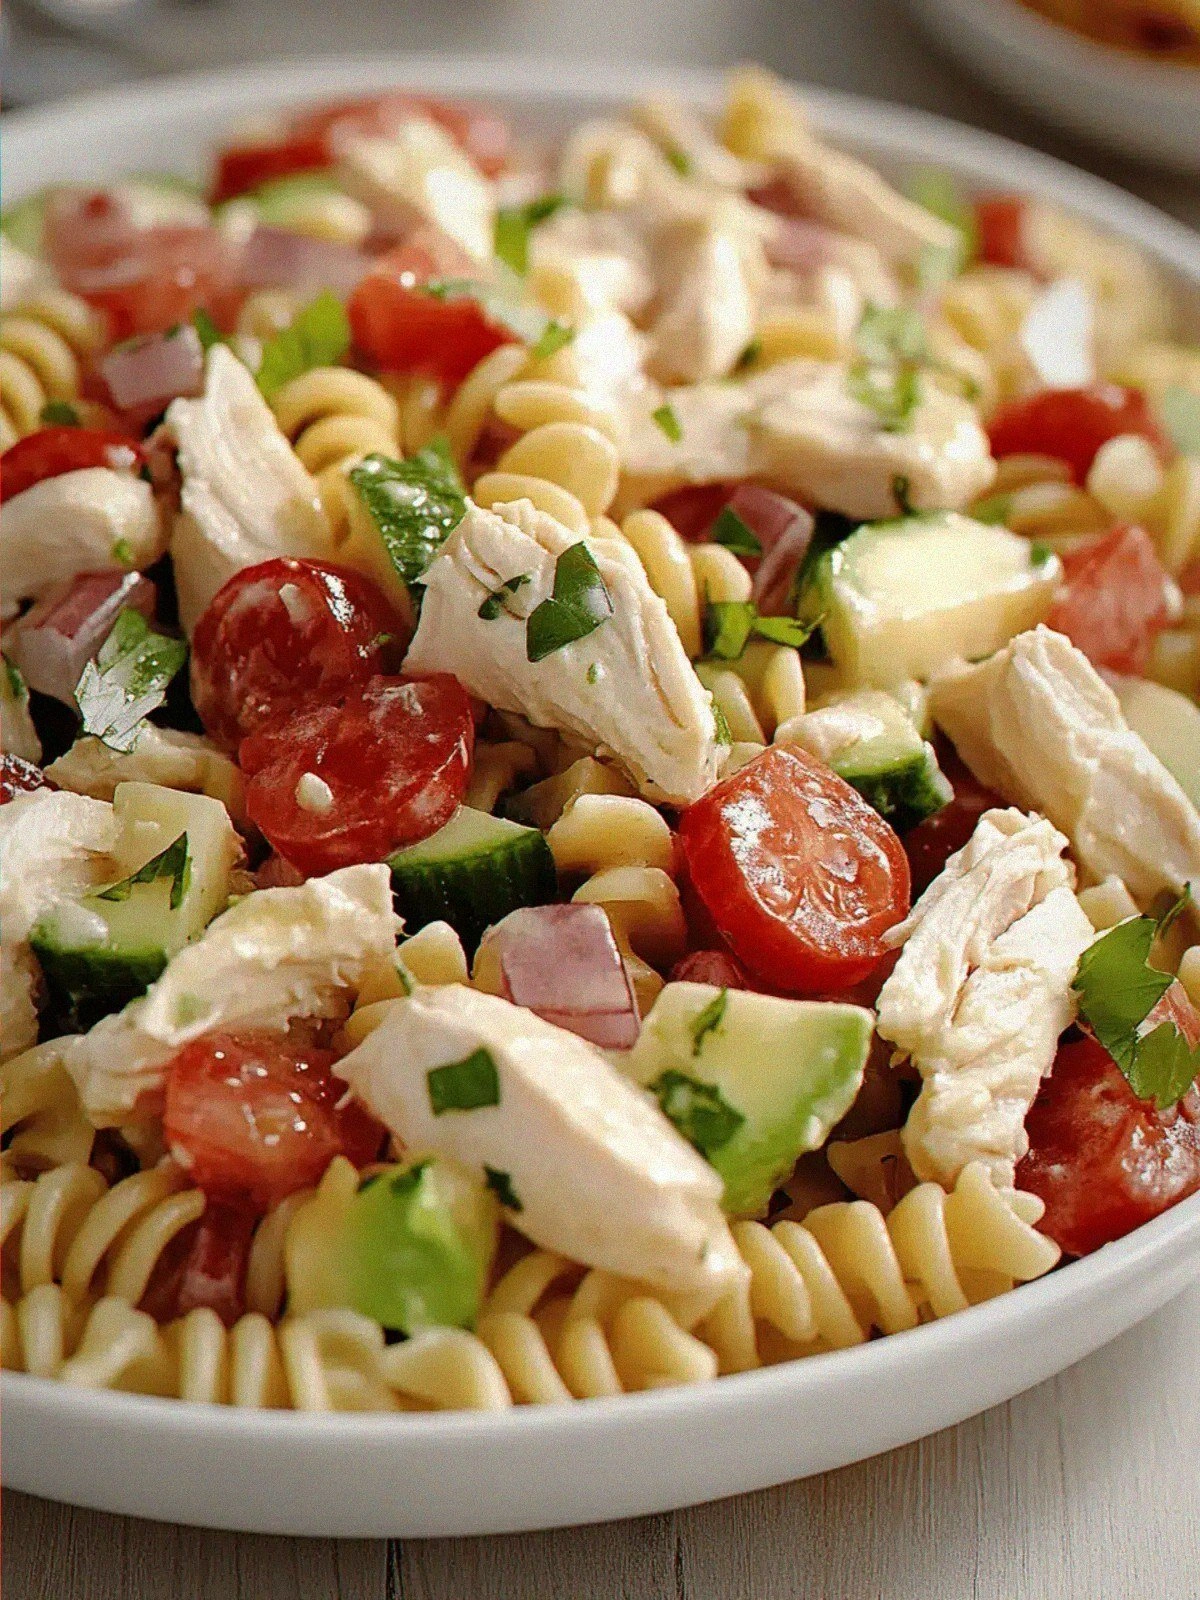
Delicious Chicken Club Pasta Salad for Effortless Meal Prep
Learn how to make delicious Delicious Chicken Club Pasta Salad for Effortless Meal Prep. Easy recipe…
 Dinner
Perfectly Seared Scallops: Buttery Heaven on a Plate
Delicious Perfectly Seared Scallops: Buttery Heaven on a Plate

Eva
I cook these recipes at home before they ever land here — simple ingredients, clear steps.