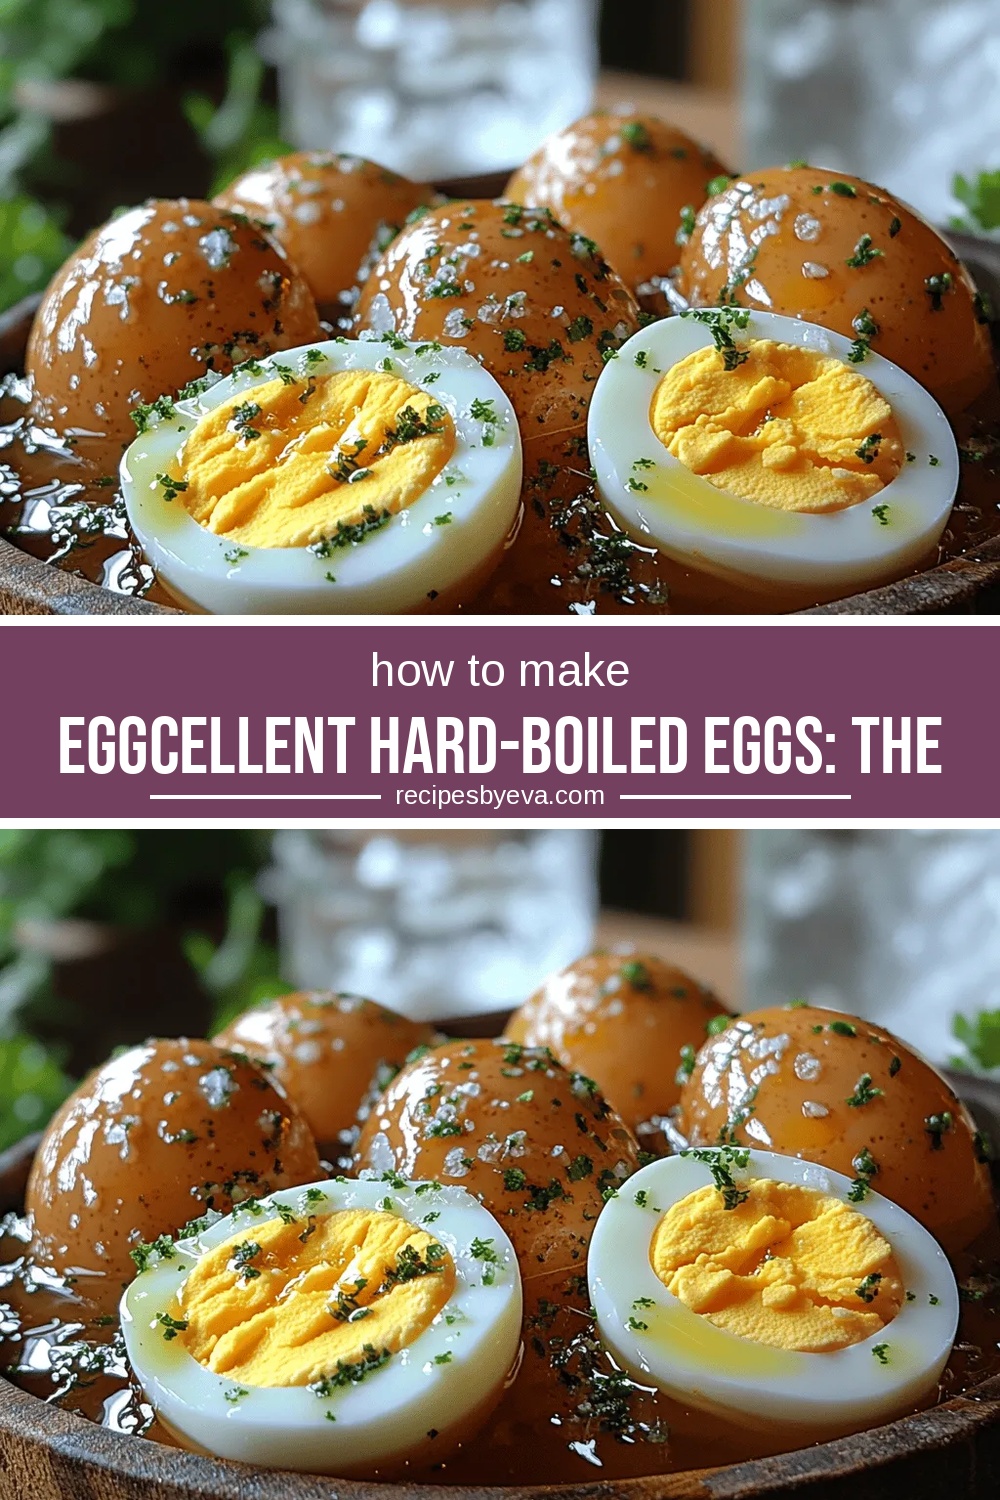
Eggcellent Hard-Boiled Eggs: The Ultimate Guide
 Save
Save
There’s something magical about a perfectly hard‑boiled egg—creamy yolk, firm white, and a subtle, comforting flavor that never goes out of style. This guide takes that humble kitchen staple and turns it into an “egg‑cellent” centerpiece for any breakfast or brunch spread.
What makes this recipe stand out is the precise water‑temperature method combined with a shock‑cold ice bath, guaranteeing uniformly cooked yolks that are bright, buttery, and free of the dreaded green ring.
Egg lovers, brunch enthusiasts, and even picky eaters will adore these eggs. Serve them at a weekend brunch, as a protein‑packed snack, or as the base for elegant deviled egg appetizers.
The process is simple: start with fresh eggs, bring water to a gentle boil, time the cook, plunge into ice, peel, and finish with a flavorful drizzle or classic deviled‑egg filling. Follow each step and you’ll never wonder “why my eggs turned out rubbery” again.
Why You'll Love This Recipe
Consistent Texture: The ice‑bath technique stops cooking instantly, delivering yolks that are uniformly creamy without the gray‑green ring that signals over‑cooking.
Quick & Easy: From start to finish it takes under 25 minutes, making it perfect for rushed mornings or last‑minute brunch guests.
Versatile Base: Once peeled, the eggs can be served plain, dusted with spices, or transformed into classic deviled eggs, avocado‑filled bites, or a protein‑rich salad topping.
Nutrition Boost: Each large egg provides high‑quality protein, essential vitamins, and healthy fats, making them a satisfying and wholesome addition to any meal.
Tips & Tricks
Perfecting the Recipe
Use Slightly Older Eggs. Eggs that are about 5‑7 days old peel far more easily than ultra‑fresh ones because the pH of the whites has risen.
Maintain a Gentle Simmer. A rolling boil can cause the eggs to bounce and crack; a gentle simmer ensures even heat transfer without trauma.
Time Precisely. Use a kitchen timer; even a 30‑second deviation can shift the yolk from creamy to chalky.
Flavor Enhancements
Add a splash of soy sauce or a few drops of truffle oil to the dressing for umami depth. A pinch of curry powder or za’atar on the finished halves introduces an exotic twist that keeps guests guessing.
Common Mistakes to Avoid
Skipping the ice bath results in over‑cooked yolks and a gray ring. Also, peeling while the eggs are still warm makes the whites tear; always chill first. Finally, avoid over‑mixing the dressing—over‑aeration can make it watery.
Pro Tips
Crack and Roll on a Towel. Placing a clean kitchen towel under the egg while cracking reduces mess and helps keep the shell pieces together for easier removal.
Store Dressing Separately. Keep the mayo‑mustard mixture in a sealed jar; this prevents the yolks from absorbing excess moisture and staying firm.
Use a Microplane for Paprika. Freshly grated smoked paprika releases more aroma than pre‑ground, giving a brighter finish.
Variations
Ingredient Swaps
Replace the classic mayo‑mustard dressing with avocado‑lime mash for a buttery, dairy‑free twist. Swap smoked paprika for curry powder to give the yolk an Indian‑inspired warmth. For a brunch‑worthy garnish, crumble feta cheese and drizzle honey over each half.
Dietary Adjustments
The eggs themselves are naturally gluten‑free and keto‑friendly. To keep the dish vegan, use a plant‑based mayo (made from soy or aquafaba) and replace the egg yolk with a seasoned tofu “yolk” blend. For low‑sodium needs, omit the salt in the cooking water and season the dressing with herbs instead.
Serving Suggestions
Pair the halves with toasted English muffins, a crisp arugula salad, or a bowl of warm quinoa for a balanced brunch plate. They also shine on a charcuterie board alongside cured meats, pickles, and artisanal breads for a sophisticated snack.
Storage Info
Leftover Storage
Once cooled, place the peeled eggs in a single layer inside an airtight container. Cover them with a thin film of water or a light coating of the dressing to keep the whites from drying out. Refrigerate for up to 4 days. For longer keeping, freeze whole unpeeled eggs in a zip‑top bag for up to 3 months; thaw in the fridge before using.
Reheating Instructions
To warm leftovers, place the eggs in a saucepan, cover with a splash of water, and heat over low for 3‑4 minutes until just heated through. Alternatively, microwave a single half on 50% power for 20‑30 seconds, adding a dab of extra dressing afterward to restore moisture and flavor.
Frequently Asked Questions
Can I make these hard‑boiled eggs ahead of time?
Why do some hard‑boiled eggs develop a green ring around the yolk?
Can I use this method for a larger batch, like 24 eggs?
What’s the best way to season the whites without overwhelming the yolk?
This Eggcellent Hard‑Boiled Egg guide gives you everything you need—from precise timing and cooling tricks to optional dressings and creative variations. Follow the step‑by‑step instructions, apply the pro tips, and you’ll never see a dull, overcooked yolk again. Feel free to experiment with herbs, spices, or international flavors to make the recipe truly yours. Enjoy the perfect, protein‑packed bite at any breakfast or brunch table!
Eggcellent Hard-Boiled Eggs: The Ultimate Guide
Delicious Eggcellent Hard-Boiled Eggs: The Ultimate Guide
Ingredients
Main Ingredients
- 6 large eggs, preferably 1‑week old
- 4 cups water
- 1 tablespoon kosher salt (for the cooking water)
- 2 cups ice cubes
Flavorful Dressing (Optional)
- 3 tablespoons mayonnaise
- 1 teaspoon Dijon mustard
- ½ teaspoon white wine vinegar
- Pinch of smoked paprika
- 2 tablespoons finely chopped chives
Seasonings & Garnish
- Freshly ground black pepper, to taste
- Sea salt flakes for finishing
Instructions
Cooking the Eggs
- Bring to a gentle boil. Heat the water over medium‑high until small bubbles form around the edges and a steady, gentle boil is achieved (about 180 °F/82 °C). This temperature is hot enough to set the whites quickly without jarring the shells.
- Lower the eggs. Using a slotted spoon, gently lower each egg into the simmering water. The water should return to a gentle boil within a few seconds; if it erupts, lower the heat to maintain a steady simmer.
- Time the cook. For fully set whites and a creamy yolk, simmer for exactly 9 minutes. Adjust to 11 minutes for a firmer yolk. Set a timer; precise timing is key to avoiding the green ring.
- Prepare the ice bath. While the eggs cook, combine 2 cups ice cubes with 2 cups cold water in a large bowl. This rapid‑cool method stops the cooking process instantly.
- Shock and rest. When the timer dings, transfer the eggs with the slotted spoon directly into the ice bath. Let them sit for at least 5 minutes; the shells will contract, making peeling much easier.
Similar Recipes
 Breakfast
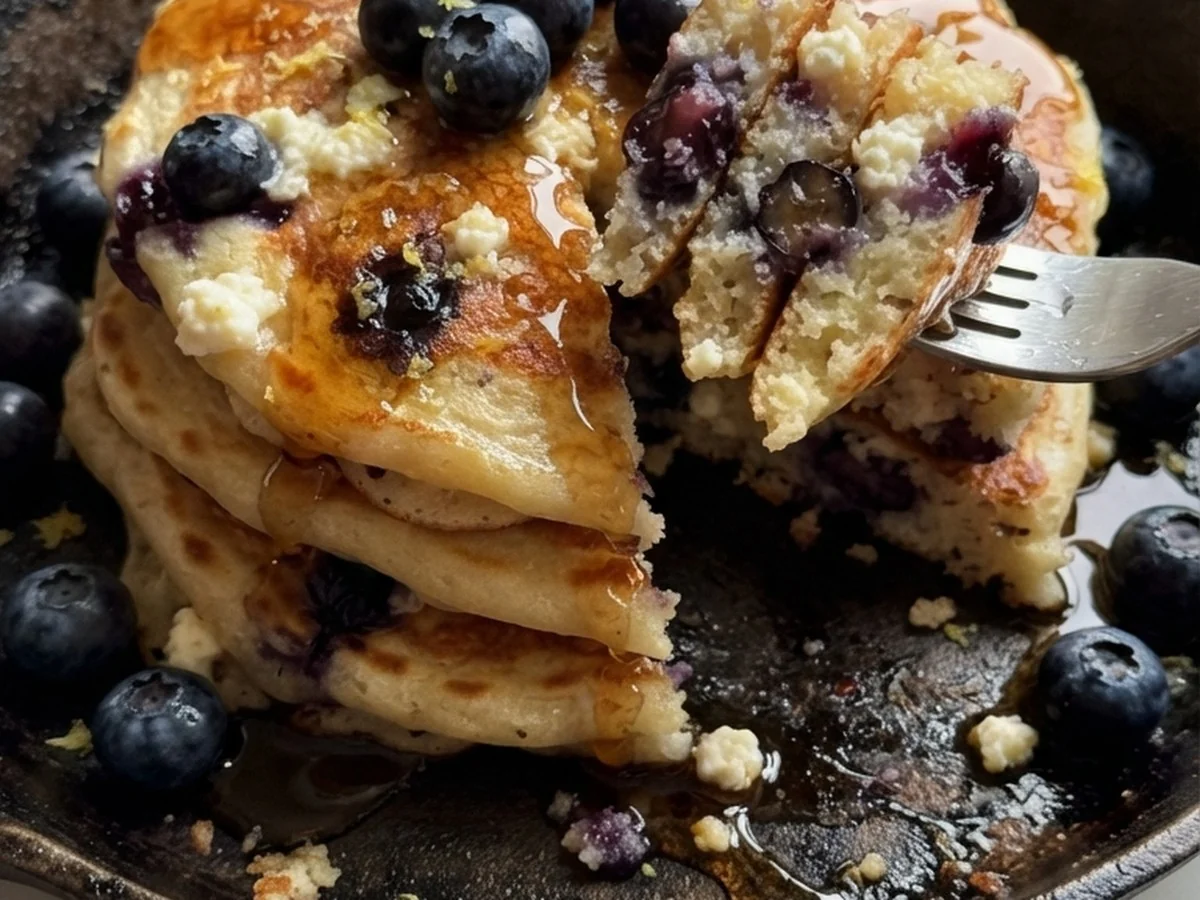
Fluffy Blueberry Lemon Ricotta Pancakes
Light ricotta pancakes burst with fresh blueberries and bright lemon zest for a dreamy morning treat.
 Breakfast
Sticky Toffee Banana Pancakes Recipe
Delicious Sticky Toffee Banana Pancakes Recipe
 Breakfast
Breakfast Pocket Delights: A Quick and Healthy Breakfast Option
Delicious Breakfast Pocket Delights: A Quick and Healthy Breakfast Option
 Breakfast
Fluffy Banana Oatmeal Pancakes: A Delicious Start to Your Day
Delicious Fluffy Banana Oatmeal Pancakes: A Delicious Start to Your Day
 Breakfast
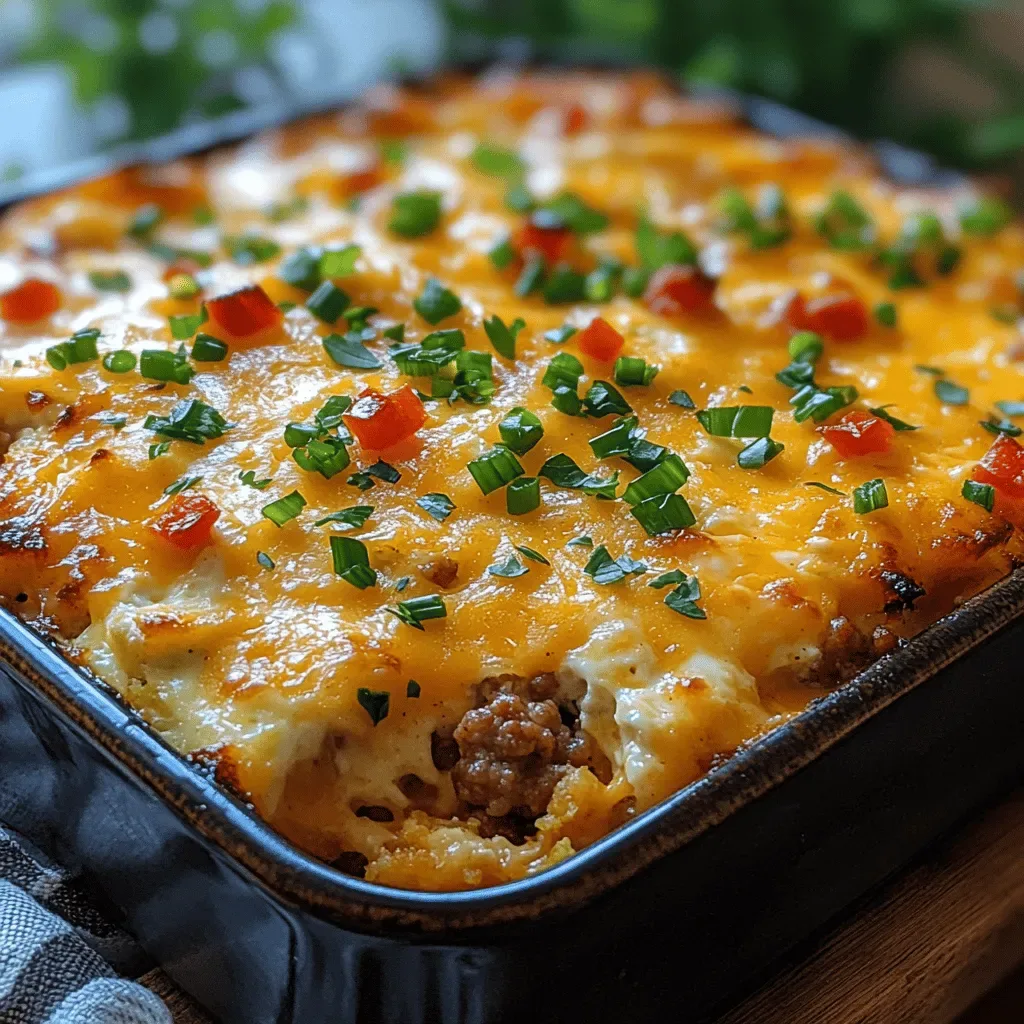
Cheesy Sausage and Egg Breakfast Casserole: A Hearty Morning Delight
Delicious Cheesy Sausage and Egg Breakfast Casserole: A Hearty Morning Delight
 Breakfast
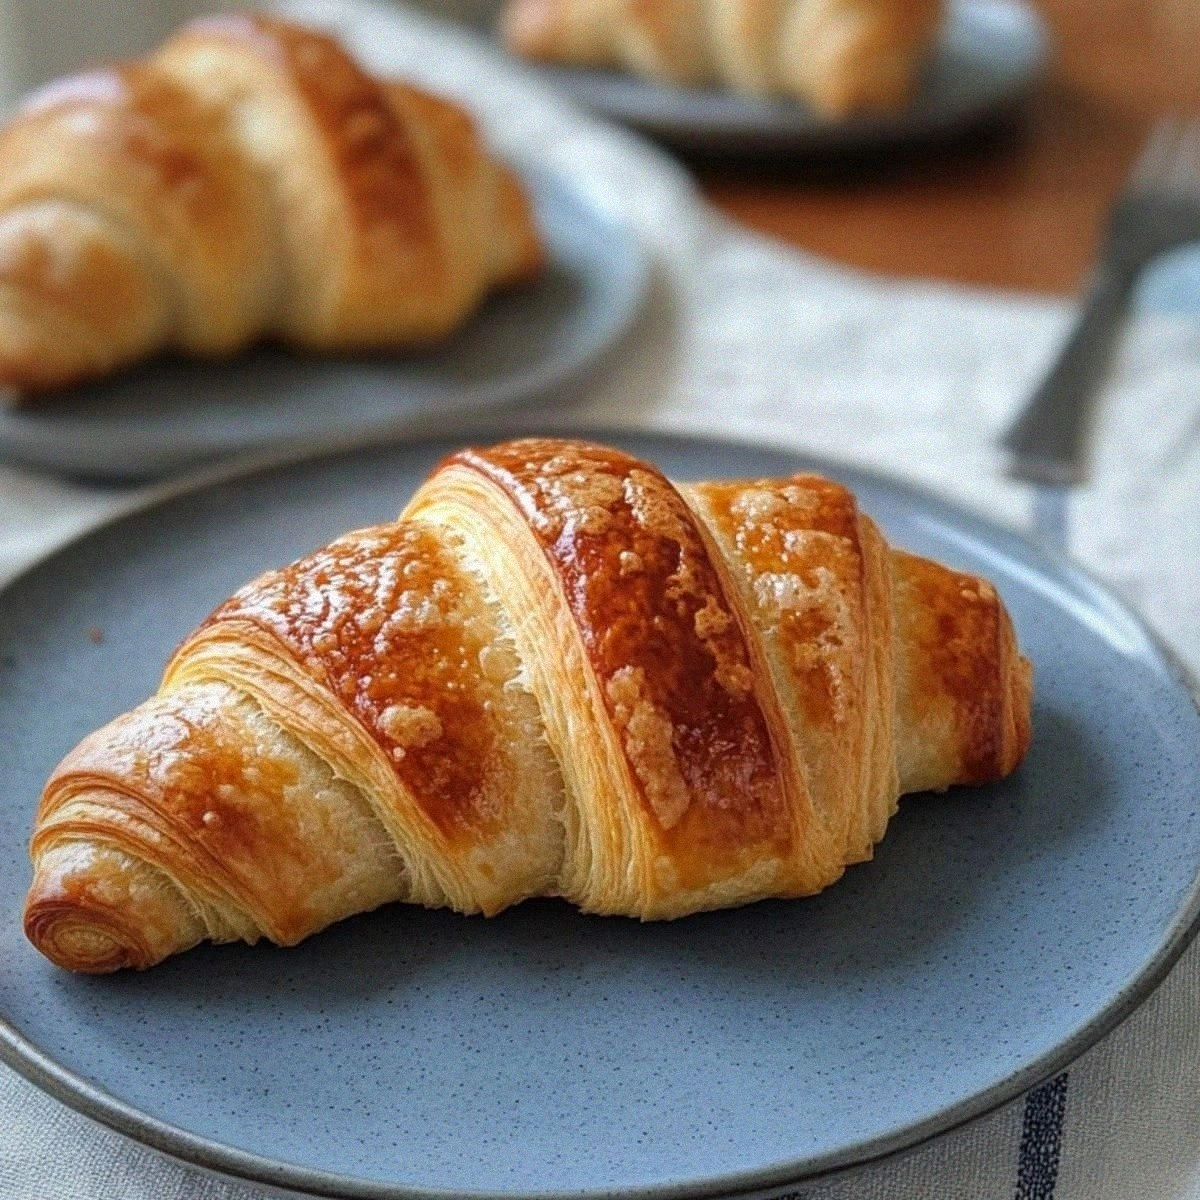
Homemade Sourdough Croissants Recipe
Learn how to make delicious Homemade Sourdough Croissants Recipe. Easy recipe with step-by-step instructions.
 Breakfast
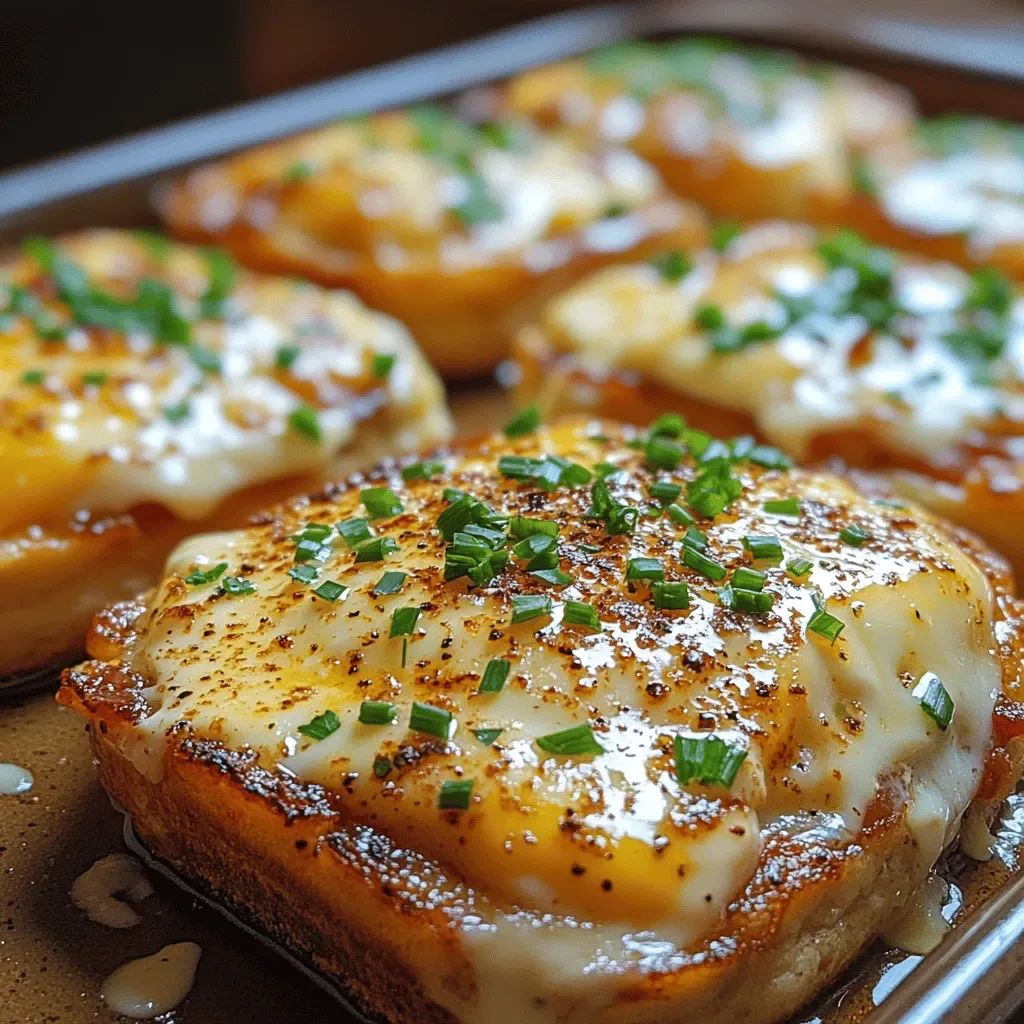
Savory Eggs Benedict Casserole: A Delicious and Convenient Twist on a Classic
Delicious Savory Eggs Benedict Casserole: A Delicious and Convenient Twist on a Classic
 Breakfast
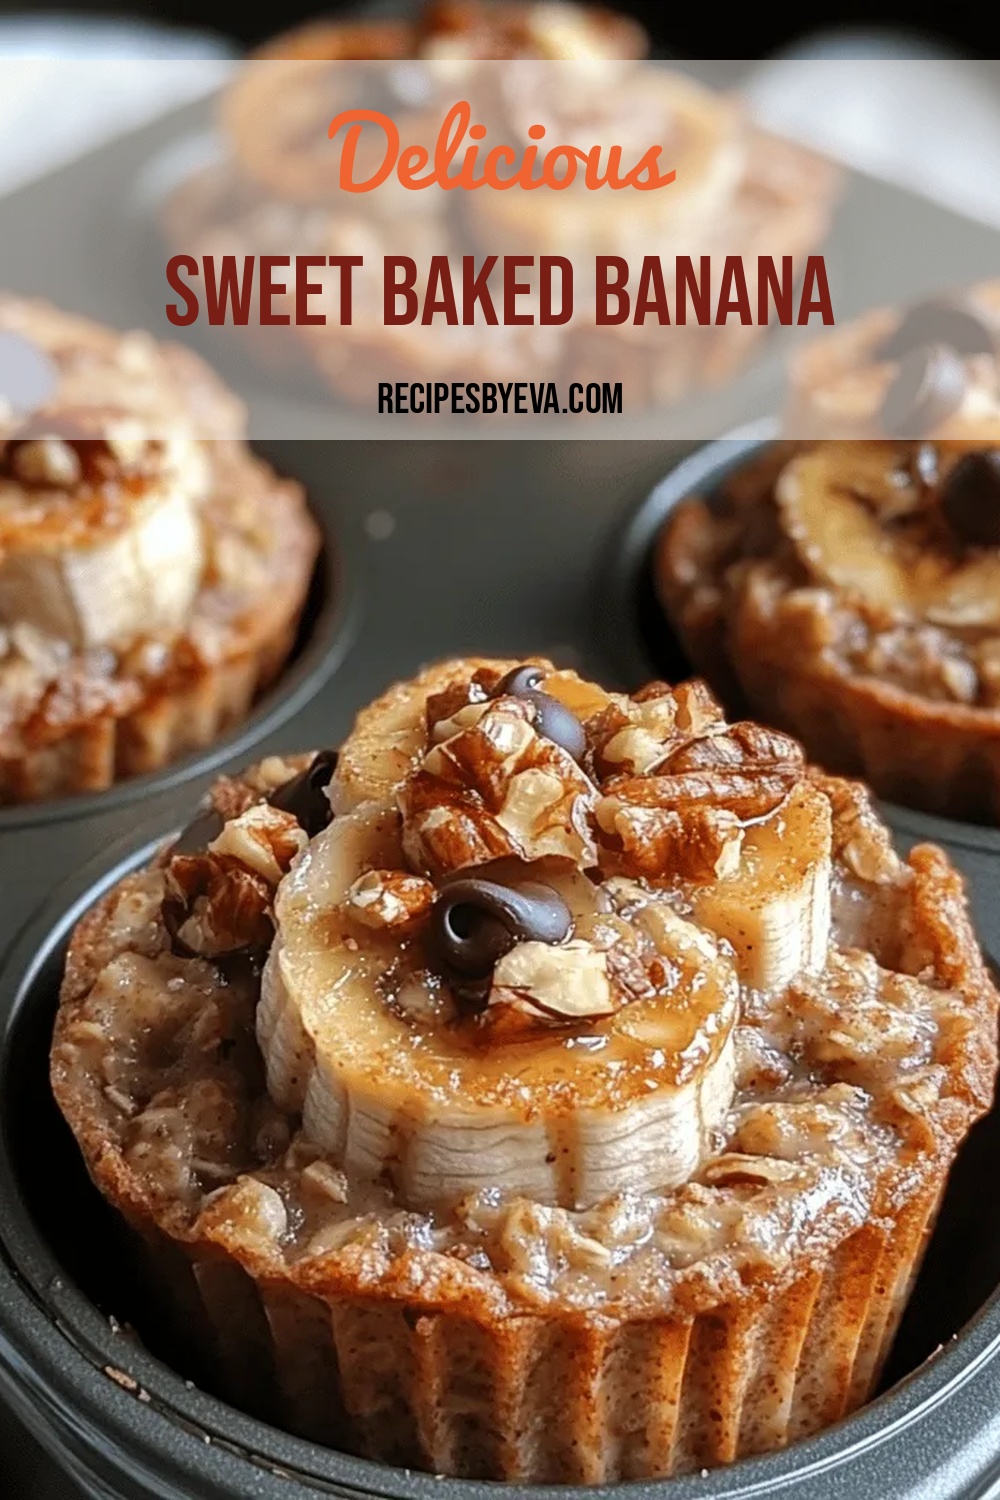
Sweet Baked Banana Oatmeal Cups
Delicious Sweet Baked Banana Oatmeal Cups

Eva
I cook these recipes at home before they ever land here — simple ingredients, clear steps.