Lemon Butter Chicken Skewers: A Flavorful Grilling Delight
 Save
Save
Imagine the sizzle of a hot grill, the aroma of melted butter mingling with bright citrus, and tender chicken pieces that practically melt in your mouth. Lemon Butter Chicken Skewers: A Flavorful Grilling Delight captures all of that in one unforgettable bite.
What makes this recipe stand out is the perfect marriage of tangy lemon, rich butter, and a whisper of garlic, all brushed onto juicy chicken that’s been marinated for maximum flavor penetration.
This dish is a hit for backyard barbecues, quick weeknight meals, or any gathering where you want to impress without spending hours in the kitchen. Kids love the sweet‑savory flavor, while adults appreciate the sophisticated citrus note.
The process is simple: marinate the chicken, thread it onto skewers with colorful vegetables, grill to golden perfection, and finish with a buttery lemon glaze that clings to every morsel. Ready to fire up the grill?
Why You'll Love This Recipe
Bright Citrus Kick: Fresh lemon juice lifts the whole dish, giving it a clean, refreshing finish that balances the richness of butter.
Grill‑Ready Simplicity: All components are on a single skewer, so you can toss them on the grill and flip once for even cooking.
Eye‑Catching Colors: Red bell pepper, yellow squash, and green onion create a vibrant palette that looks as good as it tastes.
Healthy Yet Indulgent: Lean chicken provides protein while the butter‑lemon glaze offers a luxurious mouthfeel without excess heaviness.
Tips & Tricks
Perfecting the Recipe
Uniform Cutting. Keep chicken and vegetables in similar‑size pieces so they finish cooking at the same time, preventing overcooked veggies or undercooked meat.
Dry Before Grilling. Pat the marinated chicken dry with paper towels; excess moisture will steam rather than sear, reducing caramelization.
Use a Thermometer. An instant‑read meat thermometer guarantees the chicken reaches 165°F without guesswork.
Brush Frequently. Applying the glaze every minute creates a glossy, layered coating and prevents burning.
Flavor Enhancements
Add a splash of white wine to the glaze for depth, or incorporate fresh zest from the lemon for an extra burst of citrus aroma. A teaspoon of Dijon mustard introduces subtle tang, while a drizzle of honey right before serving balances the acidity.
Common Mistakes to Avoid
Skipping the soak for wooden skewers can cause them to burn before the chicken is done. Also, avoid overcrowding the grill; give each skewer space to breathe so the heat can sear rather than steam. Finally, resist the urge to flip too often—one turn per side is enough for a perfect crust.
Pro Tips
Finish with a Pat of Butter. Right after removing from the grill, swirl a small knob of butter into the glaze for extra silkiness.
Grill on a Two‑Zone Setup. Keep one side of the grill hotter for searing and the other cooler for finishing without burning.
Use Citrus‑Infused Oil. Replace half the olive oil in the glaze with lemon‑infused oil for a subtler, layered lemon flavor.
Rest on a Warm Plate. Transfer cooked skewers to a pre‑warmed plate; this keeps them hot while the juices settle.
Variations
Ingredient Swaps
Swap chicken for turkey breast, pork tenderloin, or firm tofu for a vegetarian twist. Replace bell peppers with cherry tomatoes or pineapple chunks for a sweeter profile. If you prefer a richer glaze, use brown butter instead of regular butter, or add a splash of soy sauce for an umami boost.
Dietary Adjustments
For a gluten‑free version, ensure any store‑bought honey or mustard is certified gluten‑free. To make it dairy‑free, substitute butter with coconut oil or ghee. Keto diners can replace honey with a low‑carb sweetener like erythritol and serve the skewers over cauliflower rice.
Serving Suggestions
Pair the skewers with herb‑infused couscous, grilled corn on the cob, or a crisp cucumber‑mint salad. For a hearty meal, serve alongside buttery garlic mashed potatoes or a warm flatbread to mop up the extra glaze.
Storage Info
Leftover Storage
Cool the skewers to room temperature, then transfer them to an airtight container. Refrigerate for up to 3 days. For longer keeping, separate the chicken from the vegetables, place each in its own freezer‑safe bag, and freeze for up to 3 months. Label with the date to track freshness.
Reheating Instructions
Reheat in a preheated 350°F oven, covered with foil, for 12‑15 minutes until the interior reaches 165°F. This method preserves moisture and revives the glaze. If you’re short on time, microwave individual pieces on medium power for 1‑2 minutes, adding a splash of broth or extra glaze to keep them from drying out.
Frequently Asked Questions
Can I prepare the skewers ahead of time?
What if I don’t have a grill?
How do I prevent the lemon butter sauce from burning?
Can I use a different citrus besides lemon?
This Lemon Butter Chicken Skewers recipe blends bright citrus, buttery richness, and smoky grill flavor into a dish that’s both elegant and approachable. By following the detailed steps, using the tips provided, and experimenting with the suggested variations, you’ll create a crowd‑pleasing centerpiece for any occasion. Feel free to adjust herbs, veggies, or proteins to suit your taste—cooking is an adventure. Serve hot, enjoy the burst of flavor, and let every bite remind you why grilling is a timeless pleasure.
Lemon Butter Chicken Skewers: A Flavorful Grilling Delight
Delicious Lemon Butter Chicken Skewers: A Flavorful Grilling Delight
Ingredients
Main Ingredients
- 1½ pounds boneless, skinless chicken breasts, cut into 1‑inch cubes
- 1 red bell pepper, cut into 1‑inch pieces
- 1 yellow bell pepper, cut into 1‑inch pieces
- 1 small zucchini, sliced into half‑rounds
- 8 wooden skewers, soaked in water 30 minutes
Marinade & Sauce
- ¼ cup fresh lemon juice (about 2 lemons)
- 3 tablespoons unsalted butter, melted
- 2 cloves garlic, minced
- 1 tablespoon olive oil
- 1 teaspoon honey
Seasonings & Garnish
- ½ teaspoon smoked paprika
- ½ teaspoon sea salt
- ¼ teaspoon freshly ground black pepper
- 2 tablespoons chopped fresh parsley
- Optional: pinch of red‑pepper flakes for heat
Instructions
Grilling the Skewers
- Preheat the Grill. Heat a gas or charcoal grill to medium‑high (about 400°F/200°C). A hot grill sears the exterior, locking in juices.
- Oil the Grates. Brush the grill grates with a little oil using a folded paper towel. This prevents sticking and helps achieve those classic grill marks.
- Cook the Skewers. Place the assembled skewers at a slight angle on the grill. Grill for 4‑5 minutes per side, turning once, until the chicken reaches an internal temperature of 165°F (74°C). As they turn, brush each side with the lemon butter glaze to build layers of flavor.
- Finish with Fresh Herbs. Once off the heat, sprinkle the skewers with 2 tablespoons chopped fresh parsley and, if you like a hint of heat, a pinch of red‑pepper flakes. The residual heat releases the herbs’ aroma, adding a final burst of freshness.
Similar Recipes
 Dinner
A Delightful Hähnchen Süßkartoffel Auflauf Recipe: Comfort Food at Its Best
Delicious A Delightful Hähnchen Süßkartoffel Auflauf Recipe: Comfort Food at Its Best
 Dinner
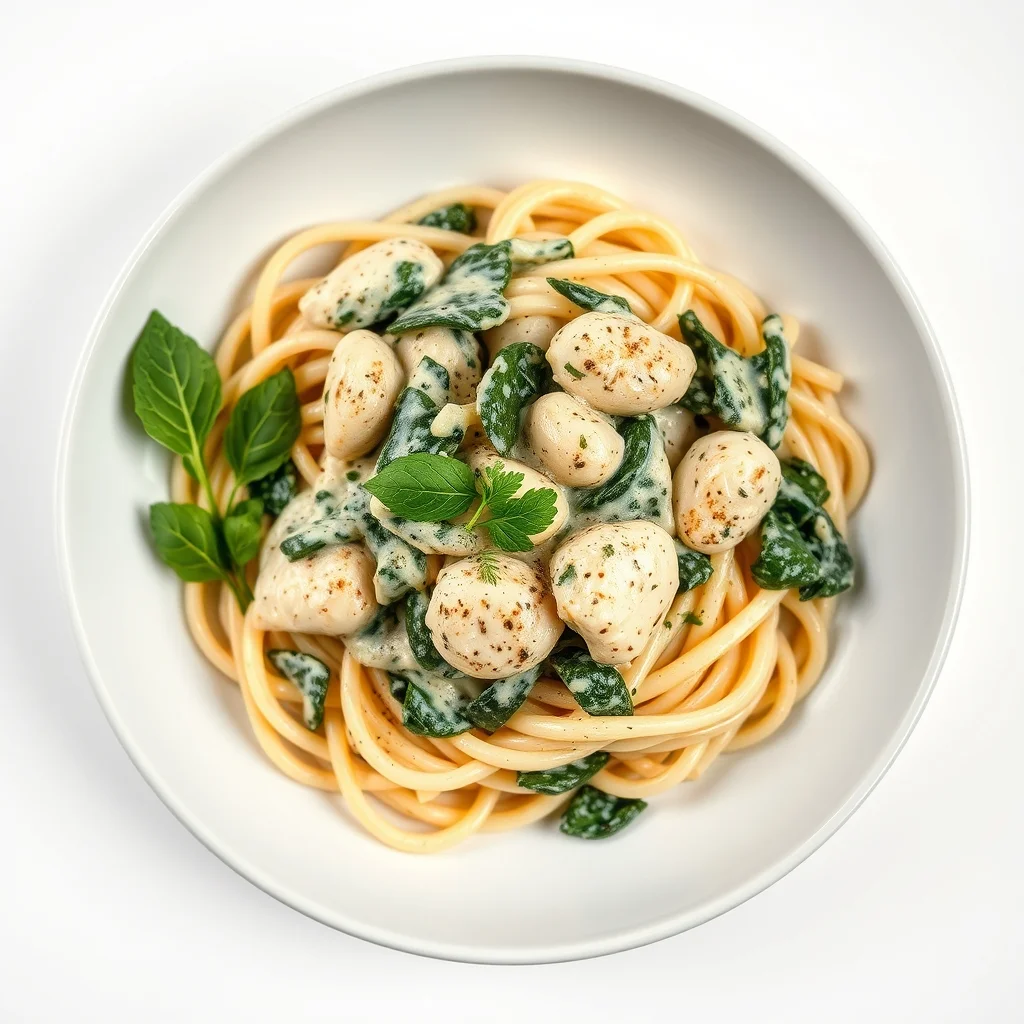
Creamy Chicken and Spinach Pasta: A Delightful Comfort Food Recipe
Delicious Creamy Chicken and Spinach Pasta: A Delightful Comfort Food Recipe
 Dinner
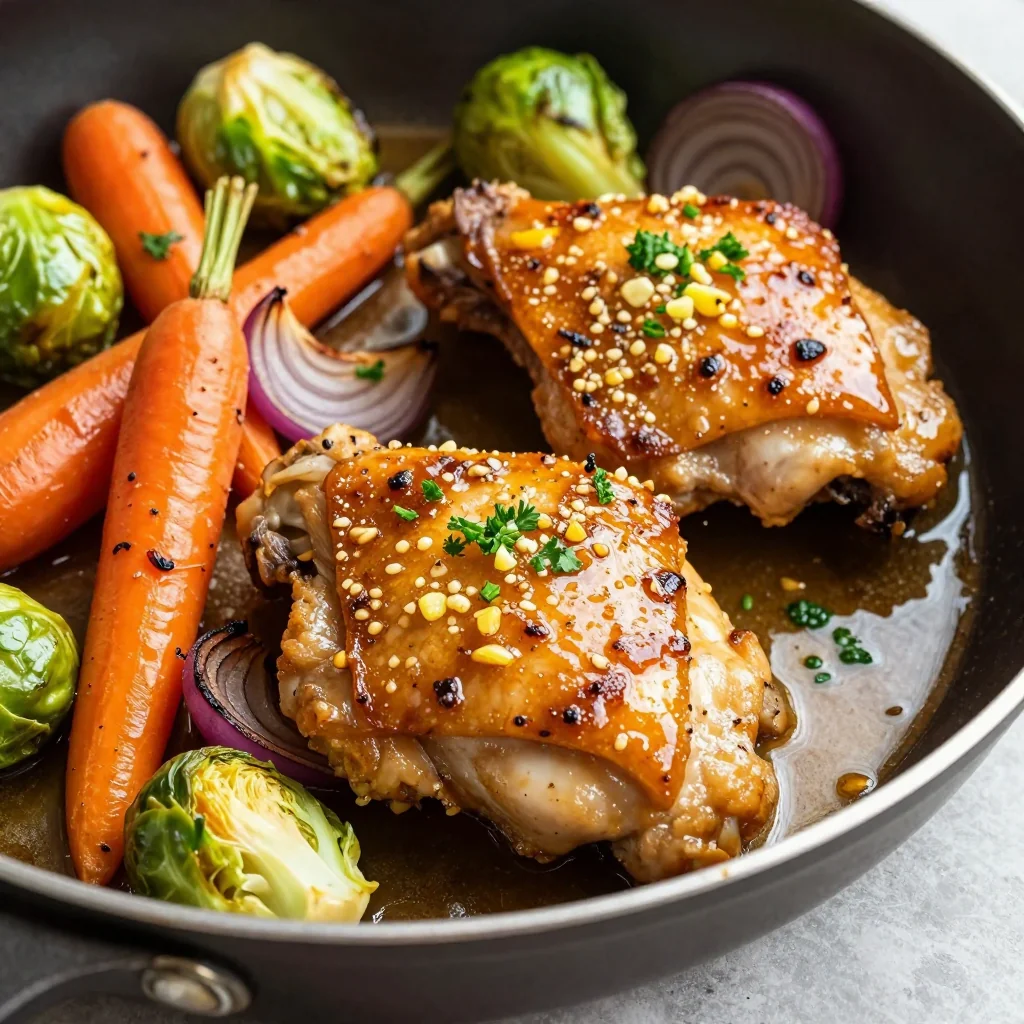
onepan garlic lemon chicken with roasted winter vegetables
Learn how to make delicious onepan garlic lemon chicken with roasted winter vegetables. Easy recipe with…
 Dinner
The Ultimate Guide to Perfect Homemade Lasagna
Delicious The Ultimate Guide to Perfect Homemade Lasagna
 Dinner
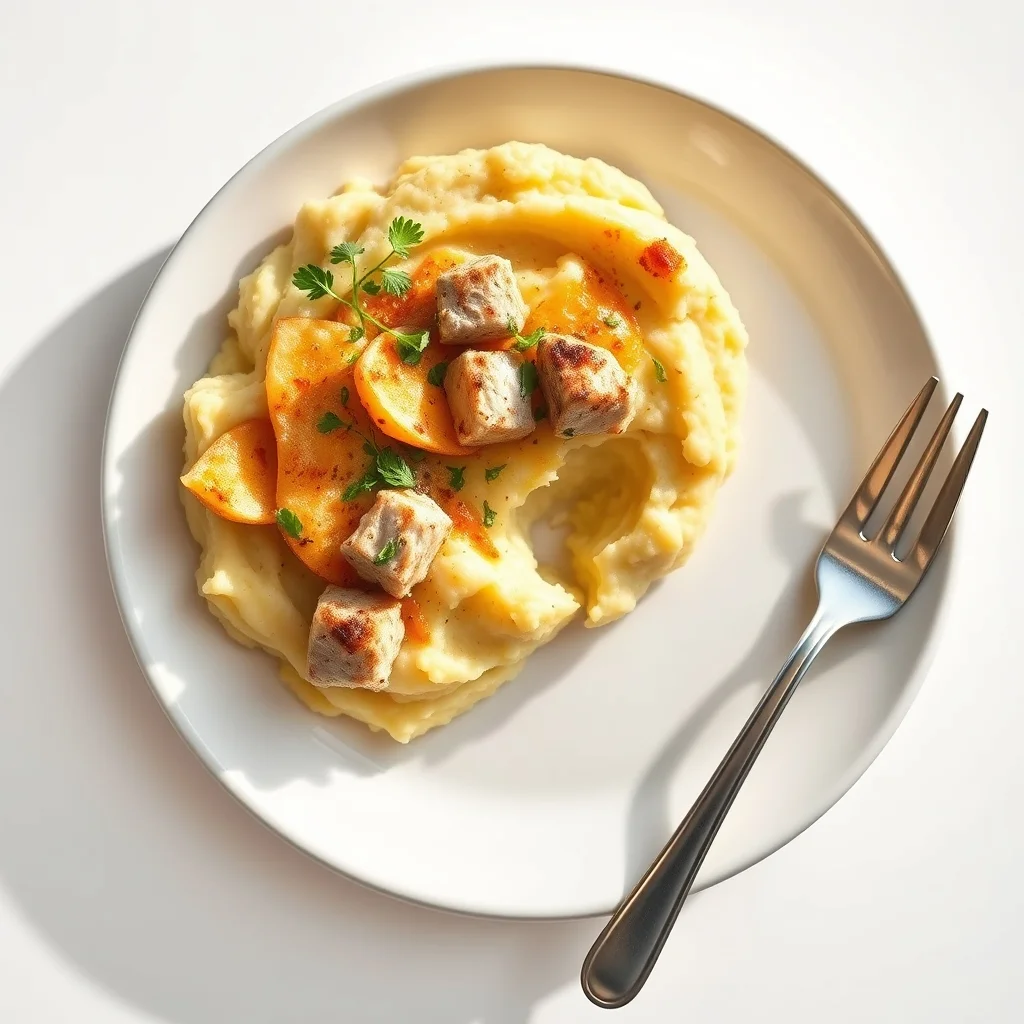
Turkey Parmesan Mashed Bowls
Discover a hearty bowl of turkey, parmesan, and creamy mashed potatoes—perfect for a quick, protein‑rich dinner…
 Dinner
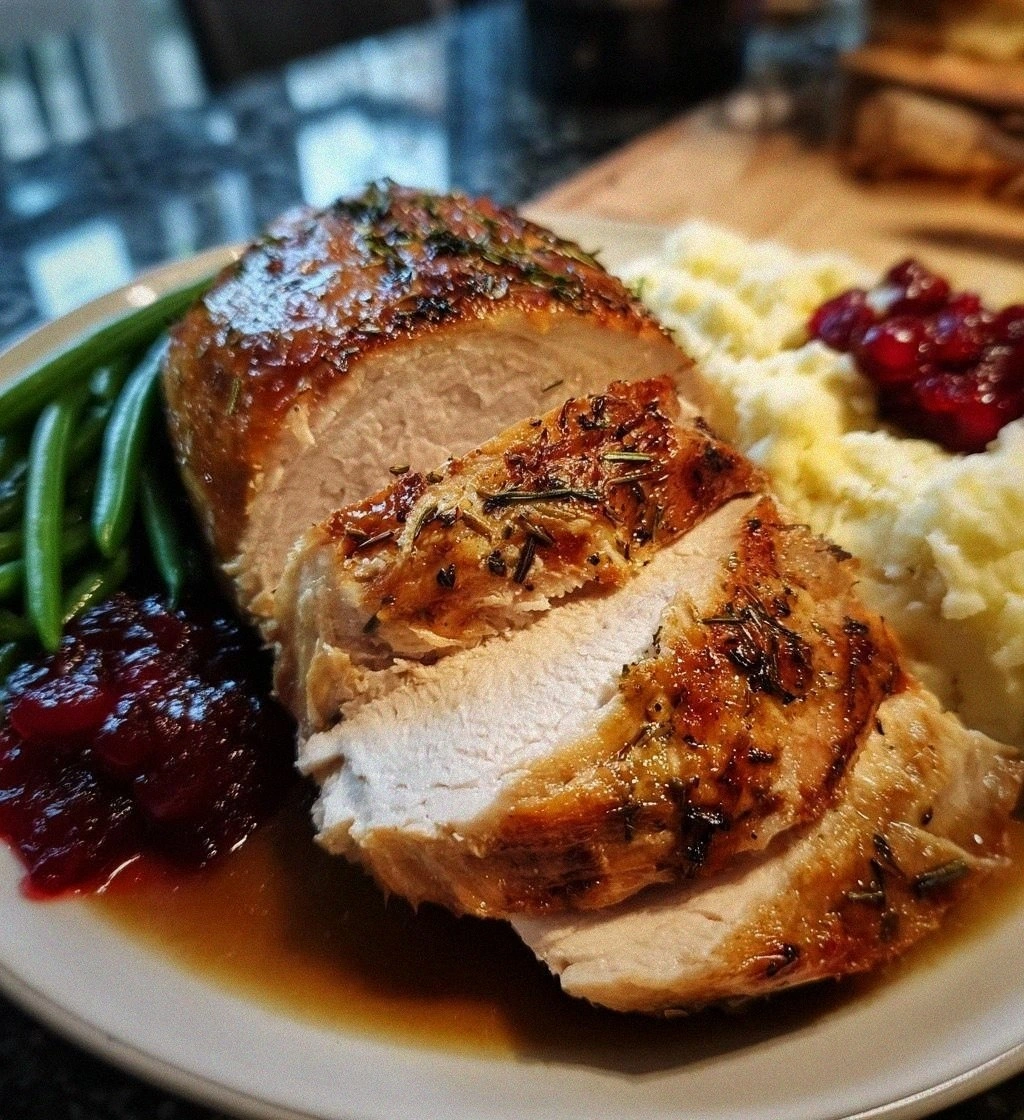
52 Magische Christmas Eve Dinner Ideen für perfekten Heiligabend
Learn how to make delicious 52 Magische Christmas Eve Dinner Ideen für perfekten Heiligabend. Easy recipe…
 Dinner
Crispy Cucumbers with a Zesty BANG! – A Refreshing Twist on a Classic Snack
Delicious Crispy Cucumbers with a Zesty BANG! – A Refreshing Twist on a Classic Snack
 Dinner
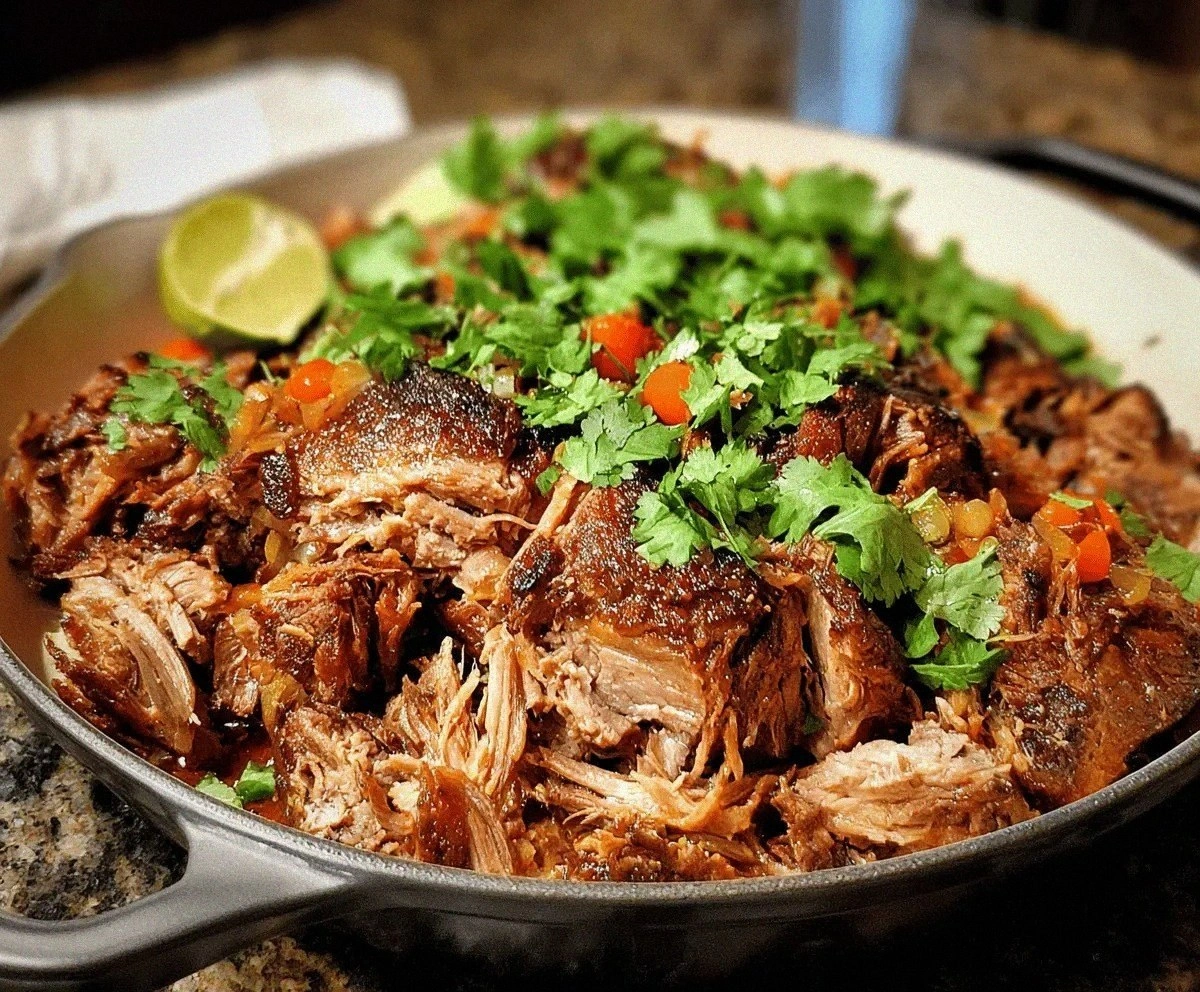
Pork Carnitas
Learn how to make delicious Pork Carnitas. Easy recipe with step-by-step instructions.

Eva
I cook these recipes at home before they ever land here — simple ingredients, clear steps.