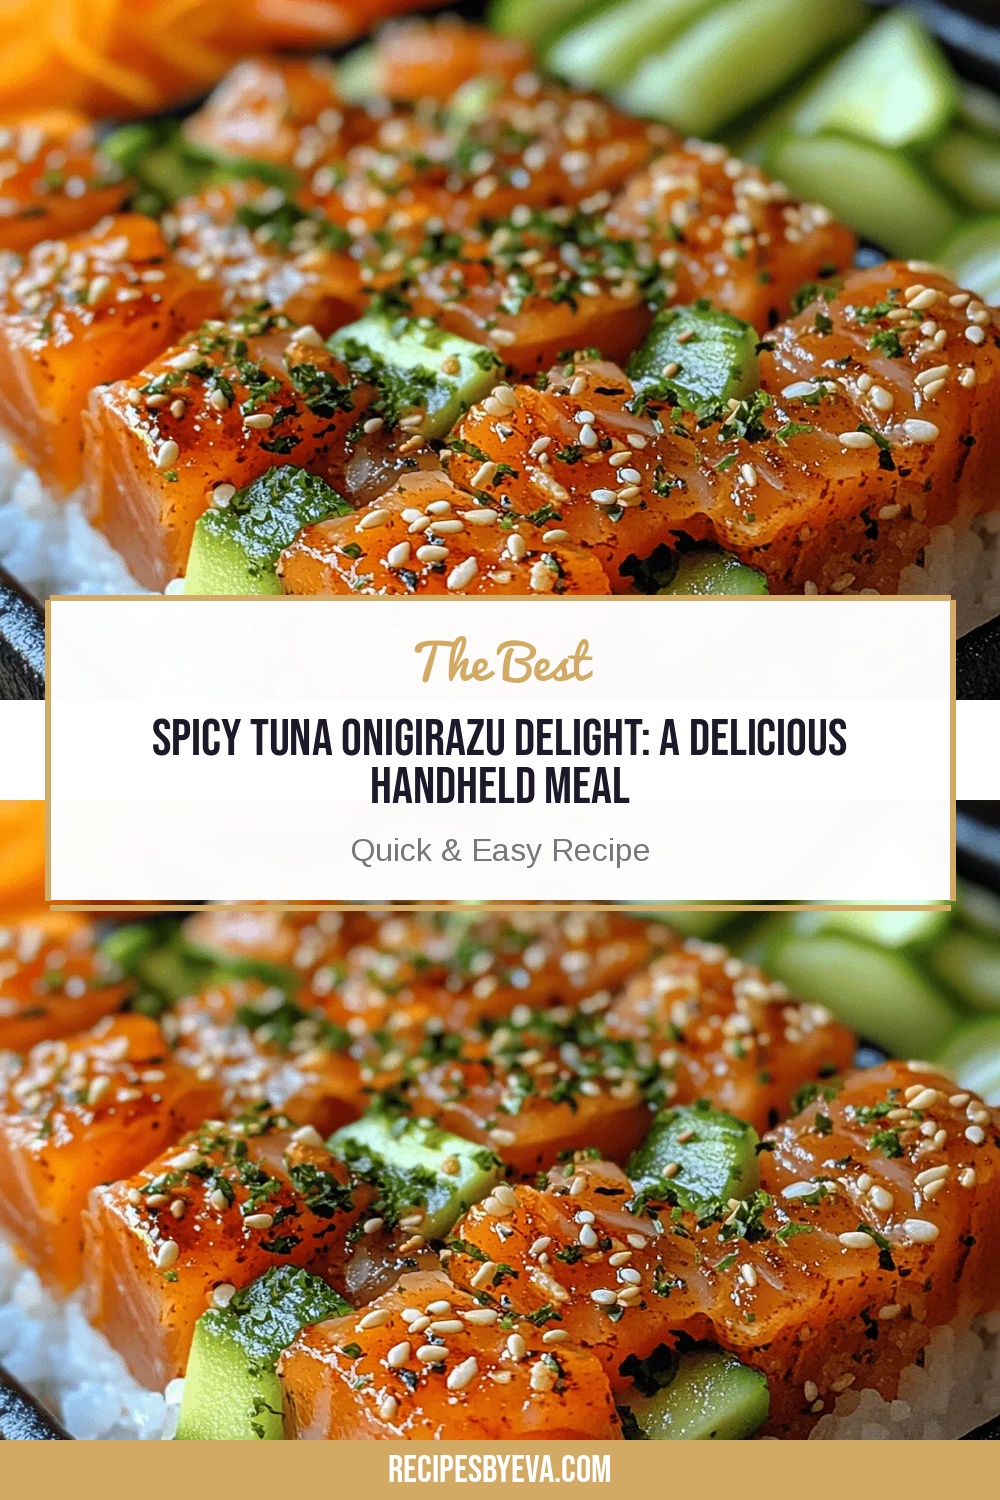
Spicy Tuna Onigirazu Delight: A Delicious Handheld Meal
 Save
Save
Imagine holding a perfectly balanced bite of sushi‑style goodness that’s as satisfying as a handheld sandwich yet bursts with the bold flavors of the sea. That’s the magic of Spicy Tuna Onigirazu Delight—a modern twist on the classic Japanese rice‑ball that’s both fun to assemble and delicious to eat.
This recipe stands out because it layers fluffy sushi rice, crisp nori, and a creamy, spicy tuna mixture, all wrapped together in a square “sandwich” that stays together without falling apart. The secret lies in the gentle press that fuses the layers, creating a tidy, portable meal.
Busy professionals, lunch‑box lovers, and anyone craving a sushi‑inspired dinner will adore this dish. It’s perfect for a quick weeknight dinner, a picnic, or a stylish potluck where finger foods shine.
Preparing the onigirazu involves cooking sushi rice, seasoning a tuna mix, assembling the layers on nori, and giving everything a firm press. In just 35 minutes you’ll have a colorful, handheld masterpiece ready to enjoy.
Why You'll Love This Recipe
Bold, Balanced Flavor: The spicy mayo‑tuna filling pairs perfectly with the subtle sweetness of sushi rice, delivering a satisfying heat‑sweet harmony in every bite.
Handheld Convenience: Wrapped in nori, the onigirazu stays neat and easy to eat, making it ideal for busy evenings or on‑the‑go lunches.
Visually Stunning: The contrasting layers of green avocado, pink tuna, and dark seaweed create a vibrant, Instagram‑ready presentation that impresses guests.
Healthy Protein Boost: Tuna supplies lean omega‑3 rich protein, while the rice and veggies add fiber, making this a nourishing yet indulgent meal.
Tips & Tricks
Perfecting the Recipe
Rice Temperature. Use rice that’s just cool enough to handle—warm rice sticks better, while cold rice can crack the nori.
Even Pressure. When pressing with the sushi mat, apply uniform pressure; this prevents uneven layers that could split when you bite.
Moisture Control. Pat the tuna dry with paper towels before mixing; excess moisture makes the filling soggy.
Sharp Knife. Wet the blade before each cut to glide through the rice without crushing the shape.
Flavor Enhancements
Add a splash of lime juice to the tuna mixture for a citrus zing, or stir in a teaspoon of finely chopped pickled ginger for extra depth. For a richer mouthfeel, mix a dab of cream cheese with the mayo before folding it into the tuna.
Common Mistakes to Avoid
Don’t overfill the onigirazu—too much filling makes sealing difficult and leads to leaks. Also, avoid using low‑quality nori; cheap sheets tear easily and won’t hold the pressure needed for a tight wrap.
Pro Tips
Season the Rice Precisely. A 1:1 ratio of rice vinegar to sugar (by volume) gives a balanced sweet‑tangy flavor without overpowering the tuna.
Use a Silicone Mat. A non‑stick silicone sushi mat makes pressing easier and cleaning a breeze.
Chill the Tuna. Keep the tuna in the fridge until just before mixing; cold fish retains its firm texture during assembly.
Customize Heat. Mix half the sriracha into the mayo, then taste and add more to reach your preferred spice level.
Variations
Ingredient Swaps
Swap tuna for cooked shrimp, smoked salmon, or diced firm tofu for a vegetarian option. Replace cucumber with pickled radish or carrot ribbons for extra crunch. If you prefer a milder profile, use mayo mixed with a dash of wasabi instead of sriracha.
Dietary Adjustments
For gluten‑free diners, ensure the soy sauce is certified gluten‑free or substitute with tamari. To keep it low‑carb, replace sushi rice with cauliflower “rice” and use a low‑sugar mayo alternative. Vegan versions are easy—use plant‑based tuna alternatives and vegan mayo.
Serving Suggestions
Serve the onigirazu alongside a light miso soup, pickled ginger, and a seaweed salad for a complete Japanese‑inspired meal. For a casual twist, pair with edamame and a cold cucumber‑yogurt dip.
Storage Info
Leftover Storage
Allow any leftovers to reach room temperature, then wrap each onigirazu tightly in plastic wrap and place in an airtight container. Refrigerate for up to 3 days. For longer keeping, freeze individually wrapped portions in a freezer‑safe bag for up to 2 months; thaw in the fridge before reheating.
Reheating Instructions
Reheat in a 350°F (175°C) oven, covered with foil, for 10‑12 minutes until the rice is warm and the nori regains a slight crispness. If you’re short on time, microwave on medium power for 45‑60 seconds, then finish under a broiler for 1‑2 minutes to revive the nori texture.
Frequently Asked Questions
Can I make this recipe in advance?
Can I use frozen tuna for this dish?
What sides pair best with Spicy Tuna Onigirazu?
This Spicy Tuna Onigirazu Delight brings the excitement of sushi into a convenient, handheld format without sacrificing flavor or texture. By following the step‑by‑step guide, using fresh ingredients, and applying the tips provided, you’ll create a vibrant, satisfying meal that works for any occasion. Feel free to experiment with protein swaps or spice levels to make the recipe truly yours. Enjoy the burst of umami, heat, and freshness in every bite!
Spicy Tuna Onigirazu Delight: A Delicious Handheld Meal
Delicious Spicy Tuna Onigirazu Delight: A Delicious Handheld Meal
Ingredients
Main Ingredients
- 300 g sushi‑grade tuna, finely diced
- 1 ½ cups short‑grain sushi rice
- 2 ½ cups water (for cooking rice)
Sushi Rice & Nori
- 2 tablespoons rice vinegar
- 1 tablespoon sugar
- ½ teaspoon salt
- 4 sheets nori, cut in half
Spicy Tuna Filling
- 3 tablespoons Japanese mayo (Kewpie)
- 1 tablespoon sriracha (adjust to heat)
- 1 teaspoon toasted sesame oil
Vegetables & Garnish
- ½ avocado, sliced thin
- ¼ cucumber, julienned
- 1 tablespoon soy sauce
- 1 teaspoon toasted sesame seeds
Instructions
Assembling the Onigirazu
- Lay Out Nori. Place a half‑sheet of nori shiny‑side down on a clean cutting board. Lightly wet your hands with water to prevent rice from sticking.
- Spread Rice. Grab a handful of seasoned rice (about ½ cup) and spread it evenly over the nori, leaving a 1‑inch border at the top edge. The rice layer should be thin enough to fold but thick enough to hold the fillings.
- Add Fillings. Center a line of sliced avocado, followed by cucumber strips, then a generous spoonful of the spicy tuna mixture. Keep the fillings within the rice rectangle to ensure a tidy seal.
- Fold & Press. Using the nori border, carefully roll the bottom edge up over the fillings, then fold the sides inwards, creating a neat square parcel. Place a clean bamboo sushi mat on top, cover with a piece of parchment, and press firmly for 30 seconds. This compression fuses the layers.
- Seal the Top. Flip the parcel over, add another thin layer of rice on the exposed side, and repeat the folding and pressing step. The final shape should be a compact, square “sandwich” that holds together without falling apart.
Similar Recipes
 Appetizers
Crispy Golden Delight: The Best Homemade Tater Tots
Delicious Crispy Golden Delight: The Best Homemade Tater Tots
 Appetizers
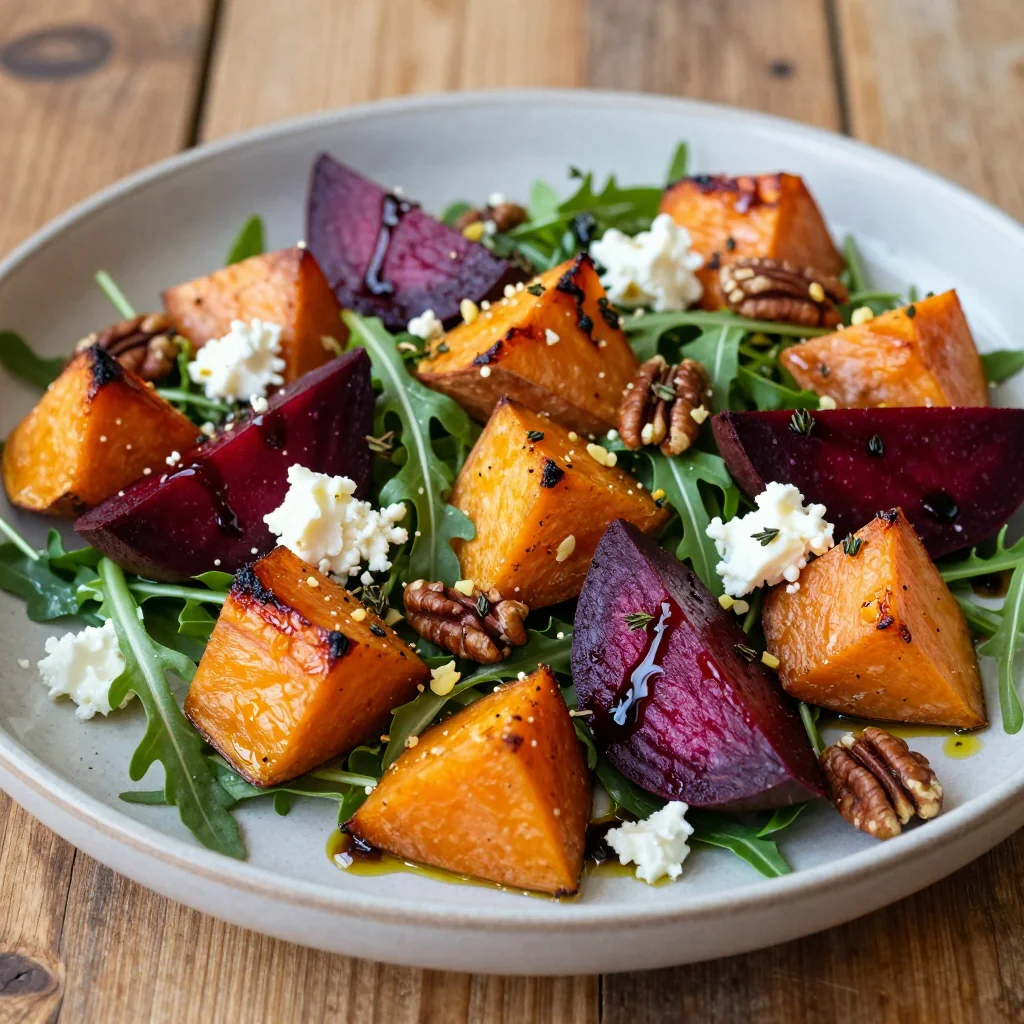
batch write garlic roasted sweet potato and beet salad for winter
Learn how to make delicious batch write garlic roasted sweet potato and beet salad for winter.…
 Appetizers
Caramelized Onion & Goat Cheese Tart: A Culinary Delight
Delicious Caramelized Onion & Goat Cheese Tart: A Culinary Delight
 Appetizers
Crispy Pepper Jack Potato Bombs: A Flavorful Delight
Delicious Crispy Pepper Jack Potato Bombs: A Flavorful Delight
 Appetizers
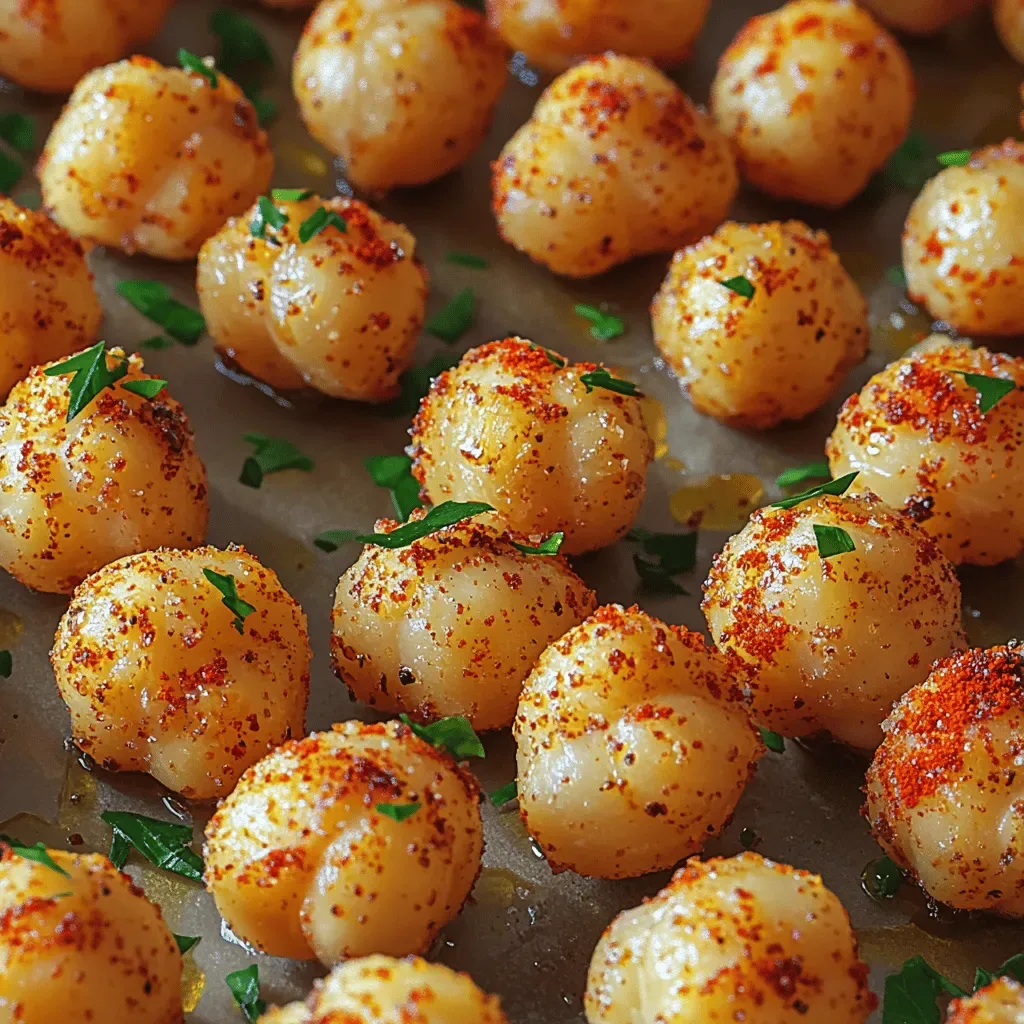
Crunchy Ranch Roasted Chickpeas: Serving Suggestions, Health Benefits, and More
Delicious Crunchy Ranch Roasted Chickpeas: Serving Suggestions, Health Benefits, and More
 Appetizers
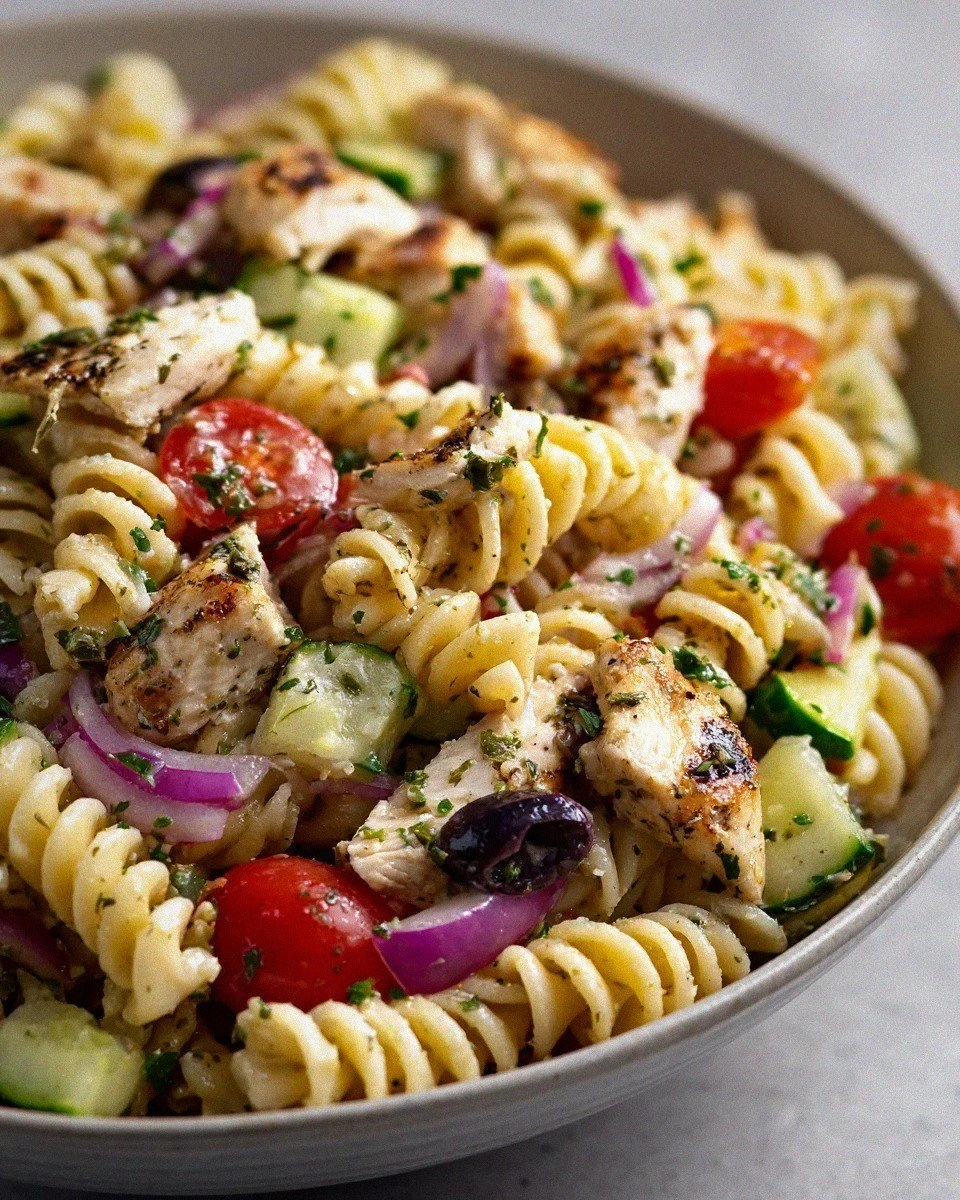
Homemade Chicken Pasta Salad with Zesty Italian Dressing
Learn how to make delicious Homemade Chicken Pasta Salad with Zesty Italian Dressing. Easy recipe with…
 Appetizers
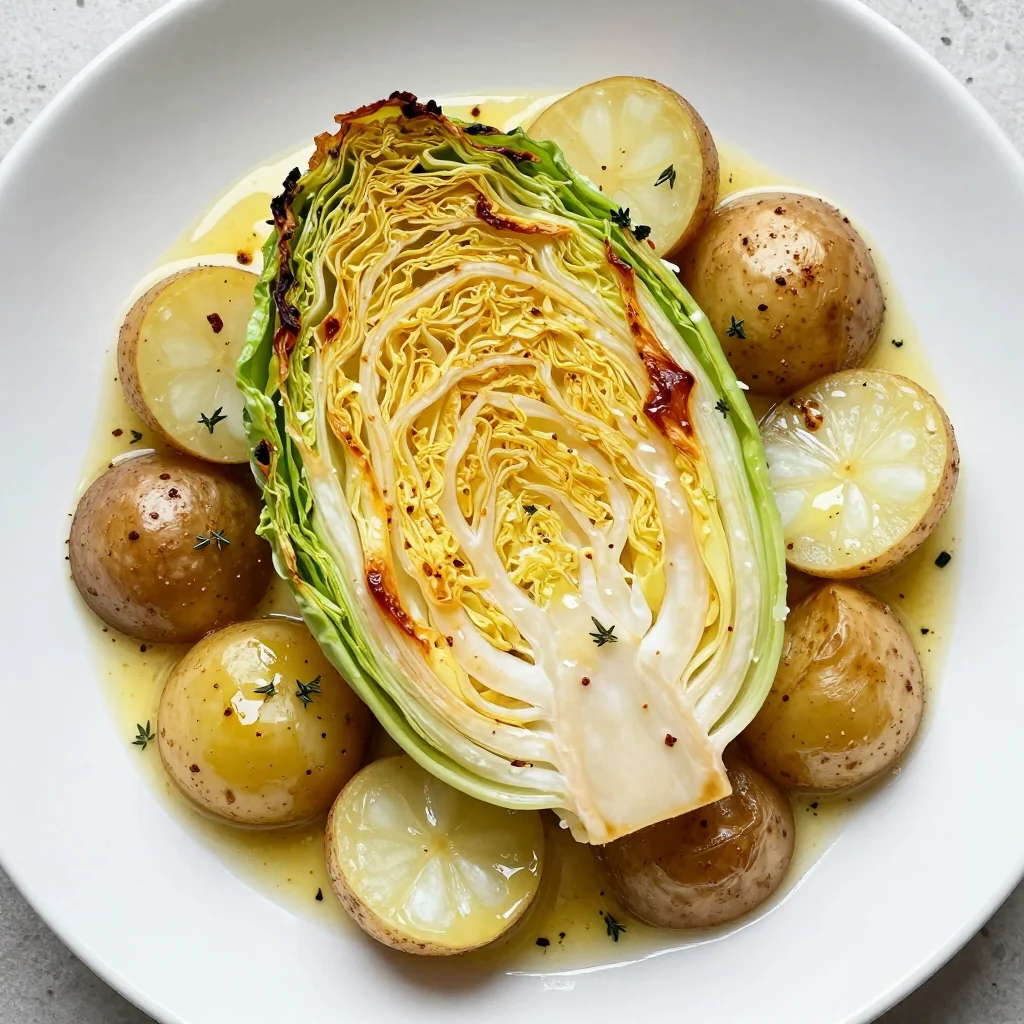
warm lemon roasted cabbage and potatoes for healthy family meals
Learn how to make delicious warm lemon roasted cabbage and potatoes for healthy family meals. Easy…
 Appetizers
comforting slow cooker lentil and potato soup
Learn how to make delicious comforting slow cooker lentil and potato soup. Easy recipe with step-by-step…

Eva
I cook these recipes at home before they ever land here — simple ingredients, clear steps.