No-Bake Orange Creamsicle Cheesecake Recipe
 Save
Save
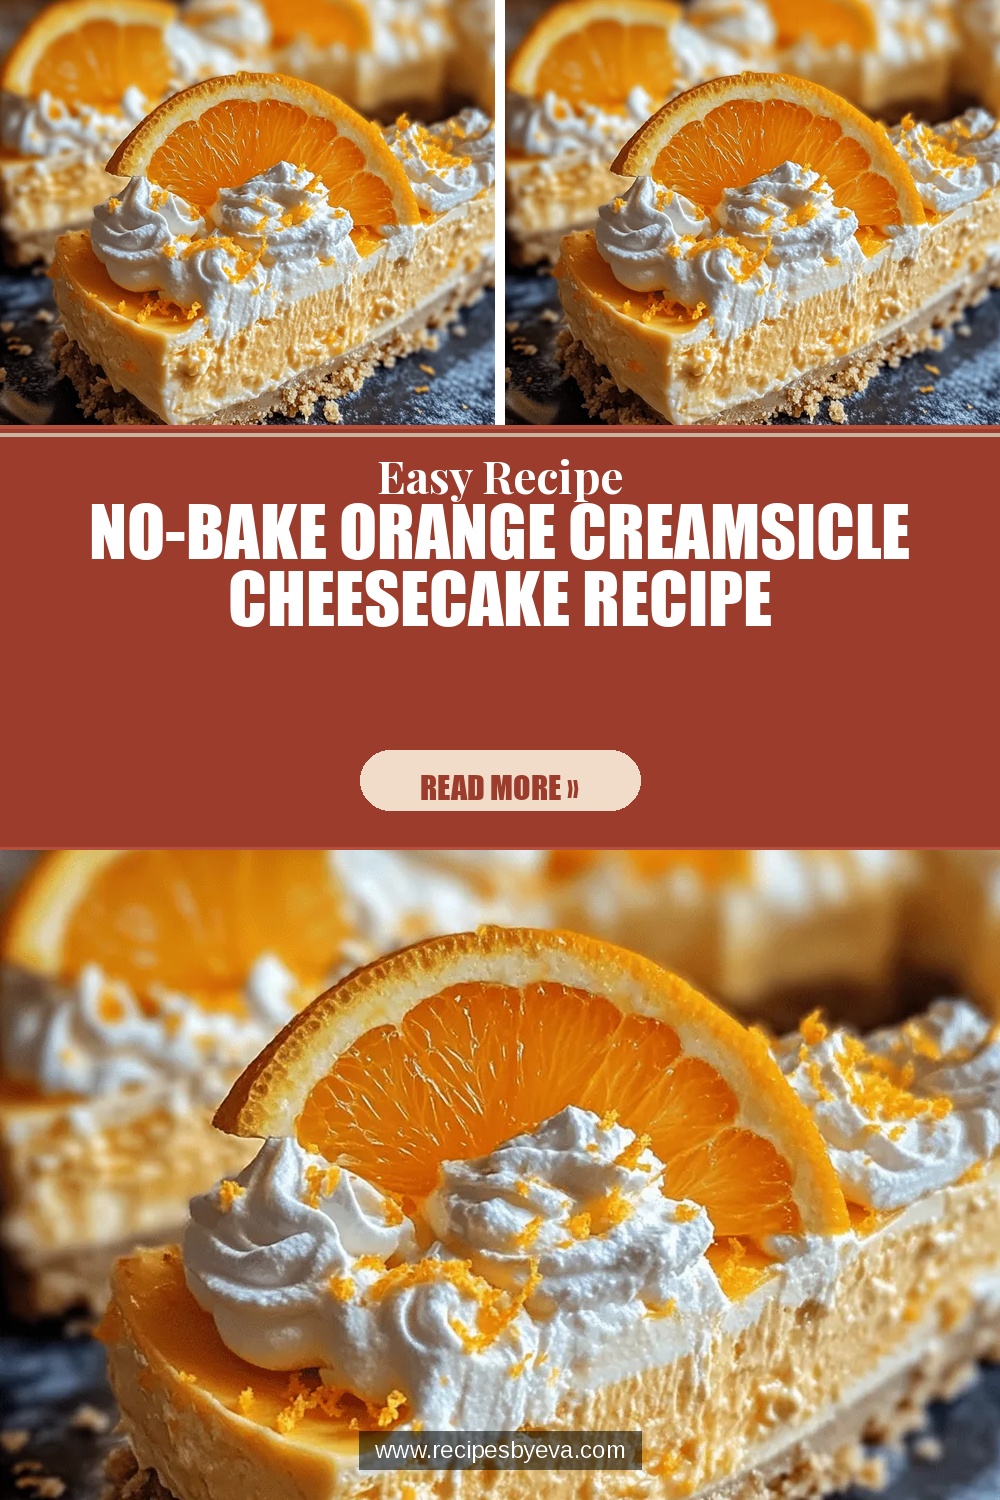
Imagine the nostalgic taste of a summer orange creamsicle captured in a velvety cheesecake—no oven required, just a few minutes of prep and a patient chill. This No‑Bake Orange Creamsicle Cheesecake brings that classic frozen treat to the table in a sophisticated, slice‑ready form that feels both indulgent and effortless.
What sets this dessert apart is the bright, citrus‑forward flavor paired with a creamy, slightly tangy cheesecake base, all anchored by a buttery graham‑cracker crust. A light orange‑infused whipped topping adds the finishing touch, delivering a dessert that’s as beautiful as it is tasty.
This cheesecake is perfect for anyone who loves bright, fruity desserts—kids, teens, and adults alike. Serve it at brunches, birthday parties, or as a refreshing finish to a summer dinner. Its no‑bake nature makes it ideal for hot weather when you’d rather not heat up the kitchen.
From mixing the crust to whipping the orange‑zest filling, the process is straightforward: blend, press, chill, and garnish. In just a few simple steps you’ll have a show‑stopping dessert that looks as polished as a bakery masterpiece.
Why You'll Love This Recipe
Bright Citrus Flavor: Fresh orange zest and juice give the cheesecake a lively, sun‑kissed taste that instantly lifts the palate and feels like a nostalgic treat.
No Oven Needed: The entire dessert sets in the refrigerator, keeping your kitchen cool and the preparation mess minimal—perfect for summer entertaining.
Elegant Presentation: A smooth, orange‑tinted surface topped with a glossy whipped topping looks stunning on any dessert platter, impressing guests without extra effort.
Customizable Sweetness: Adjust the amount of honey or powdered sugar to suit your taste, making it as sweet or as tangy as you prefer.
Tips & Tricks
Perfecting the Recipe
Room‑Temp Cream Cheese. Soften the cream cheese for at least 30 minutes before mixing. This prevents lumps and ensures a silky filling.
Press Crust Firmly. Use the bottom of a measuring cup to compact the crust evenly; a tight base stops the filling from sliding.
Chill Thoroughly. Give the cheesecake a full 4‑hour chill. Rushing this step can lead to a soft, wobbling center.
Warm Knife for Slicing. Dip your knife in hot water and wipe dry between cuts for smooth, clean slices.
Flavor Enhancements
Add a splash of orange‑flavored liqueur (like Grand Marnier) to the filling for an adult twist. A light drizzle of honey over the whipped topping just before serving adds extra shine and a subtle floral note.
Common Mistakes to Avoid
Never over‑beat the cream cheese; too much air can cause the cheesecake to crack when it sets. Also, avoid using bottled orange juice with added preservatives, as they can mute the fresh citrus flavor.
Pro Tips
Use Fresh Zest. Grate the zest directly onto the filling; the essential oils give the brightest orange aroma.
Double‑Check Sweetness. Taste the filling before chilling and adjust honey or powdered sugar to your preference.
Chill the Bowl. A chilled mixing bowl helps the whipped cream reach stiff peaks faster and stay stable.
Serve Cold. Keep the cheesecake in the fridge until the last minute; a cold dessert preserves the creamy texture and bright flavor.
Variations
Ingredient Swaps
Swap graham crackers for vanilla wafers or crushed shortbread for a richer crust. Replace honey with agave syrup for a milder sweetness, or use maple syrup for a caramel‑like depth. For a dairy‑free version, substitute the cream cheese with a vegan cream cheese alternative and use coconut cream in the topping.
Dietary Adjustments
To make the dessert gluten‑free, ensure the crackers are certified gluten‑free. For a lower‑sugar option, reduce honey to ¼ cup and add a few drops of liquid stevia. Keto‑friendly cooks can replace the honey with erythritol and use almond flour in the crust.
Serving Suggestions
Serve each slice with a dollop of fresh whipped cream and a few candied orange peel ribbons for extra flair. Pair the cheesecake with a crisp glass of Prosecco or a chilled iced tea for a balanced, refreshing finish.
Storage Info
Leftover Storage
Allow any remaining cheesecake to cool completely, then cover the springform pan tightly with plastic wrap. Store in the refrigerator for up to 4 days. For longer keeping, slice into individual portions, wrap each piece in cling film, and freeze for up to 2 months. Thaw overnight in the fridge before serving.
Reheating Instructions
Because this is a chilled dessert, reheating isn’t required. If you prefer a slightly softened texture, let a slice sit at room temperature for 10‑15 minutes before plating. This gentle warming releases the citrus aromatics without compromising the creamy structure.
Frequently Asked Questions
Can I make this cheesecake a day ahead?
What if I don’t have fresh oranges?
How do I keep the whipped topping from deflating?
This No‑Bake Orange Creamsicle Cheesecake delivers a vibrant, creamy dessert with minimal effort and maximum wow factor. By following the detailed steps, using fresh citrus, and applying the tips provided, you’ll achieve a silky texture and a bright flavor that’s perfect for any celebration. Feel free to experiment with swaps or garnish ideas—making it your own is part of the fun. Slice, serve, and savor every orange‑kissed bite!
No-Bake Orange Creamsicle Cheesecake Recipe
Delicious No-Bake Orange Creamsicle Cheesecake Recipe
Ingredients
Crust
- 1 ½ cups graham cracker crumbs
- ¼ cup unsalted butter, melted
- 2 tablespoons granulated sugar
Filling
- 24 oz (3 packages) cream cheese, softened
- ½ cup honey or maple syrup
- ¼ cup fresh orange juice (about 1 large orange)
- Zest of 2 oranges (≈ 2 tsp)
- 1 tsp pure vanilla extract
- ¼ cup heavy cream
Whipped Topping
- 1 cup heavy whipping cream, chilled
- 2 tbsp powdered sugar
- 1 tsp orange zest (for garnish)
Instructions
Mixing the Creamy Filling
- Beat the Cream Cheese. Using an electric mixer on medium speed, beat cream cheese until smooth and free of lumps, about 2 minutes. This creates a silky texture that prevents graininess later.
- Add Sweeteners and Flavor. Pour in honey, orange juice, orange zest, and vanilla extract. Mix on low until fully incorporated; the citrus will brighten the mixture and the honey will give a gentle, natural sweetness.
- Incorporate the Cream. Slowly drizzle heavy cream while the mixer runs on low. This lightens the batter, making it easier to spread and giving the final cheesecake a luxurious mouthfeel.
- Spread Over Crust. Transfer the filling onto the prepared crust, smoothing the top with a spatula. The filling should be level; any excess can be trimmed with a knife.
Whipping the Topping & Finishing
- Whip the Cream. In a chilled bowl, beat heavy whipping cream with powdered sugar until soft peaks form. This airy topping will sit beautifully atop the dense cheesecake.
- Pipe or Spread. Either pipe the whipped cream around the edge of the cheesecake or spread it evenly over the surface. The lightness of the topping balances the richness of the filling.
- Garnish. Sprinkle a pinch of fresh orange zest over the whipped cream for a burst of color and an extra citrus aroma that ties the whole dessert together.
Similar Recipes
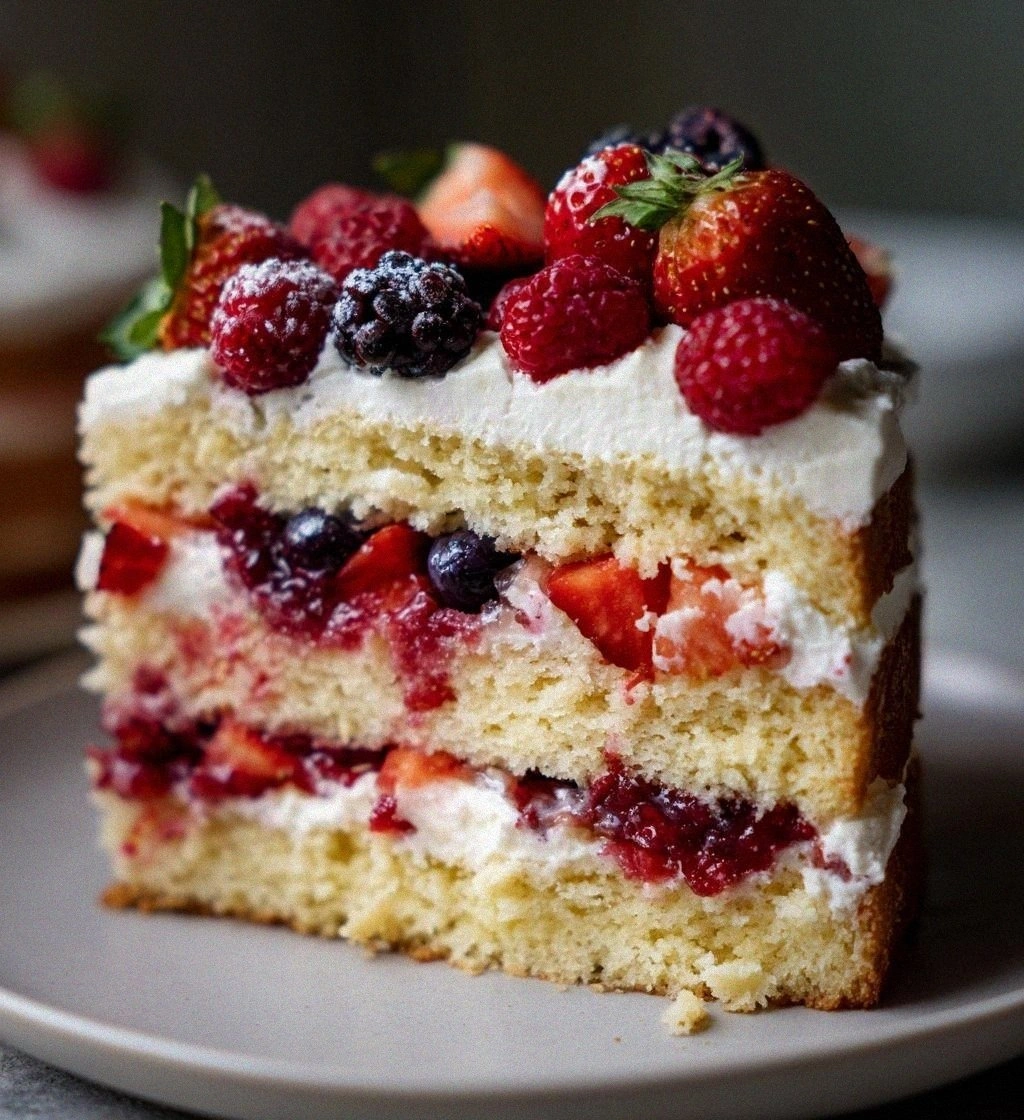 Desserts
spring baking: 5 Ways to Create Delicious Seasonal Joy
Learn how to make delicious spring baking: 5 Ways to Create Delicious Seasonal Joy. Easy recipe…
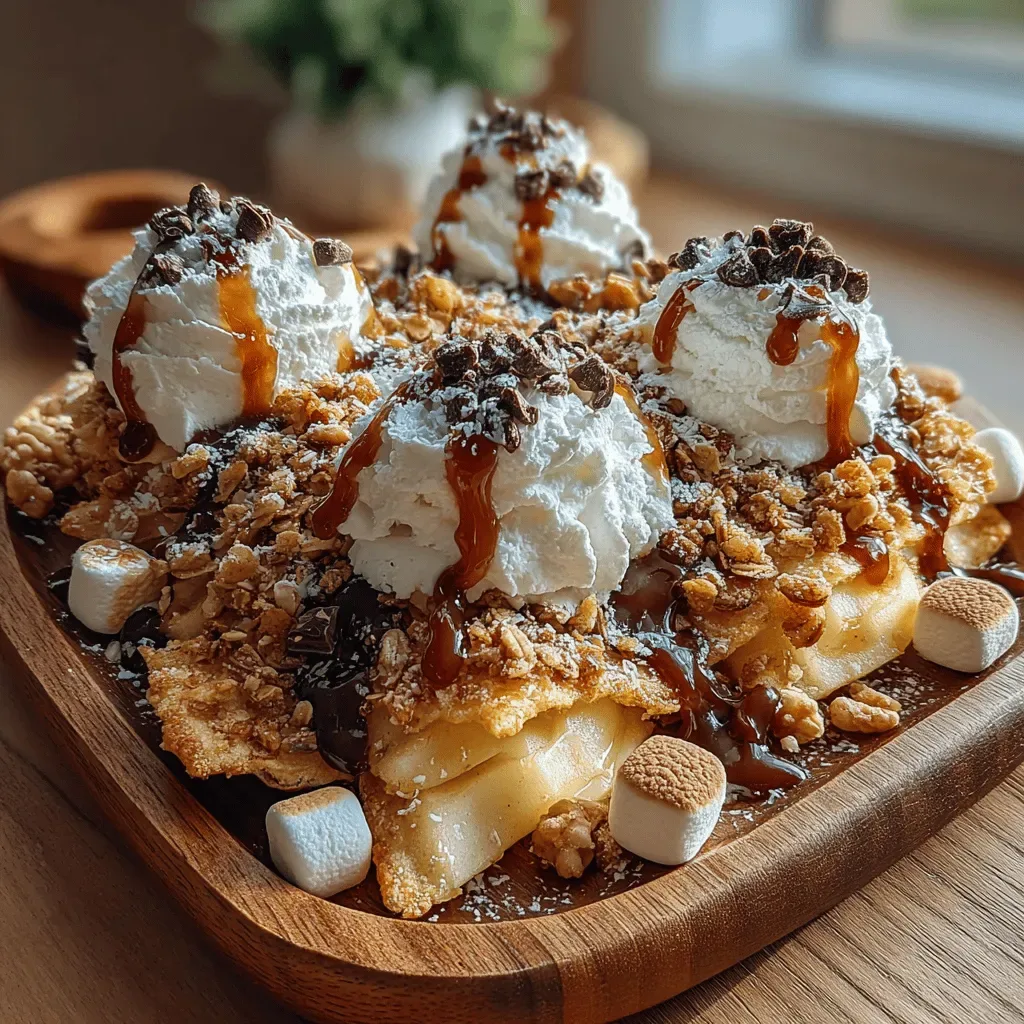 Desserts
Sweet Apple Nachos Recipe
Delicious Sweet Apple Nachos Recipe
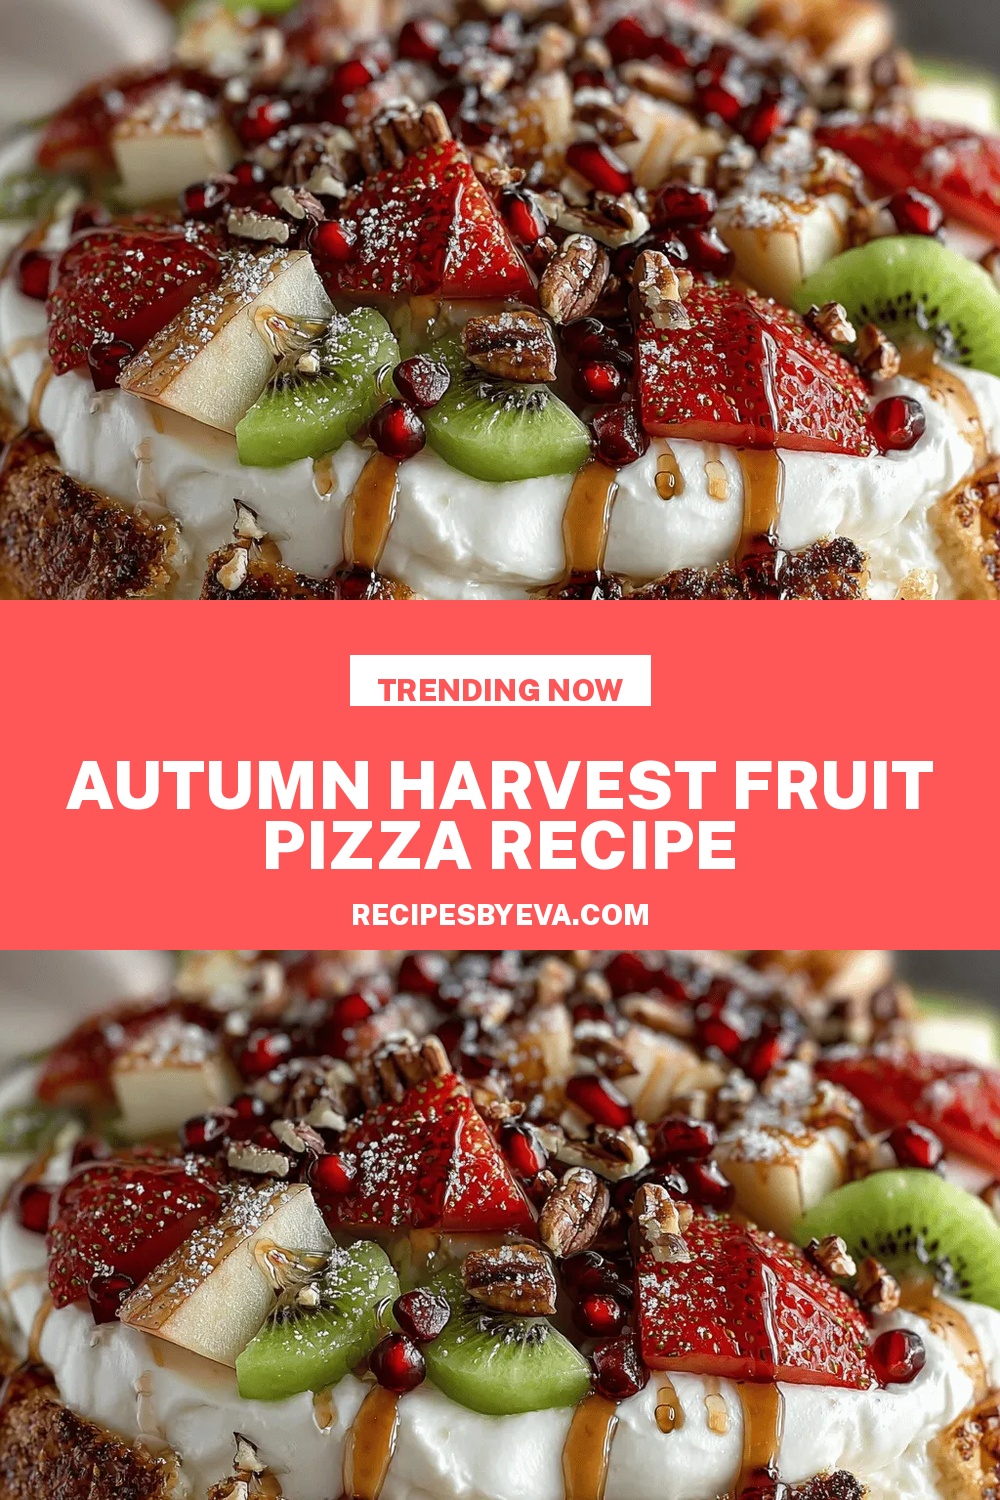 Desserts
Autumn Harvest Fruit Pizza Recipe
Delicious Autumn Harvest Fruit Pizza Recipe
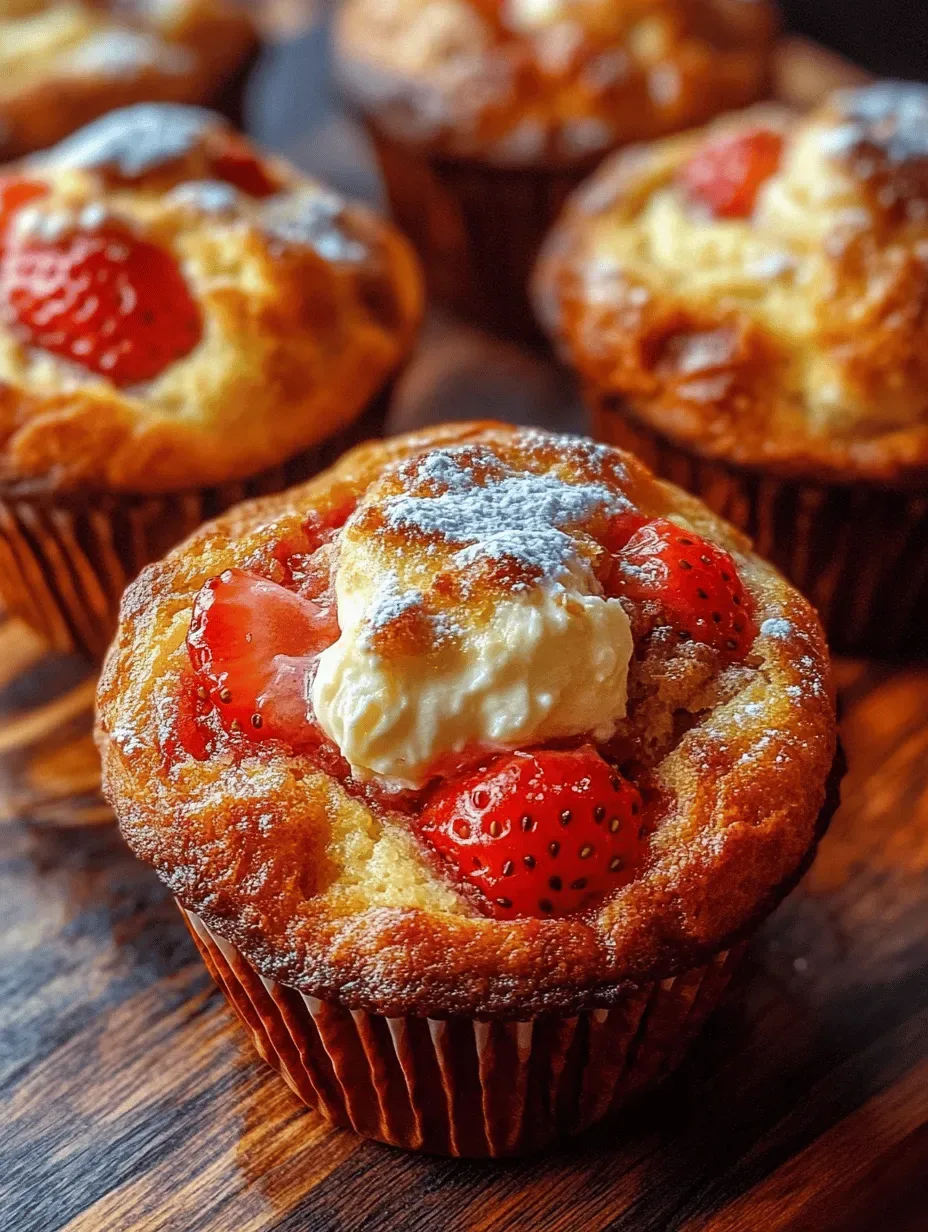 Desserts
Delightful Strawberry Cream Cheese Bliss Muffins
Delicious Delightful Strawberry Cream Cheese Bliss Muffins
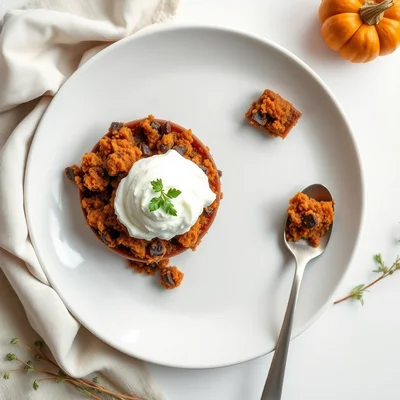 Desserts
Pumpkin Chocolate Crumble
Discover how to make a Pumpkin Chocolate Crumble, combining creamy pumpkin puree, rich chocolate, and a…
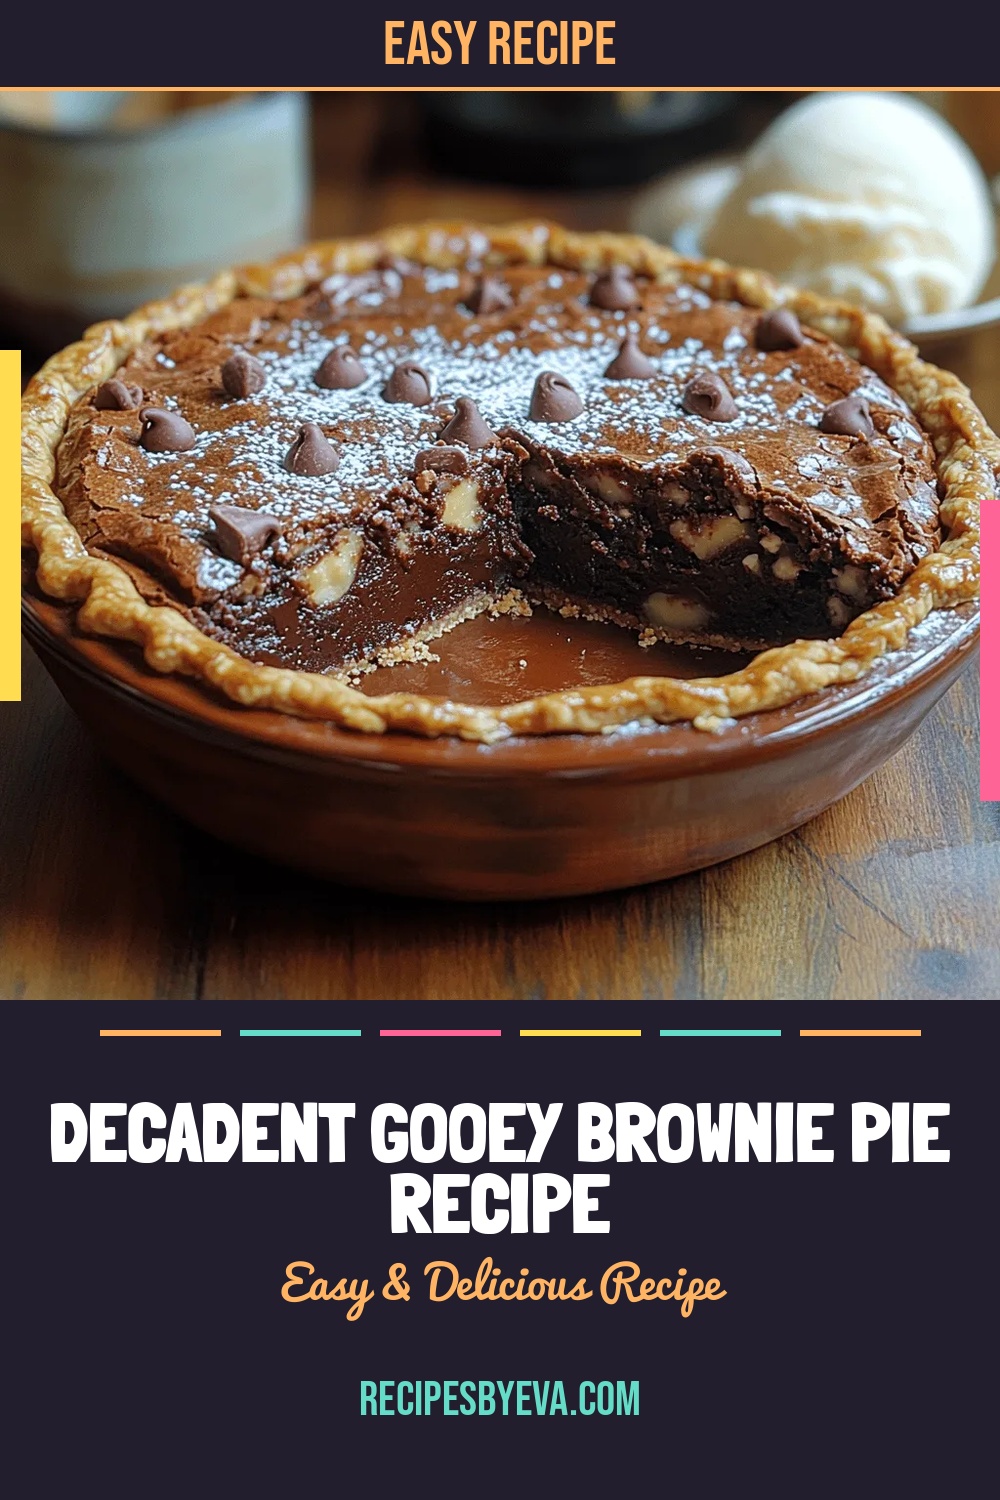 Desserts
Decadent Gooey Brownie Pie Recipe
Delicious Decadent Gooey Brownie Pie Recipe
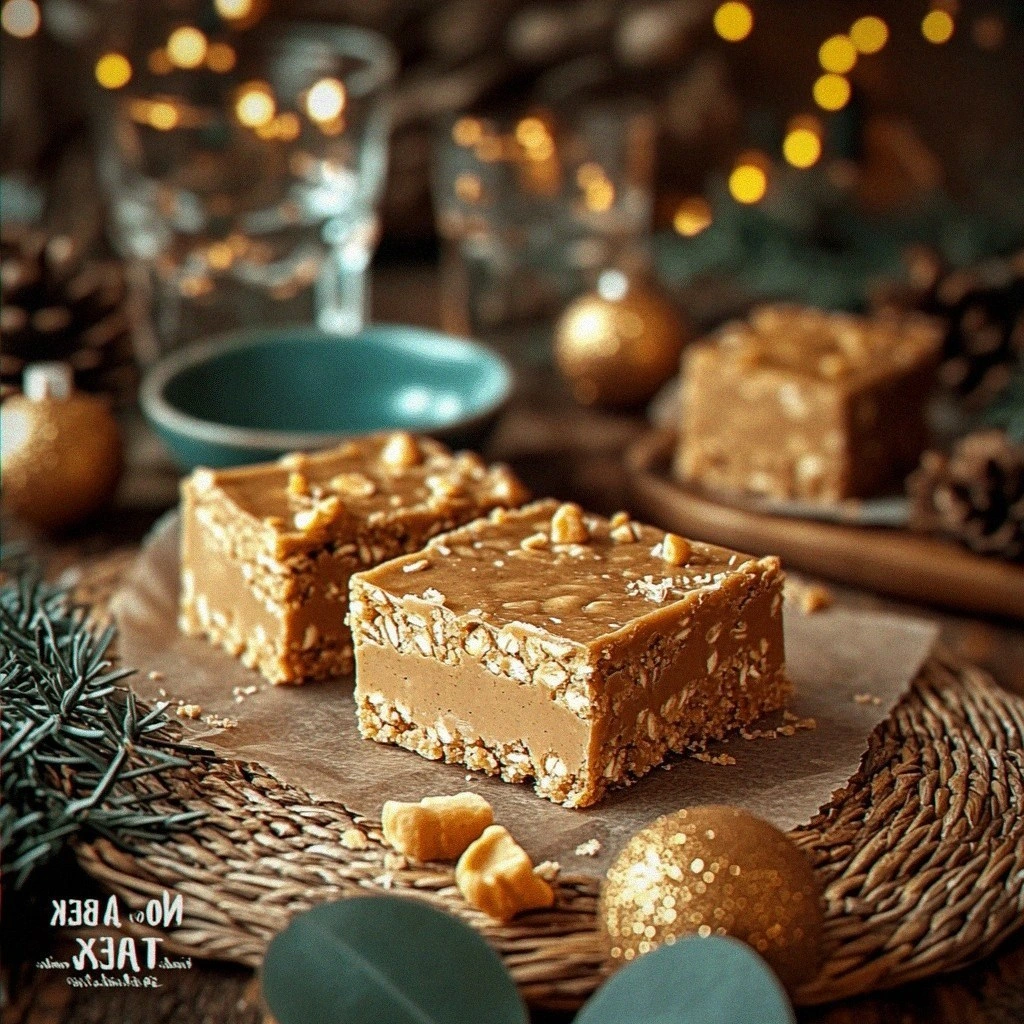 Desserts
No-bake Peanut Butter Bars
Learn how to make delicious No-bake Peanut Butter Bars. Easy recipe with step-by-step instructions.
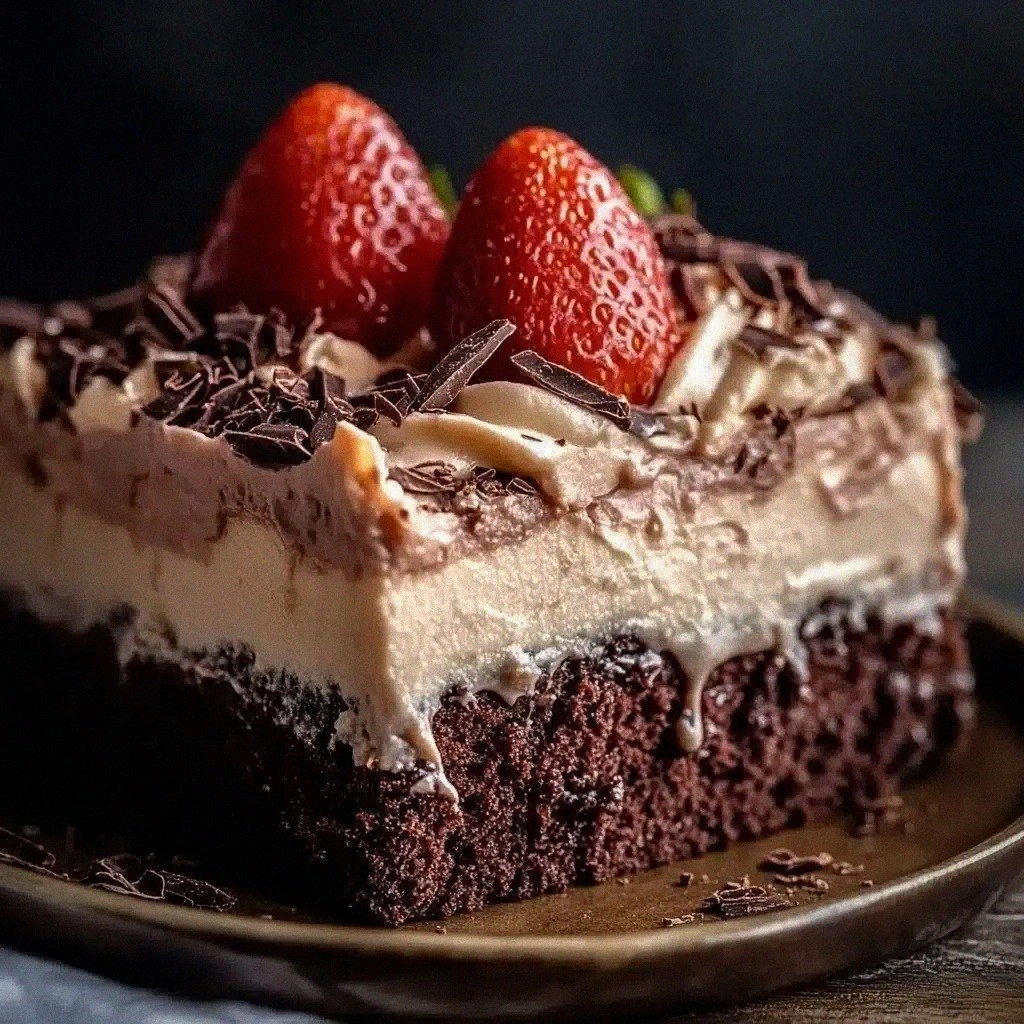 Desserts
Mexican Chocolate Milk Cake: An Amazing Ultimate Recipe
Learn how to make delicious Mexican Chocolate Milk Cake: An Amazing Ultimate Recipe. Easy recipe with…

Eva
I cook these recipes at home before they ever land here — simple ingredients, clear steps.